This post may contain affiliate links. If you purchase something through any link, we may receive a small commission at no extra charge to you. Supplies used may be given to us free of charge, all projects and opinions are my own.
Christmas party coming up? There is still time to make these adorable DIY Boy and Girl Christmas shirts with your Cricut machine and EasyPress 2.
Learn more about Glitter Iron-on here.

Christmas clothes are my favorite clothes of the year. In fact Lila may just have a different Christmas outfit for every day from December 1st to the 25th. Back when she was at home all day or in preschool it was dresses every day, now that she’s in school everyday I have to mix a few more casual clothes into the mix.
We saw this design in Cricut Design Space and it is so cute. I wanted to make this Christmas Shirt for both Lila and Morgan so I went to work creating a version perfect for both a boy and a girl.
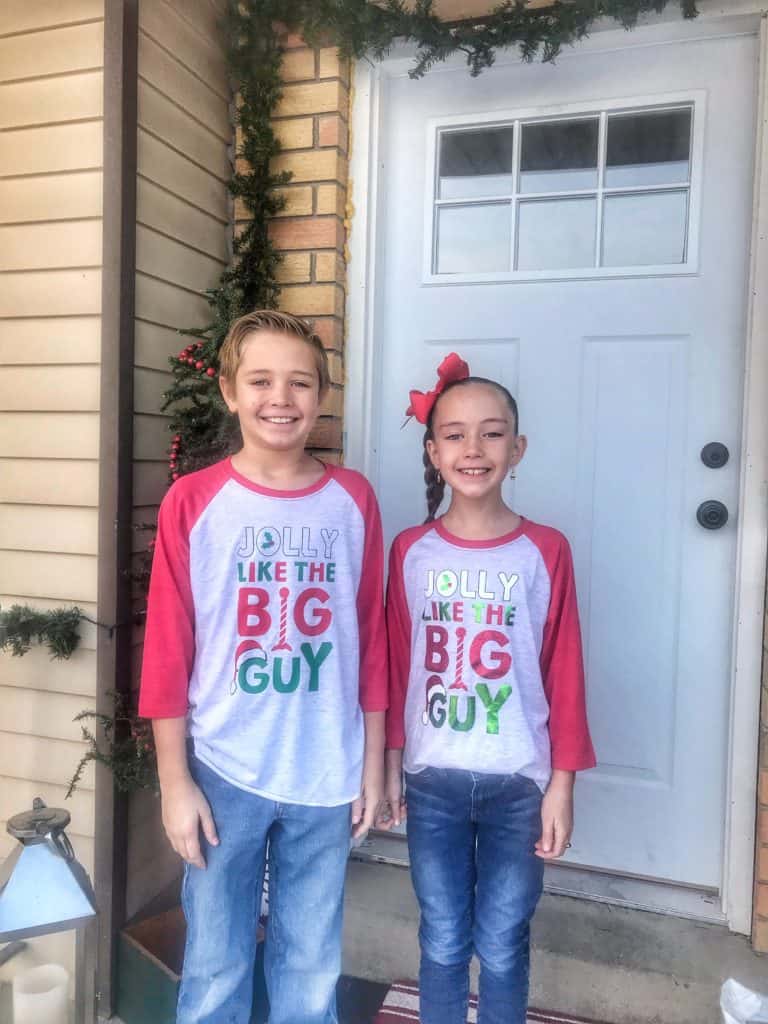
Who are these children and when did they get so big? These are my babies!
Okay, lets get these DIY Boy and Girl Christmas shirts made.
DIY Boy and Girl Christmas Shirts supplies:
Both shirts were purchased at Hobby Lobby. Regular price is $10.99 but they’re always 30% off and if you’re only purchasing one you can use your 40% off coupon.
Boy Shirt:
Black, Green, Red Everyday Iron-on
Girl Shirt:
Black, White Everyday Iron-on
Red Glitter Iron-on
Green Foil Iron-on
Both:
Cricut Machine
EasyPress 2
EasyPress Mat
Iron-on Protective Sheet

For the boy shirt we kept everything very simple. We used the heathered grey from the shirt as the “white” in the Santa hat and behind Jolly, and then Everyday Iron-on in Black, Green and Red for the images. This project can be found in Design Space here and was created by That’s What Che Said.
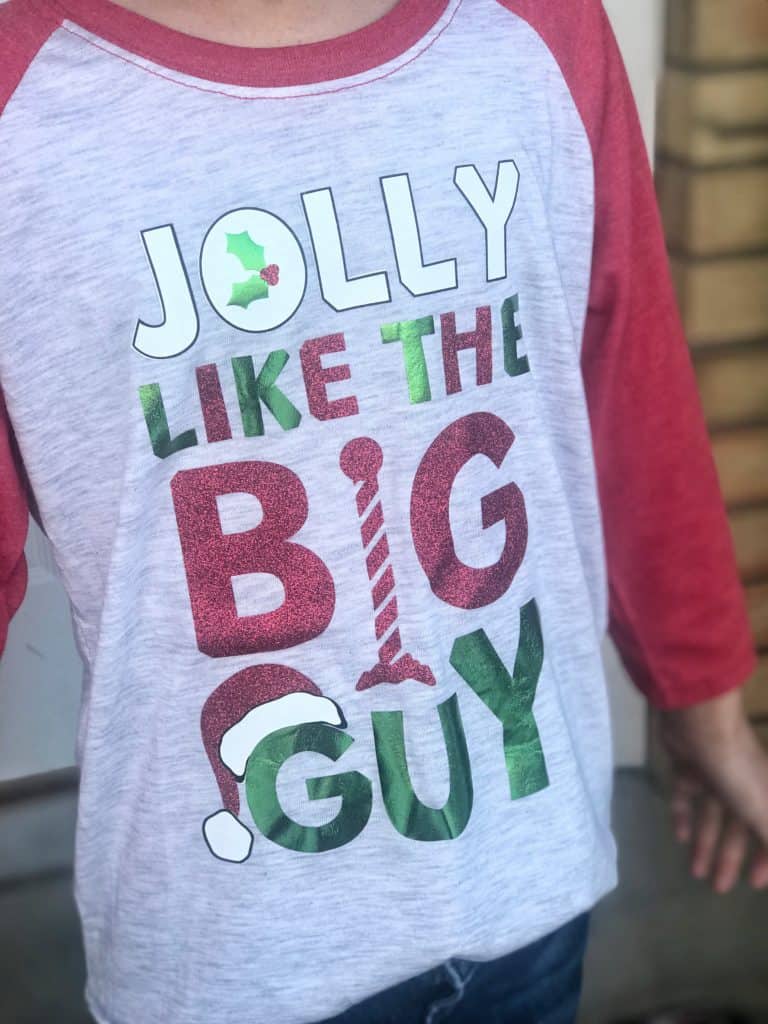
To create the girl half of our DIY Boy and Girl Christmas Shirts we broke out everything that sparkles and shines.
I edited the boy shirt canvas in Design Space to add a white background behind Jolly and the Santa hat using Everyday Iron-on. I outlined the white with black Everyday Iron-on and then topped it all off with green Foil Iron-on and Red Glitter Iron-on. You can find my canvas for the girl shirt here.
For the boy shirt you’ll want to layer Iron-on in the following order:
Green, Red, Black
For the girl shirt you’ll layer Iron-on in the following order (pro-tip, you cannot layer on top of foil or glitter iron-on so any place {like the holly} where they would layer you’d slice them apart {I did this for you for this project}):
White, Black, Green, Red.
Using the EasyPress 2, EasyPress Mat, and the Iron-on Protective Sheet (as needed between layers) these shirts come together so quickly and with the StrongBond Guarantee on Cricut Iron-on I know they’ll last through everything my kids can throw at them. Use the EasyPress Interactive Guide to find out exactly what temperature you should be using for each material and if it’s a warm peel or cold peel.
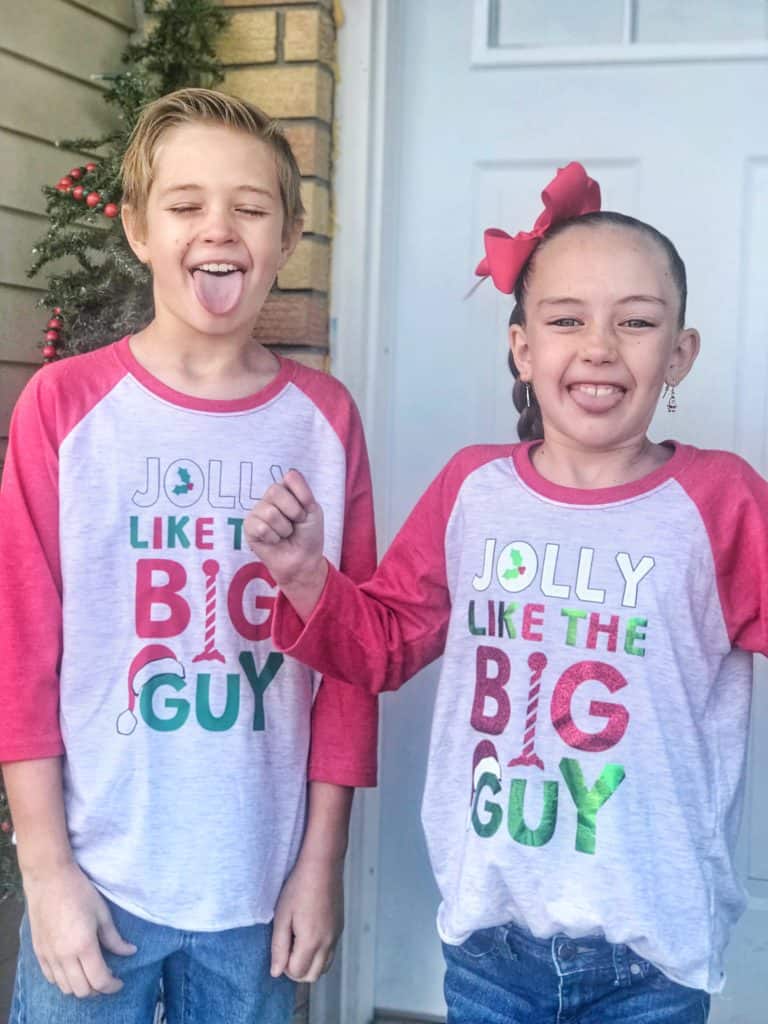
These crazies love their new shirts just as much as they love taking pictures with silly faces.
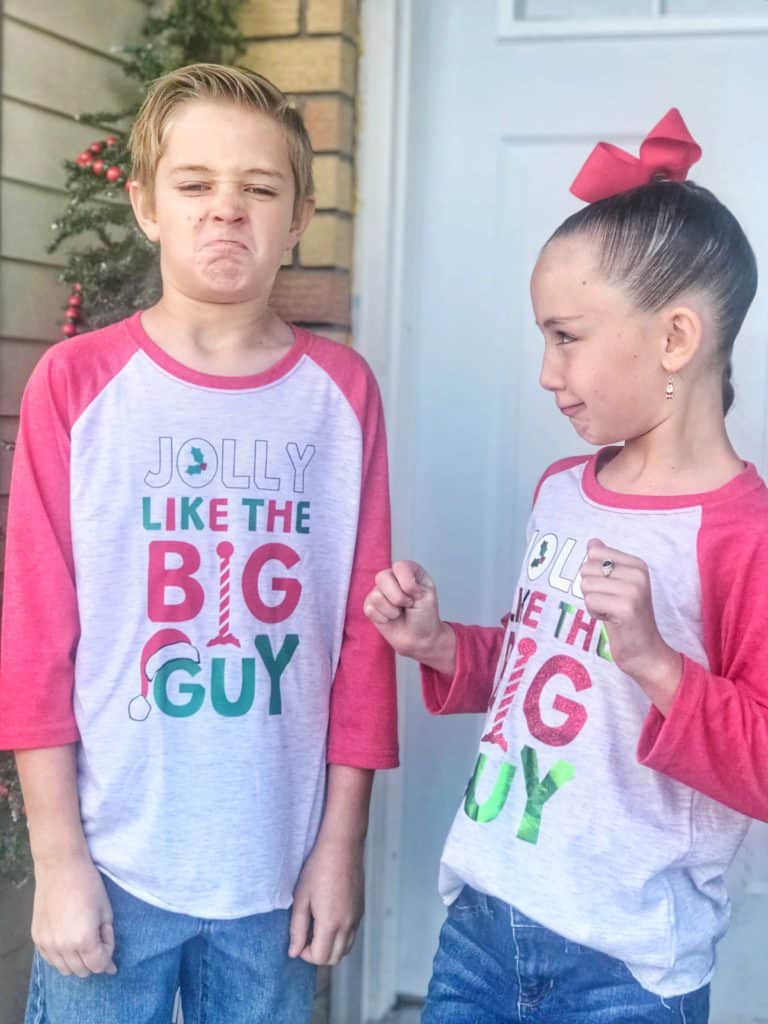
This just might be the face big brother makes when he hears someone asked if they’re twins. He’s waiting for that growth spurt to hit.
These shirts were so fun to make and they’re perfect for any Christmas activity you have coming up or even just to make a Monday more cheerful!
We’d love to see yours if you make some so make sure and tag us in your photos if you do.
We have a great discount for our crafting friends! Click and use code Housewives for 10% off and free shipping on purchases over $50! *Not valid on machines, Cricut Access memberships, or digital image purchases*
 Interested in more Christmas projects made with the Cricut? Check out these!
 DIY Christmas Banner
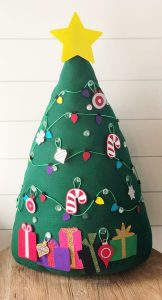 Kid’s Felt Christmas Tree
 DIY Christmas Cards
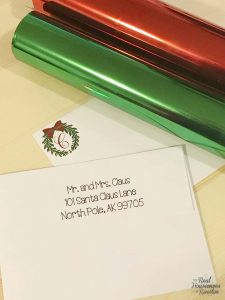 Customized Christmas Card Envelopes
 DIY Christmas Nativity Sign
- Bringing Home Baby Chicks - March 11, 2025
- Is RootsTech for Moms? - February 23, 2024
- How to Get Oil Stains Out of Clothes - May 5, 2023


