This post may contain affiliate links. If you purchase something through any link, we may receive a small commission at no extra charge to you. Supplies used may be given to us free of charge, all projects and opinions are my own.
Sometimes I feel like I’m the only person on the planet left who LOVES sending Christmas cards, like loves loves it, like looks forward to it all year long. Real Christmas Cards, not a text or an email but an actual through snail mail Christmas Card.
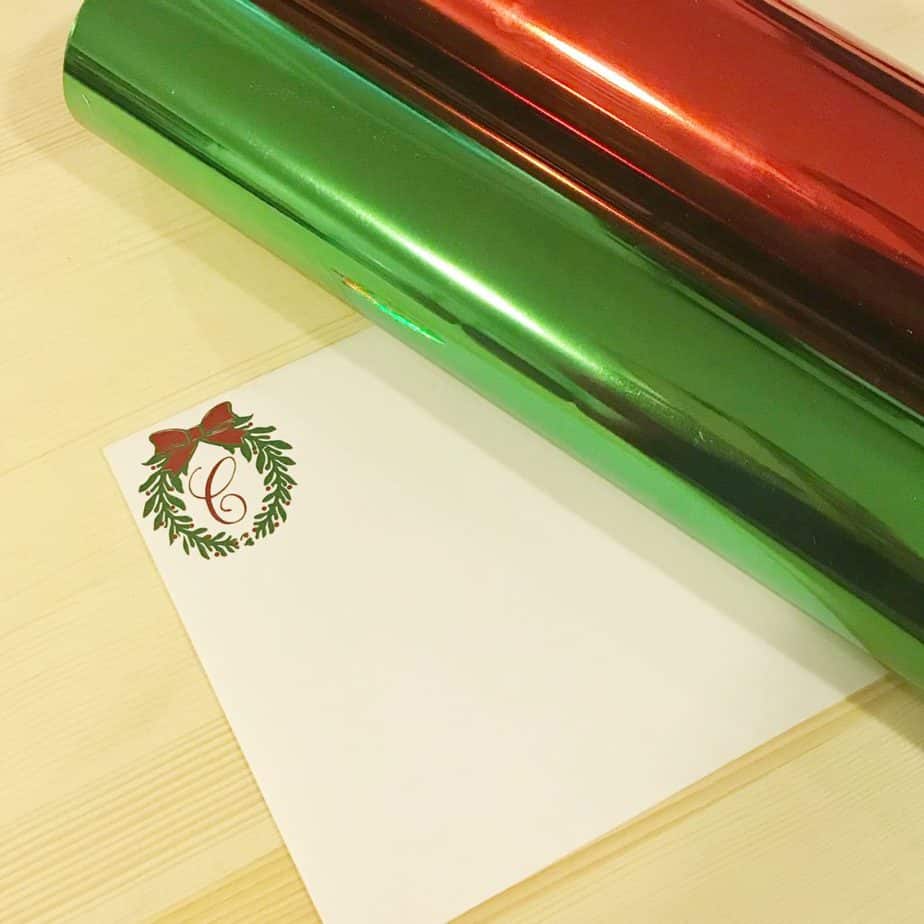
 I also love anything and everything that helps make the presentation pretty, finding ways to customize them without breaking the bank is always a good idea and is what brought me to trying out Cricut iron-on on paper!
I am completely smitten with my Customized Christmas Card envelopes and can’t wait to try this process on an actual Christmas Card (ours should be arriving any day now).
 {FTC Disclaimer: We received free product in exchange for this post, which may contain affiliate links. We might make a small amount if you shop through these links, at no extra cost to you.}
What’s wonderful about my customized Christmas card envelopes is that everything is right in Design Space, no uploading files or images, in fact you can use my file and just change out the letter in the middle of your wreath and update the address and you’re good to go!
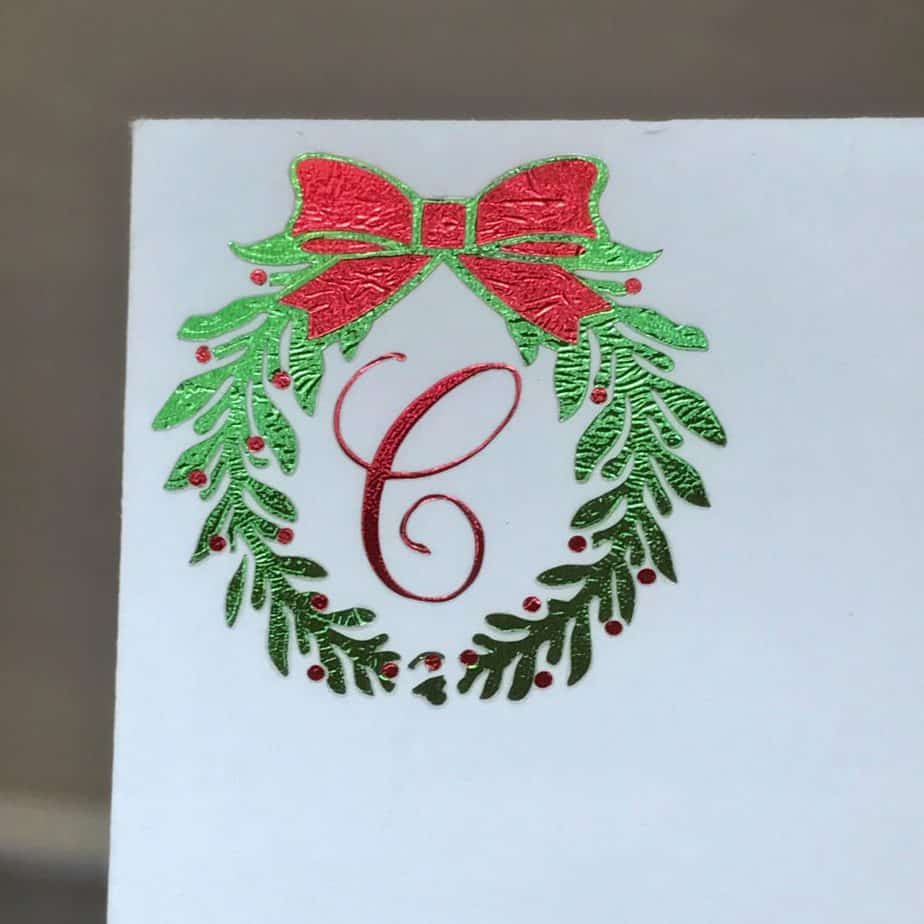 Customized Christmas Card Envelope with Cricut Foil Iron-On
Supplies Needed:
Cricut Maker (or Explore Air 2)
Envelopes
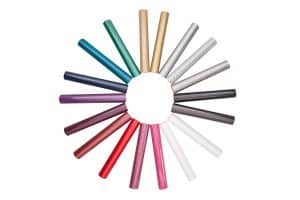
Red Foil Iron-On
Green Foil Iron-On
Cricut Black Fine Point Marker
Easy Press (or Iron/Heat Press)
Cricut 12×12 Light Grip Mat
Weeding Tool
Cut/Write File (found here)
Customized Christmas Card Envelope Instructions:
Step 1: Gather your supplies. Having everything in one place helps the process go so much quicker.
Step 2: Open the file. This project was created completely in Design Space, you can find my file here:
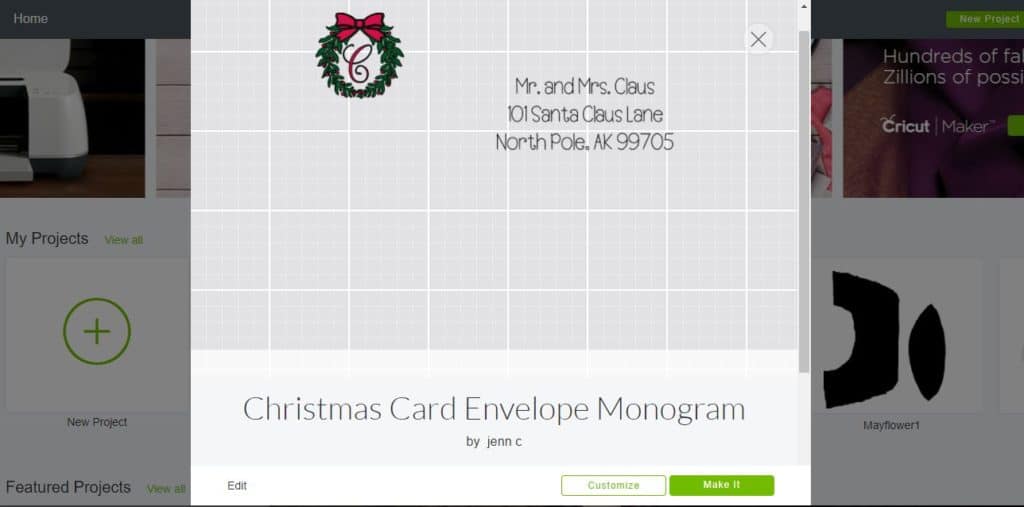 Step 3: Customize project as needed. I used the “Decorative Monogram C” for the middle of my monogram, you may need to change that. The cartridge is called Anna’s Decorative Monograms and can be found here. The C cost me .99 to purchase and does not appear to be part of Cricut Access, you could use other free/included fonts I just loved how this one looked with the wreath and was exactly what I was going for. Also, while taking photos for this post I didn’t want to put my address out there for the whole world so I got online and found Santa’s address. You will want to edit the name and address as well if you’re going to have your Cricut write them out for you.
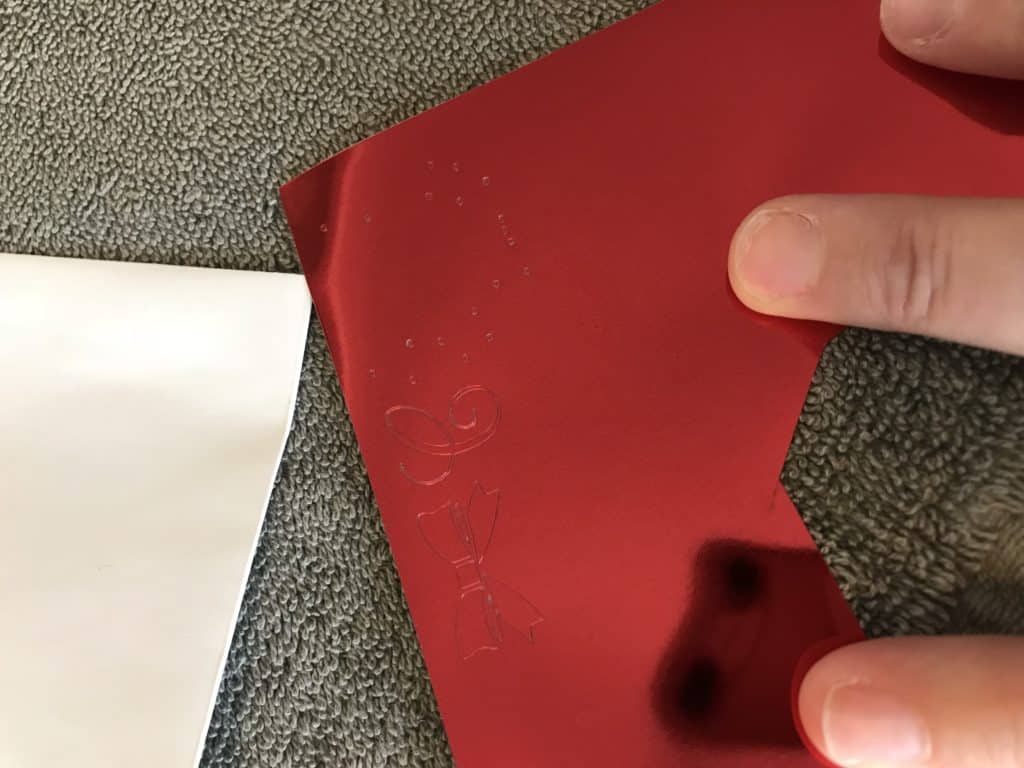 Step 4: Start cutting. The file set up the way I have it is specifically for the Foil iron-on, foil iron-on should not be layered (one iron-on color on top of the other) so I sliced all the images apart so the red fits into spaces of the green. This is why I’m sharing my file, the hard work is already done for you. Because this wreath monogram is meant to fit in the upper left hand corner of an envelope it measures only 1.5″ wide and about 1.5″ tall, you’ll be working with some small cuts so take your time. Don’t forget, you’re working with iron-on. Make sure and mirror your image before pushing the cut button! Also, I hid the address before doing the cuts so my machine wouldn’t prompt me to write/load the pen until after I had the cutting done I needed. I combined them on one file so I wouldn’t have to go back and forth, you could always copy it to a new project if you wanted to.
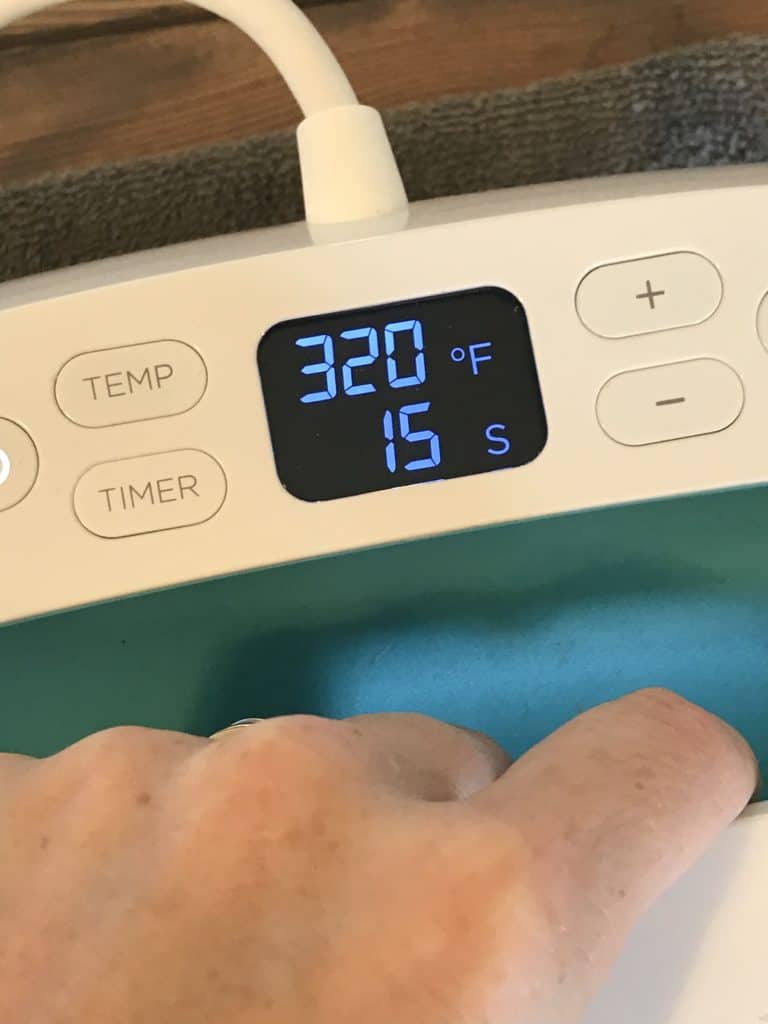
Step 5: Weeding. Once you have your foil iron-on cut out it’s time to start weeding. Remember above when I said there are small pieces, I wasn’t joking around. The berries are teeny tiny and parts of the letter C are very thin. SLOWLY peel off the excess iron-on watching to make sure the berries and any other small parts stay on the backing. I had a couple berries not want to stay in place, I used my weeding tool to help hold them against the backing while I continued to slowly peel away the excess.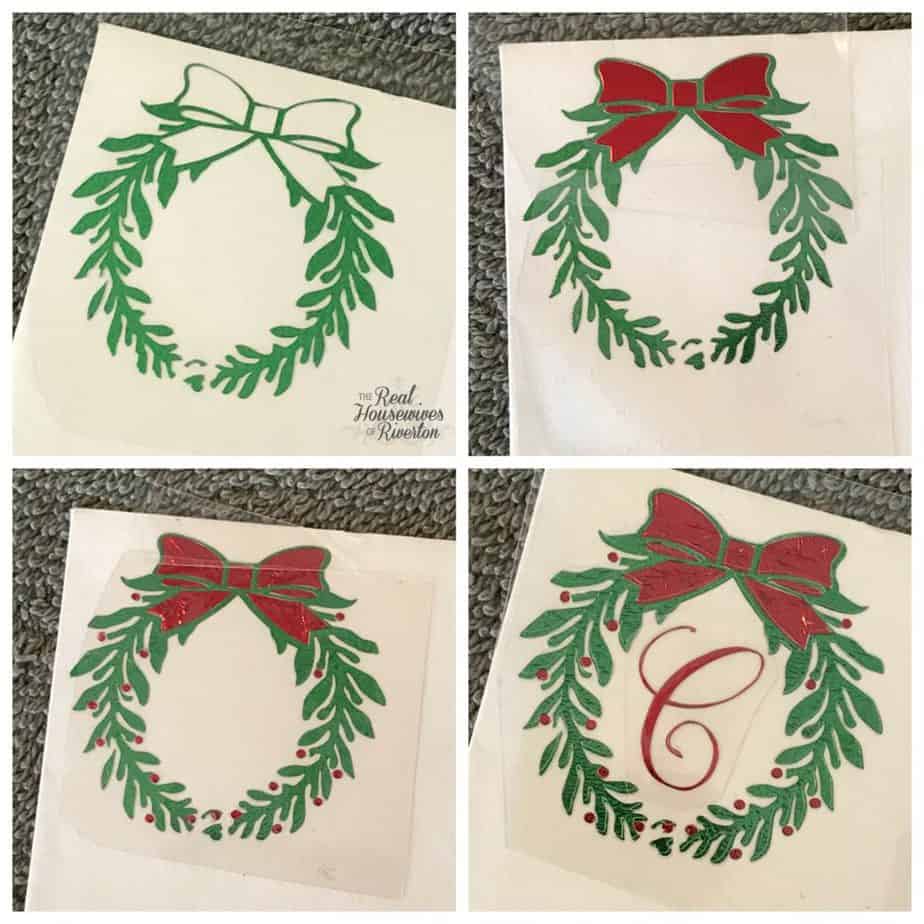 Step 6: Application. Preheat your EasyPress to 320 degrees and set the timer to 15 seconds (you may have to play with the settings on your iron, I haven’t tried this with an actual iron yet, I would assume a heat press would be about the same temps as the EasyPress). You will start with the full wreath iron-on. Place a towel folded in half on a hard/flat surface (I used my kitchen table). Place your envelope on top of the towel and then arrange your wreath where you want it to be on the envelope. Once you have it how you want it put the EasyPress on top, push the C to start the timer and add slight pressure to make sure the foil iron-on is fully in contact with the EasyPress.
Once the timer goes off set the EasyPress aside and let the foil and envelope cool for a few seconds then slowly peel away the backing making sure everything is left in place.
 Repeat the application steps for the bow, berries, and monogram letter. I did my application in that order and each time did the full 15 seconds. Do your best to get the bow and berries into the blank spaces they belong. You may have a little white showing (I did around my bow, 2 of my daughters prefer it with the little white showing) or you may have a few berries that end up on top of wreath (I have that too), just do your best and it’ll be awesome. I had no burning or scorching of the paper at all. I did let the paper cool (a few seconds fanning the envelope each time) and made sure to cover the whole foil iron-on area with backing (keep the piece from the green wreath to protect it).
Step 7: Gaze lovingly at the shimmer of the foil iron-on. Okay maybe this isn’t a necessary step once you’ve done 50 but trust me, the first time you see that wreath in place you’re going to hold it into the light and tilt it back and forth admiring your creation for a while.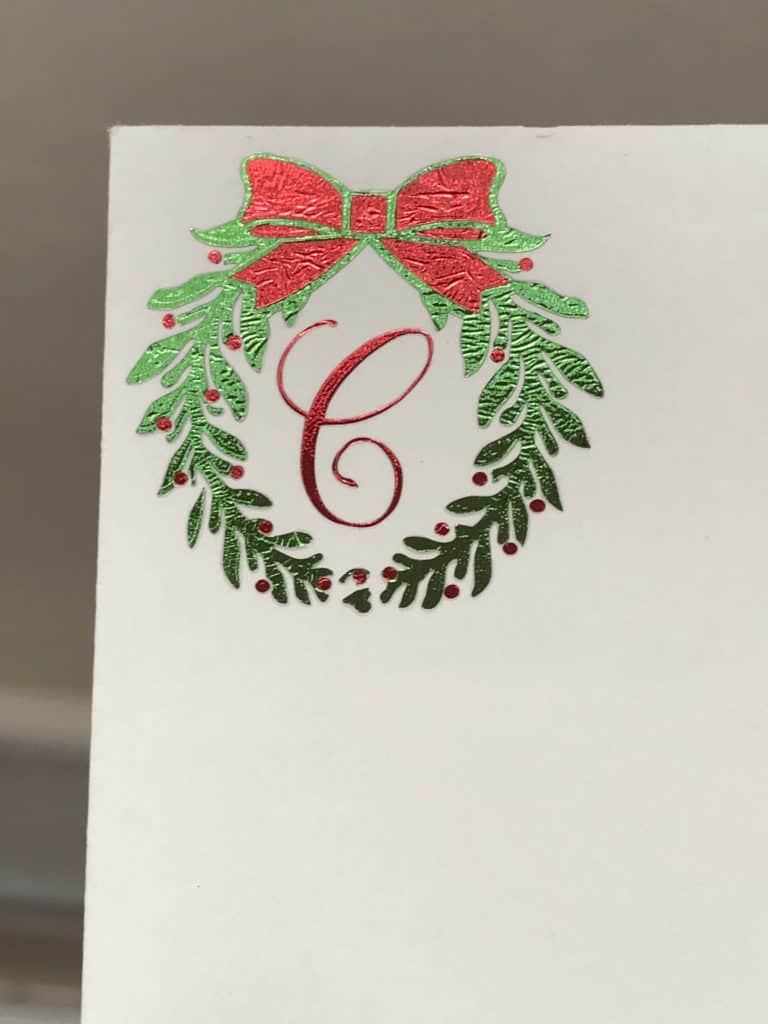 Step 8: Flip your envelope over onto the blue lightgrip mat so the flap is facing up. Go back to Design Space, unhide the address, hide the pieces of the wreath, and place your pen in the A slot of your machine. Once you push “make it” Design Space will take you to the screen where you can view your mat. From there you can click on the address and move it to where you want the writing to be. For mine it was about 3″ in and 2.25″ down. This will all depend on the width of your address and the width of your envelope. Thankfully the mat screen and your physical mat look just the same so getting the placement right has never been easier.
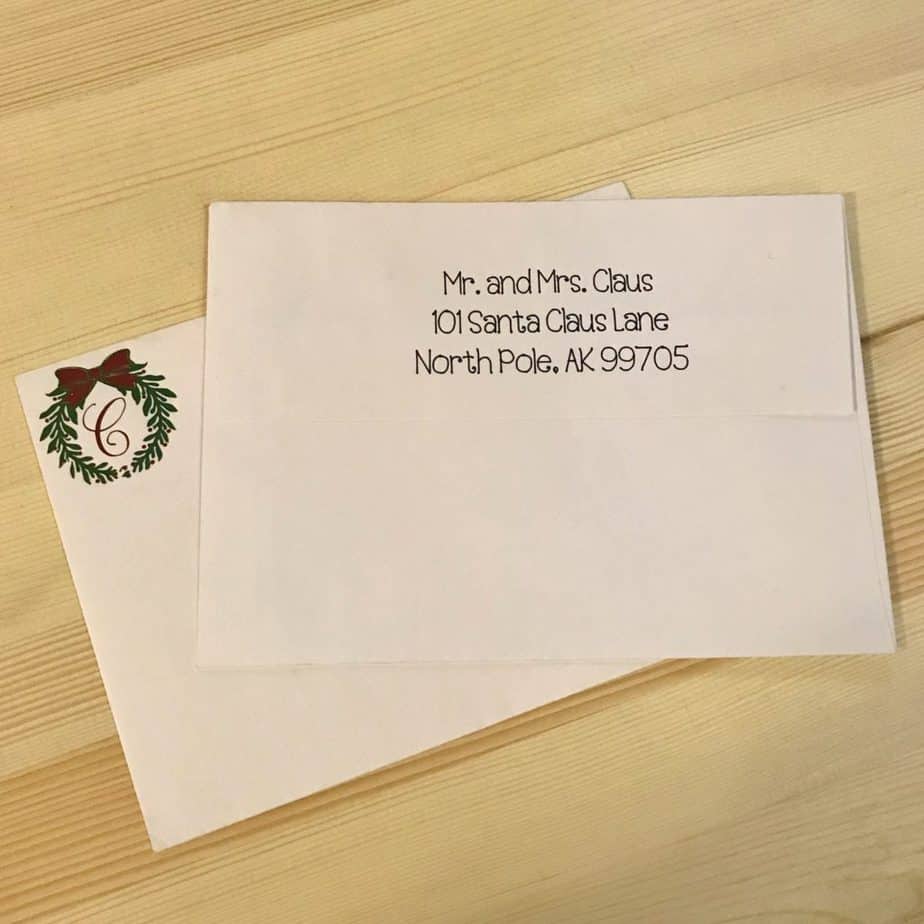 Step 9: Do a little happy dance. Another maybe not necessary step but I sure was doing the happy dance. I love the way the address looks written so pretty in Cricut writing so the back looks almost as pretty as the front….okay maybe not almost but it looks dang good so I was happy dancing all around the kitchen flipping the envelope from one side to the other.
I am not pretending this is at ALL going to help speed up your Christmas Card sending process, it doesn’t, it’s going to add time to it for sure, BUT if you’re going to send out a Customized Christmas card probably with a beautiful photo of your family attached to it shouldn’t the wrapping be just as pretty? I love getting the mail during the holidays, I love opening each and every Christmas card and I definitely notice when the envelope has a bit of holiday spirit decorating it. That’s what I’m going for here, the instant knowledge that something good is inside this envelope.
Now, I KNOW you’re inspired to dress up your Christmas Cards with a customized Christmas card envelope so you need to enter the Giveaway Cricut has going right now. They’re giving away their brand new machine THE MAKER! It’s amazing, you are going to love it. Enter in the Rafflecopter below!
I would LOVE LOVE LOVE to see your 2017 Christmas Card, bonus points (like really, I may be inspired to send out prizes) if you show me your customized Christmas card envelope! Either leave a comment here or tag us in your photo over on instagram. We are @RivertonHousewives over there!

This is a sponsored conversation written by me on behalf of Cricut. The opinions and text are all mine.
- Bringing Home Baby Chicks - March 11, 2025
- Is RootsTech for Moms? - February 23, 2024
- How to Get Oil Stains Out of Clothes - May 5, 2023

I absolutely love the foil detail on the envelopes.
[…] Wedding Invitations | Customized Christmas Cards | DIY LEGO Travel Case | DIY Phone Case | DIY Gift Card […]