This post may contain affiliate links. If you purchase something through any link, we may receive a small commission at no extra charge to you. Supplies used may be given to us free of charge, all projects and opinions are my own.
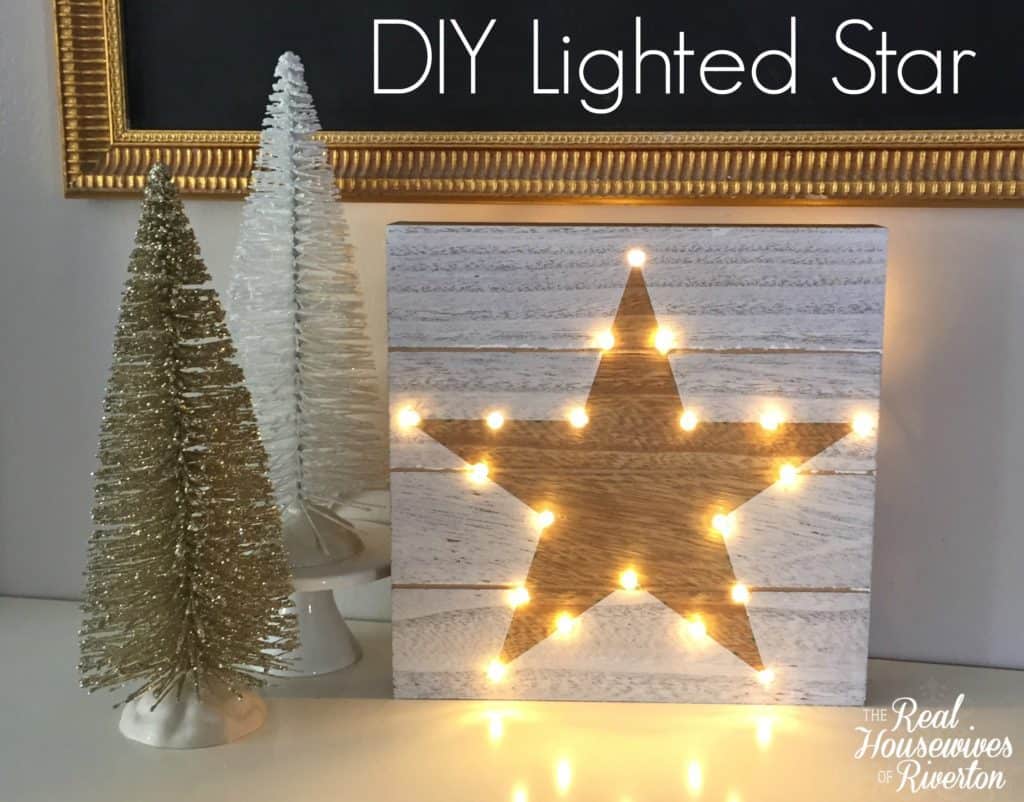
DIY Lighted Star Christmas Craft

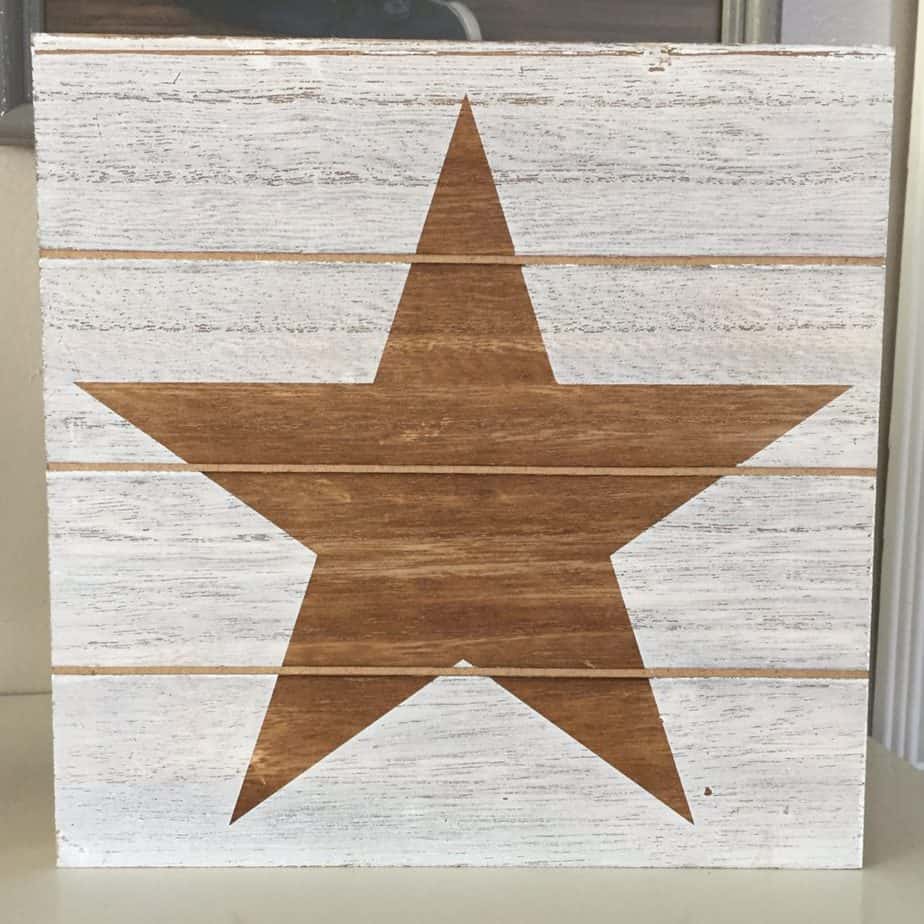
Today I was at Target, you know how it is, you walk in and the dollar spot is there and you HAVE to look. Today the dollar spot was restocked and included in the bins were these darling star signs and these gold and white bottle brush trees (they also had silver but I just bought white and gold). All of these items were just $3 each!

To make your own DIY Lighted Star Christmas Craft you’re going to need the following:
Wooden Star
(mine is from the Target dollar spot and directions will be specifically for this star)
Drill with 7/32 drill bit
Ruler/paper
Lights
(I used Heidi Swapp Marquee Letter lights)
Step 1. Measure for light spacing.
Step 2. Drill Holes.
Step 3. Insert lights (taping to hold in place as needed).
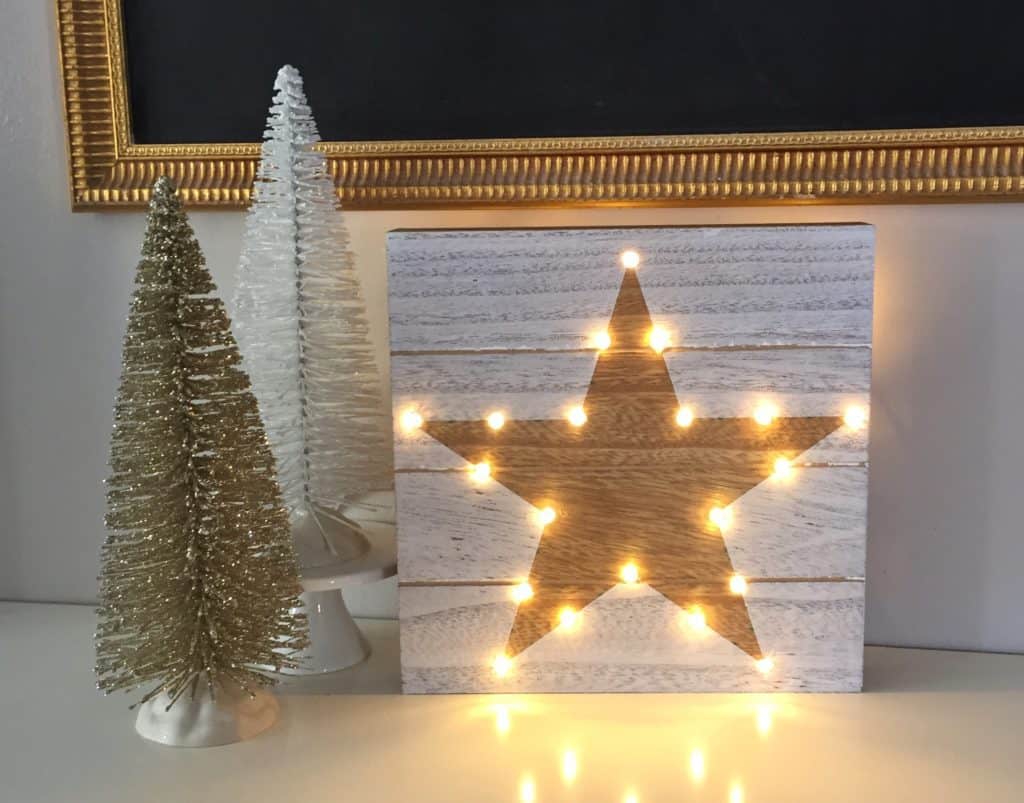
Step 4. Turn on and enjoy.

To start this project you’re going to need to mark where you want to drill your holes. As I was starting this project I thought I was going to want a light at each point and corner and then 3 in between them (which is shown in my marks here). Once I found the size drill bit I needed (7/32 for the Heidi Swapp light strand, that may be different if you’re using a different brand of light) I decided I only wanted one in the middle. While you can measure (from point to corner this star is 2.75″) and find the middle I found the easiest way to mark my light spots over and over was to, on a paper, mark the distance from point to corner and then fold in half. This way you can just lay that piece out on each different star side and just mark where the fold is (measure once mark over and over).

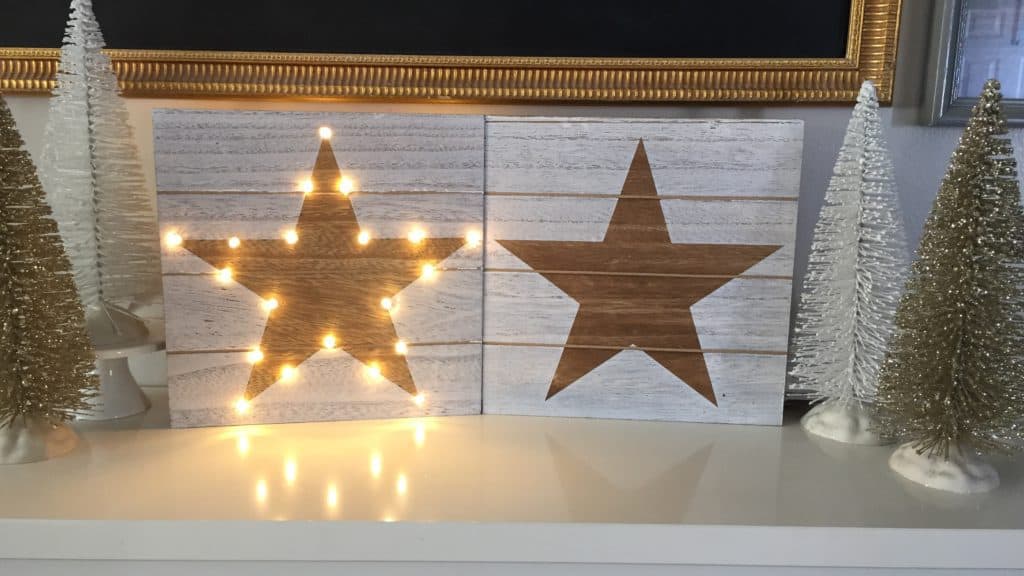
The last real step is to put the lights in the holes. I used a battery operated light so I wouldn’t have to worry about cords. I put my lights in the holes, taped the cords to the back of the sign to help hold things in place as needed and then the happy moment…I turned the lights on!

So now you know why I had to post this project today, I wanted to make sure you have time to run to Target and grab one of these stars and make this cute project. If I waited there might be no stars left!! I’ve already told Nate that we’re going to have to make this project about 10 times bigger to go on the front of the house. I cannot wait!!!!
Happy Crafting
(’tis the season)
- Is RootsTech for Moms? - February 23, 2024
- How to Get Oil Stains Out of Clothes - May 5, 2023
- How to Clean Towels that Smell Like Mildew - January 20, 2023


