This post may contain affiliate links. If you purchase something through any link, we may receive a small commission at no extra charge to you. Supplies used may be given to us free of charge, all projects and opinions are my own.
“True heroism is remarkably sober, very undramatic. It is not the urge to surpass all others at whatever cost, but the urge to serve others at whatever cost.” – Arthur Ashe
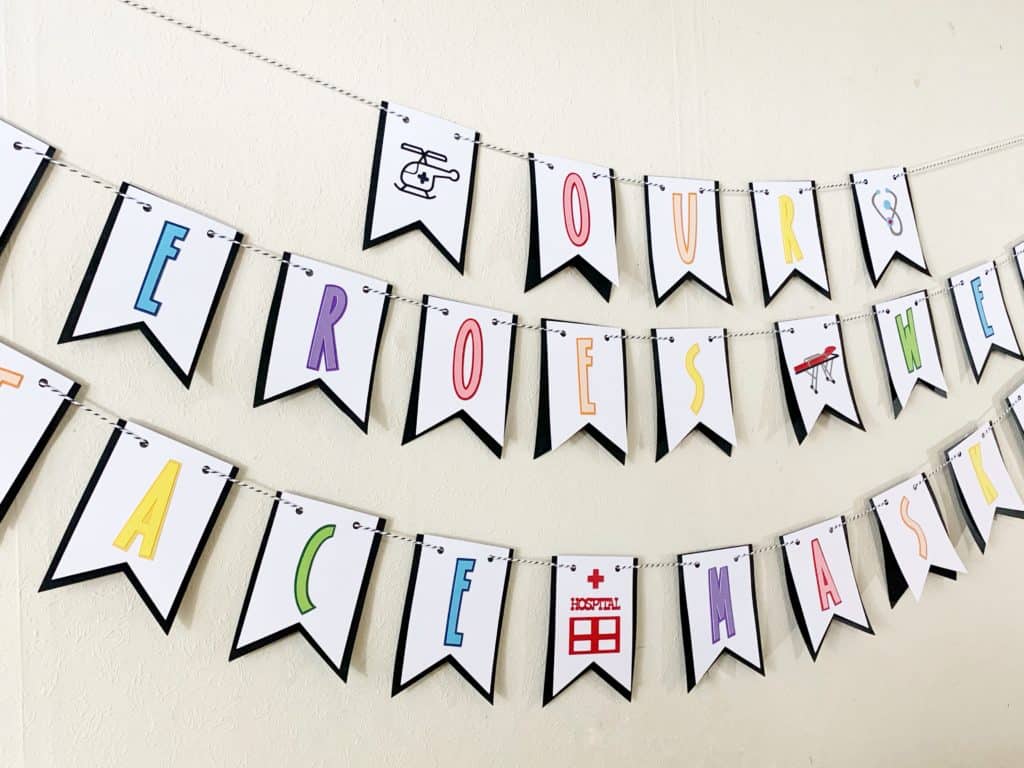
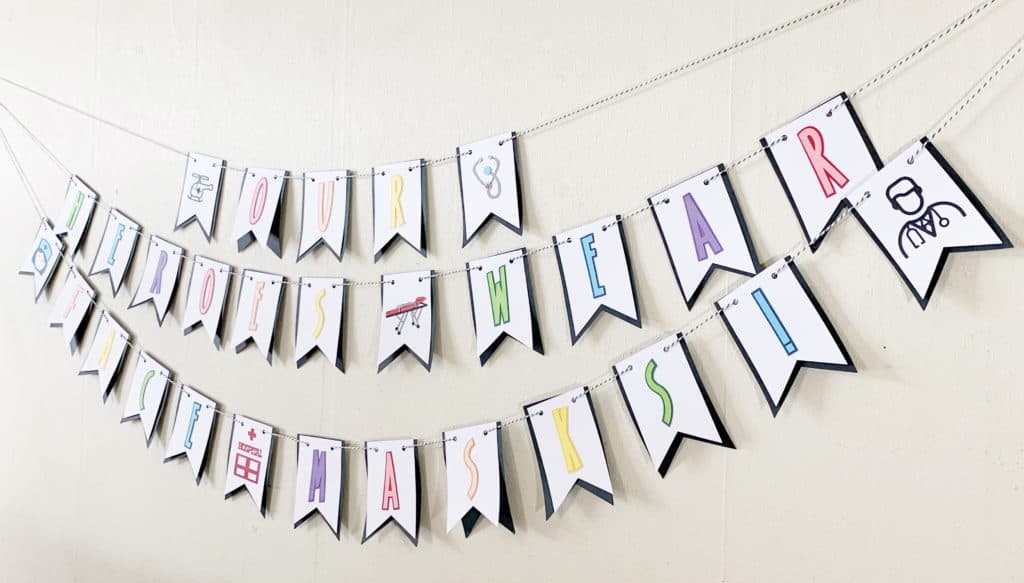
Trying to find things to do to show your gratitude to those on the front line during the Covid-19 pandemic? Make this “Our Heroes Wear Face Masks” banner with your Cricut machine.

Our Heroes Wear Face Masks Banner
We’ve been trying to find ways to say thank you to doctors, nurses, and every person who works in hospitals right now for the sacrifices they are making to help people needing medical assistance. We know it’s likely they’re missing out on time with their families and even risking their own health to be there for those in need.
Being limited on what is appropriate to do we decided to break out our Cricut machine and create a banner and cards to let them know how much we appreciate them.

Our Heroes Wear Face Masks Banner – Supply List
To make our Our Heroes Wear Face Masks Banner like ours you’ll need the following supplies:
Cricut Machine
(we used the Maker but you can use any Cricut machine that connects to Design Space which includes all of the Explore machines, Maker, and Joy)
Our Heroes Wear Face Masks Banner Cut File
Black Card Stock
White Card Stock
Rainbow Colored Card Stock
(red, pink, orange, peach, gold, yellow, green, light green, blue, light blue, purple, lavender)
Baker’s Twine
Art Glitter Glue

Our Heroes Wear Face Masks Banner – Assembly Instructions
Assembling the Our Heroes Wear Face Masks Banner is simple.
(If you want to watch how we created the banner check out our Instagram “Cricut” highlight bubble, it’s all documented there.)
Step 1: Cut out all black banner pieces. I used Cricut 12×24 cardstock for fewer load/unload steps
Step 2: Cut out all white banner pieces.
Step 3: Cut out all other banner pieces paying attention to which mat to load at which time.
Step 4: (This is my preference) Lay out all banner pieces to make sure you know how everything goes together. This will help the assembly process to quicker.
Step 5: Using Adhesive (I highly recommend Art Glitter Glue because of how quickly it dries, it dries clear, and the precision tip is perfect for projects like this) put together all the pieces that are layered and adhere to the white banner piece.
Step 6: Once all banner pieces are dry, string Baker’s Twine through the pieces in order making sure to leave plenty of twine hanging from each end for hanging.
Step 7: Write a few thank you cards, package them with the banner, and send them to your local hospital.

We really love how our banner turned out and hope it brings some brightness to the long hard days hospital staff are currently working.
We’d love to see if you make a banner like ours. Share a photo in the comments or tell us about it.
We’d love to have you join one or both of our Facebook Groups – Cricut Help and Inspiration and Cricut Joy Help.

 Top 10 Cricut Projects to Make at Home
- Bringing Home Baby Chicks - March 11, 2025
- Is RootsTech for Moms? - February 23, 2024
- How to Get Oil Stains Out of Clothes - May 5, 2023

