This post may contain affiliate links. If you purchase something through any link, we may receive a small commission at no extra charge to you. Supplies used may be given to us free of charge, all projects and opinions are my own.
This is a sponsored post written by me on behalf of Cricut. All opinions are 100% mine.
This post contains affiliate links.
Every year back to school shopping is something our whole family looks forward to. In 2020 that has never been more true. Eliminate the concern of things being lost by using your Cricut Joy to personalize back to school supplies.
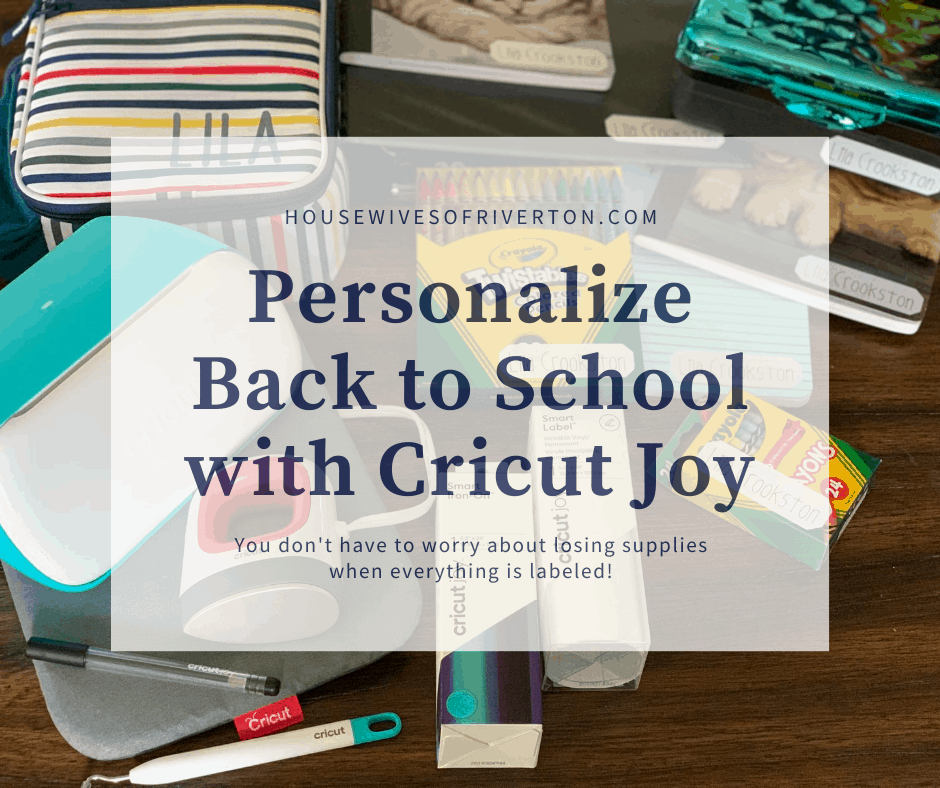
Our kids are so excited to be headed back to school next week, masks and all. Last week we headed out with our class supply lists to get everything we needed (we even lucked into some sanitizing wipes we can donate to the teachers!). First day of school outfits are picked out and the youngest even wanted to pack her lunch.
Why personalize back to school supplies?
Because this year more than ever we have to worry about everyone knowing what is theirs I decided the best way to do that was to use my Cricut Joy to personalize back to school supplies. I don’t know how your school is handling extra Covid precautions but at our school everyone will have their own items to use hoping to help limit the spread of germs.
You can do a variation of all these projects with any Cricut machine but I love the simplicity the smart materials that work with the Cricut Joy provides. No mats needed at all.
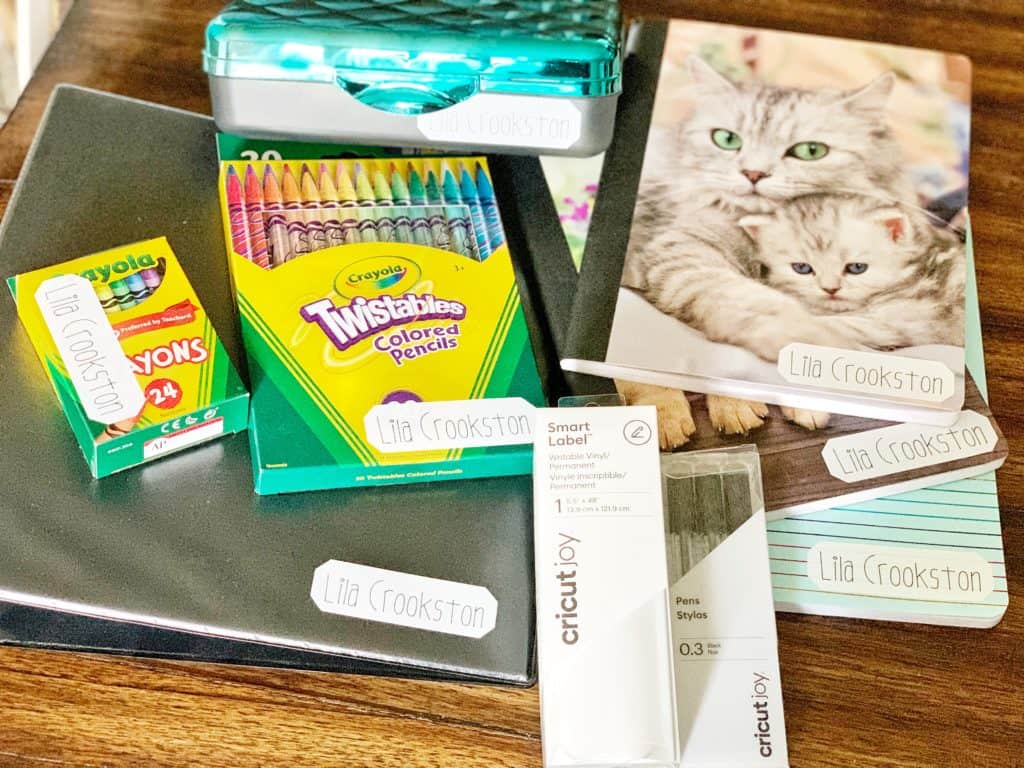
Our cute Lila has a long list of items needed for back to school. Crayons, colored pencils, 3 notebooks, a binder, a pencil box, and of course her lunch box. For everything except her lunch box I used the Smart Label vinyl.
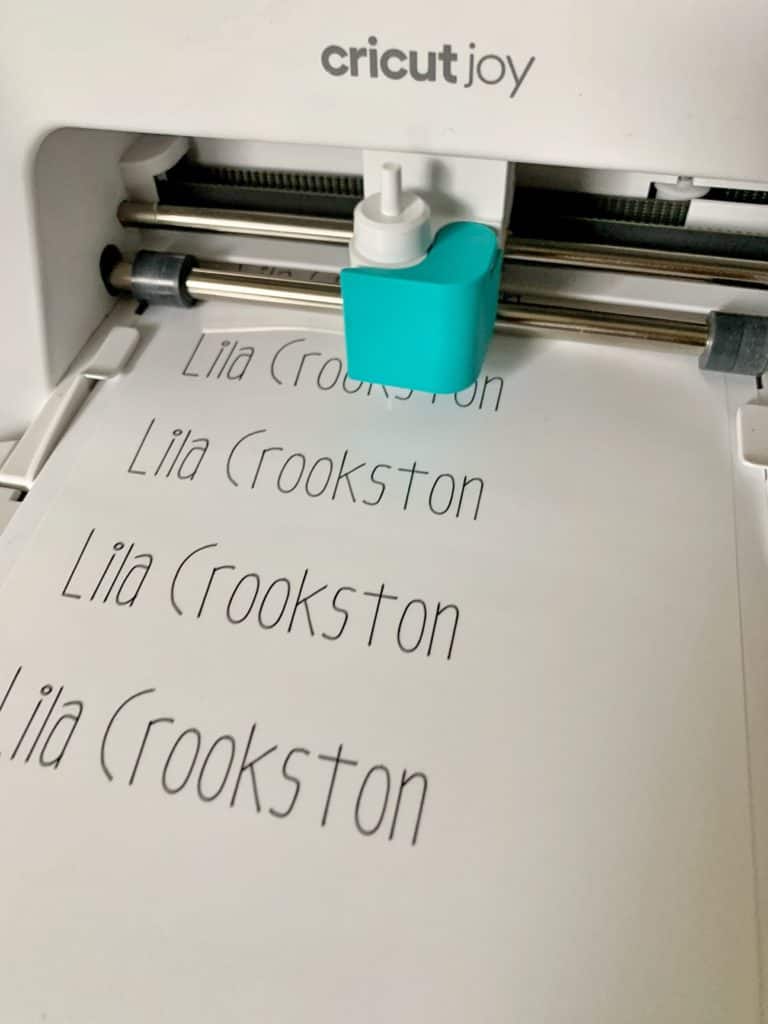
Using the writable Smart Label vinyl I found a simple label design in Design Space and the Joy not only cut out the labels it wrote her name too. One of the reasons I loved using the Smart Label vinyl to create her labels is that the ink does’t smudge at all. No trial and error with different markers to make sure they are going to last on the label.
To make your own labels like I made mine you’ll need the following supplies:
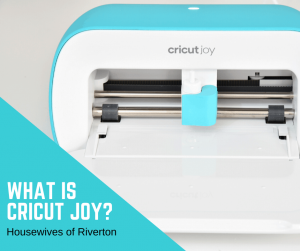
Cricut Joy
Smart Label Vinyl (white)
Black Cricut Joy Pen (0.3)
This cut file
To change the name, in the layers panel detach the label, change the name and then attach the name to the label so it writes it inside the label.

I love how easy the Cricut Smart Materials are to use. No mat required! Mats aren’t hard to use but for some reason not having to use one makes me so happy. Load your Smart Label writable vinyl and insert your pen into your carriage. The Joy will write all the names first then you will replace the pen with the blade and it will cut them out. I promise, the pen does not smear at all. It’s so awesome.
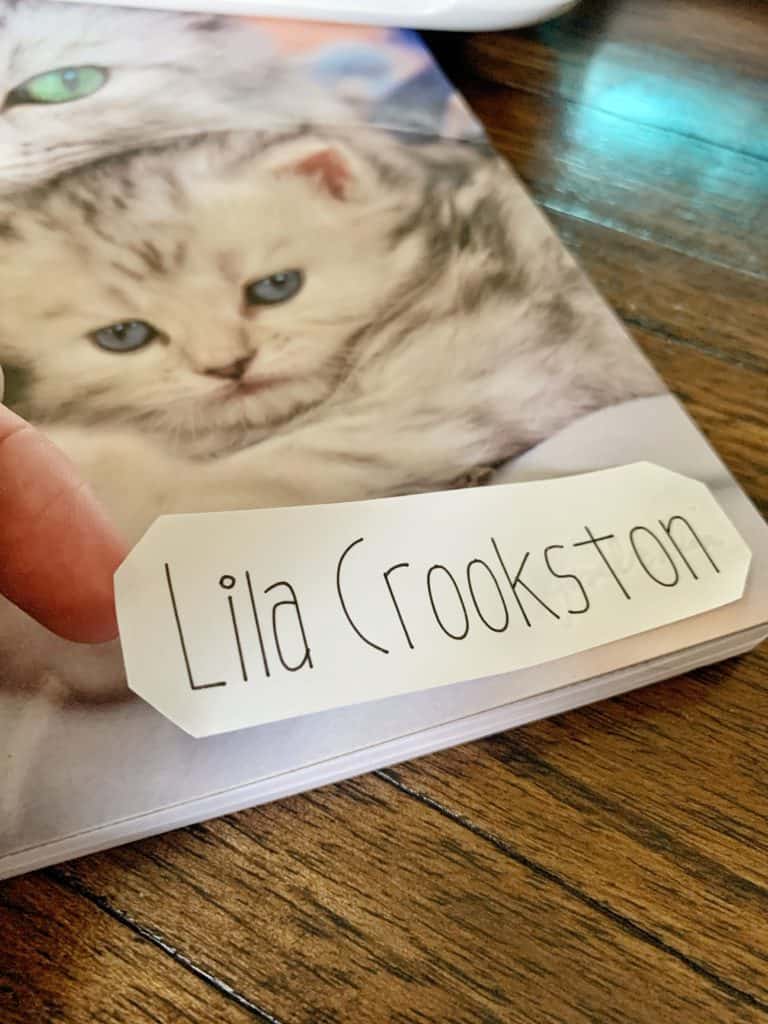
Once everything is written out and weeded you have two options. Use your label like a sticker – weed the excess (after trimming) and pull off each label with your finger and place it on your base (this was the option I used because my label was simple).

The second option is to use Standard Grip Transfer Tape and use that to place your label. I would recommend this if you’re using a design that is more intricate or very large.
I have way more than half my 48″ roll of Smart Label left after cutting out all these labels. Lila is so excited that she knows exactly what supplies are hers and so will everyone in her class. I also love how her name stands out on the white label, no searching to see where the child wrote it or worse having to handle the book to look inside to see who it belongs to.
Should you personalize your child’s lunch box?
Our next project was her lunch box. We found this cute lunch box at Target which means it’s possible there will be a few different people that have the same one. Using Smart Iron-on and my EasyPress Mini adding her name was so easy and since it’s right on the front there will be no confusion on which lunch box is hers.

To personalize a lunch box I recommend using the following materials:
Cricut Joy
Smart Iron-on (I used Holographic Cobalt)
EasyPress Mini (highly recommend this over other presses and I’ll get to that below)
EasyPress Mat
Lunch box of choice
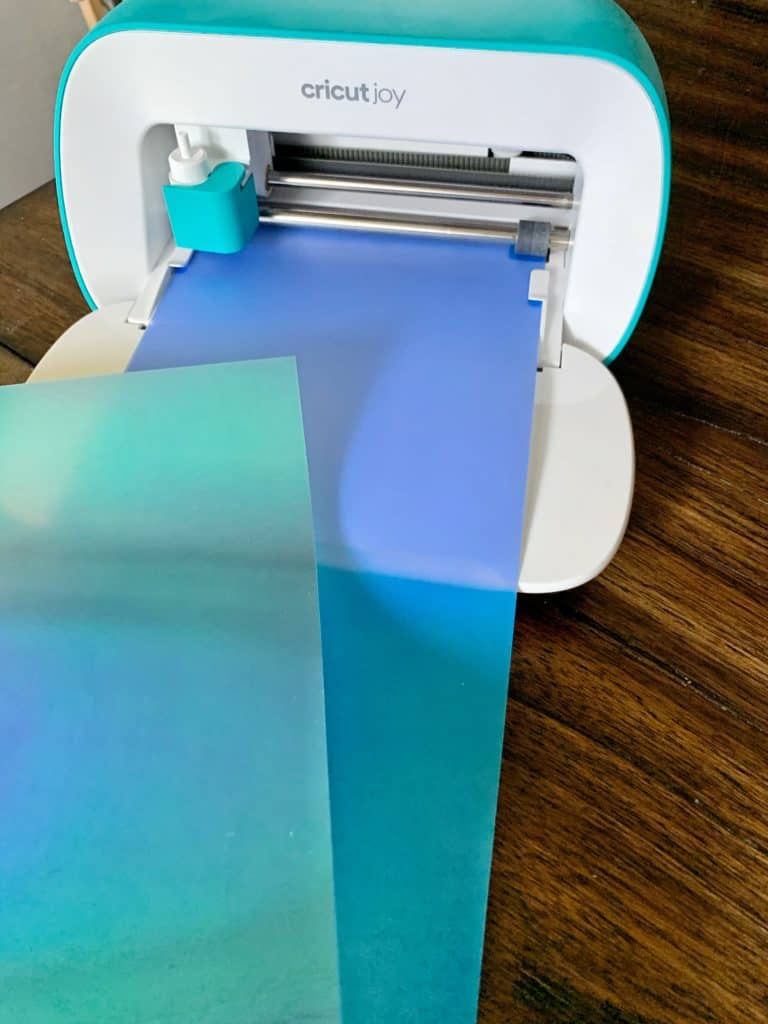
Using any font that you love in Design Space type out the name you want to cut out. Size it to the size you want to use and then send it to cut. Make sure you remember to mirror your image. When using Iron-on you always mirror before cutting, if you don’t your image will cut backward.
Load your Smart Iron-on into your Cricut Joy making sure the shiny side is down. In the photo above I show how you can see the difference between the shiny side and the back of the Iron-on.
Cut your image and then unload the mat. Trim off the image and then weed out all the excess material.
Every fabric lunch box I have ever purchased has an insulation layer on the inside to help keep cold items cold and hot items hot. The reason I recommend the EasyPress Mini for an Iron-on project on a lunch box is that the Mini doesn’t sit in one place for an extended period of time. You continue to move it around your design the whole time. That prevents damage to the insulation layer.
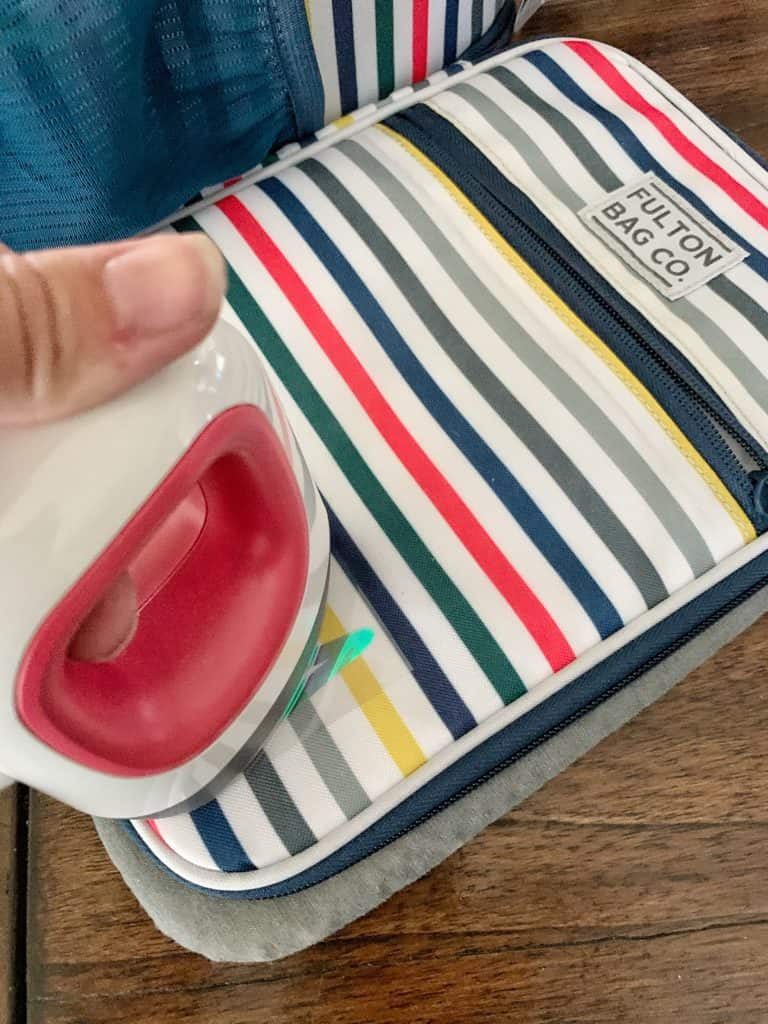
With your EasyPress Mat under the area you’re pressing preheat your fabric. After preheating place your design down on the lunch box and then with your EasyPress Mini heated to the middle level press all over your image area, keeping the Mini from sitting in one place for more than a few seconds. The material of our lunch box required about 45 seconds of pressing. I did NOT press from the other side because with the insulation layer the heat wouldn’t have really gotten to the back of the Iron-on and I didn’t want additional heat on the insulation.
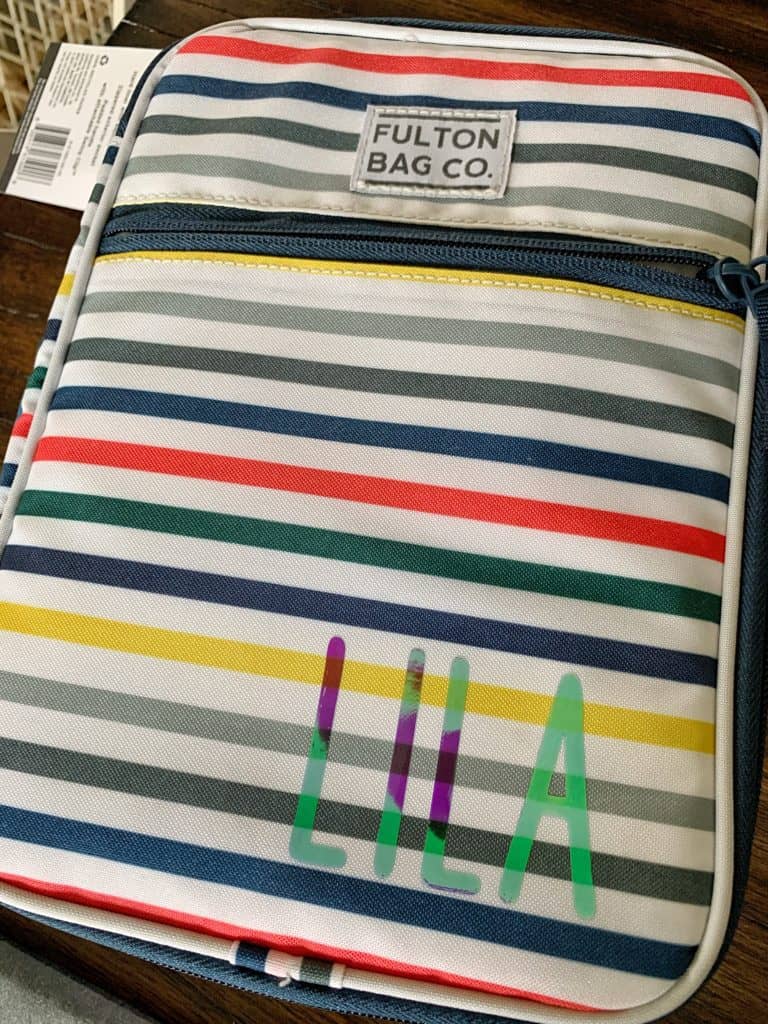
Let your Iron-on cool completely and then remove the backing and enjoy your personalized lunch box. I love how the holographic Iron-on picks up so many different colors. Lila thinks it is the coolest!
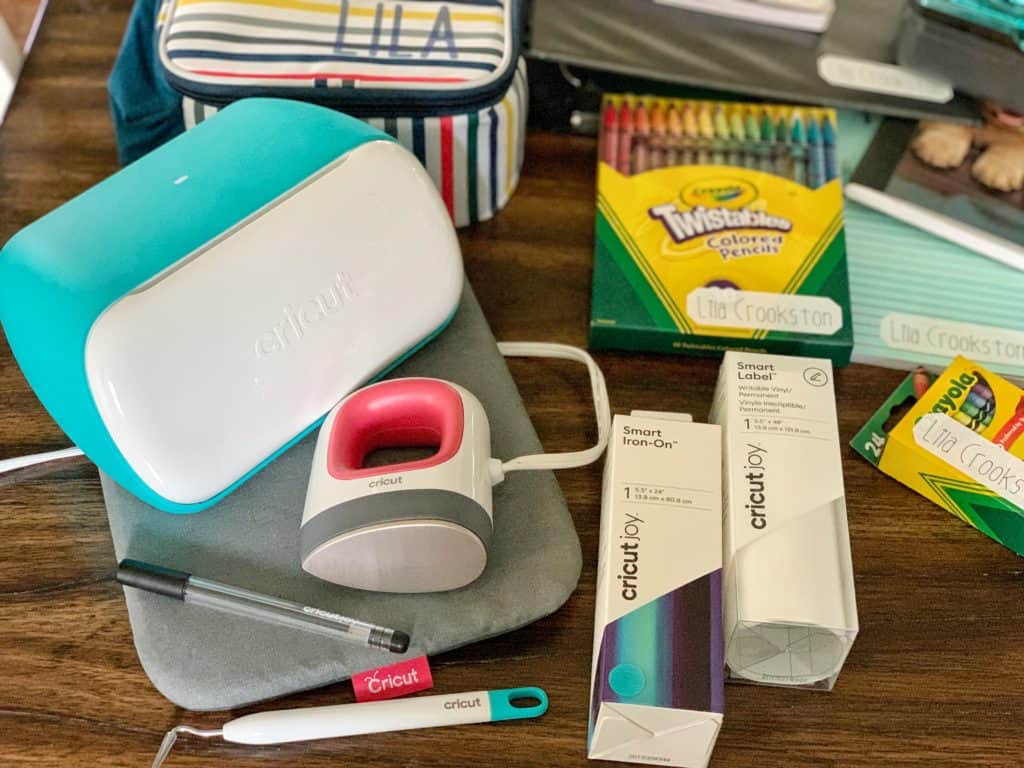
With my Cricut Joy, EasyPress Mini, and a collection of Cricut tools and supplies I had on hand I was able to personalize back to school supplies in no time at all. None of these projects required a large amount of material so if you want to use them up this is a perfect project for using up scraps.
We’d love to hear about your back to school projects and how you’re feeling about this whole 2020 back to school situation in the comments.
If you haven’t already set up a homework/home school station be sure to check out our Homework Box – it’s the perfect way to keep all your supplies in one place!

- Bringing Home Baby Chicks - March 11, 2025
- Is RootsTech for Moms? - February 23, 2024
- How to Get Oil Stains Out of Clothes - May 5, 2023

Do you love the Joy. I’m on the fence thinking I need this or do I just want it. I think it is small enough that I could sit and make cards while bingeing on Netflix. Or is it going to be another dust collector?
I do love it. I am not LOVING the smart vinyl but the smart labels and the smart iron-on are awesome. Personally I don’t know that I would purchase one if I already had another machine unless specifically you were looking to do a lot of small projects or wanted something small to keep out. I love that it doesn’t take up a lot of room so it’s always right there.