This post may contain affiliate links. If you purchase something through any link, we may receive a small commission at no extra charge to you. Supplies used may be given to us free of charge, all projects and opinions are my own.
Hello! I’m so glad you’re here today! I’m looking forward to an amazing Memorial Day weekend and hope you are too!
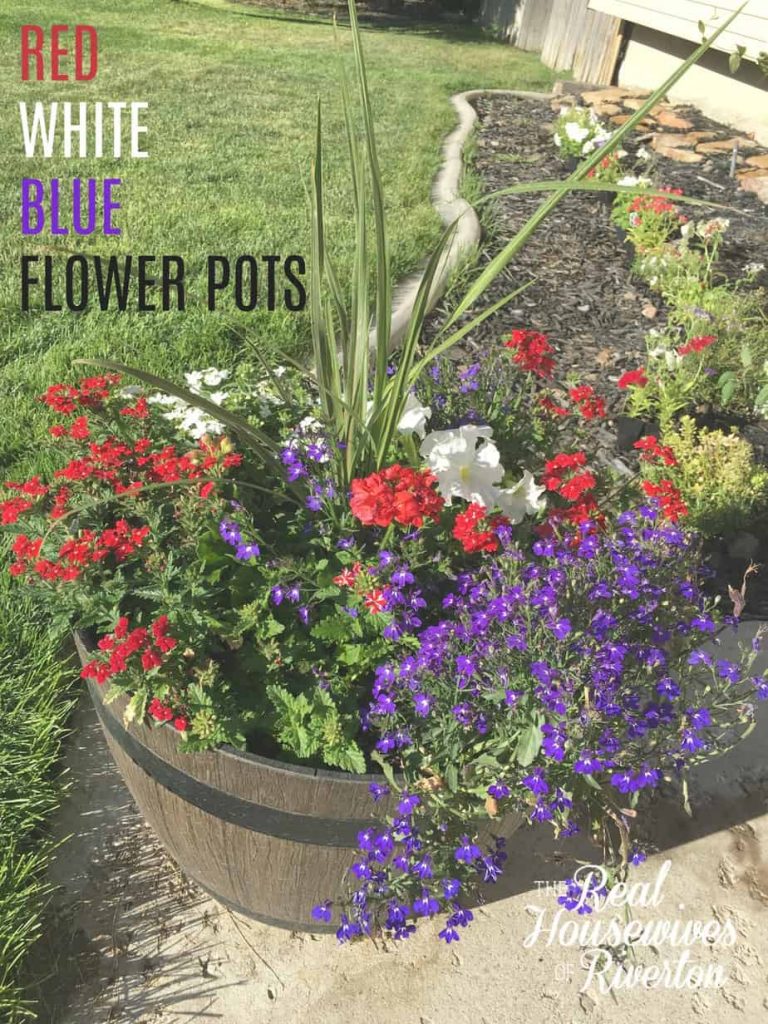
Today with the help of Nate and my sweet mother in law, I got all of my pots planted and even planted some flowers in the ground (there’s a long story for why this is a big deal but the basis is, my next door neighbor has about 2398308 cats and they love to pee and poo in my flower beds {insert angry face here}) along with new mulch everywhere…our yards already look 100x better and we’re not even done yet.
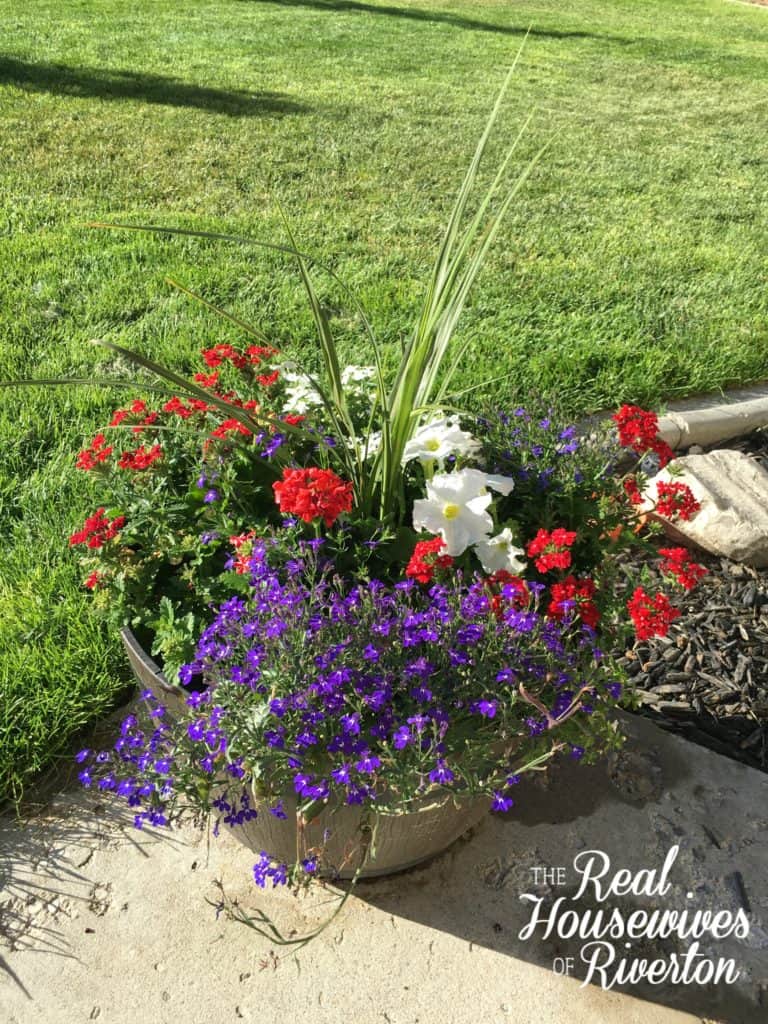
Because I am so nice I am going to share some of the tips the Western Gardens staff shared with me that made my first red, white, and blue flower pots look as good, if not better than a professionally created one.
First things first. When it comes to creating eye catching red, white, and blue flower pots you need to follow this basic (and life changing for me) step. Thriller, filler, and spiller. Every pot should have all 3. A thriller is something tall that really catches the eye. A filler is most flowers, they look pretty and take up space in the pot. A spiller does just that, spills over the sides for added dimension and beauty.
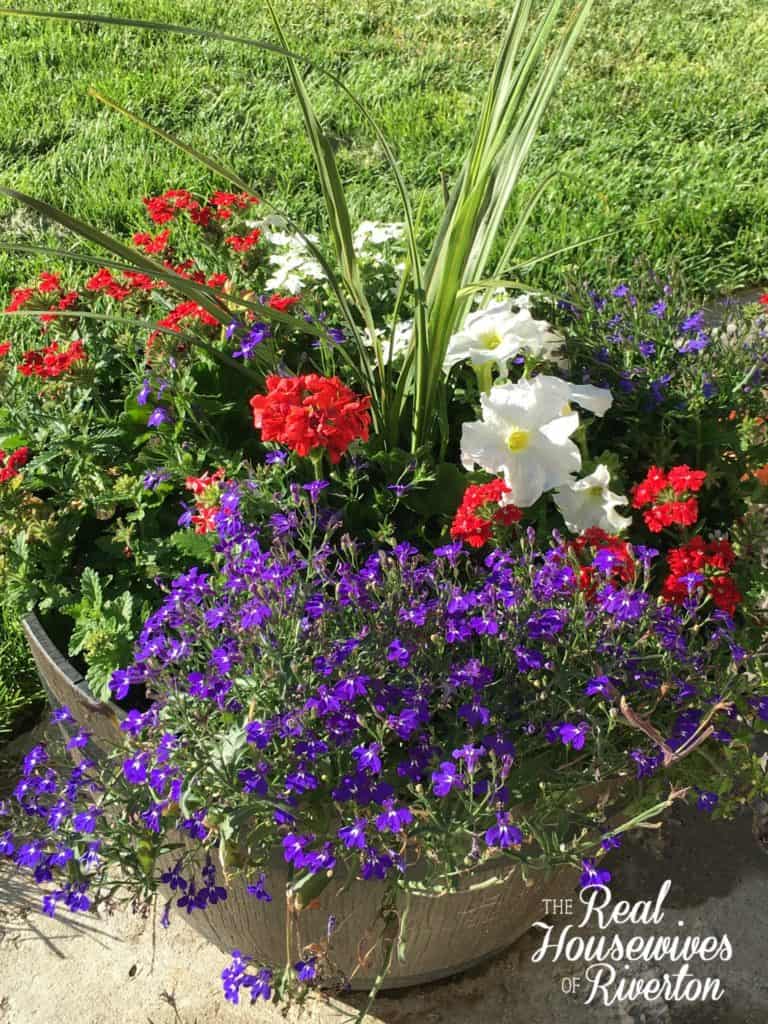
Cordyline Indivisa Spikes – thriller
Red Zonal Geranium – thriller
White Petuna – filler
Verbena Voodoo Red Star – filler
Verbena Obsession Red – filler
Bacopa Snowtopia White – spiller
Lobelia Dark Blue – spiller
This combination created such amazing red, white, and blue flower pots. I got so many compliments on them and I’m not lying when I said I’ve been looking forward to recreating them for a year now. Today was a bit dreamy creating not one, not two, but SIX red, white, and blue flower pots to put in both my front yard and on my back patio, tomorrow I’m headed out to get small American flags to put in each pot just because I think it will add the finishing touch.
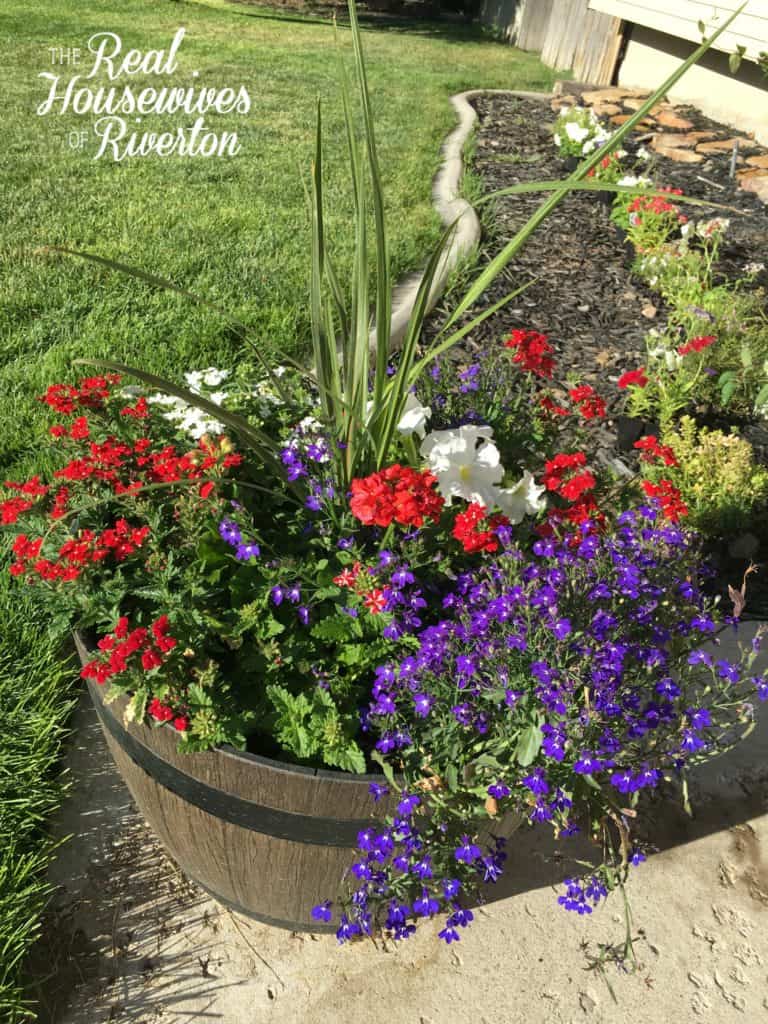
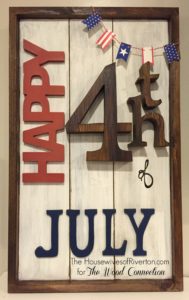
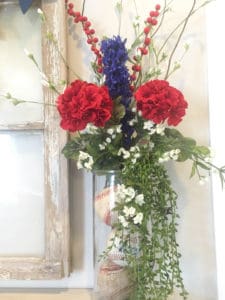
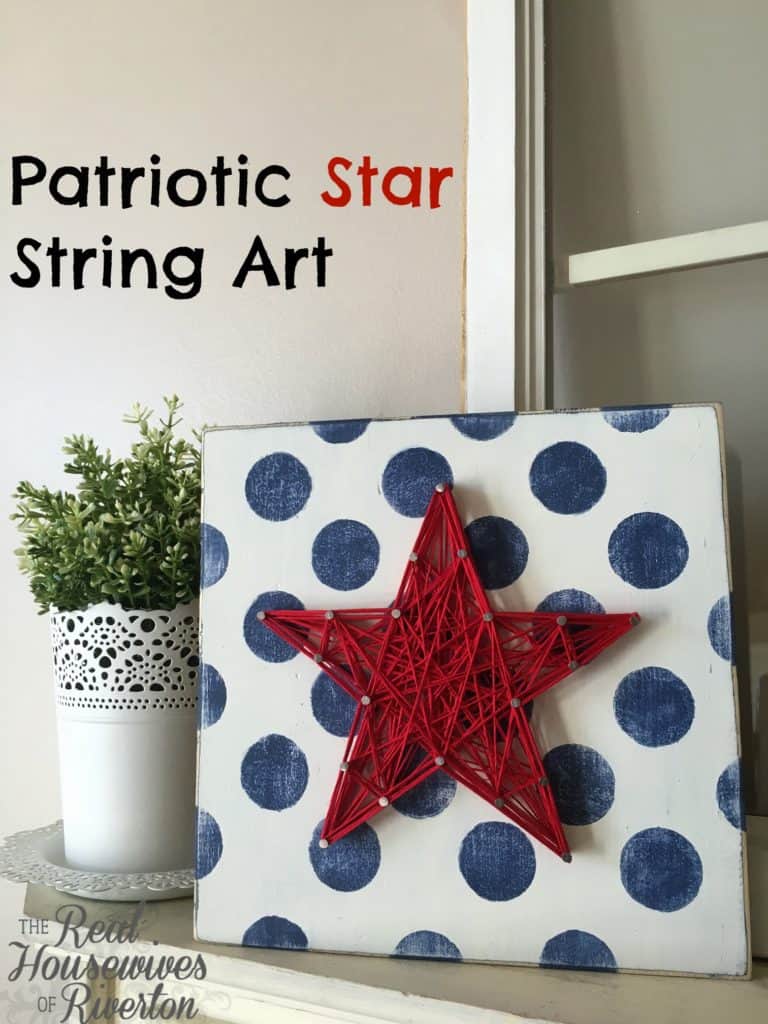
If you’re looking for a way to really dress up the front of your house you need to create your own red, white, and blue flower pots. You may also need a few more items to really round out your red, white, and blue decor so check out these other projects for a perfectly patriotic summer!
- Is RootsTech for Moms? - February 23, 2024
- How to Get Oil Stains Out of Clothes - May 5, 2023
- How to Clean Towels that Smell Like Mildew - January 20, 2023


