This post may contain affiliate links. If you purchase something through any link, we may receive a small commission at no extra charge to you. Supplies used may be given to us free of charge, all projects and opinions are my own.
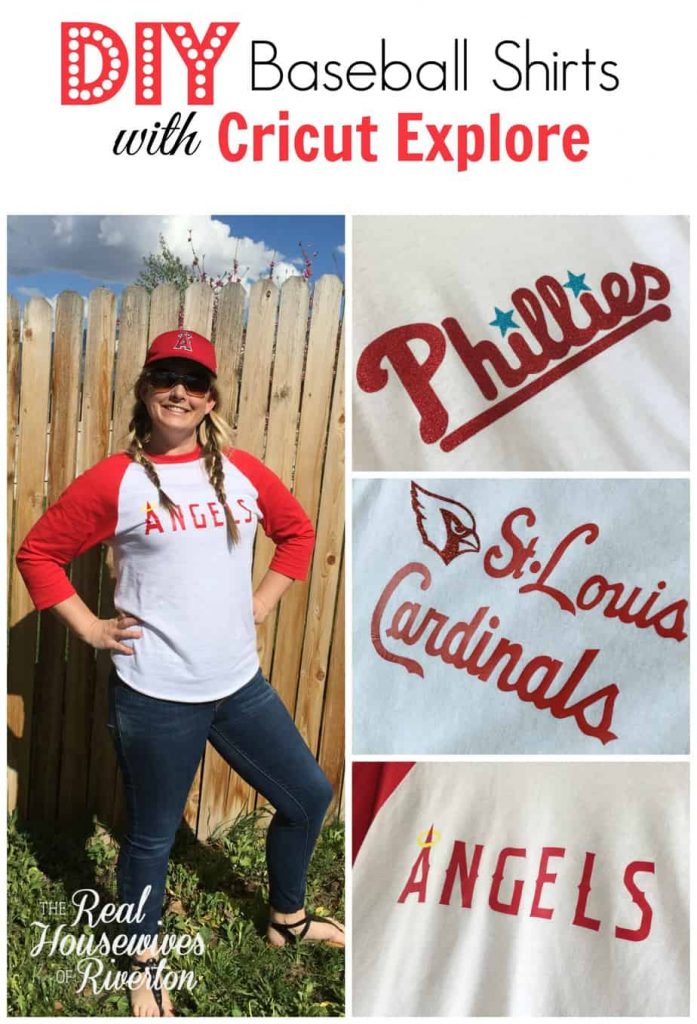 Make your own DIY Baseball Shirts with Cricut Explore.
Does it seem like we’ve gone a little crazy making our own shirts? It might be because we have but with really good reason…why not when Cricut Explore makes it sooooo easy!
I am not always “that mom“, (you know, the one who maybe goes above and beyond when it comes to supporting her child’s team…) but sometimes I am and it’s fun. I will probably always be “that mom” if it means I get to wear my absolute favorite style of shirt. I don’t know what it is about a baseball style shirt but they suck me right in. They’re amazingly comfortable and I think pretty flattering on pretty much anyone.
 This spring season Paula and I along with our families are spending a lot of time at the ballpark. I’ve got two boys playing baseball and she’s got one and between practices and games I think we’re at the ballpark a good 5 days/nights a week, luckily I love love love watching baseball so I can’t even pretend to mind.
As soon as the boys knew their teams I knew I wanted a shirt for each team to wear to their games. I did a little looking around online and decided I didn’t want to fork over the money for an official team shirt since the chances of them being on the same team again isn’t all that great and none of their teams are my team (GO ROYALS!) in the professional baseball world.
 I decided that it was silly to spend the money when I had everything but the t-shirt on hand to make my own. I knew with a little searching online I would be able to find the images I needed and thankfully I was right. Now, if you’re well educated in the world of creating images you could probably do this yourself I am not…and I was looking for instant gratification which took me to etsy searching out .svg files for our baseball teams. I found what I needed in no time at all and the price just couldn’t be argued with (especially when I start to consider end of year team gifts and how these files will surely come in handy). I bought the files and headed into Cricut Design Space.
One of the things that sold me so quickly on the Cricut Explore was the ease of importing images from outside the Cricut Library. I don’t have to do it often because they have so many files but there does come a time (like when dealing with Major League Baseball files) when I need something they don’t have. They’ve made it so simple to import a variety of different files including .svg files.
I’ll walk you through how I did our DIY baseball shirts below:
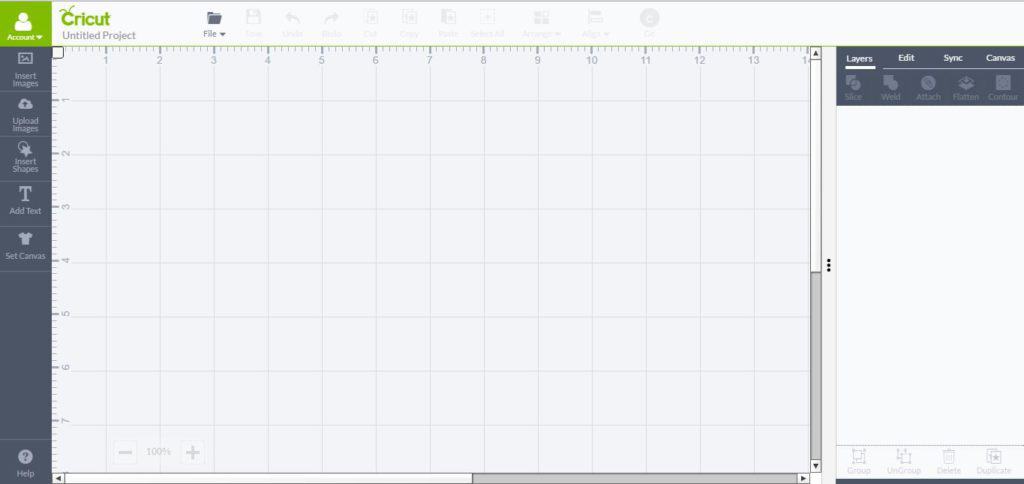 Step 1. Here in Cricut Design Space the first thing you’re going to do is on the left side click “upload images”.
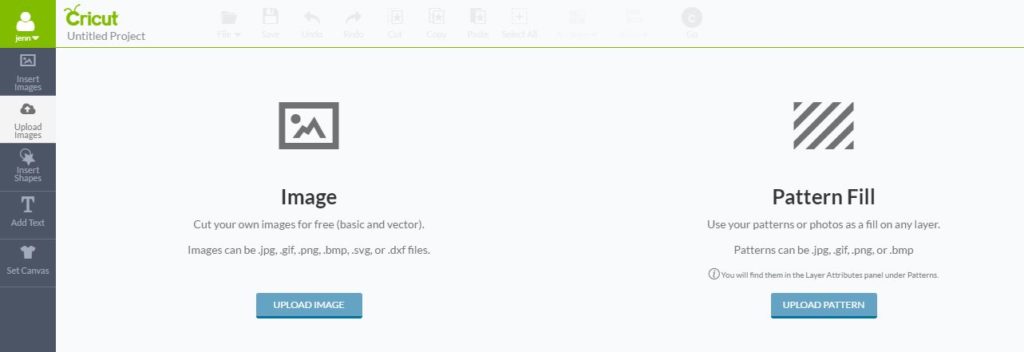 Step 2. After you click “upload images” you’ll get this screen. From here you want to click the blue “upload image” box.
 Step 3. Then click on the blue browse and select your image from your computer.
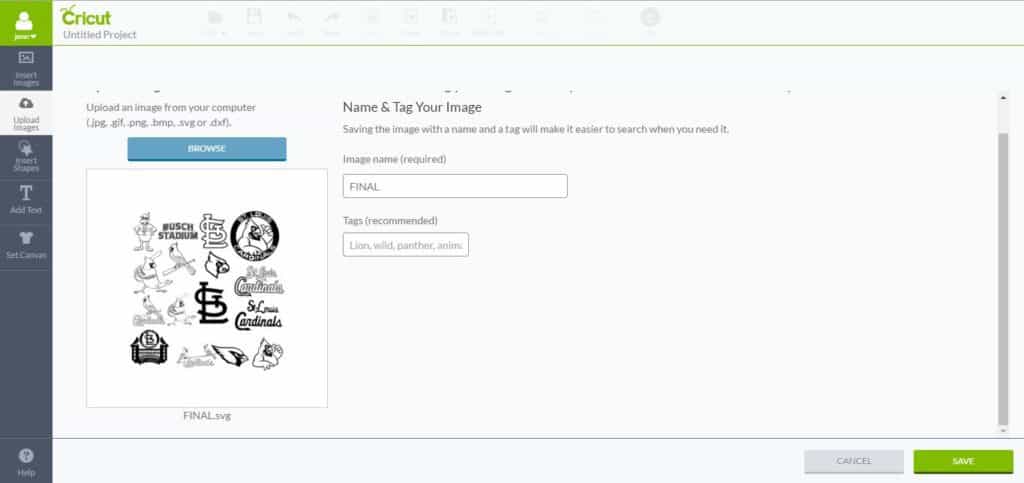 Step 4. When you see your image in the box you can then name it and click the green save.
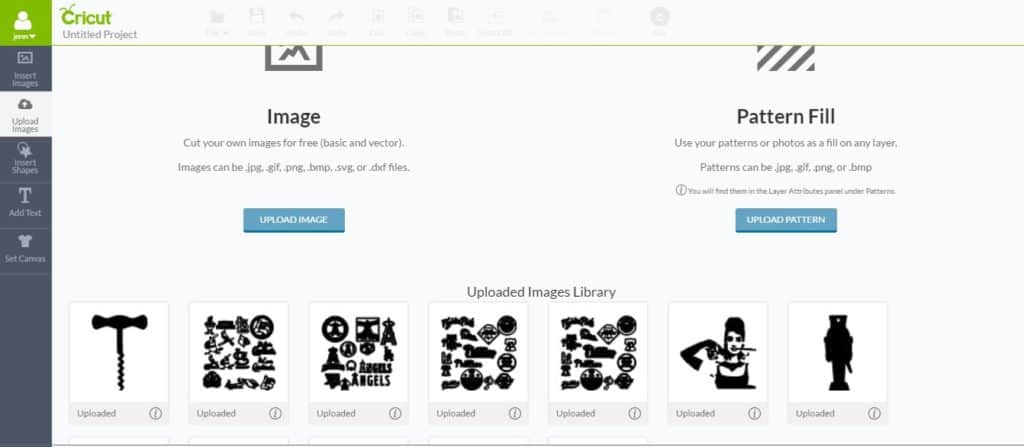 Step 5. After clicking save you will once again click “upload images” on the left side and from there you’ll see your saved uploaded images along the bottom of the screen.
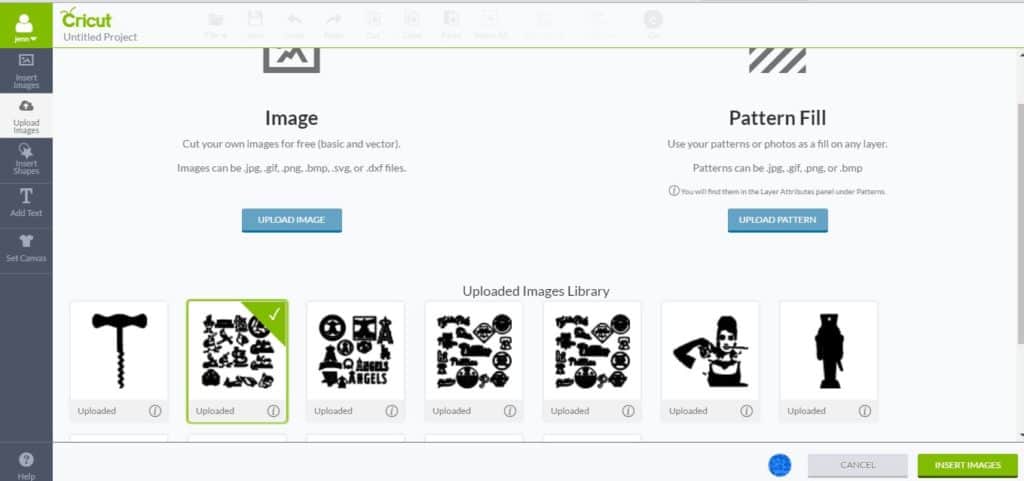 Step 6. Click on the image you want and then select the green “insert images”
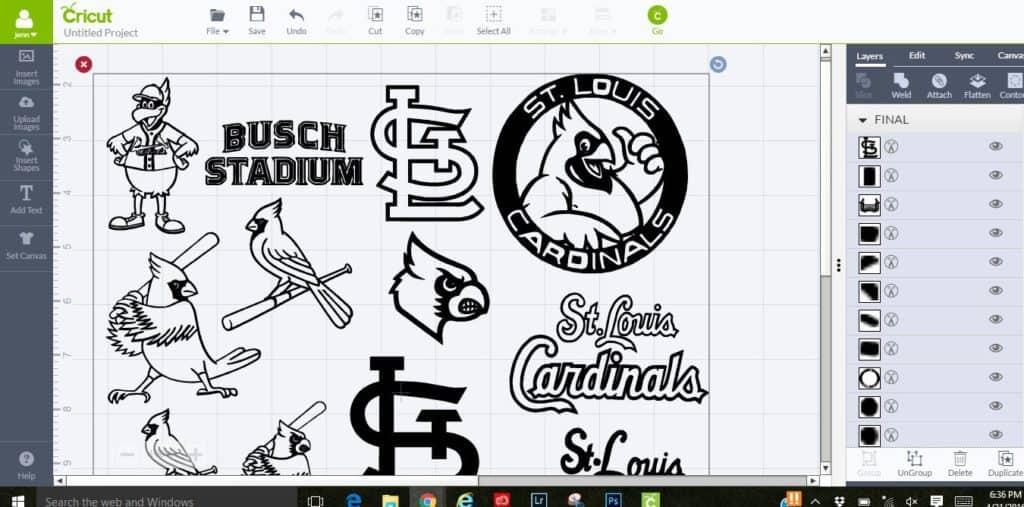 Step 7. From here things might change depending on how your file was created/saved. For me it looked like this, all images in one file.
 Step 8. To get everything set up so that just the images I wanted were cut was really easy just took a little time. To keep all of the images together I just hid the images I didn’t want cut (if you can’t see it the Cricut won’t cut it). To do that you just click the eye image to the right so that it has a line through it and then it will disappear from the cut mat.
To make your DIY baseball shirts you’re going to need the following supplies:
Baseball shirt (prewashed)
Cricut Explore
Cricut Mat
Iron-on Vinyl to match team colors
Iron/ironing board
Camera to take pictures because a. we want to see them and b. you’re going to love your DIY baseball shirt so much you’re going to want to take lots of pictures and c. because your child is going to be so excited you match their team they will want pictures too.
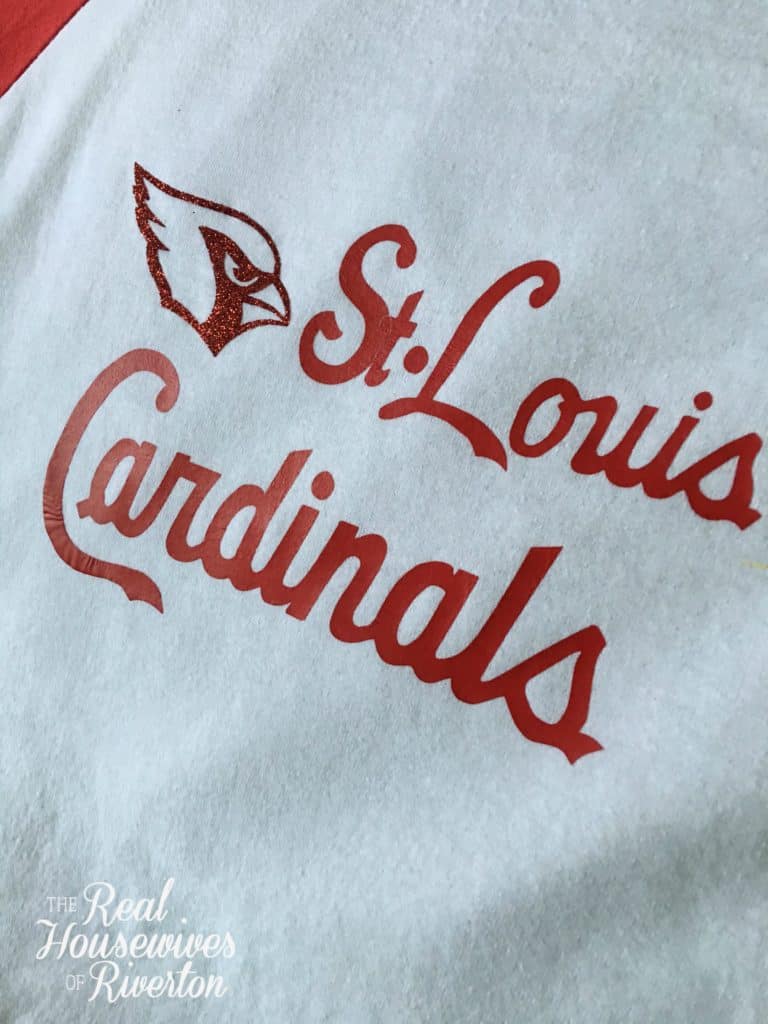 Once I had all unneeded images hidden I was able to adjust size and cut out what I needed just as I would for any other project.
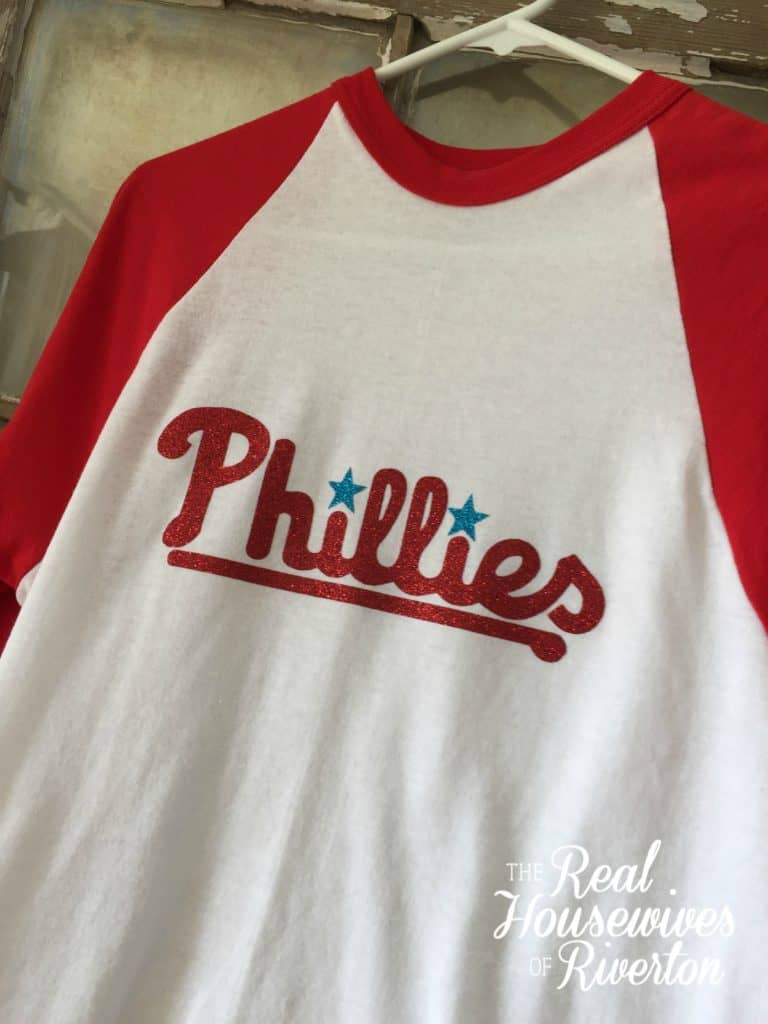
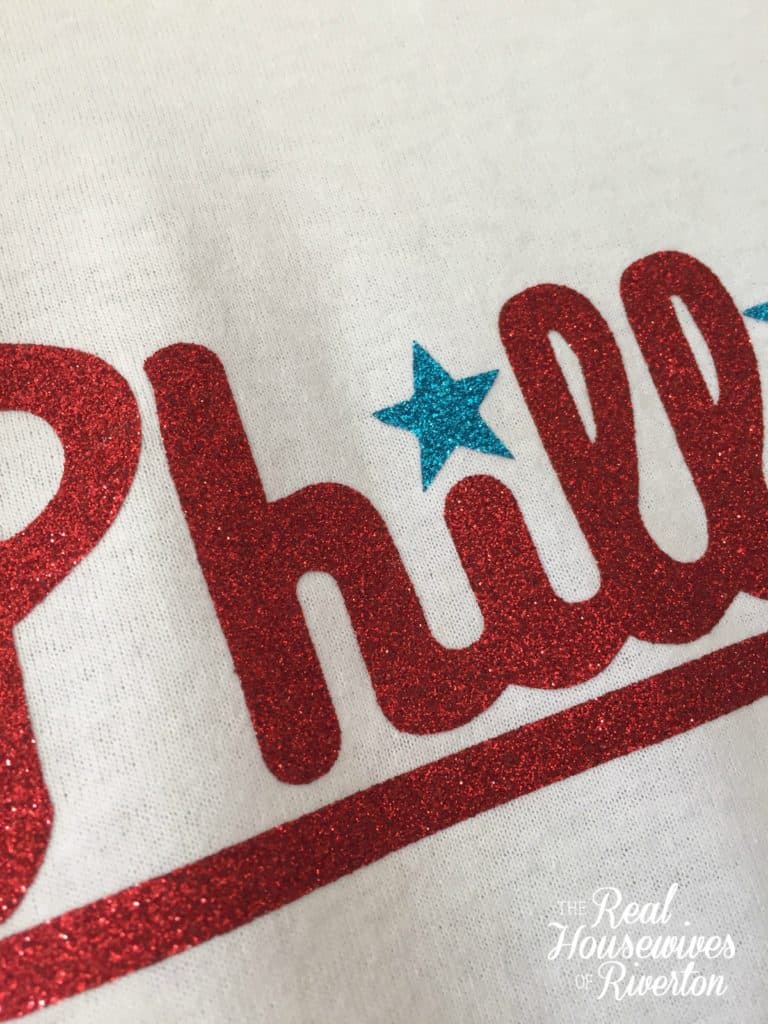
For the Phillies shirt I changed the stars in Design Space to blue and the word Phillies with the line under it to red so it would be prompted to cut them out two different colors and not all at once on one mat.
 We did the same thing for the Cardinals layout, we made the bird head a different color so it could be cut out in the red glitter iron-on vinyl.
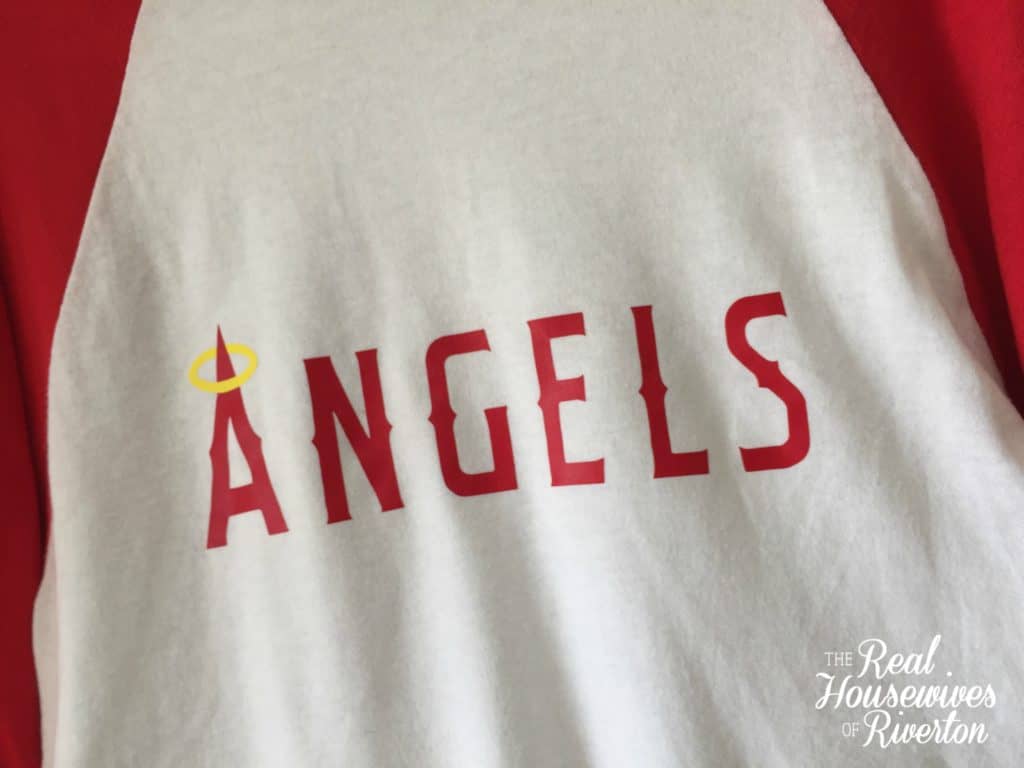
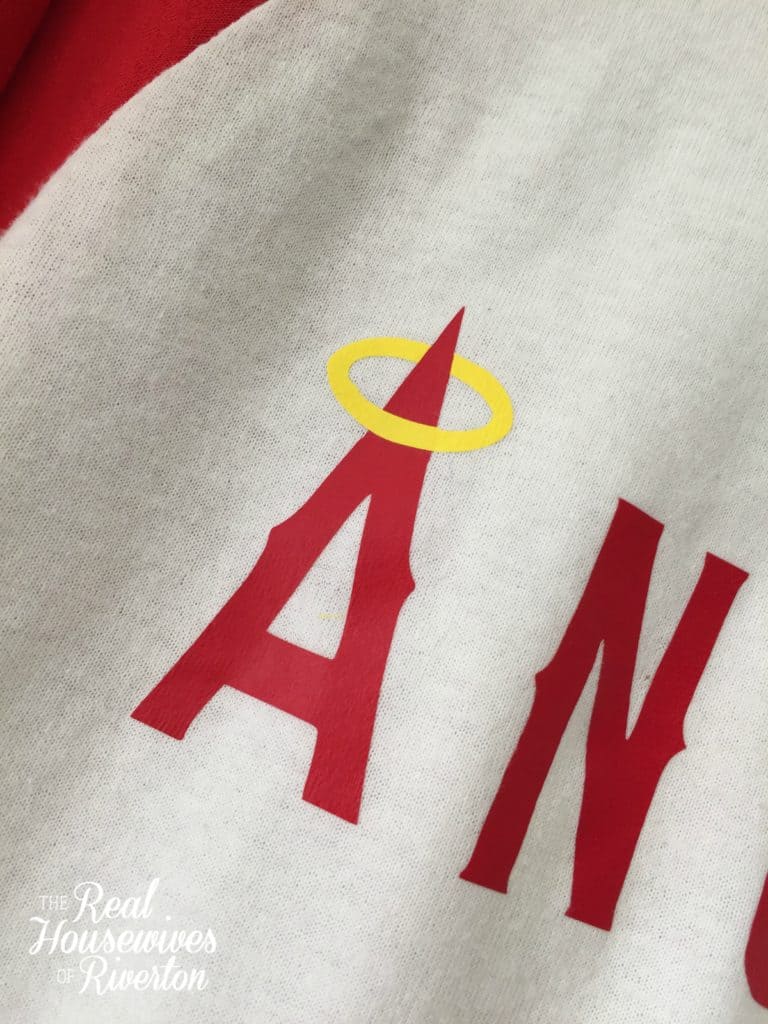
For the Angel’s shirt I had to get a little bit creative. I wanted the halo around the A to be yellow but it was one file so I couldn’t change just the A. To get around that I cut Angel’s out in red and then hid all the letters except the A and cut it out again in yellow. Once I had them both cut out using an exacto knife I cut everything off the yellow A except the halo and then laid them out to be ironed on together.
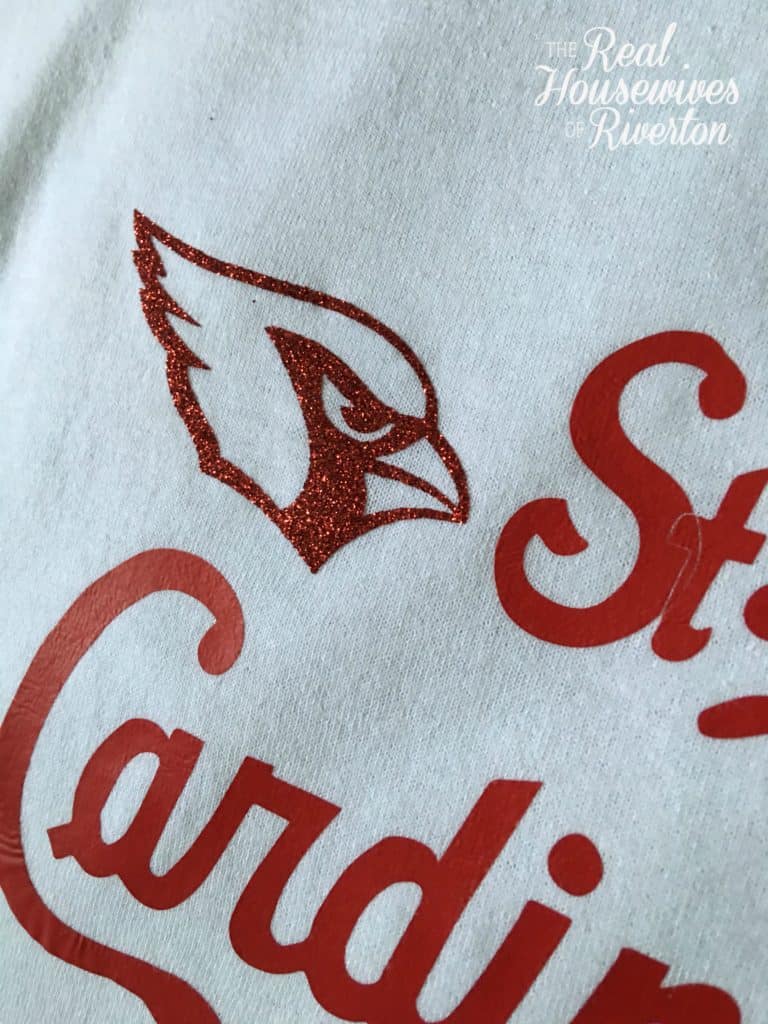
 There was one thing we noticed about the Cardinals letters but not until we had them cut out and ironed on, they were not welded together so there is cut lines between the letters. The quick and easy way to avoid this is to select your image and then click “weld” and that will make it all one continuous cut and you won’t have any lines like we do (you can see an example of what I’m talking about in the photo below on the St.).
 I LOVE the way these DIY baseball shirts came together and we have had so many compliments on them along with requests to make them for other moms. You can’t beat the price or the fact that as of right now they’re one of a kind!! (we’ll see how serious the other parents are about getting one of their own).
These came together a lot easier than I anticipated when I first saw the .svg files. I have washed my shirts a few times already and they’re holding up great. I think one of the best things you can do when working with iron-on vinyl is to make sure whatever you’re putting the vinyl on has been washed at least once, I feel like the vinyl sticks on really well and I haven’t had any lifting at all (if you do experience lifting hit your vinyl again with a hot iron from the back side and it’ll stick right back in place).
Good luck making shirts for all your favorite teams, makes cheering loud that much more fun!

PS I’ve got some awesome news for you. If you use our code Creative10 you can take an extra 10% off your order of $50 or more!
(This post contains affiliate links which means if you shop through our links we make a small commission, you will not pay any higher prices by shopping through our links. Thank you for supporting our site.)
- Bringing Home Baby Chicks - March 11, 2025
- Is RootsTech for Moms? - February 23, 2024
- How to Get Oil Stains Out of Clothes - May 5, 2023

