This post may contain affiliate links. If you purchase something through any link, we may receive a small commission at no extra charge to you. Supplies used may be given to us free of charge, all projects and opinions are my own.
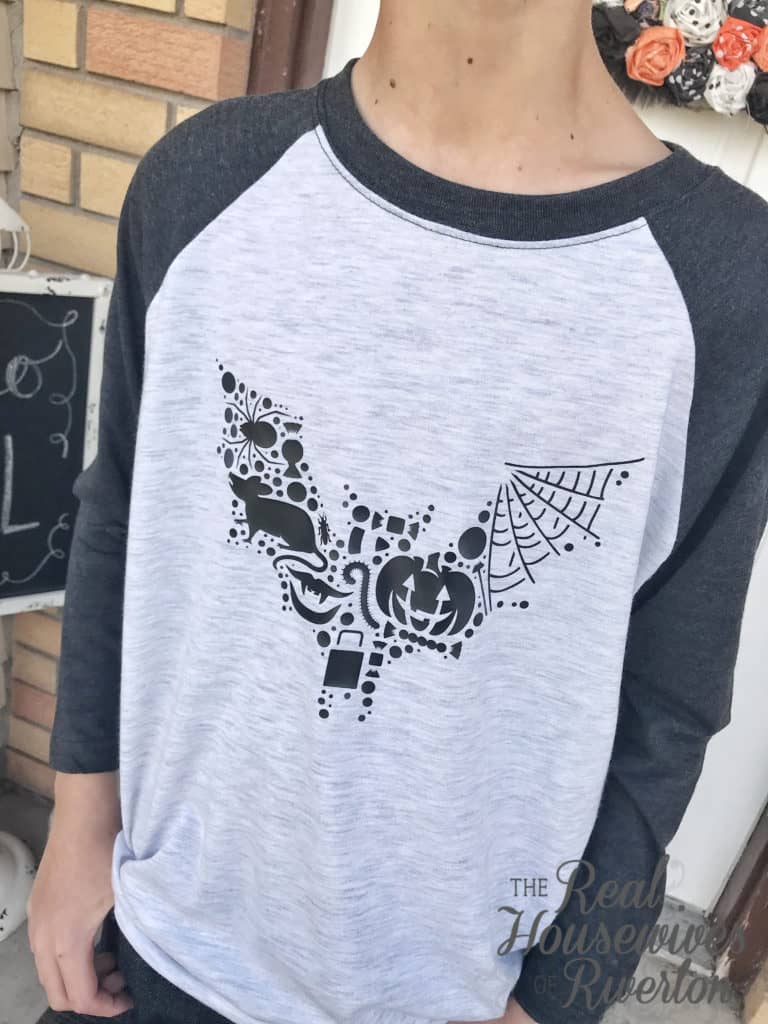
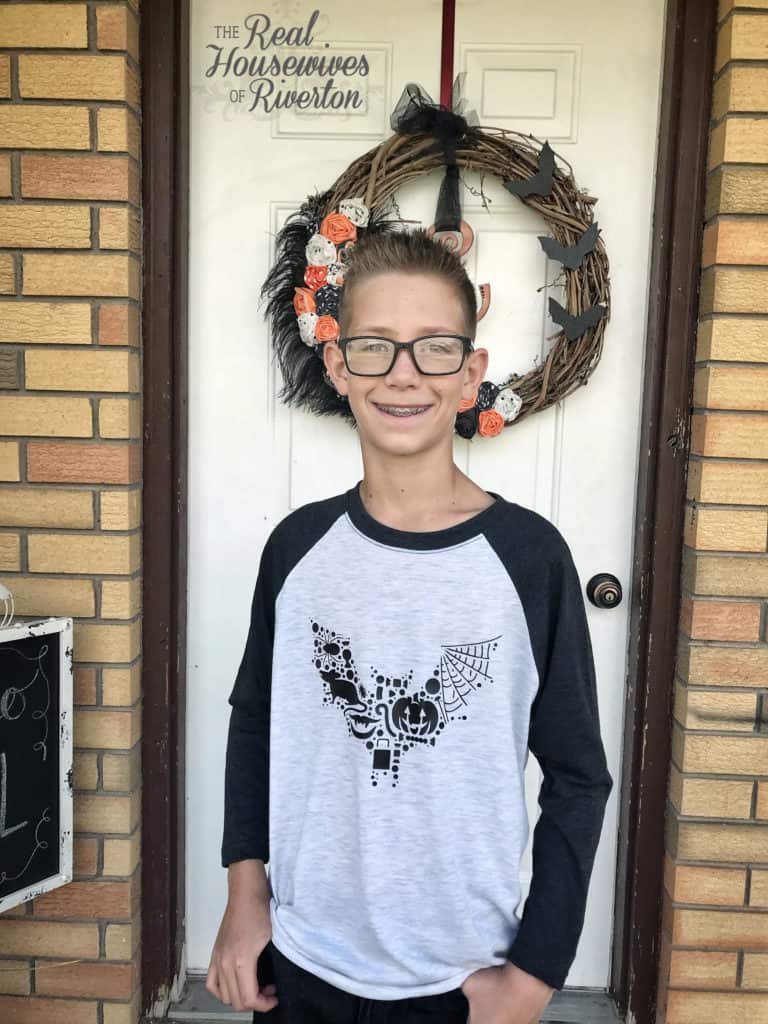
With Halloween coming up fast it’s time to start wearing all our fun Halloween clothes. Brighton has outgrown all his favorite shirts so I made him this Bat Halloween Shirt with my Cricut Maker and it’s perfect for both an 11-year-old boy and a Halloween clothes loving mom!
 This post contains affiliate links.
Before I dive into how I made this Bat Halloween shirt I need to tell you about two new products from Cricut that I used to make it. I recently got my hands on the new Cricut Maker and EasyPress and I am in love with these products. The Maker can do everything the Explore Air 2 can do along with cutting more delicate materials like tulle and crepe paper and denser materials like chipboard and leather. The EasyPress is so much better than using my iron to put Iron-on on shirts, bags, wood, ANYTHING that can take heat!
How to make your own Bat Halloween Shirt
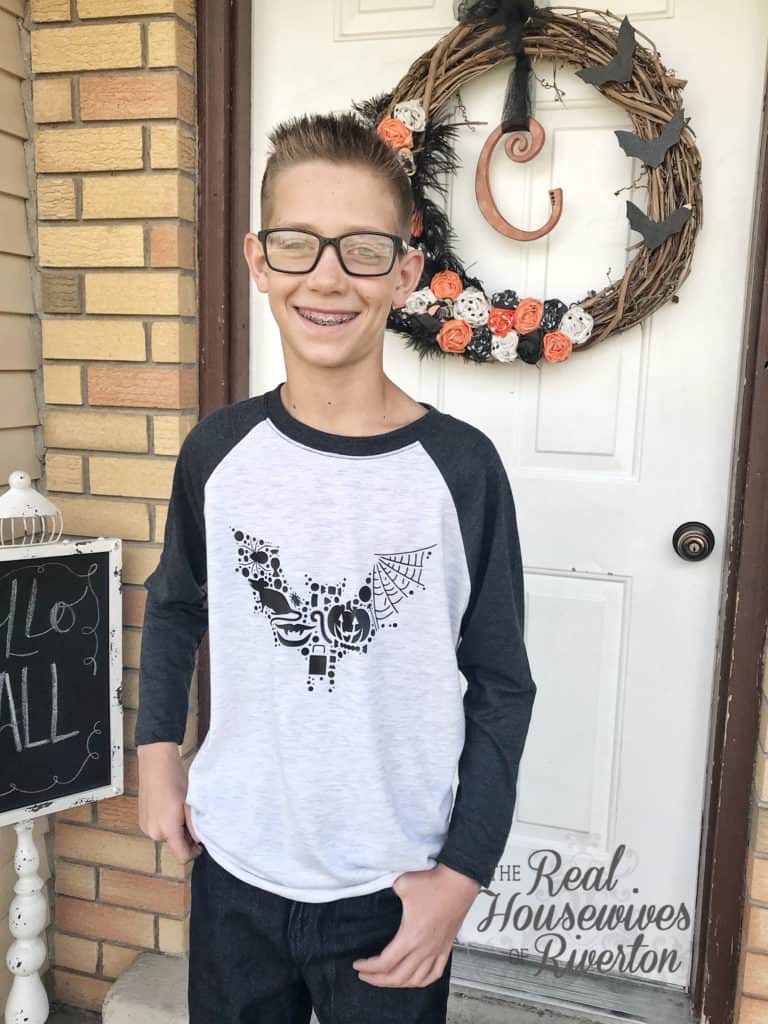 Bright is 11 and in the 6th grade which means he has moved from *playing with* friends to *hanging out* with friends, from being totally fine wearing all the cute outfits mom picks out to having a bit more of an opinion about what he wants to wear. Because I am the mom that needs the matchy-matchy we walk this line very carefully. I know I can get him to wear pretty much whatever I want as long as I present it in a way that makes it also something he wants…if I want him to wear a Bat Halloween shirt when his younger siblings are dressed in their Halloween attire I’d better be careful with what I present to him, it had better not be cutesy, it needs to be cool! Earlier this week I found the perfect shirt at Hobby Lobby and then thanks to Design Space I found a cool image to put on the shirt.
Are you ready to create your own Bat Halloween shirt? Let’s start with the supply list:
Shirt
Cricut Iron-On I used Black
Cricut Machine (I used the Maker, you could also create this with an Explore family machine)
Cut File in Cricut Design Space
Cricut Weeding Tool
Cricut BrightPad
Cricut EasyPress
EasyPress Mat
Hard Surface
DIY Bat Halloween Shirt Instructions:
Step 1: find your image.
This image is found in Cricut Design Space, it is a Make it Now project which means you pretty much have to do nothing to create the project.
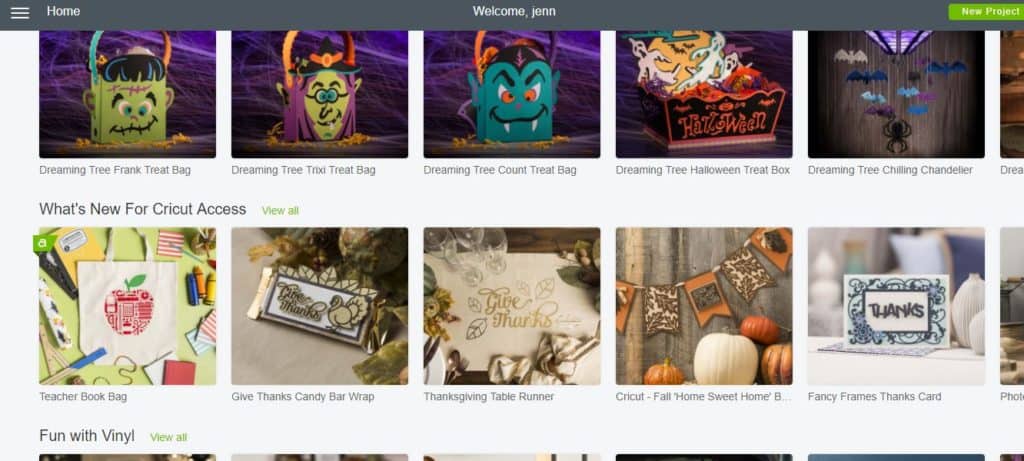 To find the file when you’re in Design Space scroll down on that home screen and under “What’s New for Cricut Access” click view all. This file is free if you’re a Cricut Access member, if you aren’t you can purchase the file individually.
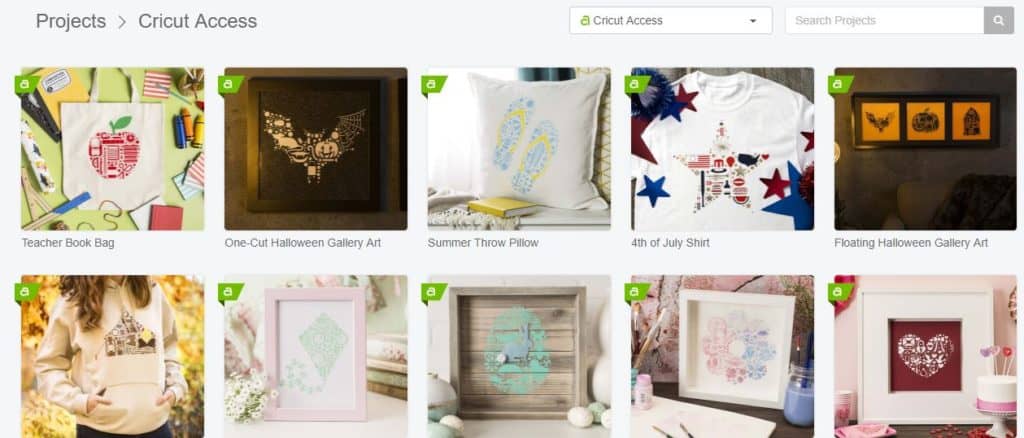 Once you click view all you’re looking for the file titled One-Cut Halloween Gallery Art. For me it was the 2nd image, in the future you may need to use the search tool and look for it that way (it is linked directly above also).
 Once you click on the file you’ll want to select customize at the bottom. We’re not just selecting make it because this project actually includes 3 different cut files, the bat, a pumpkin, and a tombstone. Also, you may need to resize the image depending on the size of the shirt you’re putting it on.
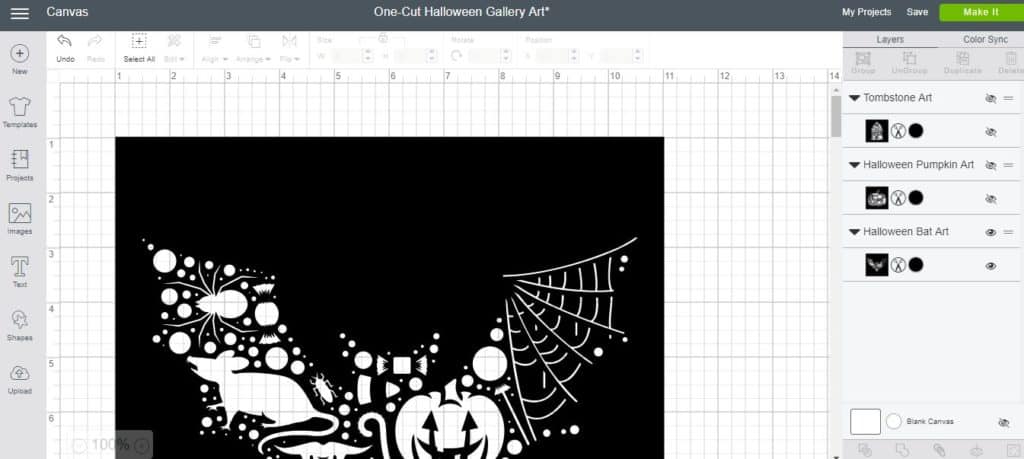 To make sure you’re only cutting the image you want on the right side layers bar you can click the eyeball and hide both the pumpkin and tombstone. For this shirt, I resized the image to be 9″ wide then clicked make it.
The next screen will vary depending on if you’re using the Maker machine or an Explore machine. The new Maker doesn’t have the smart dial that the Explore family of machines has. Instead, if you’re using the Maker you will choose your material from the Design Space program itself. Regardless of which machine you’re using you want to make sure you have 1. mirrored your image and 2. that you have selected iron-on as the material you’re cutting.
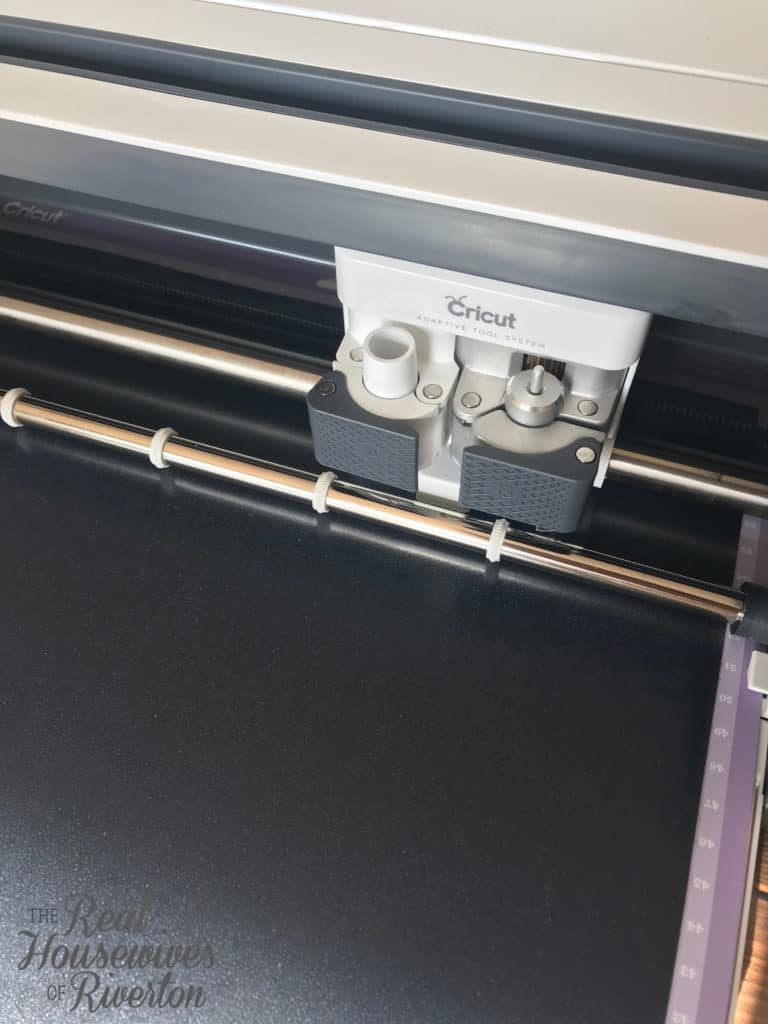 Once you have selected your material, Design Space will then prompt you to load your mat (remember to place your iron-on shiny side down). Once the mat is loaded you will push the “C” button and let the machine do all the hard work. Unlike the Explore machines, the Maker has a new adaptive tool system. This still allows us the use of the fine point blade and deep cut blade like we use in the Explore machines but it also allows us to use the new rotary blade and the knife blade. That’s why the housing for the blades looks a little different than it does in the Explore machines. For this project, since I’m cutting iron-on, I used the fine point blade.
Once the machine is finished cutting it will prompt you to unload the mat. After you have unloaded the mat peel off your iron-on and trim off the excess (I like to keep the whole piece of iron-on (or vinyl) on the mat while it’s cutting to save as much as I can when it comes to trimming after the cut is made).
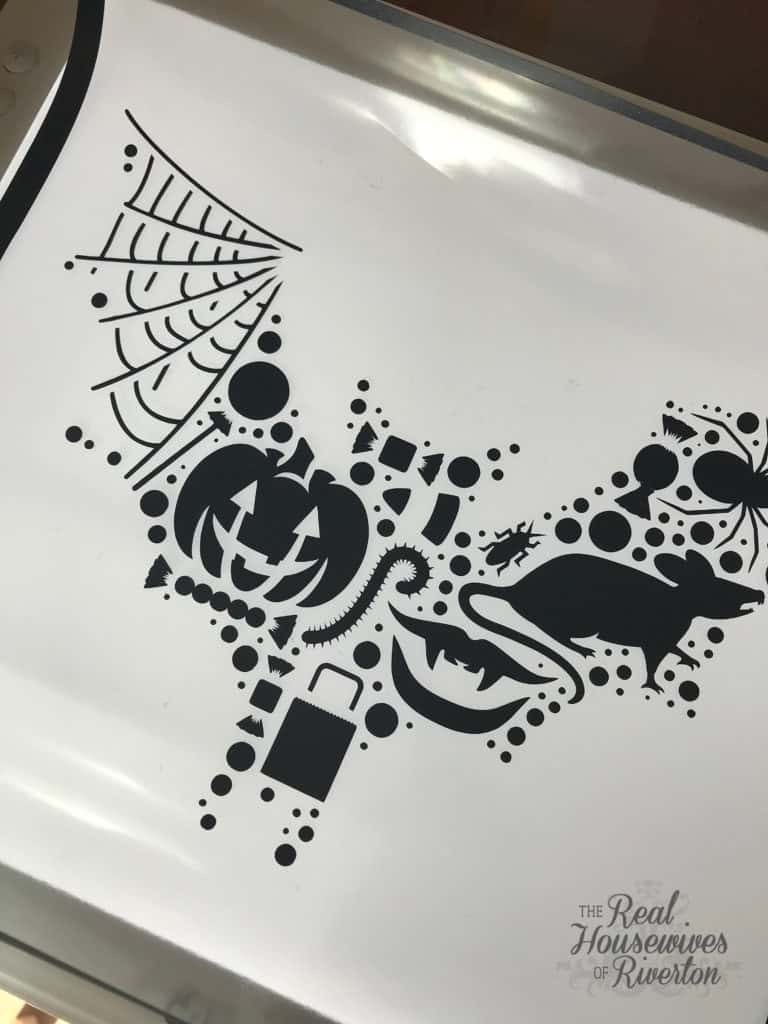 I thought I had a photo of the iron-on before I weeded it but it’s been lost in the abyss of my phone apparently. So you just get to see it all weeded. I used the BrightPad and weeding tool to do the weeding and it was awesome. I love that it helps show all the cut lines so you can really see if you’ve missed weeding a piece.
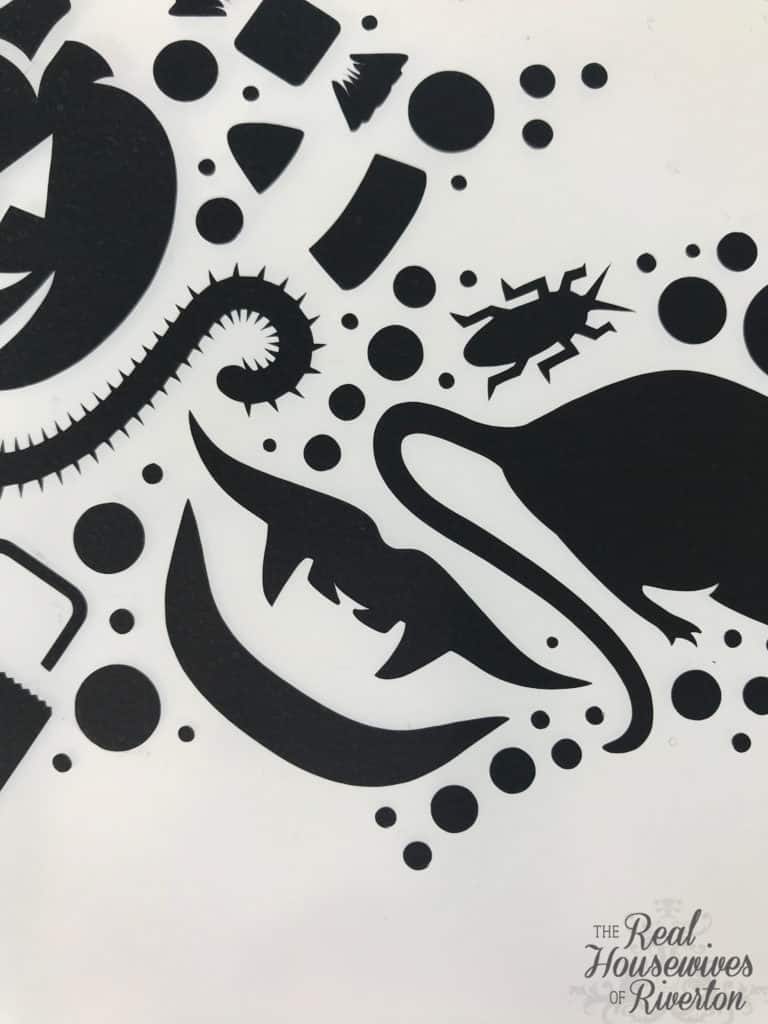 Let’s just take a minute and check out how intricate these cuts are! When I look at the little tiny pieces of the candy, that teeny tiny circle right above the vampire lips, and the small spikes/legs whatever they are on the worm I am so impressed that the cuts are so sharp and clean.
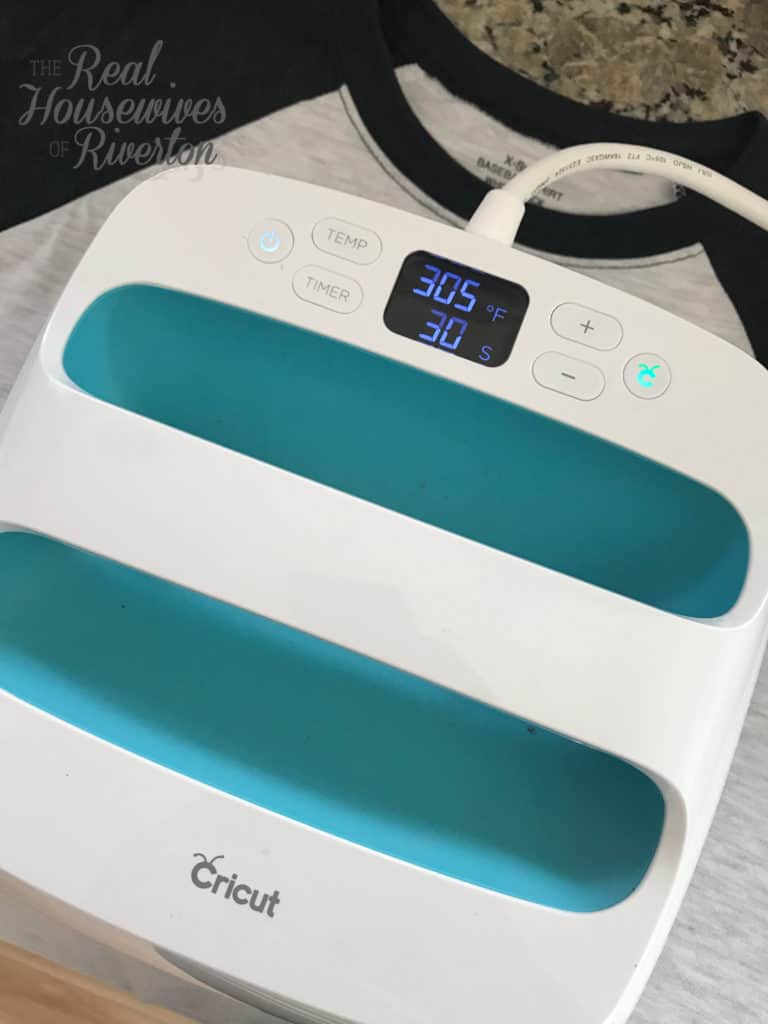 The next step is actually applying our image to the shirt. Step 1 of this step is to have a nice solid surface, the EasyPress Mat on that solid surface, and your EasyPress preheated (this takes just seconds). There are many reasons I recommend Cricut iron-on, 1. I’ve had amazing success with it even with just using my iron. 2. There are a ton of colors of Cricut iron-on which I love, and 3. When using the Cricut EasyPress and Cricut iron-on the EasyPress instruction booklet gives you the exact temperature and time required to get a perfect result. For a cotton shirt with regular iron-on my settings are temperature: 305 time: 30 seconds.
The EasyPress surface is 9″x 9″ so my image is just small enough to fit (if your image is larger than 9×9 you would just do one section and then lift and do another section following the recommendations for your fabric/iron-on).
I did a quick preheat of my fabric (that is on top of the EasyPress Mat on top of the solid surface) and then centered my image on the shirt and then pressed the image on.
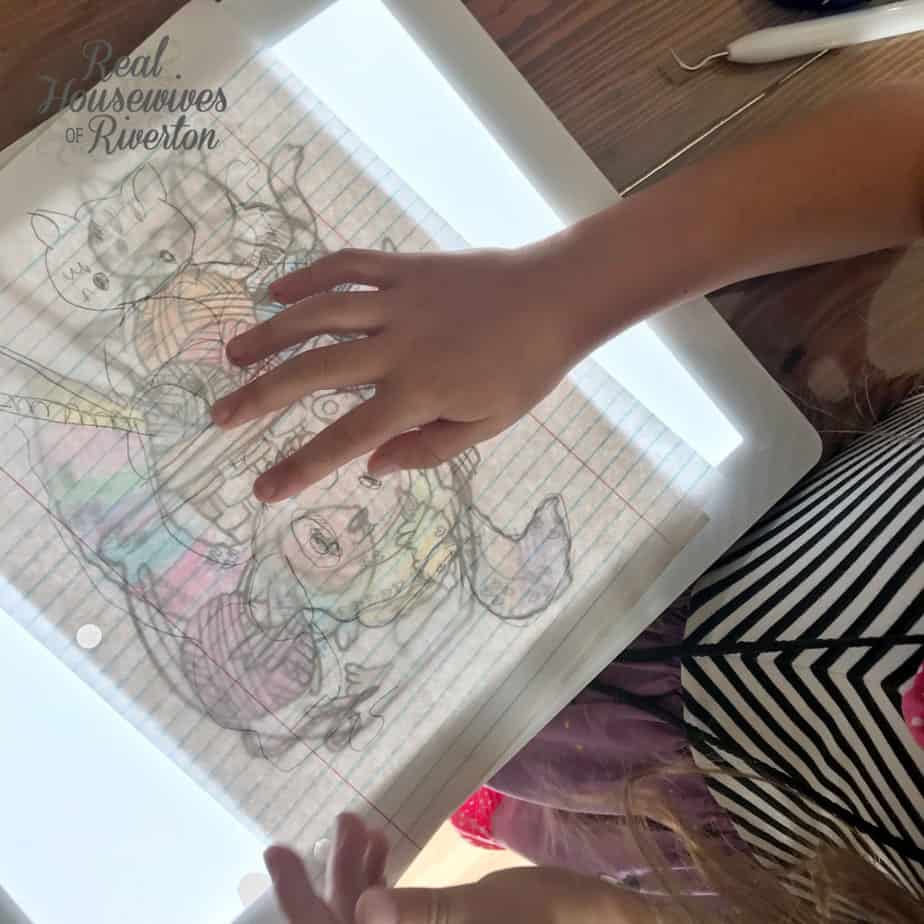 (side note – the BrightPad is currently my favorite babysitter. Little Miss Lila gets so excited every time she sees it that she’ll sit for crazy long amounts of time tracing anything she can get her hands on…today she was kept busy tracing coloring book pages while I finished my project WIN/WIN!!!)
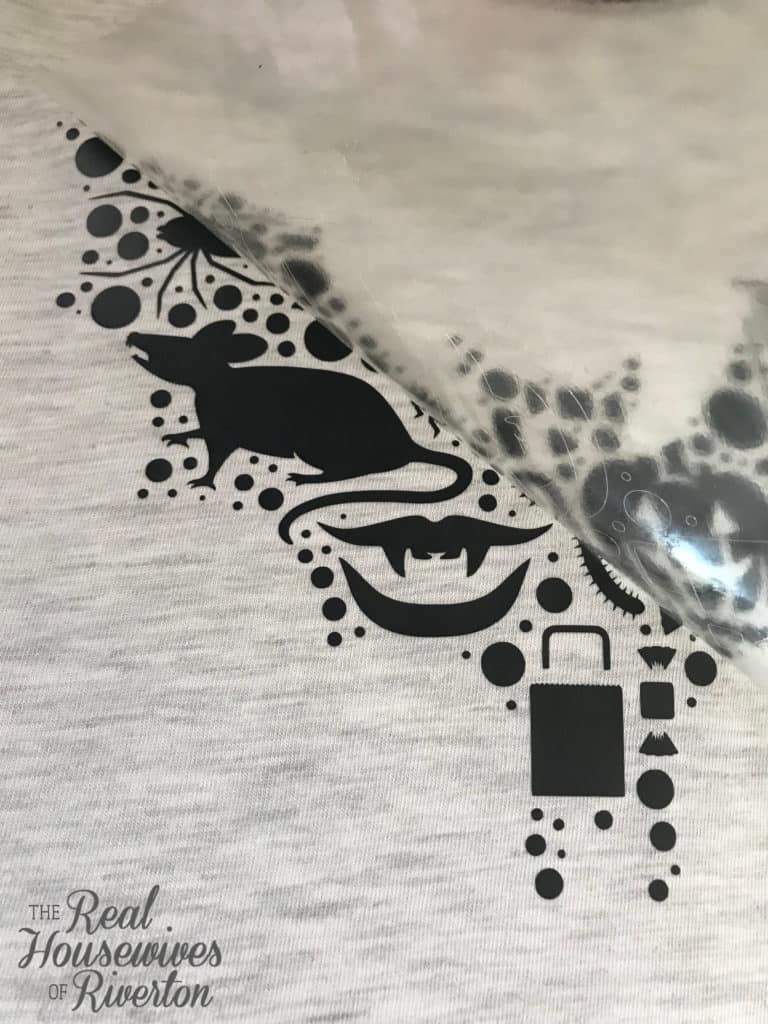 After pressing the front I flipped the shirt over and pressed it from the back as well. This helps ensure a strong bond between the fabric and iron-on. Once that was done I peeled off the protective plastic and perfection! (seriously check out how thin those spider legs are and how tiny the rat’s teeth are…it really is perfection!)
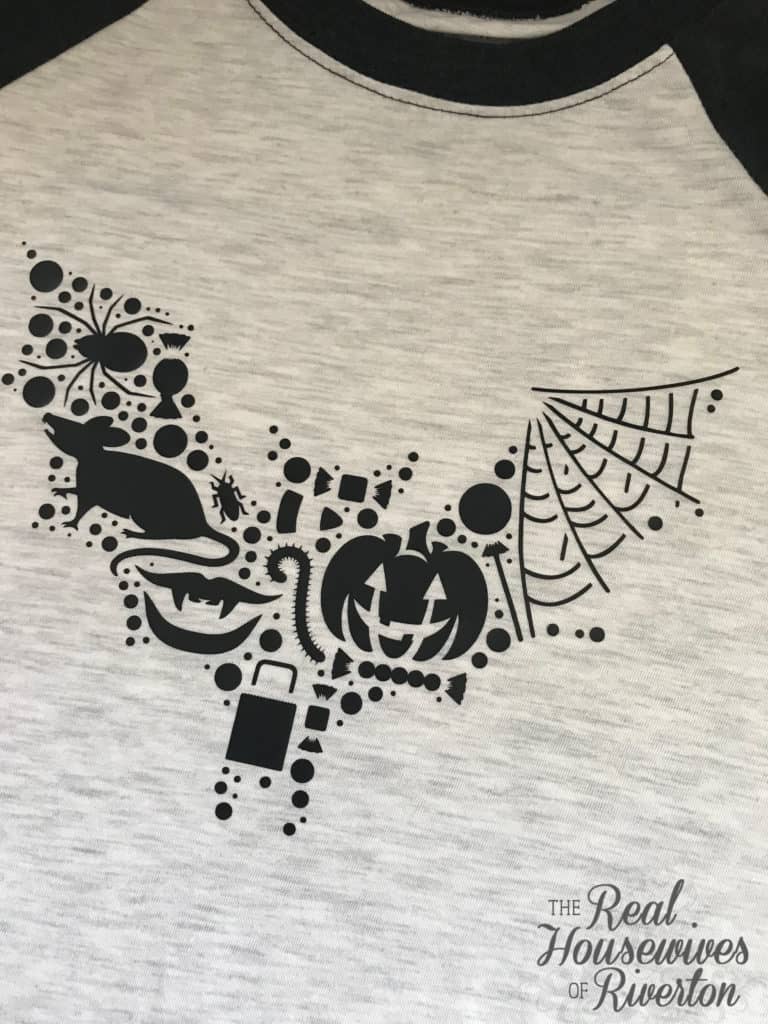 So there you have it a cool Bat Halloween shirt that makes both 11-year-old boys and their moms happy! There obviously needs to be more projects just like this in the world.
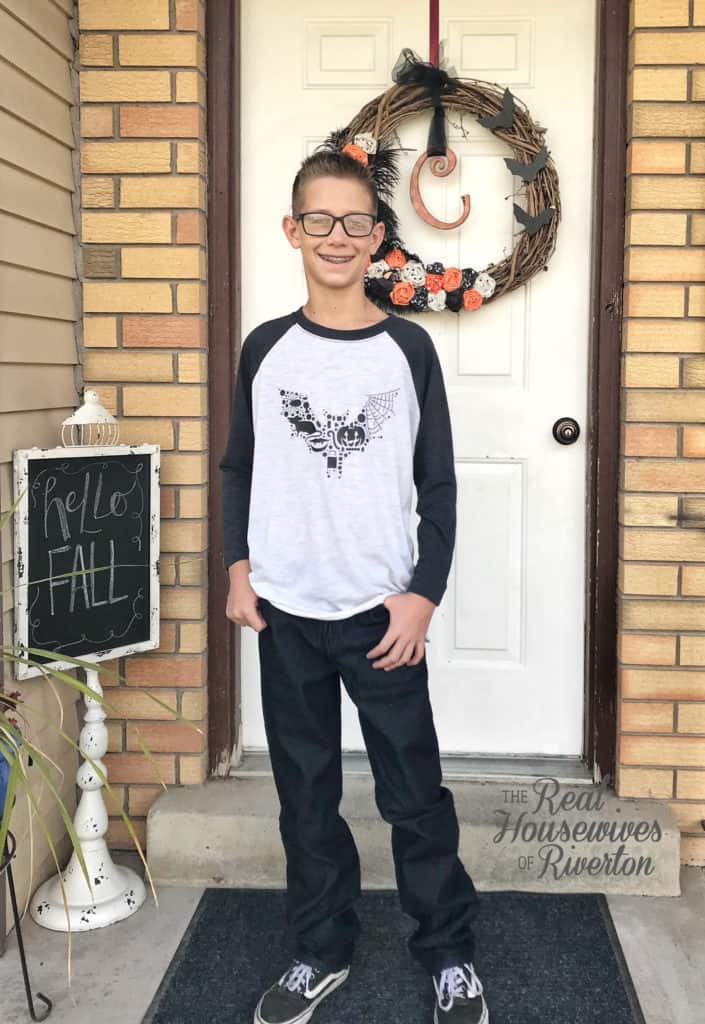 You should make sure and comment and let Bright know just how cool he (and his shirt) are, he would love it!
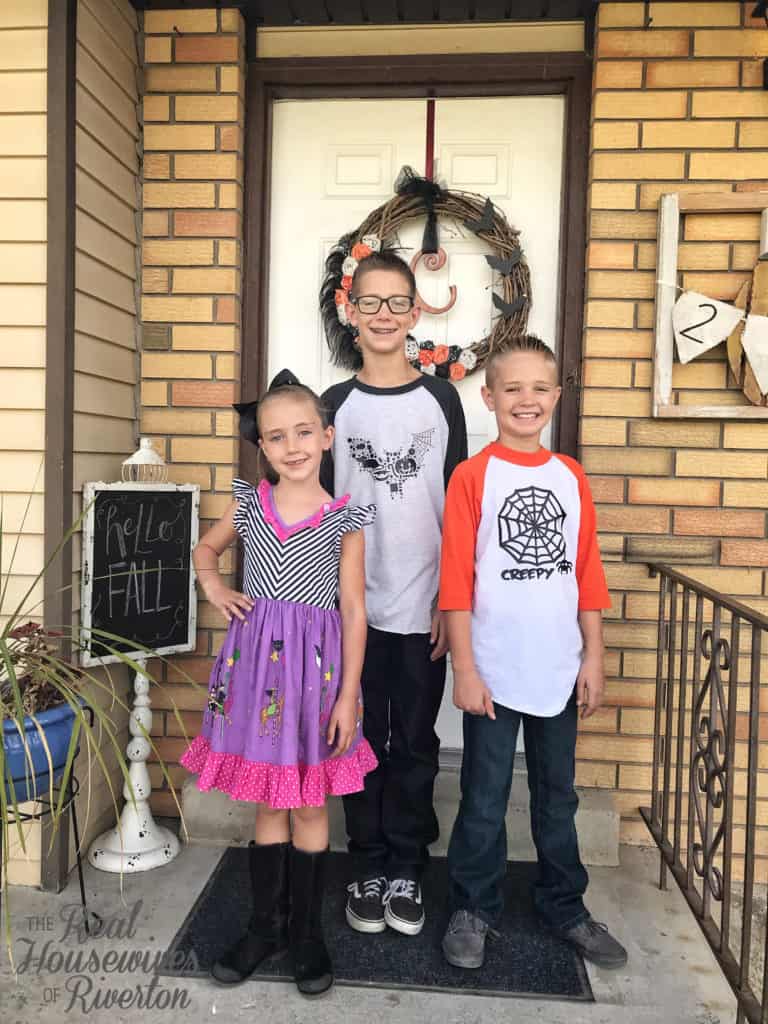
And, if you’re looking for another cool Halloween shirt design I created this creepy spider shirt a few (four…has it really been four??) years ago using my Expression machine, Cricut iron-on, and an iron. Bright and Morgan had these shirts for a few years and they’re still my favorite. Sadly Bright outgrew his but luckily Morgan is right there happily wearing it this year too!
 I used the Maker machine for this project. I have been blown away by the Maker, I have owned the Explore, Explore Air, and Explore Air 2 (along with the earlier machine the Expression) and the ease of using the Maker is second to none. Add how easy it is to use with the new features (HELLO ROTARY BLADE and adaptive tool system) and you’ve literally got a dream cutting machine right in your home. We can’t wait to show you some of the amazing things this machine can do, the number one is the fact that it can now cut unbacked (unbonded) fabric!! The project opportunities were pretty much endless before, now there is nothing this machine can’t do!
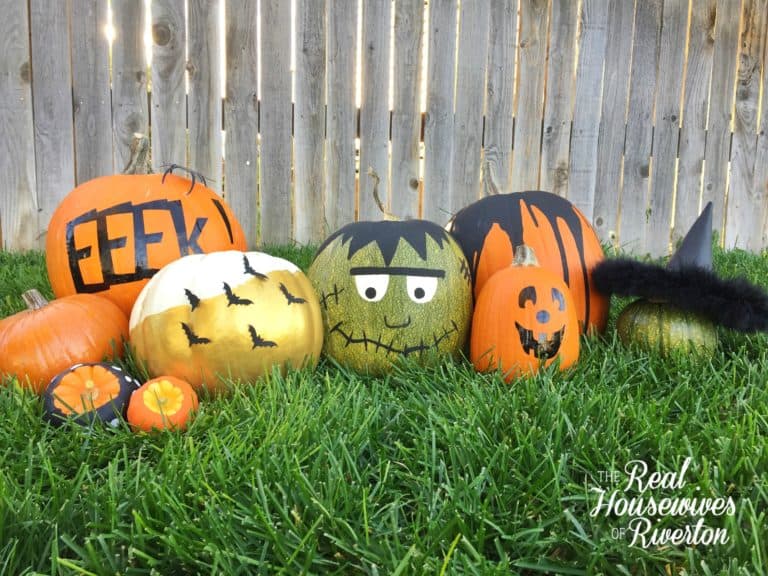
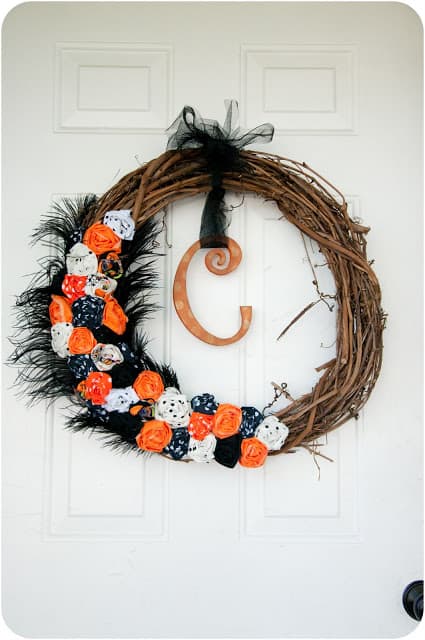
Did you like this Bat Halloween Shirt? If you do check out our other fun Halloween projects:
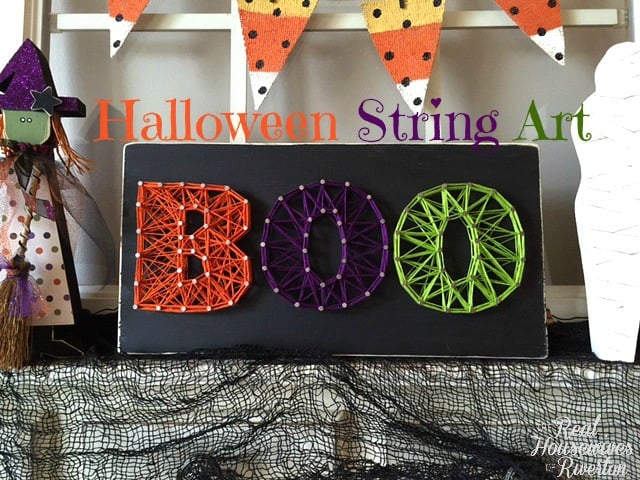 Halloween String Art

We have a great discount for our crafting friends! Click and use code Housewives for 10% off and free shipping on purchases over $50! *Not valid on machines, Cricut Access memberships, or digital image purchases*
- Bringing Home Baby Chicks - March 11, 2025
- Is RootsTech for Moms? - February 23, 2024
- How to Get Oil Stains Out of Clothes - May 5, 2023

[…] you’ve never made your own shirt with Iron-on before check out this post for a complete, step by step tutorial. If you’re experienced in creating your own Iron-on […]
[…] Bat t-shirt […]
[…] Bat Halloween Shirt – Housewives of Riverton […]