This post may contain affiliate links. If you purchase something through any link, we may receive a small commission at no extra charge to you. Supplies used may be given to us free of charge, all projects and opinions are my own.
This shop has been compensated by Collective Bias, Inc. and its advertiser. All opinions are mine alone. #HuggiesNewYear #CollectiveBias
Before my baby boy joined our family last July, I’d had at least two and a half years between each child. That means I never had two kids in diapers at once. Having my daughter and youngest son only 17 months apart was a whole new experience. Doubling the amount of diapers we have to buy means that we have to be on the look out for sales and coupons to save money. Huggies® and Family Dollar are a great way to do that!
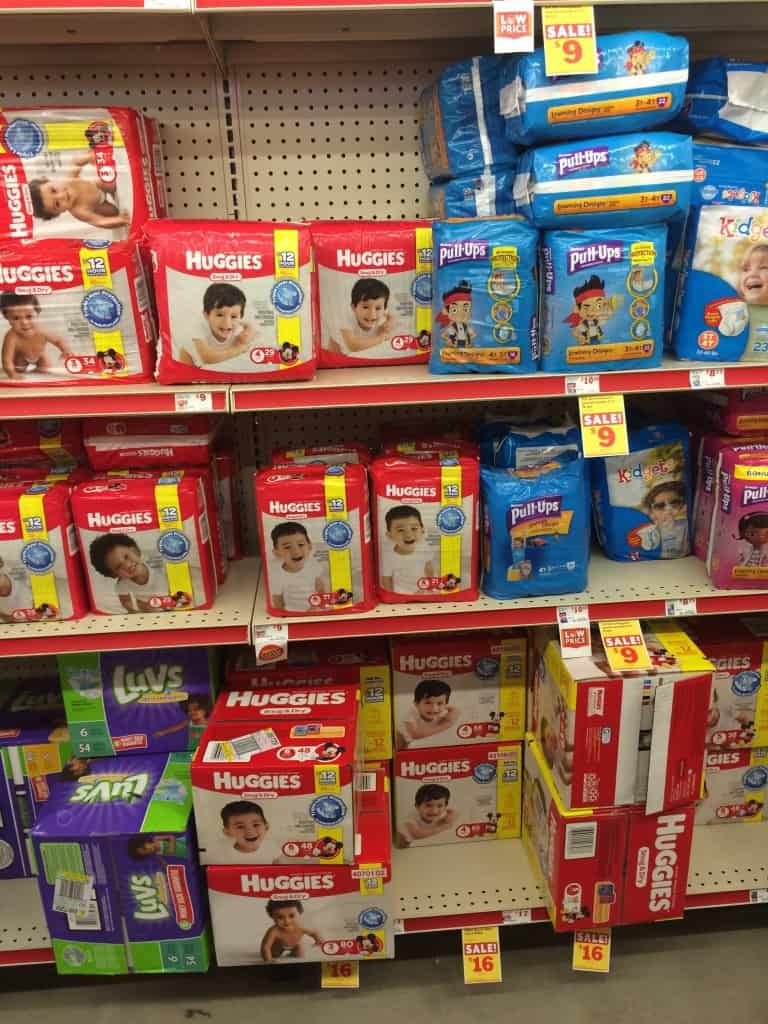
All of the great Baby Items you can get at Family Dollar for an every day low price! I love just having to stop at one place! Trust me, with two babies in tow the fewer stops the better!
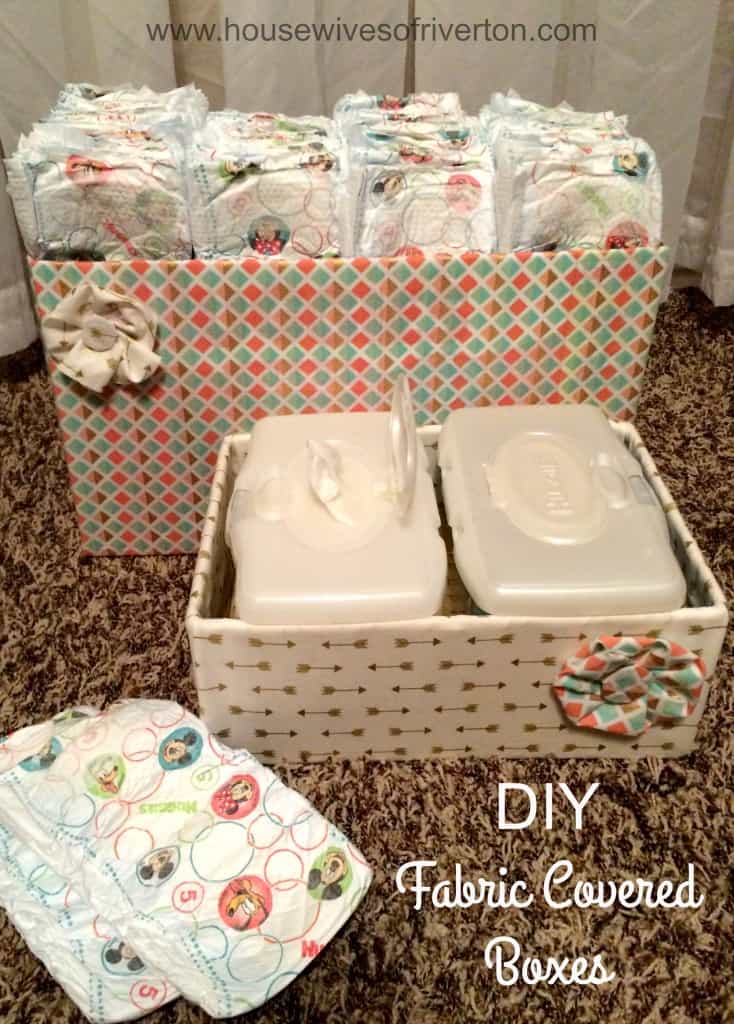
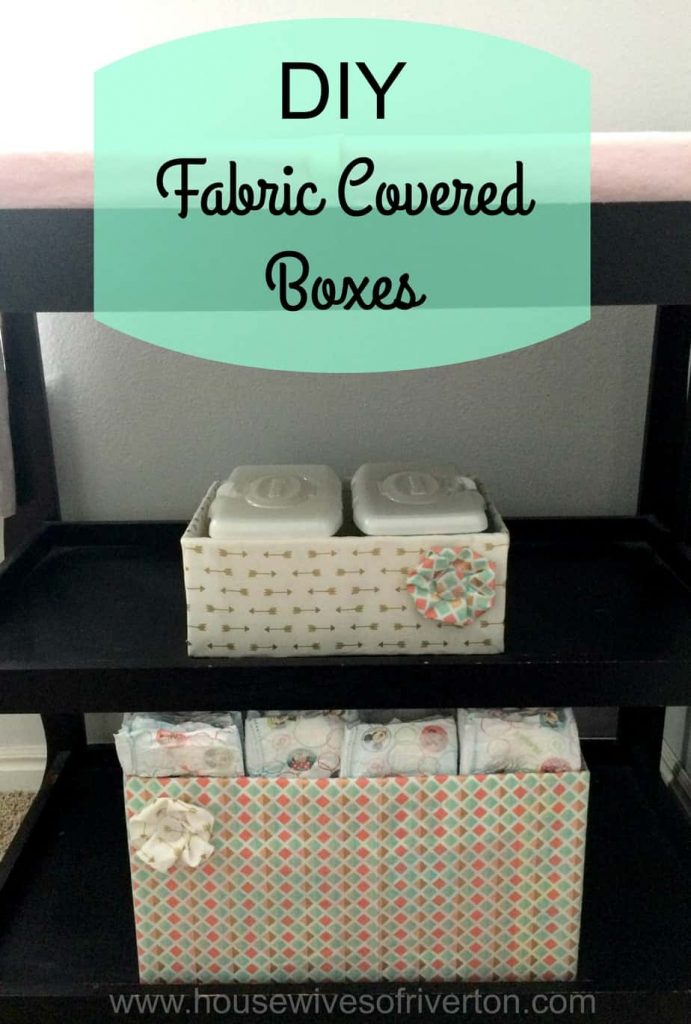
As you can imagine with all the diapers we buy, we have lots of diaper and wipe boxes. I don’t love keeping our diapers in the packaging because it’s not very cute when it’s sitting on the changing table. And if we just stack the diapers, they get knocked down or pulled off whenever the kids are playing. I decided it would be fun to reuse those boxes to make cute storage boxes for our diapers, wipes and other baby needs. This was such an easy and inexpensive project! And best of all, no sewing required! All you need is a box, fabric, a pencil, scissors, and a hot glue gun. I can’t wait to make more! Here’s how I made these cute DIY fabric covered boxes.

1 – Get your box that you want to cover, along with a pencil and scissors.
2 – Cut the flaps off the top of the box.
3 – Using your box and pencil, measure out where to cut your fabric.
4 – Cut your fabric. You’ll want to leave a half inch to an inch outside your pencil marks.
5 – Glue your short sides first. You’ll want to make sure your fabric lays smooth and tight.
6 – Fold the ends of your long sides in.
7 – Secure in the corner with a straight pin to help keep your fabric tight.
8 – Glue the long sides down and make sure to keep your fabric straight. Remove pins.
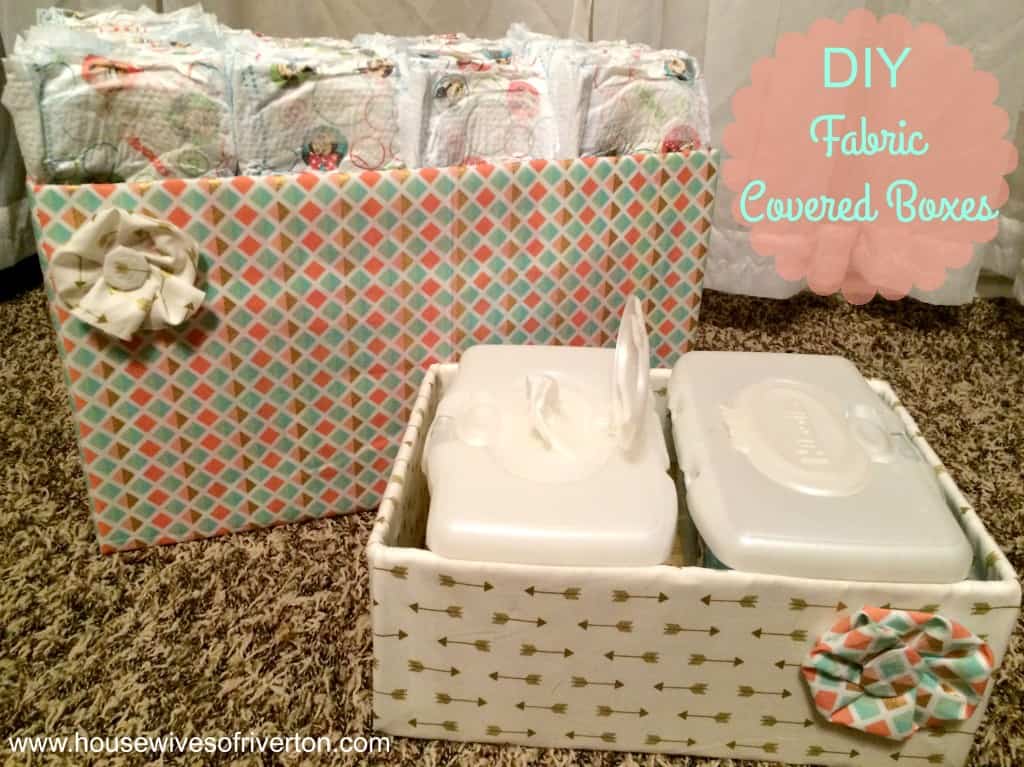
See how easy that was?! And I managed to do the whole thing without burning myself with the glue gun! A major accomplishment for me. For a little added cuteness, I made coordinating flowers for each box. I love how these turned out and they look perfect in my daughter’s room.

- Calming Glitter Jar - May 24, 2025
- DIY Drop Down Folding Table for Laundry Room - May 21, 2025
- Lost Children in Disneyland - April 18, 2025


I like projects that are easy and inexpensive! [client]
Thank you! I can’t wait to make more!