This post may contain affiliate links. If you purchase something through any link, we may receive a small commission at no extra charge to you. Supplies used may be given to us free of charge, all projects and opinions are my own.
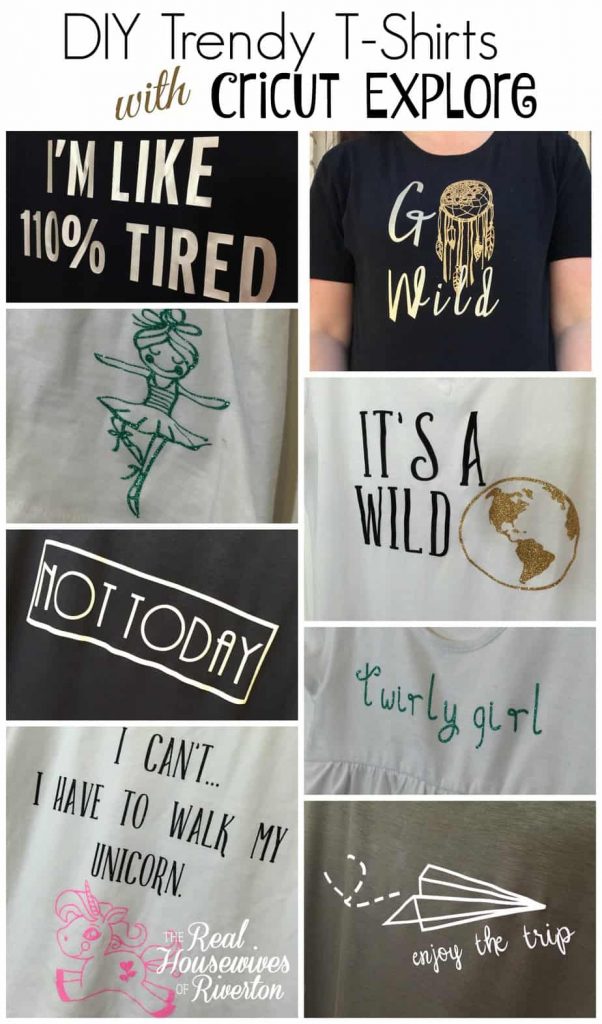 It’s been a while since I really got to be creative it seems so I was so glad when Paula and I had an all night crafting session creating DIY Trendy T-Shirts using our Cricut Explore and Cricut Explore Air.
We started early in the day doing some shopping for t-shirts. I was excited to find some longer t-shirts because I seriously hate when t-shirts ride up, especially when I’m wearing a sweater or button up over the top of them.
Cricut has come out with some amazing and fun new products that I couldn’t wait to try out.
For our t-shirts we used a soon to be released cartridge called…you guessed it Trendy T-Shirts along with some fun fonts. I love that with Cricut Design Space you can use every font on your computer without having to load them anywhere new, along with having access to hundreds of fonts available through Cricut Access for as little as $7.99 a month.
Another well loved feature of Cricut and Design Space is the app, we were able to create some of these t-shirts using our iPhones and iPads while we were out and about making it easy to quickly cut out once we got home to our machines.
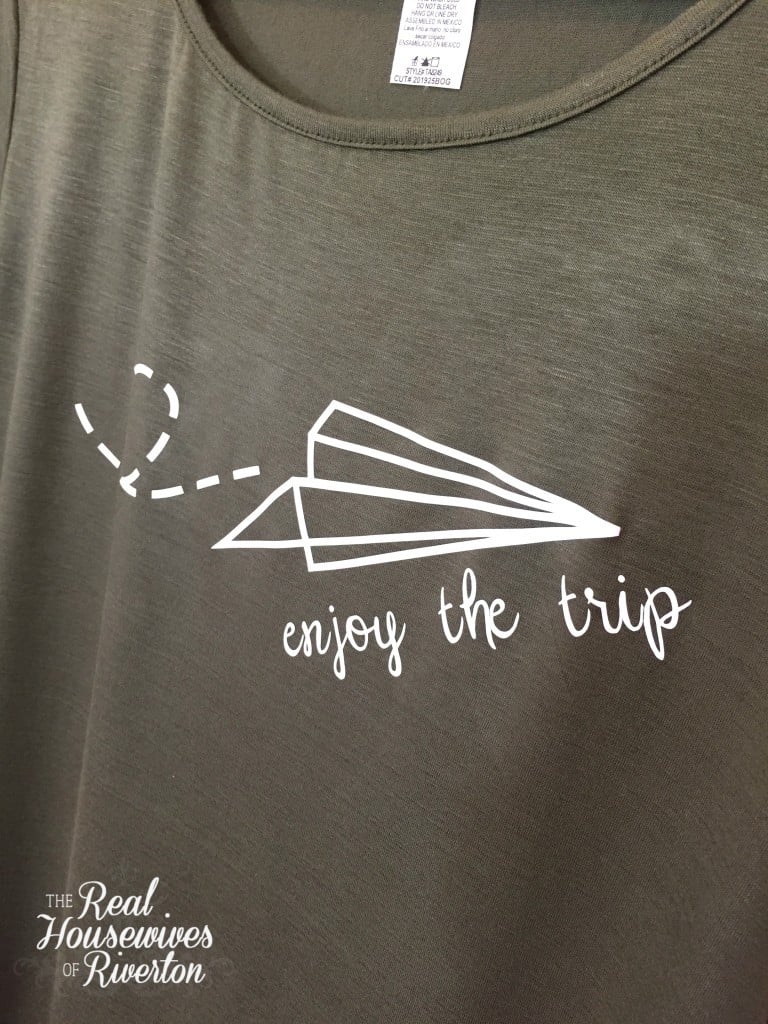
For my first shirt I fell in love with this paper airplane image.
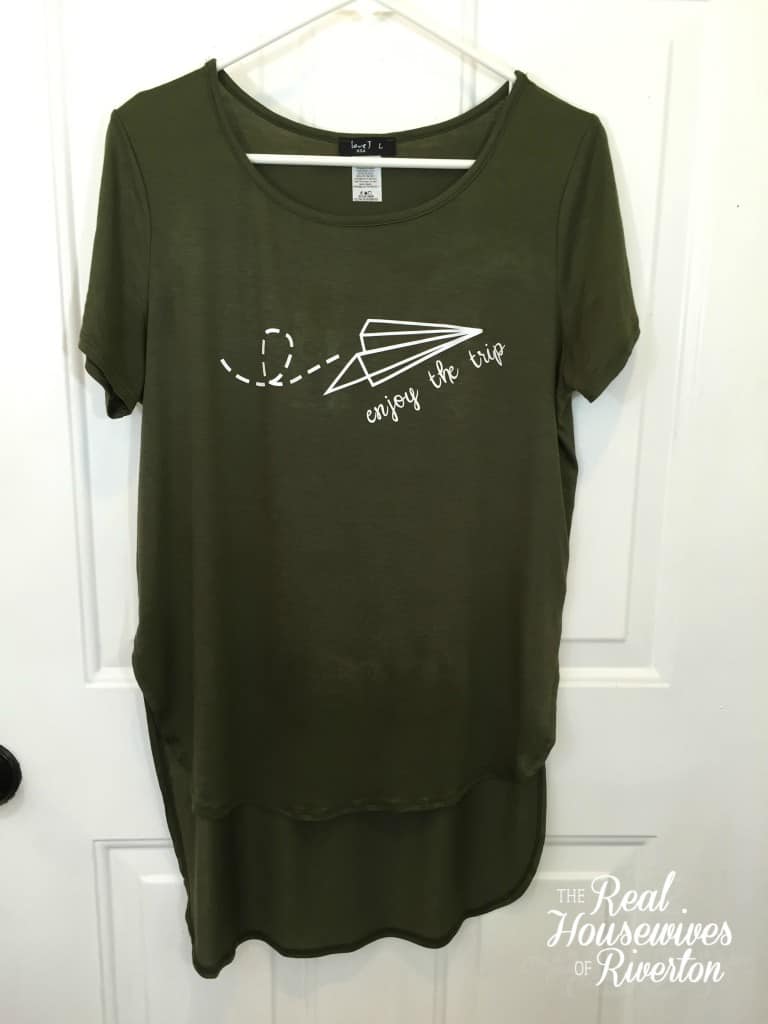 Trying to decide what phrase I wanted to pair with the image was a little harder. I knew I didn’t want to use “enjoy the ride” since that seems to be associated with bicycles lately. Since a plane screams travel to me I went with “enjoy the trip”.
Cartridge – Trendy T-Shirt; Paper Airplane
Font – Chloe
Iron-On Vinyl – White
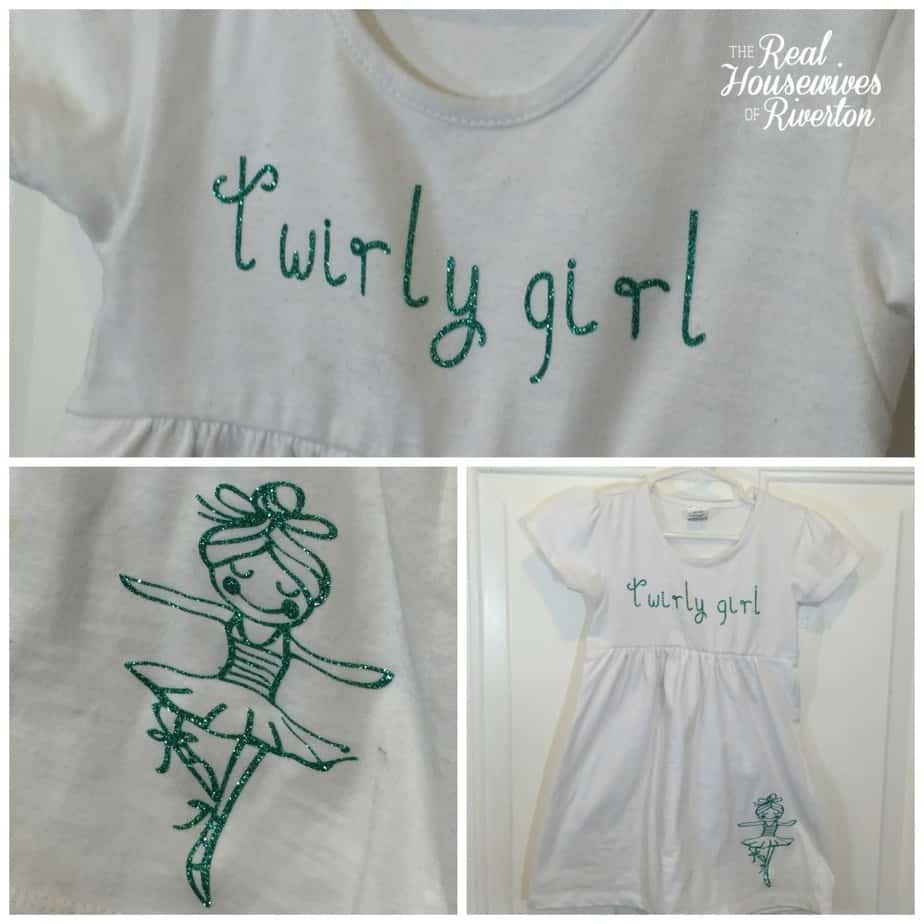
 While I was creating my Enjoy the Trip shirt Paula was creating a darling dress for her 2 year old daughter.
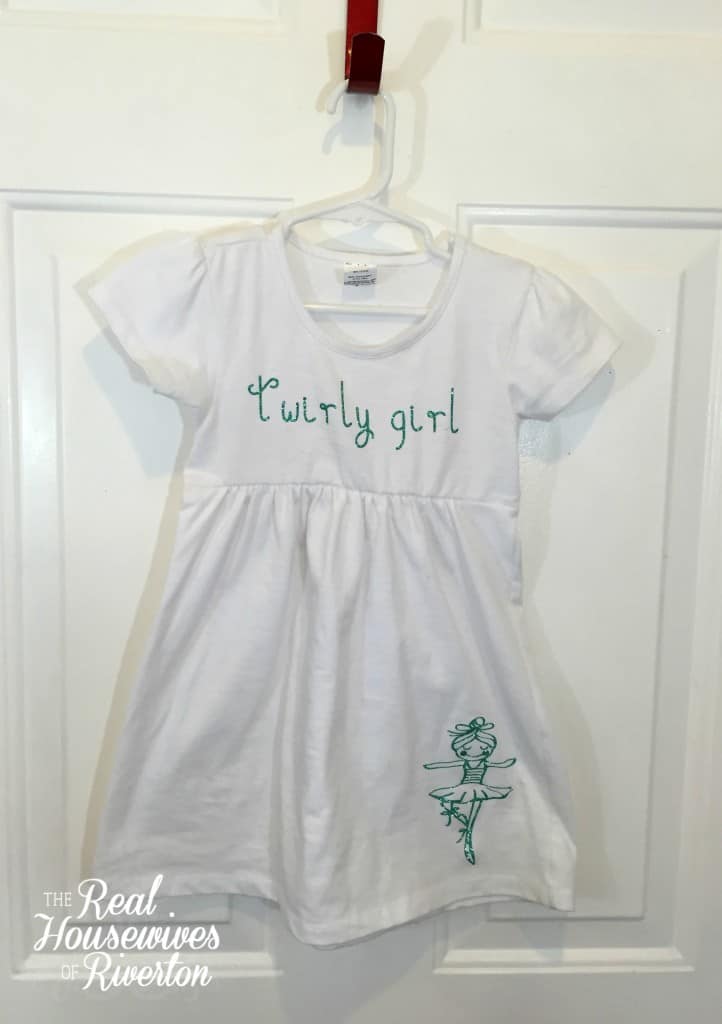 We found this cute plain white dress at Hobby Lobby, it is the perfect canvas for a DIY project.
Cartridge – Trendy T-Shirts; ballerina (with frame hidden)
Font – A Perfect Day
Iron-On Vinyl – Aqua Glitter
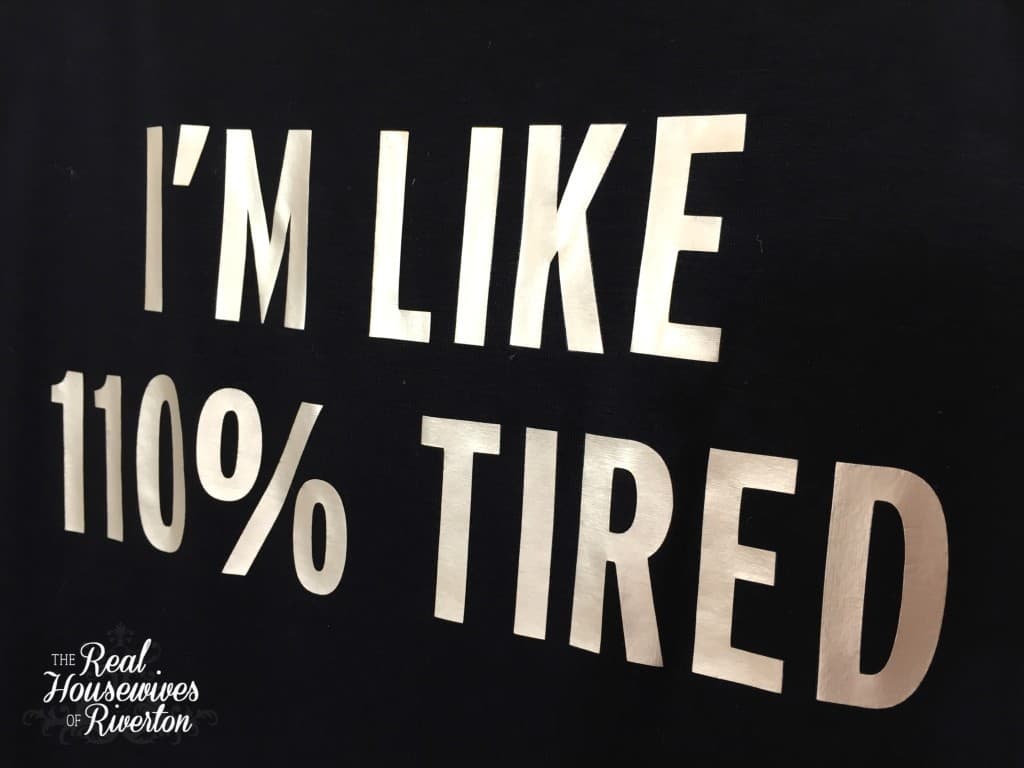
 Once we both had our first projects done we were really on a roll. My next t-shirt I decided to go with the most true statement of my life for the past 17 years (basically since I became a mother).
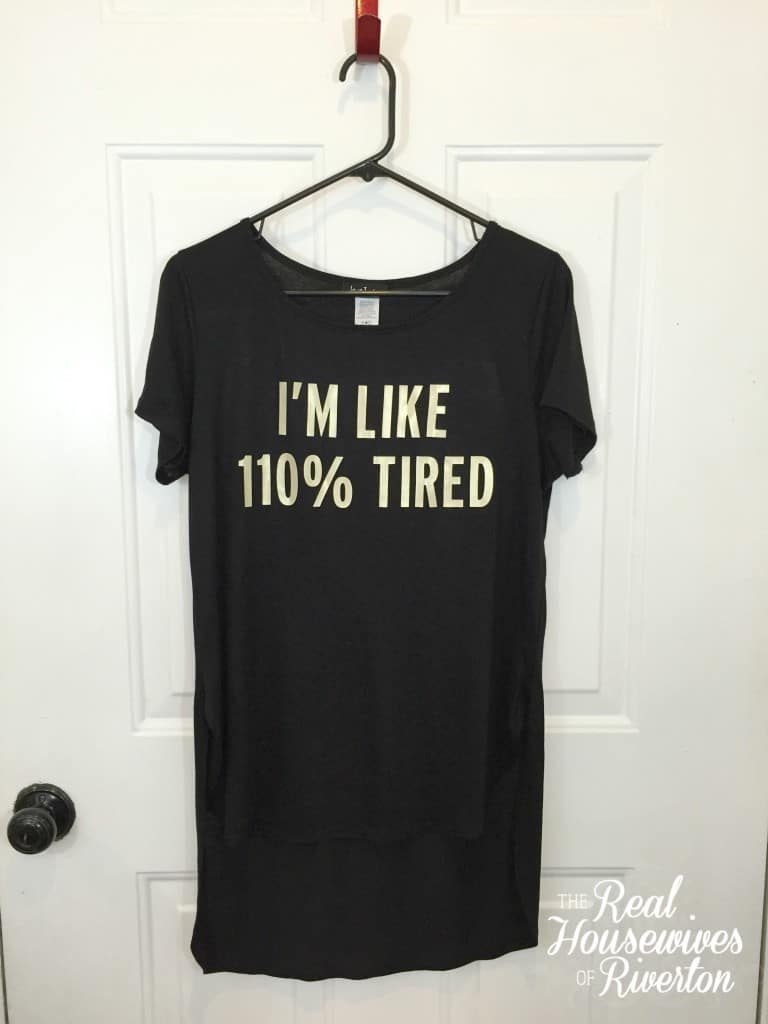 We’ve all been there right? I had to laugh when even my teenage daughters were wanting to wear my new shirt.
Font – Street Sign
Iron-On Vinyl – Gold
This shirt just screams #momlife to me, apparently my girls think it screams #teenlife.
 Paula’s second shirt might be our favorite, it’s a good thing too since it took a pretty long time to create. I love the way it turned out. Her #1 pointer…when you decide to use the dream catcher, don’t go too small, the weeding takes a long time so enjoy an episode of your favorite show and just settle in for a while.
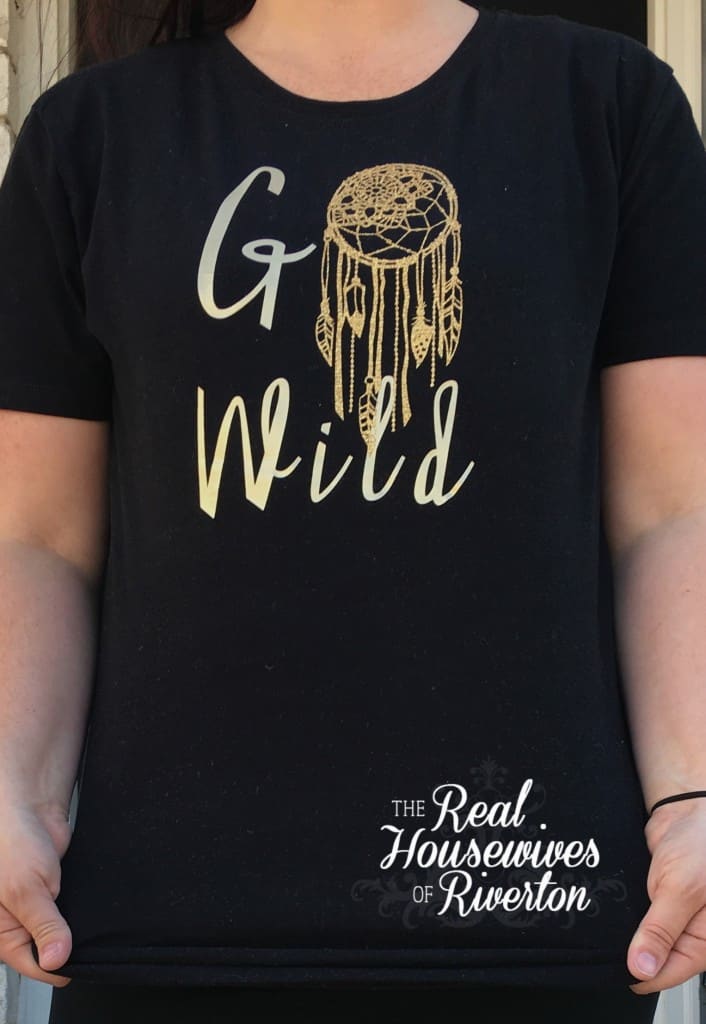 Cartridge – Trendy T-Shirt; Dream Catcher
Font – Wildflower
Iron-On Vinyl – Gold Glitter; Dream Catcher, Gold; letters
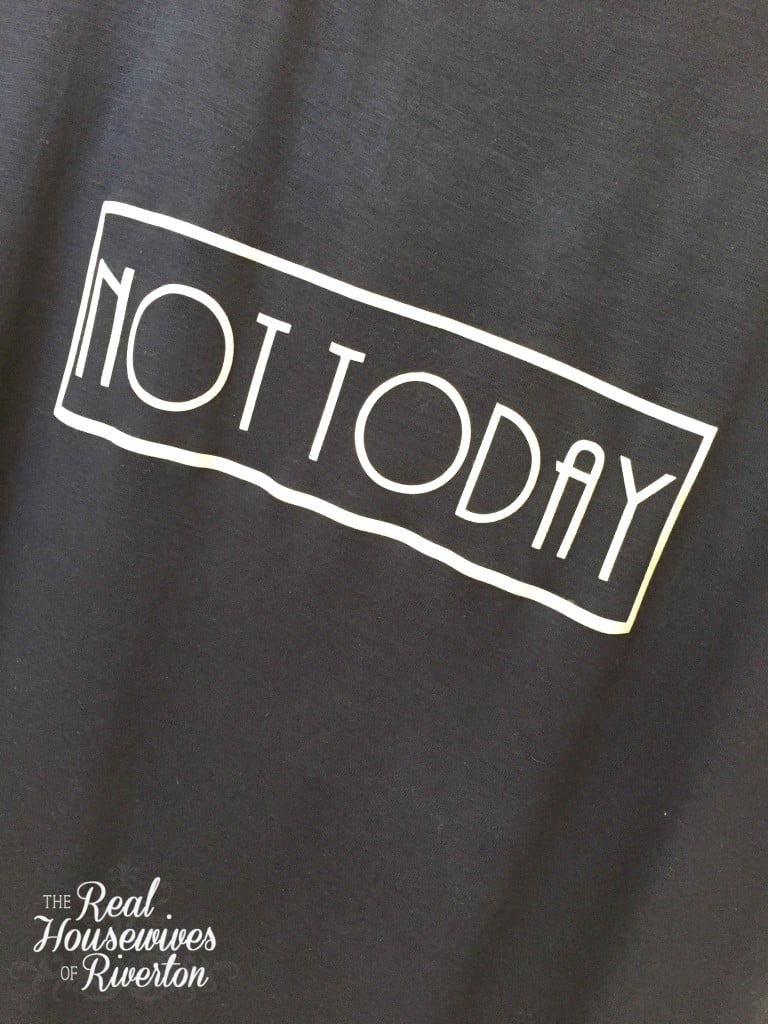
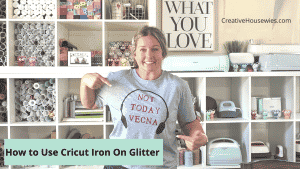
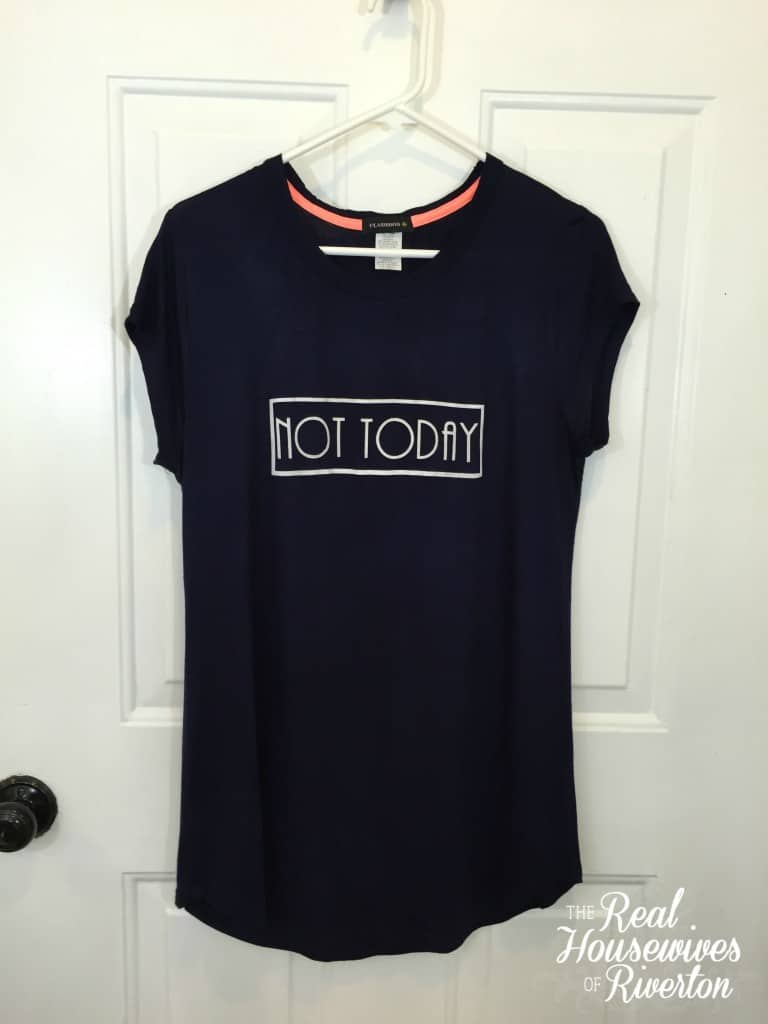 My next shirt just keeps making me giggle. “NOT TODAY”, such a simple phrase that says so much. Cricut has come out with a new iron-on vinyl that is flocked…I think it’s my very favorite. I love the way it looks and feels.
Cartridge – Cricut Access; Rectangle (layered 2 to create the frame)
Font – AR Bonnie
Iron-On Vinyl – White Flocked
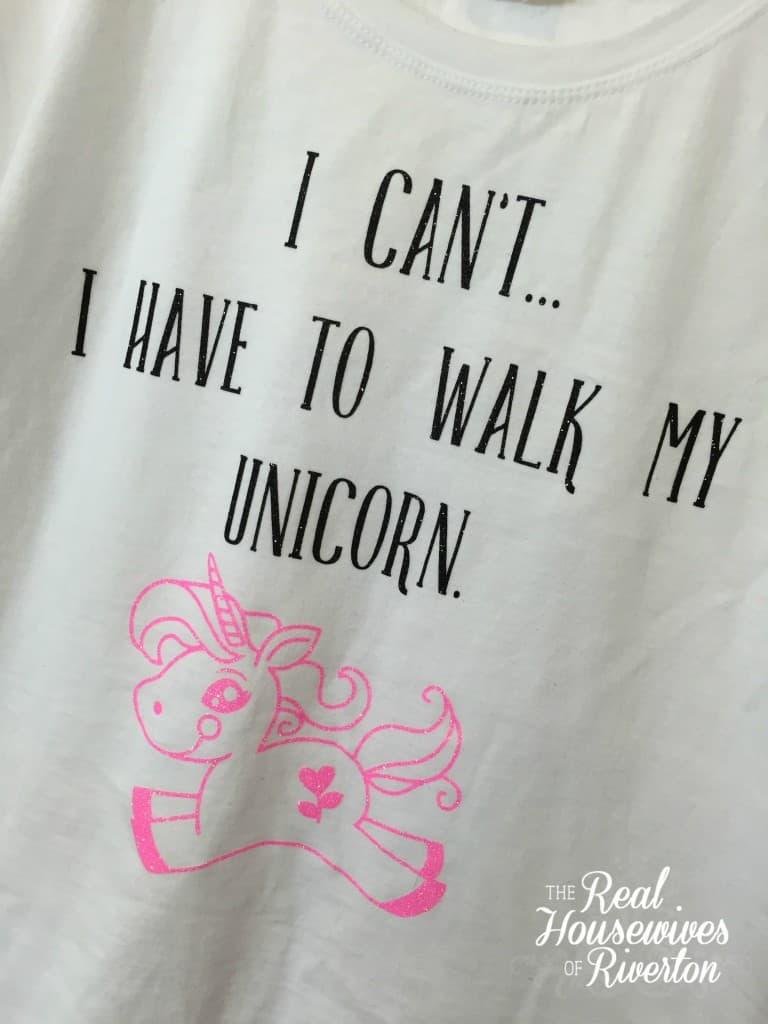
 Paula’s final shirt is another one that has us cracking up. Sometimes we don’t have a real reason for not wanting to do something we just don’t want to do it. From now on instead of trying to think of something my answer is going to be “I have to walk my Unicorn”.
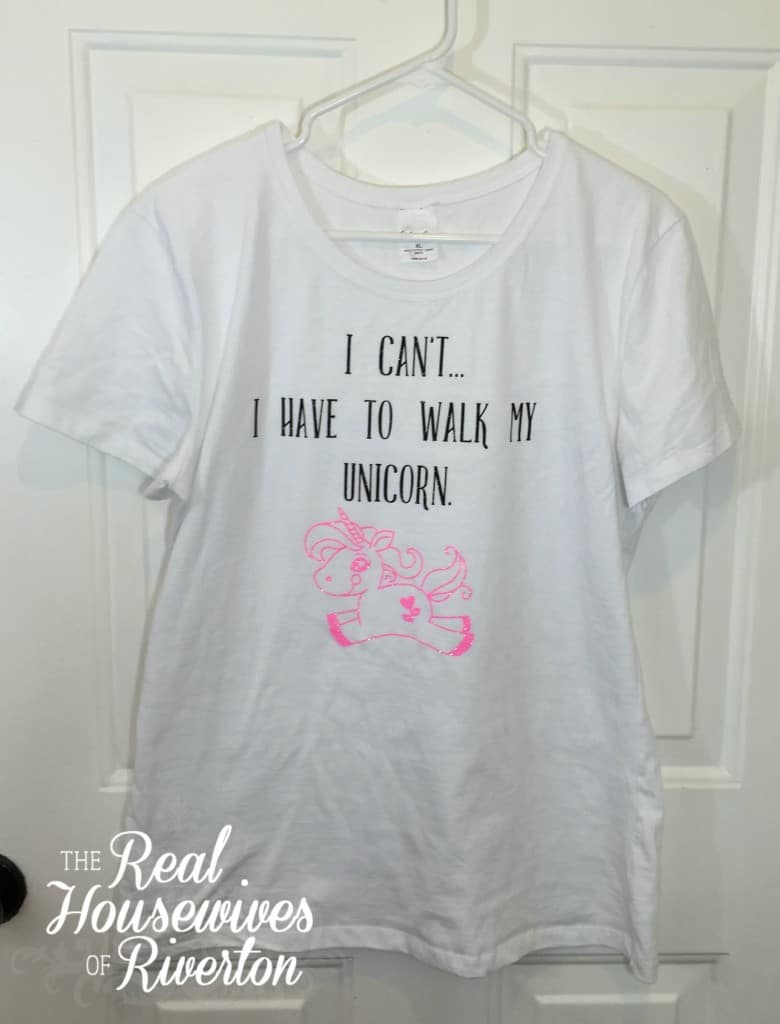 Cartridge – Trendy T-Shirts; Unicorn
Font – Easton
Iron-On Vinyl – Black Glitter; letters – Florescent Pink; Unicorn
Paula didn’t weed the feet (hoof) of the unicorn or the heart mark to add a little more pink to the shirt.
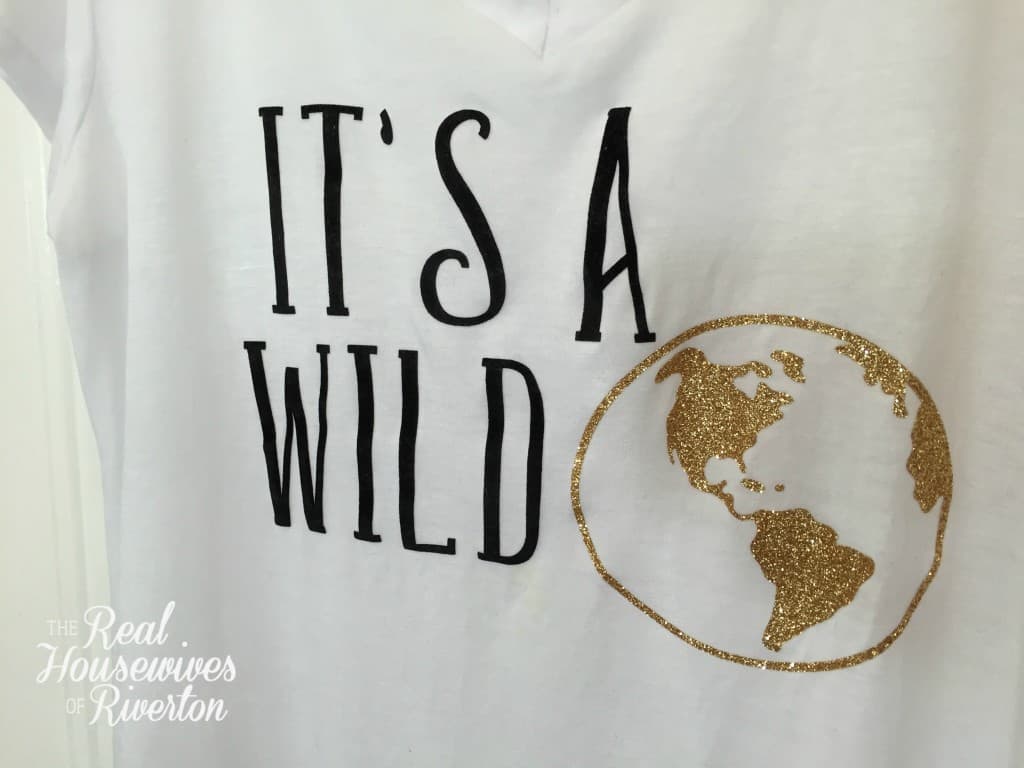
 My final shirt was inspired by the cute baby onsie I made last week (you may have seen it if you follow us on instagram). I fell in love with the gold glittery world and had to have a shirt of my own with one.
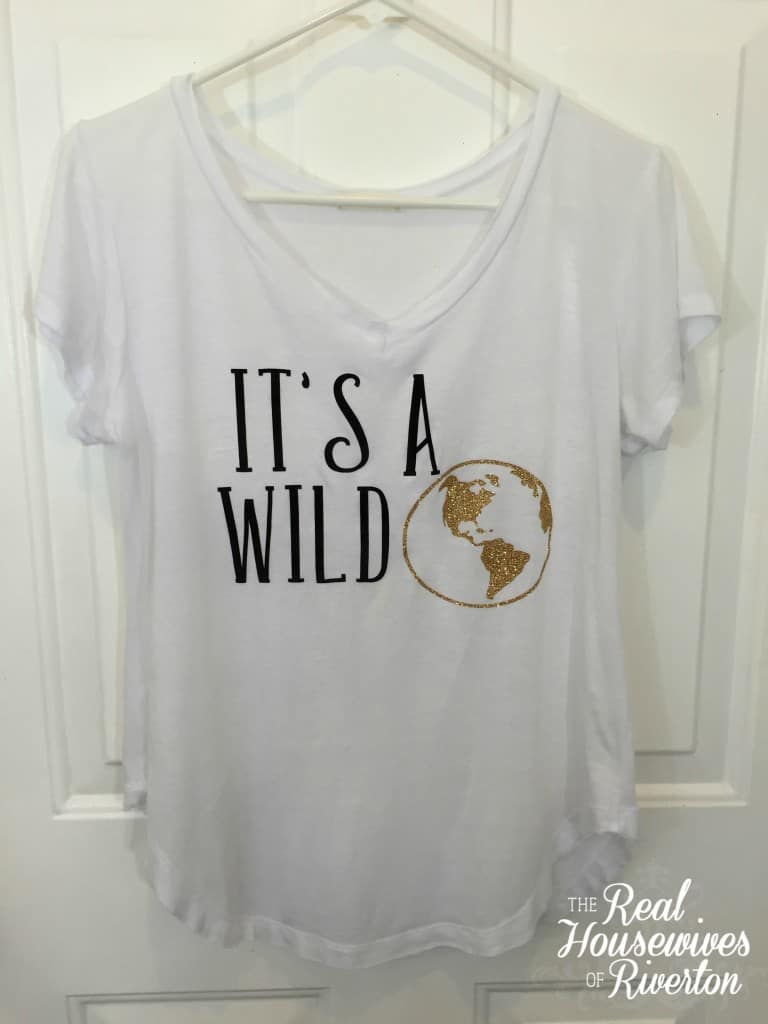 Cartridge – Cricut Access; Earth
Font – Easton
Iron-On Vinyl – Black Flocked; letters – Gold Glitter; World
 I love that the possibilities are endless with iron-on vinyl and the Cricut Explore Air. I can create any shirt (or anything else) I want and my children can put in any request they want as well. When my children came upstairs the next morning and saw all my new shirts they started creating a long list of projects for me to do. I think I get at least one text a day from my girls with a shirt they’d like to have.
Here are a few tips we learned while working with iron-on vinyl.
1. check, double check, and triple check that you have mirrored your image, there is nothing more frustrating than cutting out your image only to realize it’s backwards.
2. When using glitter iron-on or flocked iron-on turn your dial to custom and then on your computer pick the specific product you’re using.
3. Before laying out your image on your shirt (dress/pants/whatever) make sure you’ve heated up the shirt with your iron first.
4. Don’t be skimpy with your heat, especially if you’re using a thicker iron-on (such as glitter/flocked). Iron from the front and from the back. I iron multiple times on each side to make sure my iron-on vinyl is well attached.
5. I always wash inside out on cold and hang dry. I check my shirts after each wear to make sure the iron-on vinyl is still well attached, if I notice any lifting using a hot iron from the back I re-set my vinyl. I’ve only had this happen a time or two and this has fixed it wonderfully.
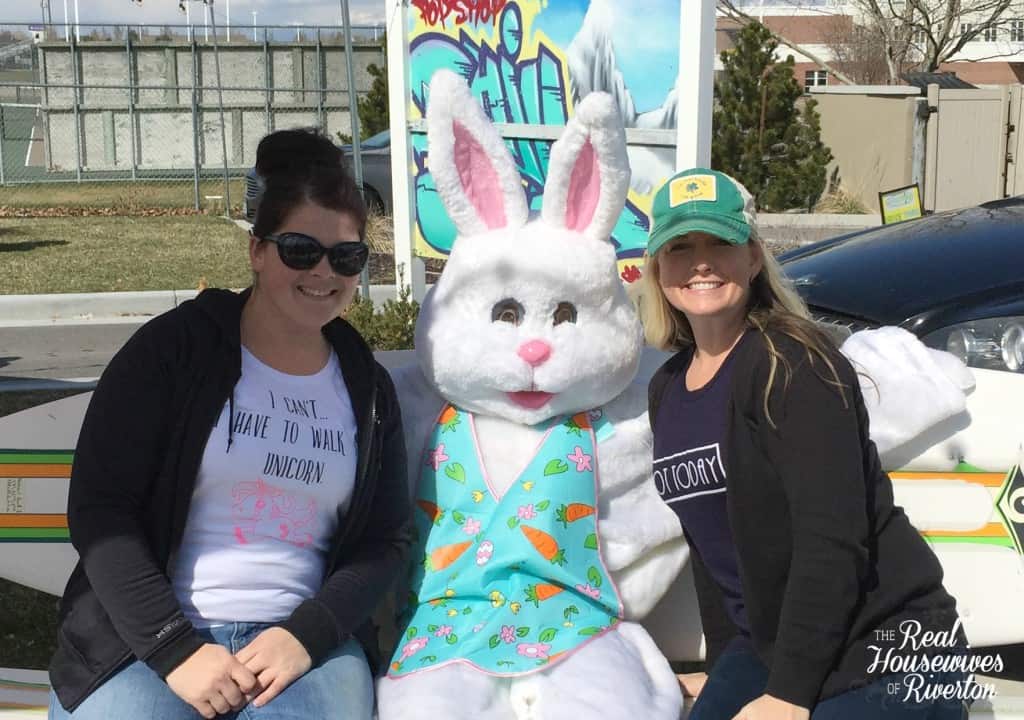 Paula and I each wore one of our new DIY trendy t-shirts to a local Easter egg hunt on Saturday and got quite a few compliments on them. I love them, they’re so fun. I hope you love them too and that this has helped you decide to break out some iron-on vinyl and create a DIY trendy t-shirt of your own. I cannot recommend the Cricut Explore Air enough as a cutting machine. I have been so impressed with everything I’ve created using my machine and each time I use it I want to create more and more!

*This post contains affiliate links. Housewives of Riverton were provided some vinyl for these projects. All opinions are 100% our own.
- Bringing Home Baby Chicks - March 11, 2025
- Is RootsTech for Moms? - February 23, 2024
- How to Get Oil Stains Out of Clothes - May 5, 2023

These shirts are so great! I really like the simpler ones that definitely get a message across, like “Not Today” and “I Am 110% Tired.” There’s nothing quite like having a shirt that expresses what you’re thinking/feeling so accurately.
Thank you, I agree and now I’m pretty sure I need about 100 more with other very appropriate to my mood sayings! Thanks for stopping by our site!
[…] I have to admit I love the DIY Trendy T-shirts we made but this Hello World baby onsie is quite possibly my favorite iron on vinyl project ever. […]
When making any size shirt what width and height do you normally go with? I’m making a couple shirts for my cheer squad and I’m not sure what size to go with. Thanks in advance
Hello Myesha, thanks for stopping by our site! I don’t know that I ever worry too much about height but width is usually 9-12″ wide for an adult women’s shirt. For instance the “not today” shirt measures at just under 10″ across. Hope this helps! ~Jenn
Great looking shirts!
Thank you. We love them!
Hi Ladies,
I’m a newbie and I have a Cricut Explore Air 2. I’m looking forward to making lots of t-shirts for myself and friends. Do you mind sharing where you purchased these longer t-shirt styles? I love them!
We found these shirts at Ross!
[…] DIY Trendy T-shirts with Cricut Explore, by the Real Housewives of Riverton […]
Hi there! I hope I didn’t miss this info, but where are those adorable T-shirts from? I love the cut!
We actually found all of these at Ross!!