This post may contain affiliate links. If you purchase something through any link, we may receive a small commission at no extra charge to you. Supplies used may be given to us free of charge, all projects and opinions are my own.
It’s that time of year again when ghosts and goblins, witches and wizards, dragons and princesses come knocking on the door yelling Trick or Treat! Make sure your little cuties don’t lose a single piece of hard-earned candy with their own DIY Trick or Treat Bags!
Learn more about Cricut Glitter Iron On here.
 This post contains affiliate links.
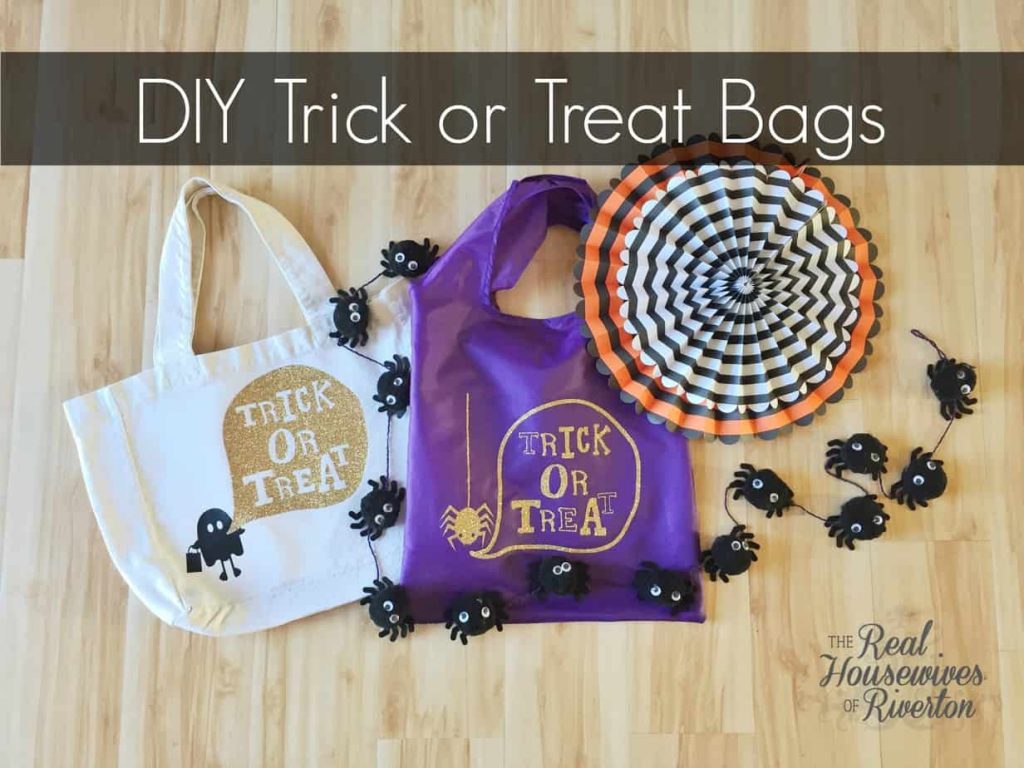
DIY Trick or Treat Bags Tutorial
Throughout the years we’ve had a variety of different trick or treat bags ranging from free plastic ones given out at school to light up plastic pumpkins that the kids never felt were big enough for the candy haul they were intending to get. Pillowcases have been the favorite go-to for the last few years but I’ve always wished for something with a handle, which brought me to creating these cute custom trick or treat bags with bags I already had here at the house.
Create your own Trick or Treat Bags!
Because these bags are used once (if we’re lucky 2-3 times) per year my requirements for this project were: inexpensive, fun, quick, and easy! I’m happy to report that with some trial and error I was able to come up with a project that fit all my requirements.
Trick or Treat Bags Supply List:
bags (something fabric that can be ironed on)
iron-on (your choice of colors)
Cricut Explore
EasyPress (or iron)
EasyPress Mat
Iron-on Protective Sheet or light weight towel
I’m specifying a bag that can be ironed on because… Initially, for my project, I was going to use those inexpensive reusable grocery bags that seem to come to my home in an abundance. I thought as long as I had a towel on top of it for the ironing part it would work out okay, unfortunately, that wasn’t the case. Even having the iron at a lower temperature and a towel between the iron and the bag I had melting issues.
Any bag that can handle heat can be used for these trick or treat bags, the cute purple bag actually had writing on one side so I turned it inside out for this project, I love the color and that the handles aren’t sewn on so even though it’s a little smaller we shouldn’t have to worry about weight. The canvas bag I also had on hand, they can easily be found just about anywhere (Walmart, Hobby Lobby, Michaels, Joann’s, Amazon) and are a great sturdy bag with handles and iron-on attaches awesome to them (and you don’t really have to worry about heat temperatures).
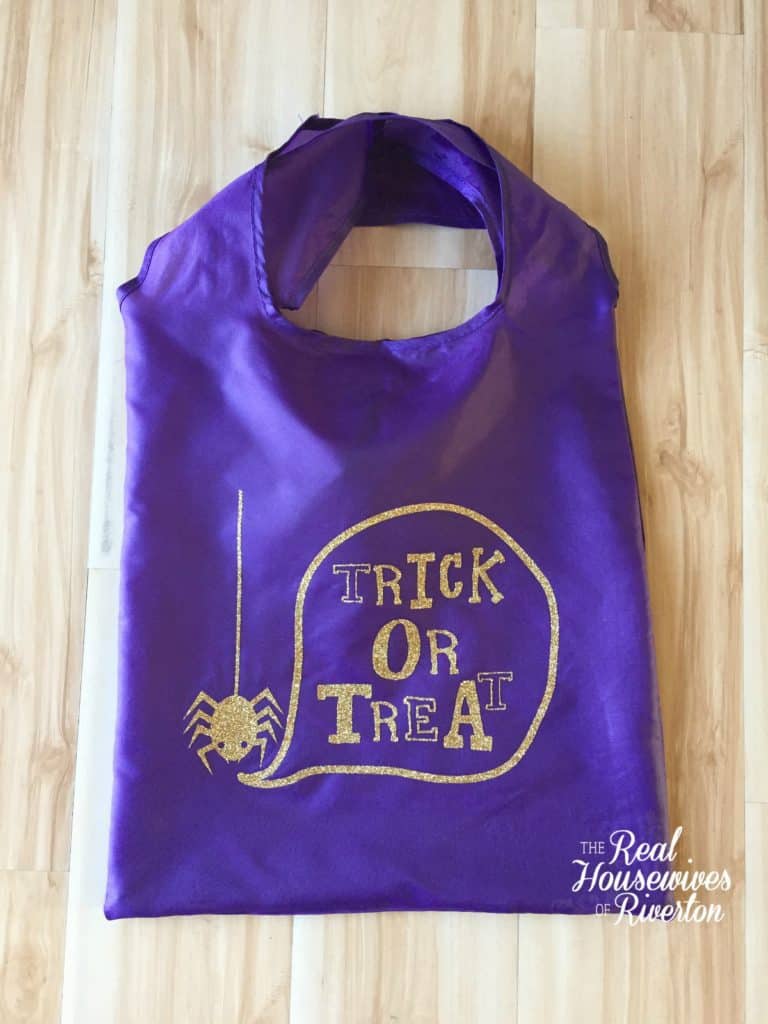
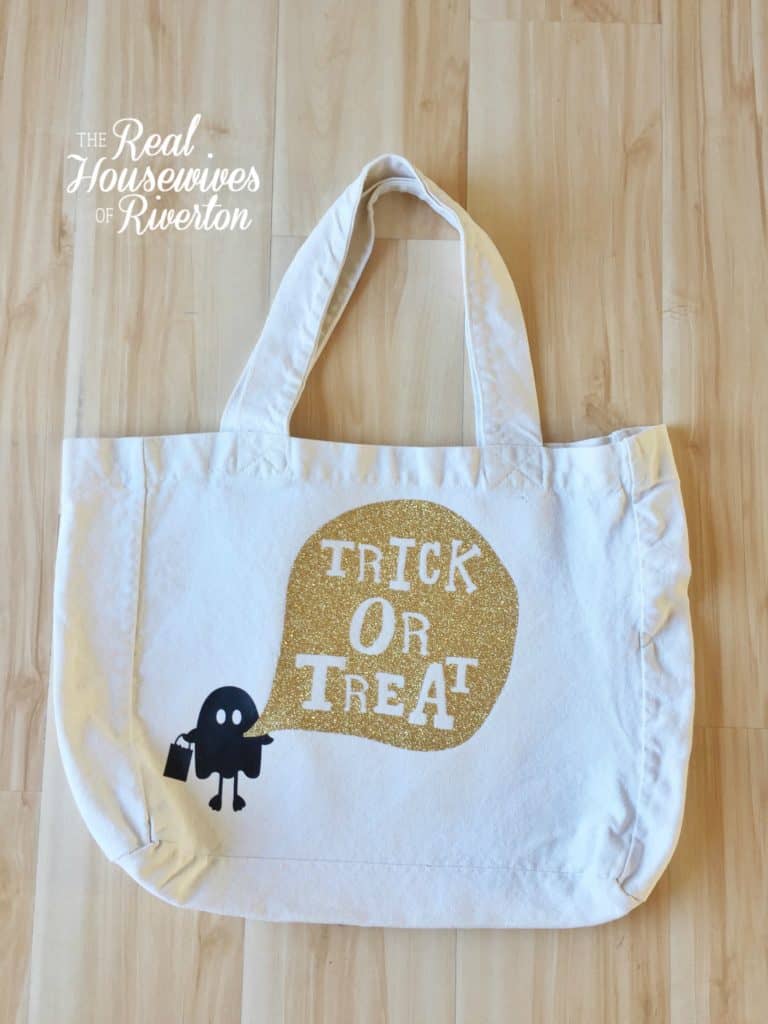
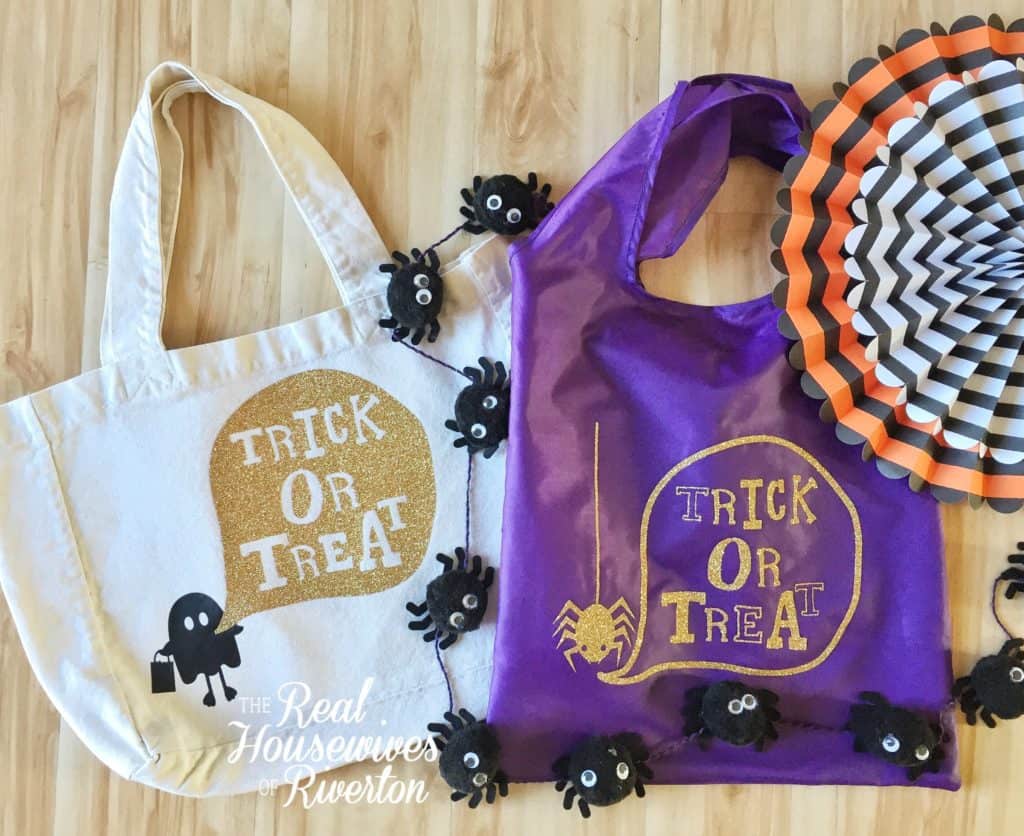
I’ve got to tell you, I love how these DIY Trick or Treat Bags turned out and cannot wait to make a few more so everyone has their own. These two were quickly claimed by the youngest girls so the boys are wanting their own now.
I love taking the kids Trick or Treating and can’t wait for them to head out with their new Trick or Treat bags that I don’t have to worry about ripping or them dropping them because they have no handles!
We have a great discount for our crafting friends! Click and use code Housewives for 10% off and free shipping on purchases over $50! *Not valid on machines, Cricut Access memberships, or digital image purchases*
If you like our Trick or Treat Bags make sure and check out these fun Halloween Projects!


- Is RootsTech for Moms? - February 23, 2024
- How to Get Oil Stains Out of Clothes - May 5, 2023
- How to Clean Towels that Smell Like Mildew - January 20, 2023

 This post contains affiliate links.


[…] DIY Trick or Treat Bags from Housewives of Riverton […]
[…] DIY Trick or Treat Bags from Housewives of Riverton […]
These are just so stinkin’ cute! It was fun crafting with you during this challenge!
Thank you. I love how they turned out and this has been such a fun challenge!
[…] DIY Trick or Treat Bags from Housewives of Riverton […]
These are so adorable! Am I too old to take one out? 😉
Thank you! I am hoping for the opportunity to take out the purple one, aren’t they so fun!!!
[…] DIY Trick or Treat Bags from Housewives of Riverton […]
These bags are so cute! Very easy to personalize with the Cricut
Which is what makes the Cricut so awesome, projects that once would have taken forever are done in a flash! Thank you!
[…] DIY Trick or Treat Bags from Housewives of Riverton […]
[…] DIY Trick or Treat Bags from Housewives of Riverton […]
Lightup Halloween Trickortreat Treat Bag
[…] to provide a means for sites to earn advertising fees by advertising and linking […]
[…] to win a HUGE box of supplies from Cricut! DIY Faux Leather Jewelry from It Happens In A Blink DIY Trick or Treat Bags from Housewives of Riverton Easy Triangle Garland from Our Thrifty Ideas Halloween Skull Leggings […]
[…] to win a huge box of supplies from Cricut! DIY Faux Leather Jewelry from It Happens In A Blink DIY Trick or Treat Bags from Housewives of Riverton Easy Triangle Garland from Our Thirfty Ideas Halloween Skull Leggings […]
[…] to win a HUGE box of supplies from Cricut! DIY Faux Leather Jewelry from It Happens In A Blink DIY Trick or Treat Bags from Housewives of Riverton Easy Triangle Garland from Our Thrifty Ideas Halloween Skull Leggings […]