This post may contain affiliate links. If you purchase something through any link, we may receive a small commission at no extra charge to you. Supplies used may be given to us free of charge, all projects and opinions are my own.
Happy Birthday Box with Cricut and Cuddlebug
This post is sponsored by Cricut, all thoughts, opinions, and photos are my own. This post may contain affiliate links, all this means is if you purchase through the link we may receive a small payment, you will not pay more for your items.
 Hello! Happy last day of July! I’m not sure how we’re here at the end of July already but I’m loving this summer, if you ask me summer vacation should last forever.
I had the opportunity to spend a little time crafting this past week and I think I might have a new favorite project to make with my Cricut Explore Air 2. These cute little boxes are so fun and easy to create using the Explore Air 2 and the Cuddlebug.
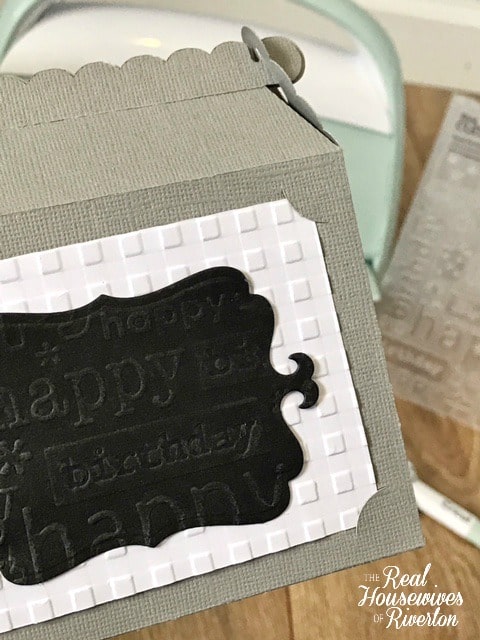
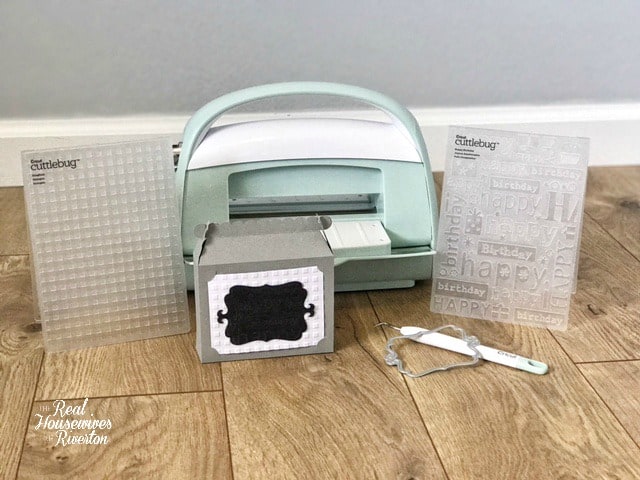 First of all I need to say having a Cuddlebug that perfectly matches my Air 2 and all the tools makes this (slightly crazy) lady happy! The Cuddlebug is such a fun machine to use to help personalize the cute box I created using Design Space. Look at how awesome the Cuddlebug embosses and cuts.
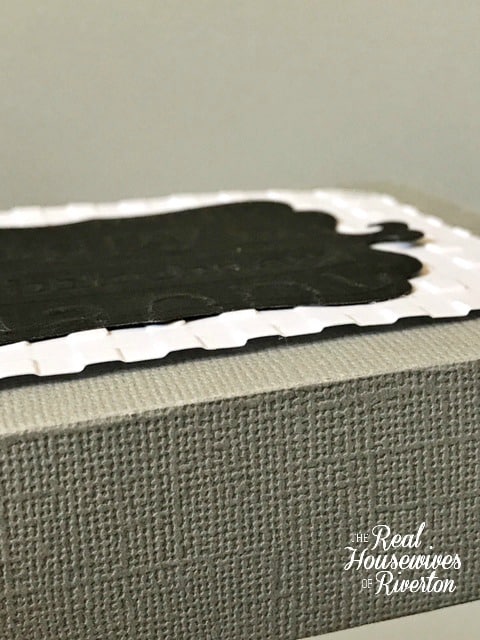 I love how the embossing is so detailed without piercing the paper. I love layering the embossed pieces for even more detail. Did you know that along with embossing the Cuddlebug can cut out pieces too? After embossing the black paper with the cute Happy Birthday Embossing Folder I used the Cuddlebug Labels and Such Cut and Emboss Die Set to create the label for the front of the box, perfectly crisp cut lines makes this mama a happy girl!
 Happy Birthday Box supplies:
Grey Cardstock 12″x 12″
White Cardstock 4″x 3″
Black Cardstock 4″x 3″
Cricut Explore Air 2
Cricut Standard Grip Mat
Cuddlebug
Scoring Stylus
Happy Birthday Embossing Folder
Gingham Embossing Folder
Labels and Such Cut and Emboss Die Set
 Happy Birthday Box Instructions:
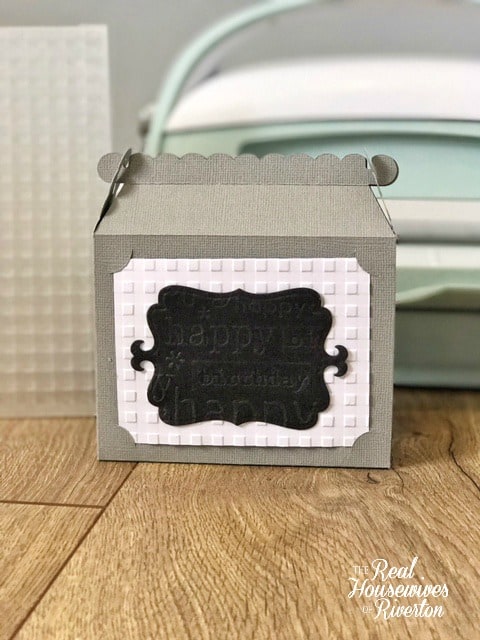
Using a 12″x 12″ piece of grey cardstock cut out the box template (here). The scoring tool makes putting the box together a piece of cake. Box pieces can be attached using your favorite adhesive. The box is the perfect size for a small treat and a gift card.
To dress up the box take your white piece of cardstock and emboss it using the gingham embossing folder in the Cuddlebug.
Next, using the happy birthday embossing folder emboss the black piece of cardstock with the Cuddlebug. After you’ve embossed your black cardstock, using the shown label embossing die decide where you’d like to cut out the label and run it through the Cuddlebug to cut it out.
Center the black label over the white gingham embossed piece of cardstock and adhere. Slide the corners of the white cardstock into cut slits on the box and your Happy Birthday Box is complete!
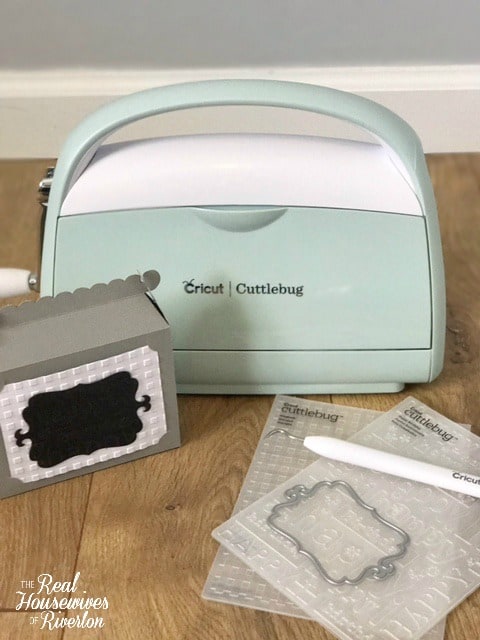 *tip* it helps to have a Cricut weeding tool on hand when using dies, especially intricate ones. The weeding tool makes it easier to get all the pieces out of the die without any bending/tearing.
Another tip. If you don’t have a Cuddlebug (get one haha) there are a lot of cute happy birthday box ideas in Design Space under the Make it Now projects. I love using the Make it Now projects, there are so many options to create fun projects and the process is so simple. The Make it Now projects have every cut file included so you can easily create the cute (and often awe inspiring) project without having to search for every different image. If you haven’t created a Make it Now project you need to head over there and look around because I promise you’re going to find a project you want to create immediately.

This is a sponsored conversation written by me on behalf of Cricut. The opinions and text are all mine.
- Bringing Home Baby Chicks - March 11, 2025
- Is RootsTech for Moms? - February 23, 2024
- How to Get Oil Stains Out of Clothes - May 5, 2023

