This post may contain affiliate links. If you purchase something through any link, we may receive a small commission at no extra charge to you. Supplies used may be given to us free of charge, all projects and opinions are my own.
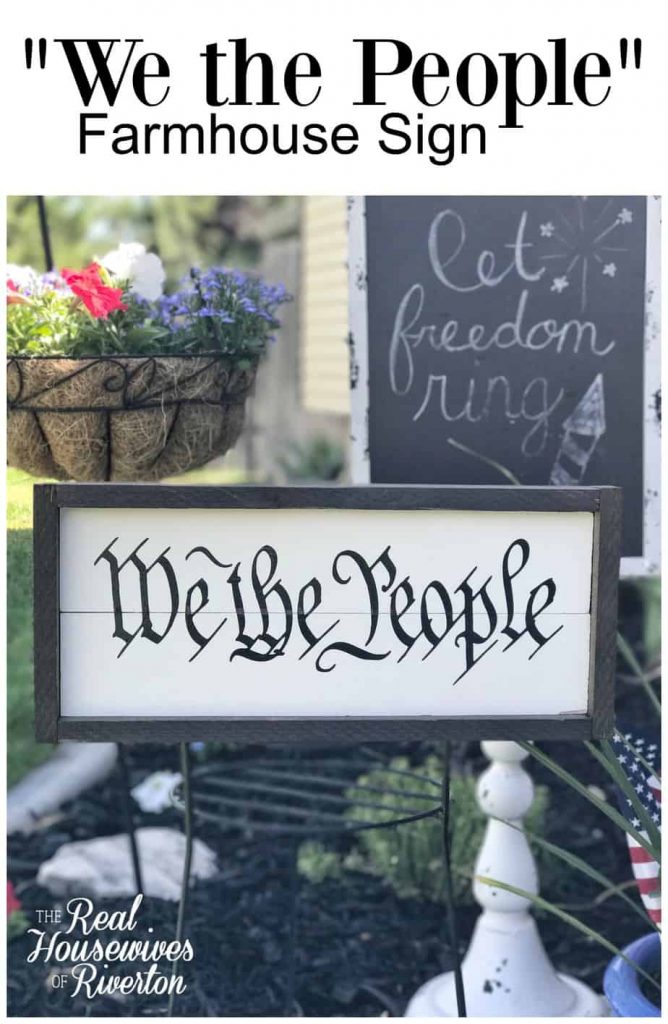
“We the People” Farmhouse Sign
As I was preparing to decorate for the fourth this year I had a few projects in mind that I wanted to add to the house and then I was up late one night watching a show and a whole new project came to mind.
“We the People of the United States, in Order to form a more perfect Union, establish Justice, insure domestic Tranquility, provide for the common defence, promote the general Welfare, and secure the Blessings of Liberty to ourselves and our Posterity, do ordain and establish this Constitution for the United States of America.”
I love the Preamble of the Constitution and I was so excited about the idea I came up with that I started on it immediately and it came together exactly how I imagined it in my head.
To make my sign I used the following materials:
1″x 4″ common board cut to 18″ x 2
1″x 2″ common board cut to 18″ x 2
1″x 2″ common board cut to 8.5″ x 2
(these measurements will give you a finished sign of 19.5″x 8.5″. When buying boards it is important or at least good to note that a 1″x 2″ board is actually 3/4″x 1.5″, you need to know these measurements to get proper cut lengths)
wood glue
nail gun
saw
wood stain (I used minwax Dark Walnut)
cream paint (Country Chic Vanilla Frosting)
black vinyl
transfer tape
While you can create a farmhouse sign any size, I created this one specifically to fit “We the People“. Also, you can use the measurements above as a guideline but please measure, measure, and measure again before you make any cuts. If you don’t have a saw, you can get your cuts done where you purchase your lumber.
Before assembly paint your 1″x 4″ boards, I used Country Chic Vanilla Frosting paint and I highly recommend it. I did a solid 2 coats letting fully dry between coats. I also stained all my frame pieces and let them dry before assembly, stain was one quick coat.
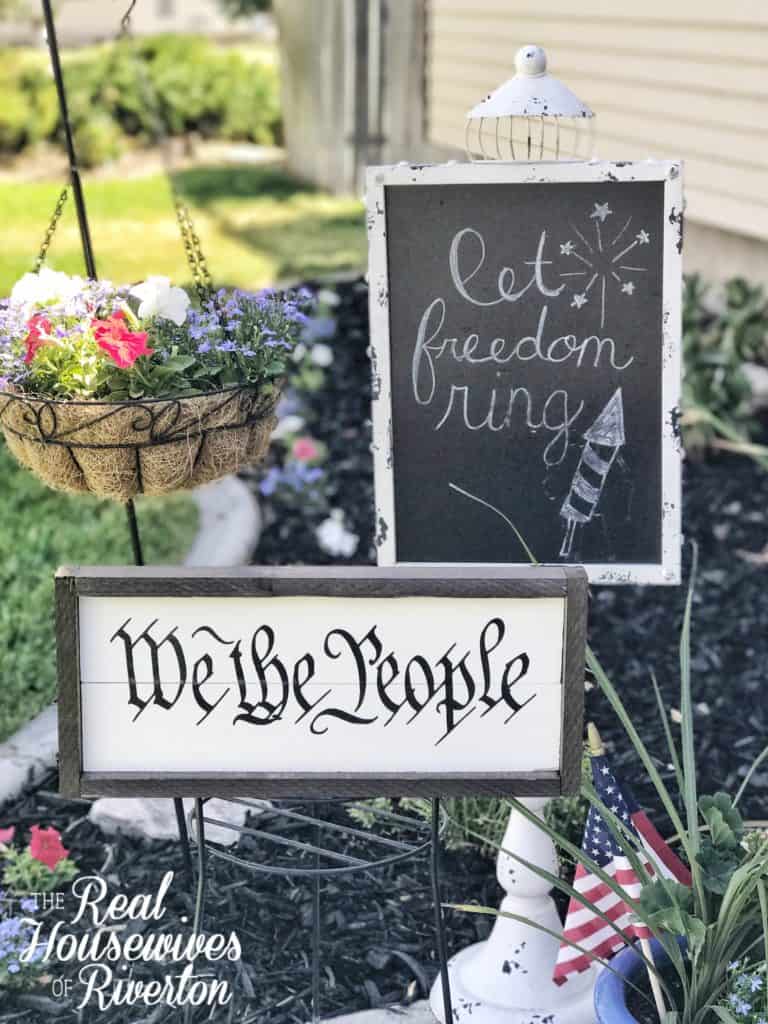
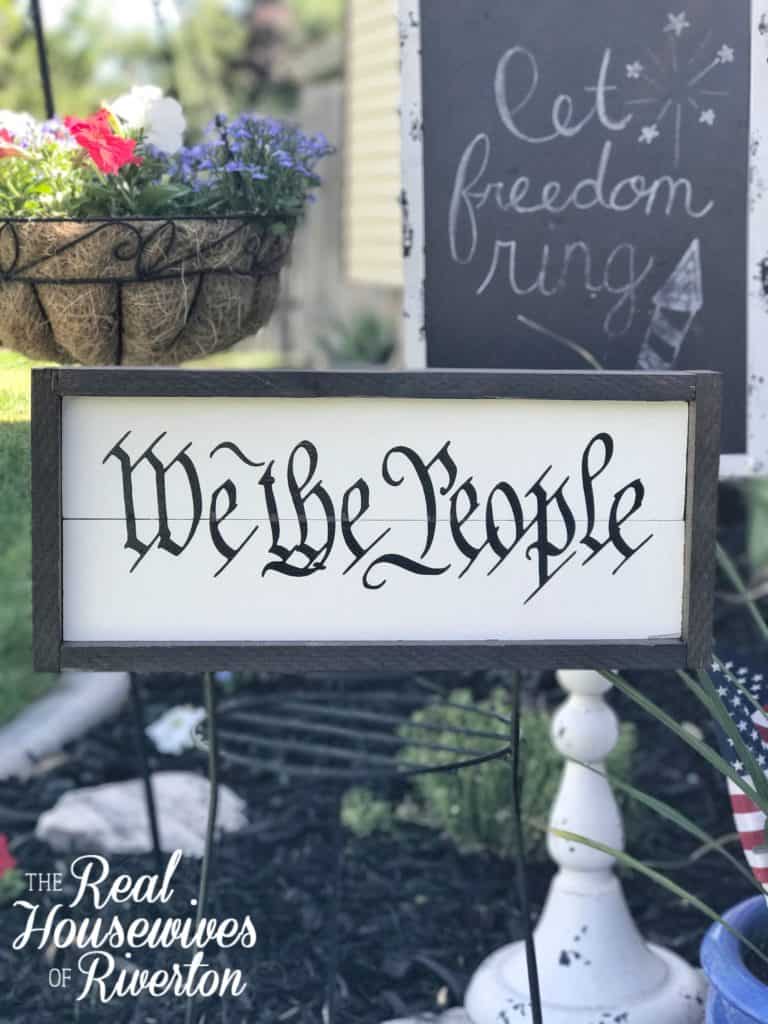
While the paint and stain are drying you’ve got the perfect opportunity to cut your vinyl. I used my Cricut Explore Air 2 cutting machine to cut my vinyl. Instead of trying to find a font that I would work I hit google and typed in “We the People”, then clicked on images. I then created this .svg file that is easily uploaded to design space. To fit my DIY farmhouse sign I manipulated “We the People” to the size of 5″x 16″, this gave me 1″ on each end and top and bottom from the words to the frame.
Once paint and stain are dry apply a thin line of wood glue along the long side of one 18″ 1″x 4″ board, line 1 18″ 1″x 2″ board so the back sides are flush. Using a nail gun close to the back of the boards attach the pieces together with finish nails approximately 3″ apart. Apply wood glue to the short sides and then attach frame pieces the same way, continue to build your sign by applying wood glue and nails to each piece.
When applying your vinyl it is important to make sure your paint is totally dry. I highly recommend trimming your vinyl to just around the letters in as straight of lines as you can get. This makes placement much easier, I also recommend doing the same with your transfer tape. I marked 1″ in from all edges and then using the e’s in We, the, and people lined up my words. Because the e’s are in every word and pretty evenly spread out they are the perfect way to make sure your words stay straight. As you can see in my photos I used the center line of the wood and placed the e’s in the same place all the way across.
Do you love the farmhouse sign trend? Do you have one in your home? I love the look of them and now I love how easy they are to make! I am trying to decide what exactly I want to make for above my pantry, I know I want a farmhouse sign but I’m not positive about what I want it to say…any suggestions?
We have a great discount for our crafting friends! Click and use code Creative10 for 10% off and free shipping on purchases over $50! *Not valid on machines, Cricut Access memberships, or digital image purchases*
- Is RootsTech for Moms? - February 23, 2024
- How to Get Oil Stains Out of Clothes - May 5, 2023
- How to Clean Towels that Smell Like Mildew - January 20, 2023


[…] be giving them as gifts as well! Fresh Eggs Farmhouse Sign Tutorial: If you remember my We The People farmhouse sign (which is still maybe my favorite thing ever) the assembly for the Fresh Eggs […]
[…] We The People Farmhouse Sign – Housewives of Riverton […]
While looking for Cricut projects I came across your site. I love your love for the 4th of July. I am going to make your “We the People” sign. Reading those words dors something to my spirit. I’d like to see that sign year around. Thank you for sharing the tutorial. Like I said, just discovered your site, looking forward to see what else I’ll find and make. Thanks for sharing, you’ve done a great job of making it look easy.
[…] more informative post like “What is Cricut Joy” check out these other posts: We the People Farmhouse sign You are something Magical Sign How to create a felt and wood […]
[…] 88. DIY Farmhouse Sign […]
I am having trouble downloading your svg files for these projects. Am I doing something wrong?
I’m not sure. It is actually an image that you can download and then upload into Cricut Design Space and erase the white background. Are you having problem with downloading it to your computer or uploading it into Design Space?