This post may contain affiliate links. If you purchase something through any link, we may receive a small commission at no extra charge to you. Supplies used may be given to us free of charge, all projects and opinions are my own.
From September through November keep your porch festive with our 6′ Autumn Porch Sign.
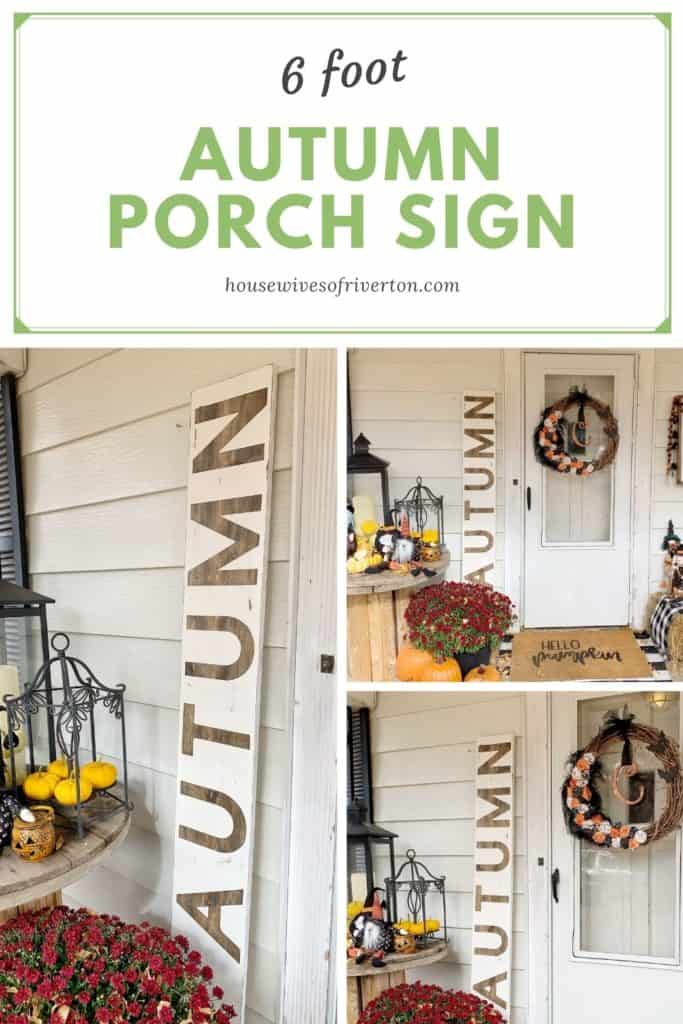
Having a nice big porch to decorate for the holidays has always been a dream of mine. Our new house has a much bigger porch than our last house did and I have really enjoyed dressing it up this fall.
Why build a 6′ Autumn Porch Sign?
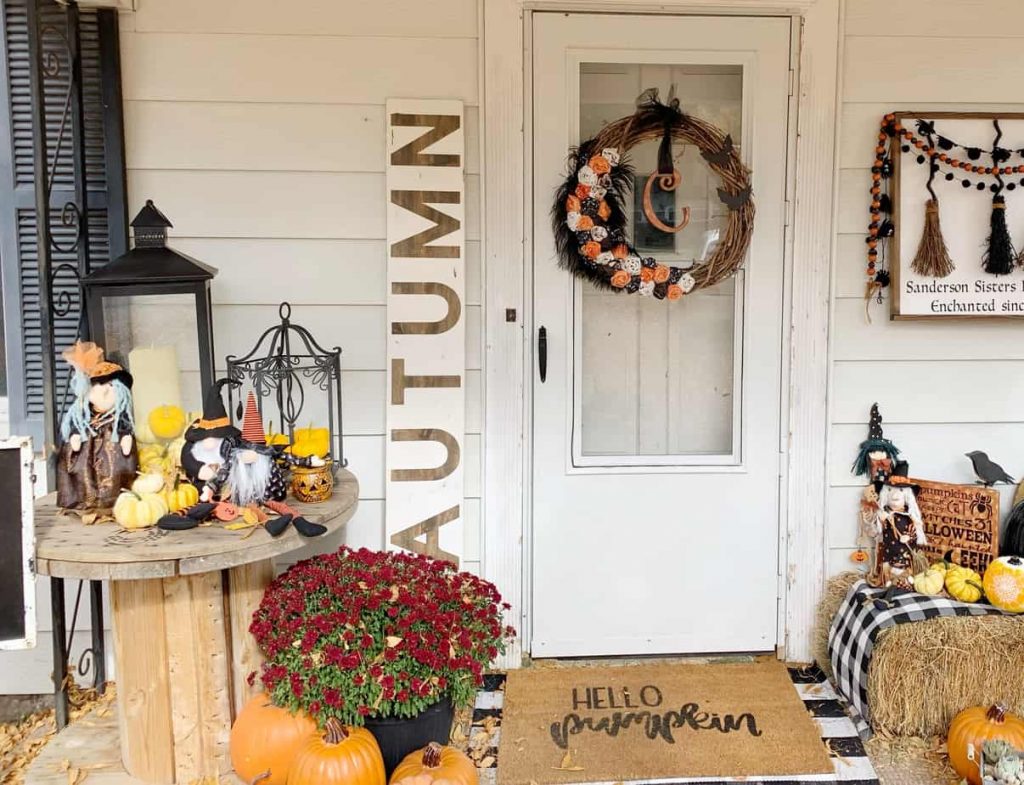
I have seen a lot of porch signs that I have loved but I’ve always been worried that other things on the porch would block part of the word and then it wouldn’t make sense to people walking/driving by.
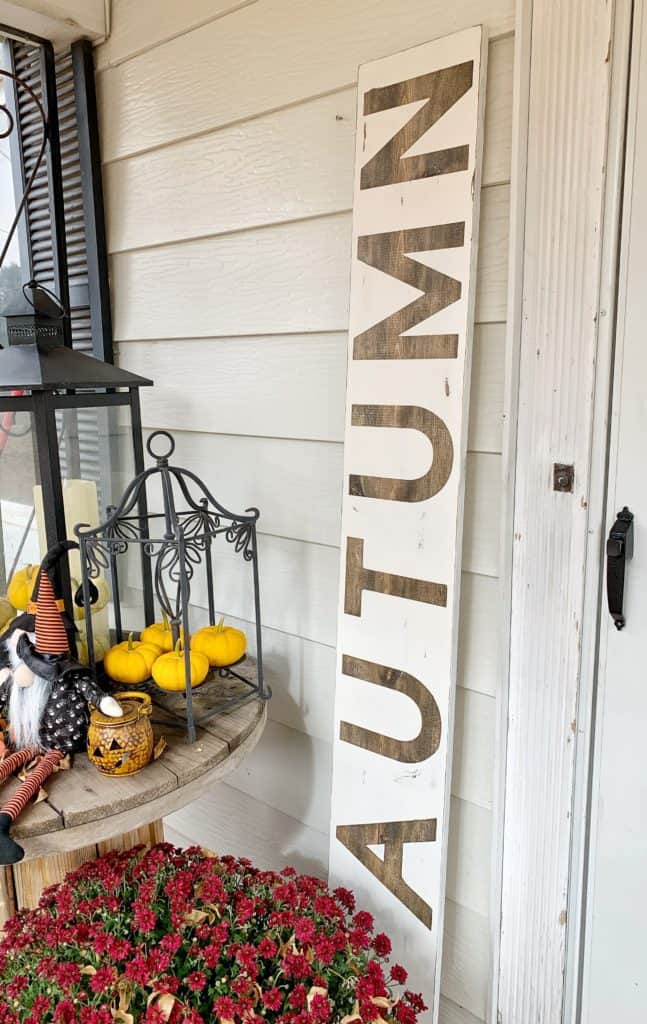
By using a 6′ board for my sign I was able to have a space at the bottom so flowers, pumpkins, or other decor can sit in front of it and you can still see the whole word.
How to build a 6′ Autumn Porch Sign:
To build a 6′ Autumn Porch Sign like mine you’re going to need a 6’x 1″x 10″ common white board, dark walnut stain, white paint, vinyl, scraping tool, weeding tool, fine grit sand paper, clear spray sealant, and a cutting machine.
If you use a Cricut machine you can use my cut file for the autumn letters here: 6′ Autumn Porch Sign cut file.
Gather all your supplies and decide which side of the board will be the front. Next sand the sign (if needed) until it is nice and smooth.
Use a lint free cloth and apply stain to the front of the board and all the sides. Let it dry really well.
Apply vinyl using transfer tape to the wood making sure to space the letters correctly (watch the video to see how I applied and spaced them).
Once vinyl is applied using a paint brush paint the whole front of the board. Make sure you paint away from the edges of the letters for the first coat to help prevent paint from getting under the vinyl.
After applying a second coat (if needed) remove the vinyl. Don’t let the paint dry all the way. It may adhere to the vinyl peel as you remove the the letters.
If you want your sign distressed like mine, use a fine grit sand paper to distress the edges and letters. I walk you through the whole process in the video.
After you have the sign looking like you want, use a clean lint free cloth to dust the board off.
Apply 2 coats of clear spray sealant to protect your sign. Especially if you’re going to have it outside on your porch.
I have a full video tutorial below that walks you through making your own 6′ Autumn Porch Sign. You can fast forward, rewind, and pause as needed. In the video you’ll learn from my mistakes and my tips and tricks for a successful project.
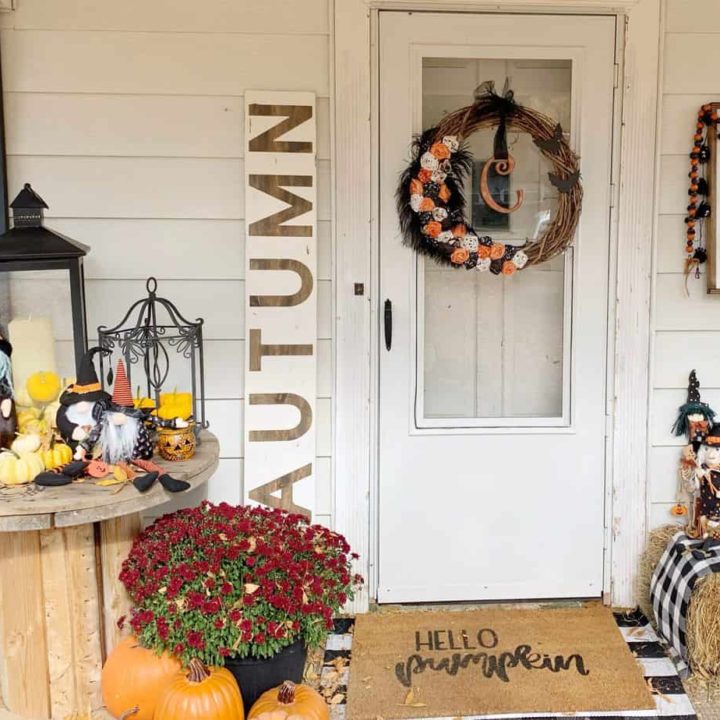
I love how this sign turned out. It’s exactly what I envisioned when I first thought about making my own porch sign.
6' Autumn Porch Sign Tutorial
Make a statement with a 6' Autumn Porch sign that you made yourself. Watch the video for step by step instructions on how to make this beautiful sign.
Materials
- 6' x 10" x 1" Common board
- Stain (we used dark walnut)
- Paint (your choice of white)
- Removable Vinyl (any color will work because it is just a stencil)
- Standard Grip Transfer Tape
- Spray Clear Coat
- Design Space cut file linked in blog post
Tools
- Paint Brush
- Lint Free Cloth
- Cutting Machine (we used a Cricut)
- Weeding Tool
- Scraper
- Fine Grit Sand Paper
Instructions
- Choose the side of the board you want to use and make sure it is nice and smooth. Sand if needed.
- With a lint free cloth (we use an old t-shirt) apply stain to side you want to be the front of your sign and all 4 sides. I did one good coat.
- Let stain dry. For the vinyl to stick when you're applying your letters you want your stain to be very dry. (You'll see in the video that I did not wait long enough. The stain felt dry to the touch but was not all the way dry which made it harder to get the vinyl onto the board from the Transfer Tape.)
- Apply the letters. Watch the attached video for full instructions on how to space and apply vinyl to your board.
- Paint. Make sure you're painting away from the edges of the letters for the first coat. This will help prevent paint from getting under the edges. (You'll see how I did this in the video.) I wanted the white of my sign to be very white so I applied 2 coats.
- Peel off vinyl. You do not want your paint to dry all the way before removing the vinyl. To have nice crisp edges peel off the vinyl while the paint is still wet (not dripping but not dry).
- Follow the instructions of your paint for how long to let dry before applying spray sealant.
- (optional) Using a fine grit sand paper distress as desired.
- Dust off the entire board.
- Spray the whole board with a clear spray sealant.
- Follow the instructions on your sealant for how long to let dry before handling.
- Put your 6' Autumn Porch Sign on your porch and enjoy.
Notes
We like to use old t-shirts as our lint free cloth. Just cut them into pieces and keep them with your craft stuff.
Make sure you let your stain dry really well before applying vinyl.
You can use almost any type of vinyl for this project because you're not letting it sit on the board for any length of time. I recommend removable because it's easy to work with.
If you like our 6′ Autumn Porch Sign check out these other projects we have decorating our porch.

- Bringing Home Baby Chicks - March 11, 2025
- Is RootsTech for Moms? - February 23, 2024
- How to Get Oil Stains Out of Clothes - May 5, 2023

