This post may contain affiliate links. If you purchase something through any link, we may receive a small commission at no extra charge to you. Supplies used may be given to us free of charge, all projects and opinions are my own.
We had our February Cardswap last night. This month's theme was all things baby. We had such a great variety as you will see.
While I was trying to decide what I wanted to do for my cards this month I found this cute *non*card idea and was so excited to do something a little different. I explained to all the ladies that it is still kind of a card, I think it would be cute on top of a gift but also it's a cute way to give a gift card or even just a small little gift.

It is a very basic tutorial because they are very simple!
I found this pillow box template and it is awesome because you can make it whatever size you want. I made it so it was as big as it could get and fit on an 8 1/2 x 11 paper and it actually made a really great size 🙂 I could easily put a little gift in there and there is room to put a little card and gift card in there as well.
It appears once again I didn't take in the process of pictures, but I will tell you what I did.
I printed the template on each of the pieces of paper on the wrong side of the paper (my paper is a solid but does have more texture on one side than it does on the other) and then did as the template said and cut on the solid lines and scored on the dotted lines. I used the back of a butter knife to score my lines, I have a bone scorer thing but can never find it (oops).
I used hot glue to glue the flap down and used my clothes pins to hold it closed while the glue dried.
I cut a 12×12 piece of paper cut to 1.5 wide and just glued it around it closing it on the flap seam.
I have rolls of tulle and so I wrapped it around the printed paper twice to make it look nice and full and tied it in a knot.
I used my stampin up scallop circle punch and punched out white cardstock and then I used my circle punch and a text printed paper and punched out things that said “baby boy” and “baby girl” and then just used hot glue (again) to put the circles on the tulle knot. I used some stickers I had on hand to add a little more dimension to the cards and that is it!


Didn't they turn out cute? I really do love them and it was fun to do something a little bit different!
Along with it being baby cardswap we also had a bit of a baby shower celebrating not 1, not 2 but THREE new baby girls being born into our group in the next few weeks!

I cannot wait until all these babies get here!
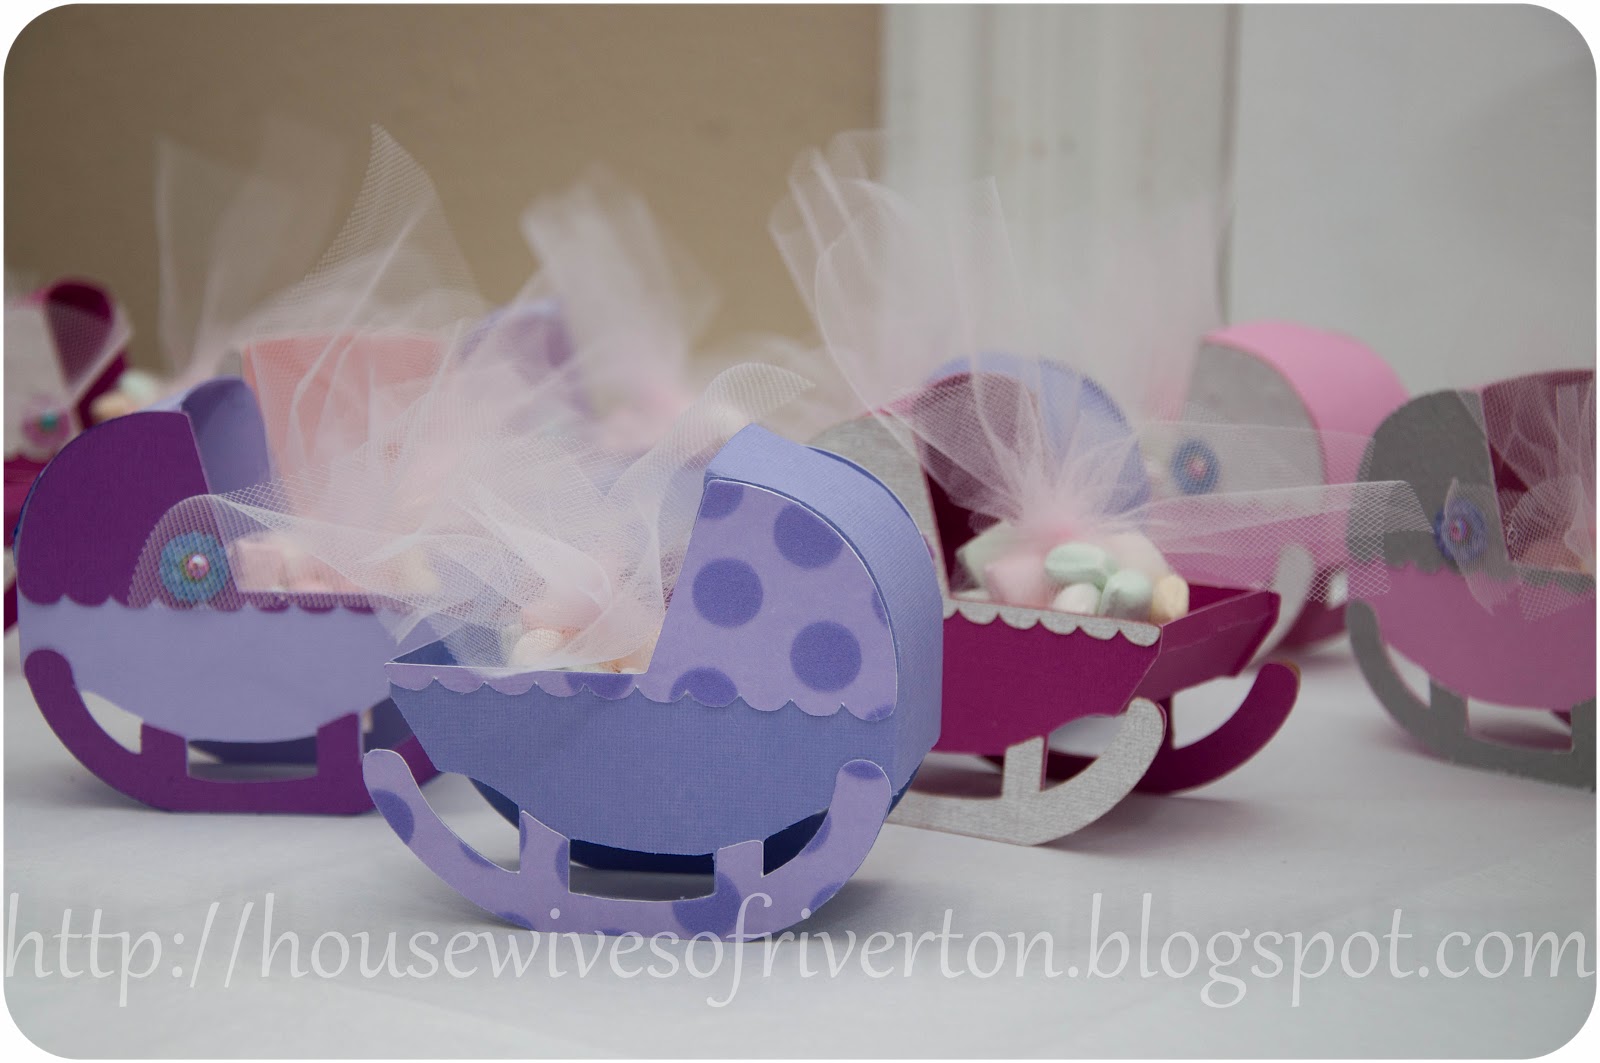
Gena helped me out with the decorations (that I didn't take pictures of which is sad because while it wasn't over the top it was cute and we had yummy food!). She made these cute little baby carriages and then I used my tulle and wrapped up some dinner mints and it was a cute little treat for people to take home with them.

The cards are once again amazing and adorable!

Gena did an adorable circle card. I love the folded fan look with the cut out on the edges.

It was cute alone but look how cute it is using a CD case as her envelope?!! Love it

Nikki's card is adorable as well, I am in love with the bakery twine and the brown with the soft pastels works so well!

Lisa blew my mind (and I am hoping she'll have a tutorial for us soon) with her little circle punch baby sleeping on the moon. Is that not the cutest thing ever?!!!!

Amy showed us her mad sewing skills once again by making cute overalls that she actually did the stitching on! I love the overalls but that little frog just makes me smile!

Shelly did a friendship card (every month you have the option of doing the monthly theme or doing a card that can be used for any reason, if that makes sense, a multi-purpose card if you will) and we were all waiting on pins and needles for her to tell us how she did this card. Imagine our shock and surprise when she said they are all just square punches with 2 of the corners rounded!!! How simple is that? It looks so great. I love it.

Amanda had me sold at corduroy brad. Her card is so cute in all her soft baby boy colors but that brad, I just want to take it off and put it somewhere in my house.

Paula will share with us how she did her card (tomorrow hopefully) and I think it is adorable, I love zoo animals and ones that look like a baby animal I love even more.

Kelly, our photoshop queen came up with this adorable card. It's hard to tell in my picture but all her dots on the pink are raised up and glossy looking. It added so much dimension and you can't tell when you look but her ribbon is printed on her paper, it looks like ribbon tied there but you don't have to worry about it coming off. So cute.

Marianne took my favorite colors right now and every one's favorite subway art and made this darling card. We've seen the glittered polka-dot paper before but she made it her own but folding it into a circled accordion and it turned out perfect.

Angela made a sweet little baby romper into a sweet little card. I love the silver brads being used as the snaps on the romper and of course who doesn't love blue and brown?

Kristin made this amazing *expecting* card. She used the colors I hope to have in my room sooner than later (love grey and yellow and black!) and made her cute little pregnant girl really stand out (wish I could have looked that cute pregnant!)
Well done my amazing friends! Your talent leaves me in awe!
I LOVE CARDSWAP!!!!
© The REAL Housewives of Riverton, 2011-2012. Unauthorized use and/or duplication of this material without express and written permission from this blog’s authors and/or owners is strictly prohibited. Excerpts and links may be used, provided that full and clear credit is given to The REAL Housewives of Riverton with appropriate and specific direction to the original content.
Latest posts by Creative Housewives (see all)
- The Best Vinegar Paint Brush Cleaner Method - May 6, 2023
- 10 Fun and Easy St. Patrick's Day Games - March 1, 2023
- Valentine's Day Felt Wreath DIY - January 20, 2023
