This post may contain affiliate links. If you purchase something through any link, we may receive a small commission at no extra charge to you. Supplies used may be given to us free of charge, all projects and opinions are my own.
DIY Canvas Picture
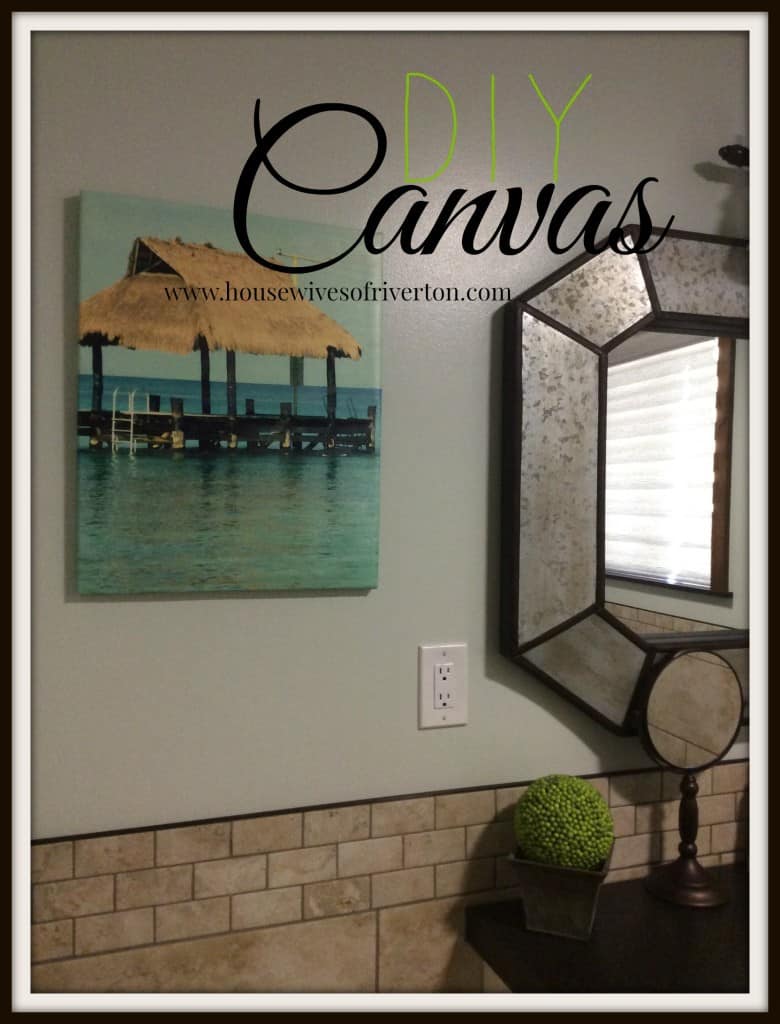
So if you don’t remember a few weeks ago I made a post about our bathroom makeover with the before pictures. If you didn’t read it you can go back and see it here. I’m going to do the big reveal next week so you can see how beautiful it turned out but today I’m giving you a little sneak peek of one of the walls to show you how I made this canvas out of a picture I took when Kelly and I went on a cruise to the Caribbean.
I wanted our bathroom to have a spa feel. Kind of a little retreat or get away if you please. When I look at this Caribbean picture it takes me right back to the warm sunny beach with the most amazing blue green water. Kelly and I para-sailed from this dock. There was this local who had his boat tied to the dock and he was with his little boy. We went to talk to him and before you knew it we were in a harness high in the sky looking down into the beautiful water searching for sting rays. It was so amazing. A little scary afterwards and if I had thought about it for too long I probably wouldn’t have done it but I’m so glad we did and thinking back about it makes me happy.
I remember when we were leaving the dock Kelly went back and gave the little boy a tip….like $10 and you should have seen the look on his face…..so happy and ran back to his dad celebrating.
Decorating is about surrounding yourself with things that make you happy. Every time I go into my bathroom I’m reminded of a wonderful experience that makes me smile.
I knew I wanted to use this picture and I looked into having it made into a canvas but really I didn’t want to pay the price. I had seen on pinterest a few “how too’s” on canvas making so I decided to give it a try.
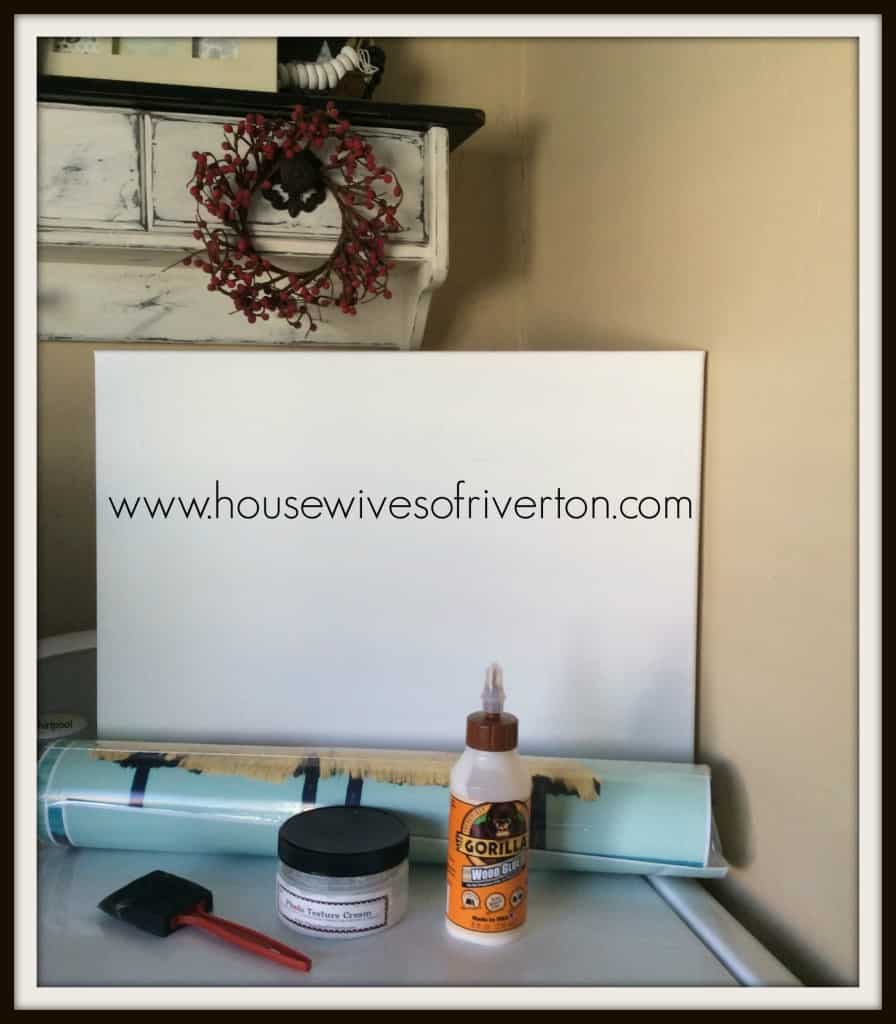
DIY Canvas Picture supplies
I first went to Hobby Lobby to see the canvas sizes and picked the 16×20 size. A package of 2 was $8. After I knew what size the canvas was I sent my picture into Sam’s Club to be enlarged. I had it printed in a 20×24. This would give me plenty of picture to wrap around the sides.
I also used wood glue, a foam brush and texture cream which I will explain what that is later.
Instructions
The process is fairly simple, what makes it a little more difficult is gluing the picture on straight and the fact that photo paper isn’t like fabric so it doesn’t wrap around the edges easily.
I started by drawing straight lines on the back to line the canvas up straight.
Next, generously brush the wood glue onto the canvas (making sure the whole surface has glue on it) and then lay your picture down and line it up with the lines you drew. It does have a little give and can be moved at first.
You will now want to use a credit card to rub the back of the canvas to get all the air pockets out and this will also spread the glue out evenly. Take your time doing this because you want it to dry very flat and no air bubbles. Also, watch the outside edges of the canvas because some glue will be pushed out. Wipe this away…you don’t want it to dry in a puddle because that will effect the edges when you wrap the picture around to the back. This will need to dry for a few hours. Never use the credit card on the front of the picture because that will quickly ruin your picture.
Finishing your canvas picture
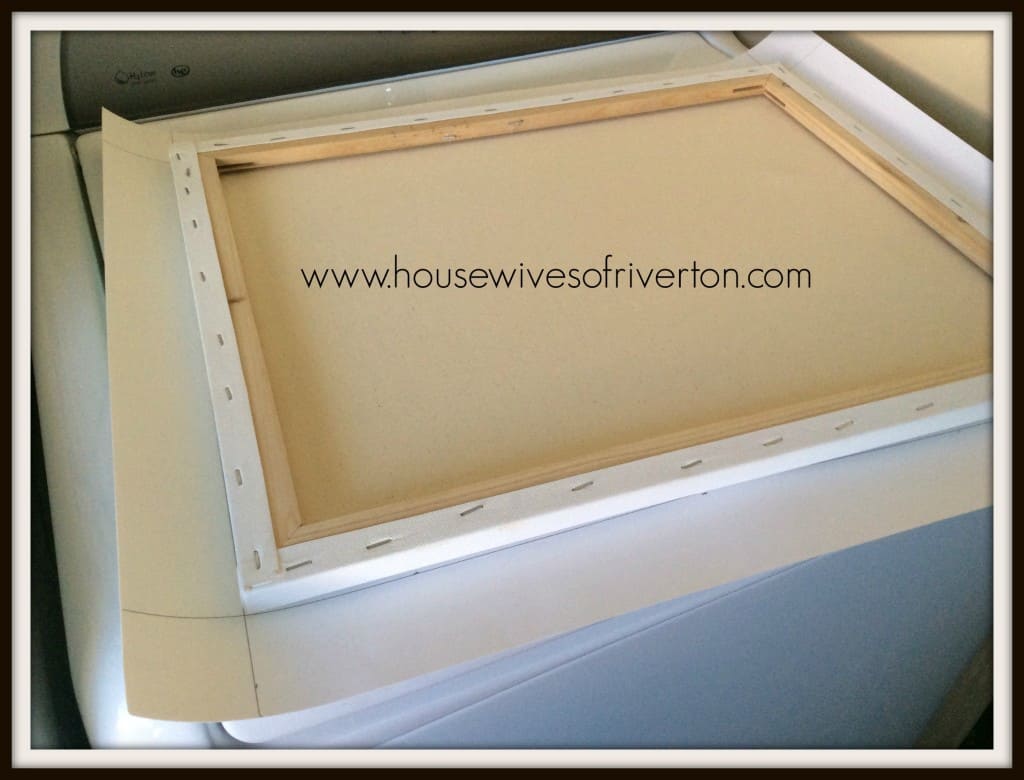
Once it is completely dry it is time to wrap the edges. This is done like wrapping a present. Fold in the edge and wrap and staple to secure it. Fold and staple. The corners will need to be trimmed so it isn’t too bulky. Some of the other ways is to glue the sides but I felt the staple would be easier and hold it better. It does take a more industrial stapler.
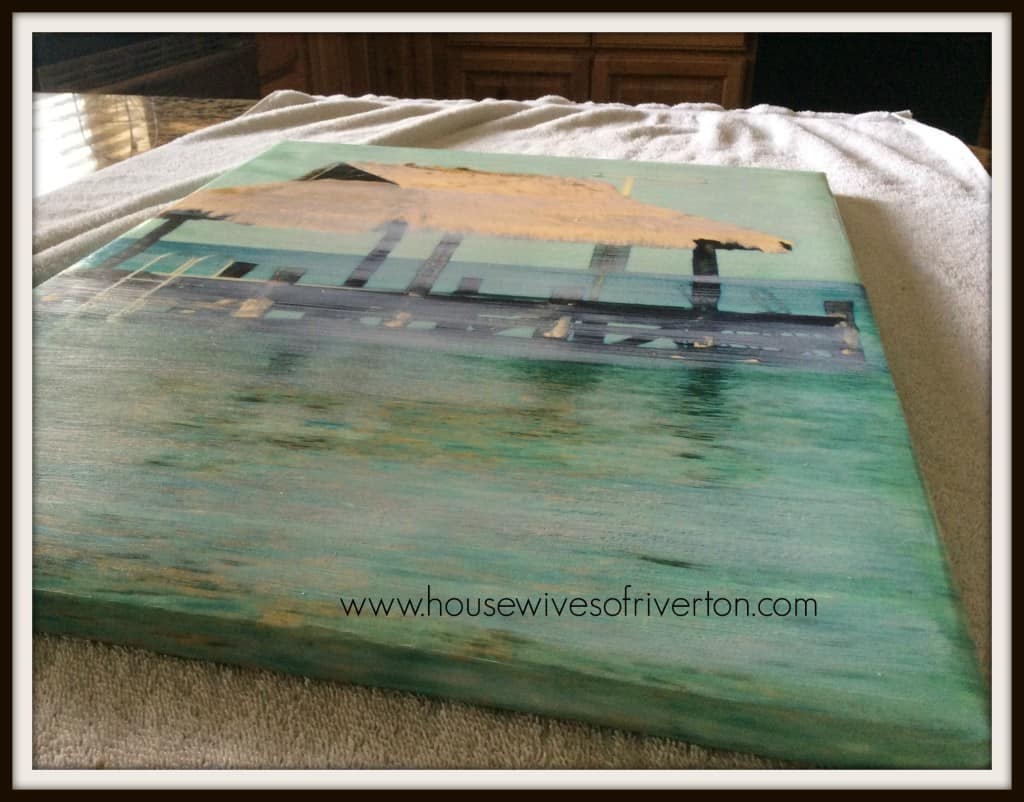
This picture shows what it looks like after you paint the picture with the texture creme. I bought the texture creme I used here locally at Poppy Seed. You can buy it online. A jar goes a long way. The texture cream does just that…. it gives it texture so it looks like a painting instead of a photograph. When it dries you can see the strokes and the secret is to use enough on your brush and only brush it once or twice and leave it alone to dry. Pretty cool!!
I plan on doing more of these. I love the way it turned out and I’m sure I saved some money doing it myself. Don’t forget to come back next week to see the rest of my bathroom. I’m so excited to share it with you. You’re not going to believe the change.
- The Best Vinegar Paint Brush Cleaner Method - May 6, 2023
- 10 Fun and Easy St. Patrick’s Day Games - March 1, 2023
- Valentine’s Day Felt Wreath DIY - January 20, 2023




[…] The toilet is in the same place but with the tub gone we were able to add a much bigger vanity. We chose a black leather granite for the counter tops. This also shows the canvas I showed you how to make last week. You can check that out here. […]