This post may contain affiliate links. If you purchase something through any link, we may receive a small commission at no extra charge to you. Supplies used may be given to us free of charge, all projects and opinions are my own.
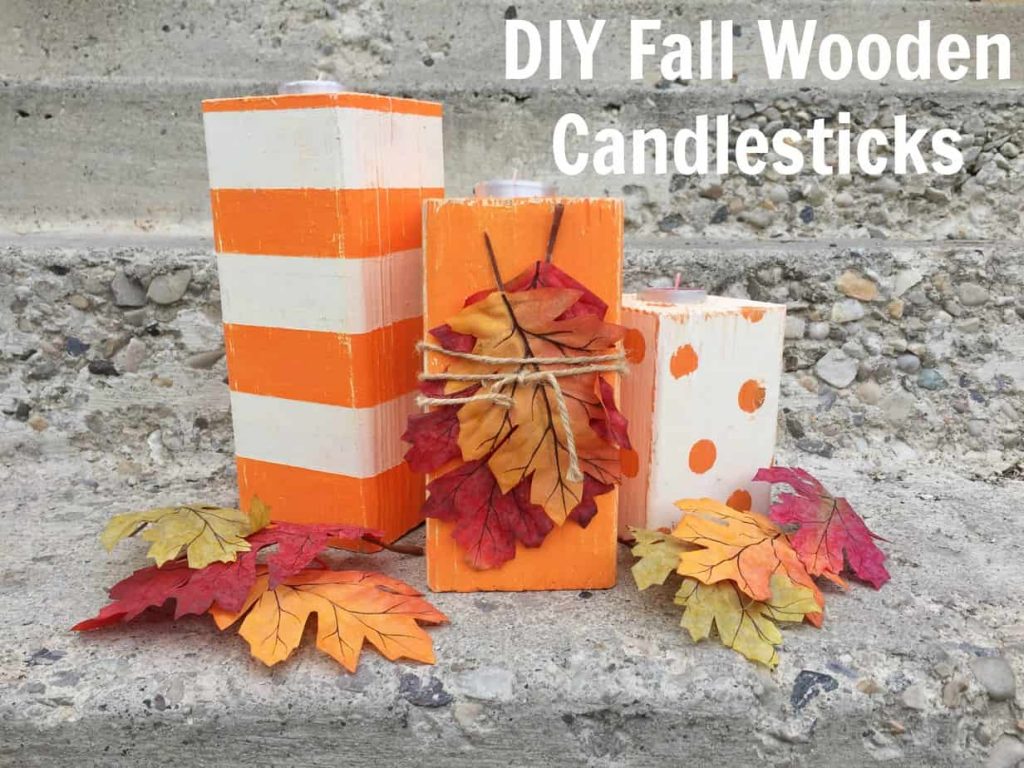
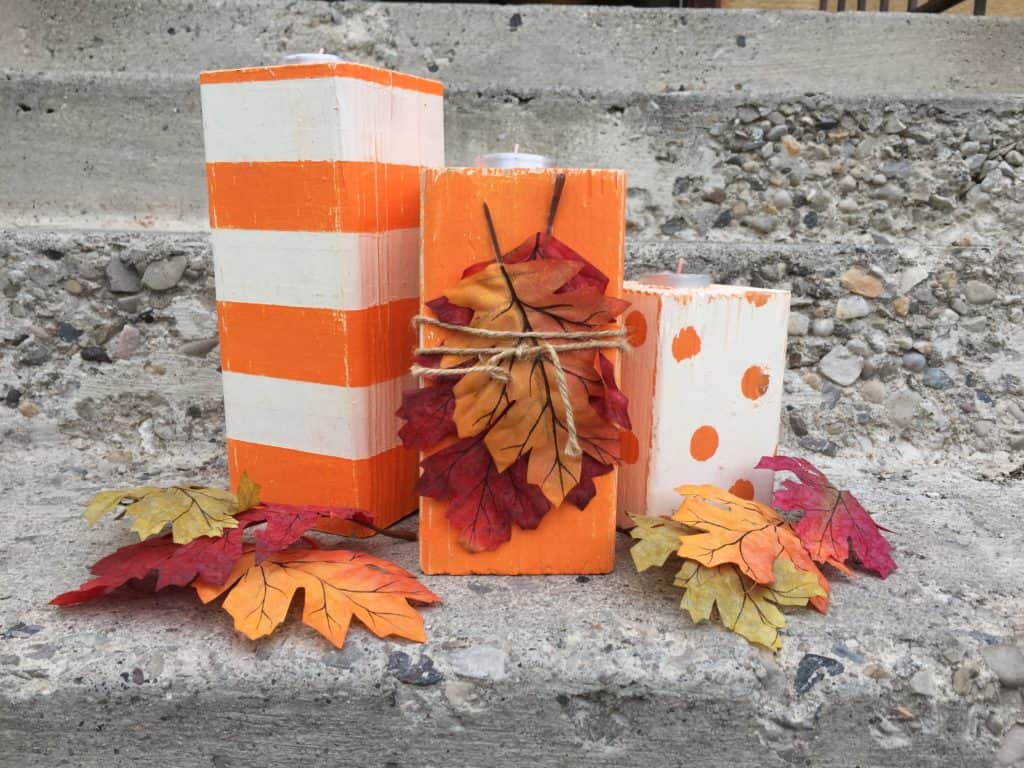
To make these DIY Fall Wooden Candlesticks yourself you’ll need a 4″x 4″ post and you’ll need that post cut to 5″, 7″, and 9″ (from one post you’ll be able to make multiple sets so I suggest having a crafting night and divvy up the supplies needed). If you purchase from like Home Depot or Lowes if you ask they’ll cut it for you, sometimes they charge a small fee, sometimes they don’t, you’ll have to check with your store.
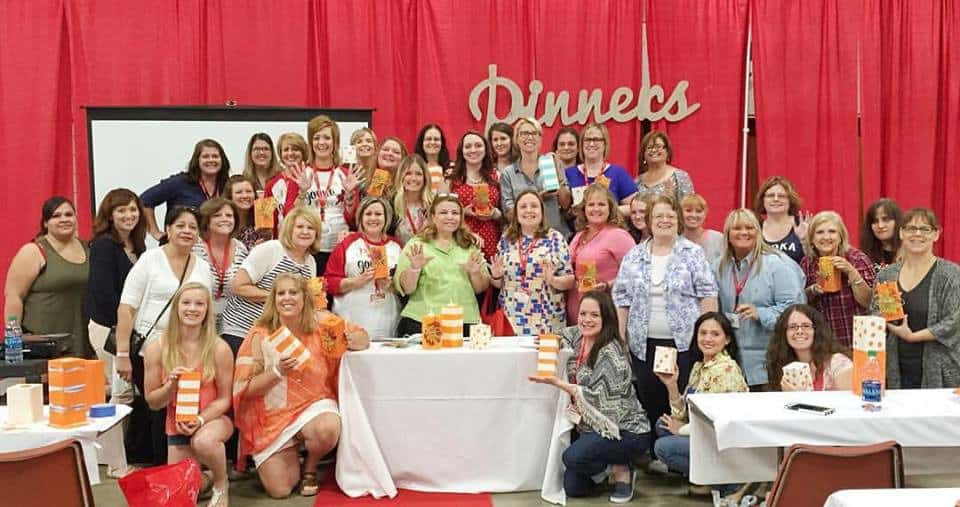
We are so thankful to have had our wood sponsored for our class by Arauco N. A. we use so many of their products especially their MDF, it was so awesome to work with them. If you want to find out where you can find their great products in your area click here.
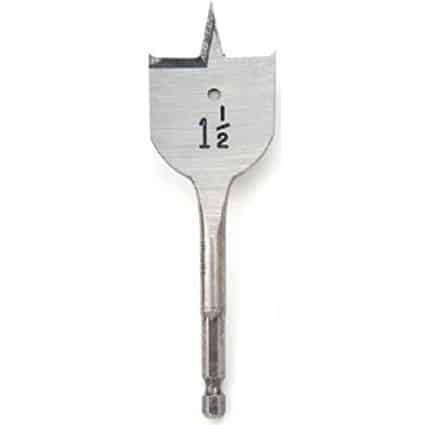
Before you get to painting you need to find the center of the top of your block. This is easily done by using a ruler and drawing a light line from corner to corner and where they cross is your center. You’re going to drill a hole into the top of your block. To fit a tealight candle you want to use a 1.5″ Spade Bit that looks like this:
Once it’s cut and you’ve got your holes drilled, using a sanding block or sandpaper smooth out all the surfaces.
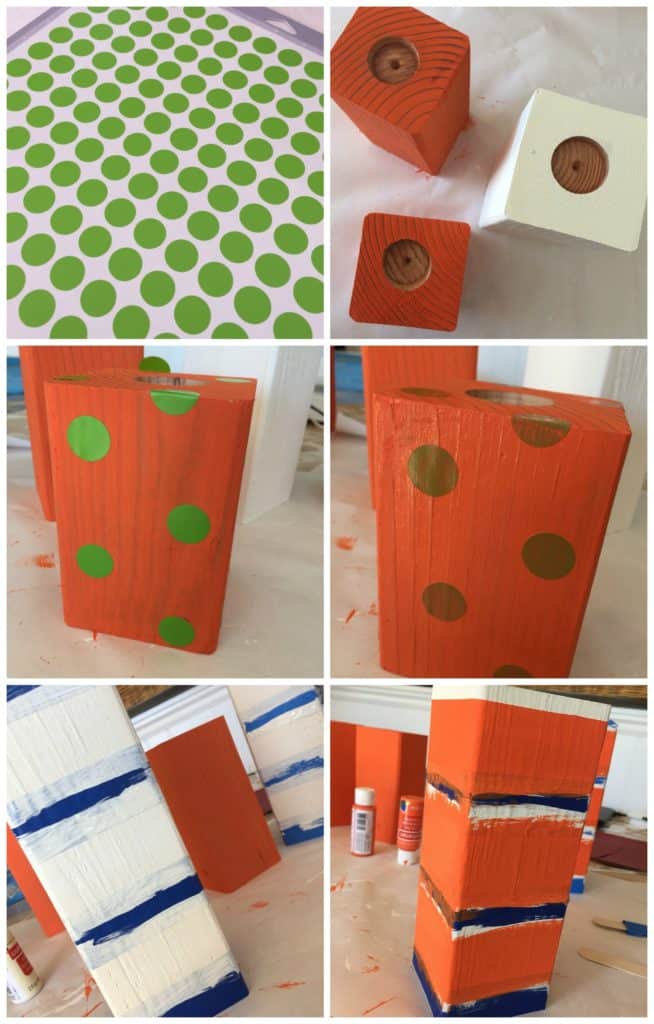
There are different painting steps for each different pumpkin. You’re going to start off painting your 5 and 7 inch candlesticks orange and your 9 inch candlestick cream (we used Craft Smart brand paint and the colors are vanilla and dark orange). Once they’re dry you’re going to paint another coat of orange on your 7 inch candlestick.
While you’re waiting for that second coat to dry you are going to use your 3/4″ circle vinyl stickers and place them in a random pattern on the 5 inch candlestick. For the 9″ candlestick you’re going to use painter’s tape (we used 1.41″ painter’s tape) and started from the bottom spacing the tape 1.41″ apart.
For both the circles and the stripes to help keep the lines/edges crisp apply a thin layer of paint over the circles/tape the same colors as the base. Because the layer should be really thin it will dry fast. After that paint the entire 5 inch candlestick cream and the entire 9 inch candlestick orange. You’ll want to make sure they’re covered well but not too heavy. Before the paint dries remove the vinyl stickers and the tape. Once everything is dry distress as needed with sanding block or sandpaper. You want to make sure the paint it totally dry before sanding or you’ll get a smeared look not a distressed look.
- Is RootsTech for Moms? - February 23, 2024
- How to Get Oil Stains Out of Clothes - May 5, 2023
- How to Clean Towels that Smell Like Mildew - January 20, 2023

