This post may contain affiliate links. If you purchase something through any link, we may receive a small commission at no extra charge to you. Supplies used may be given to us free of charge, all projects and opinions are my own.
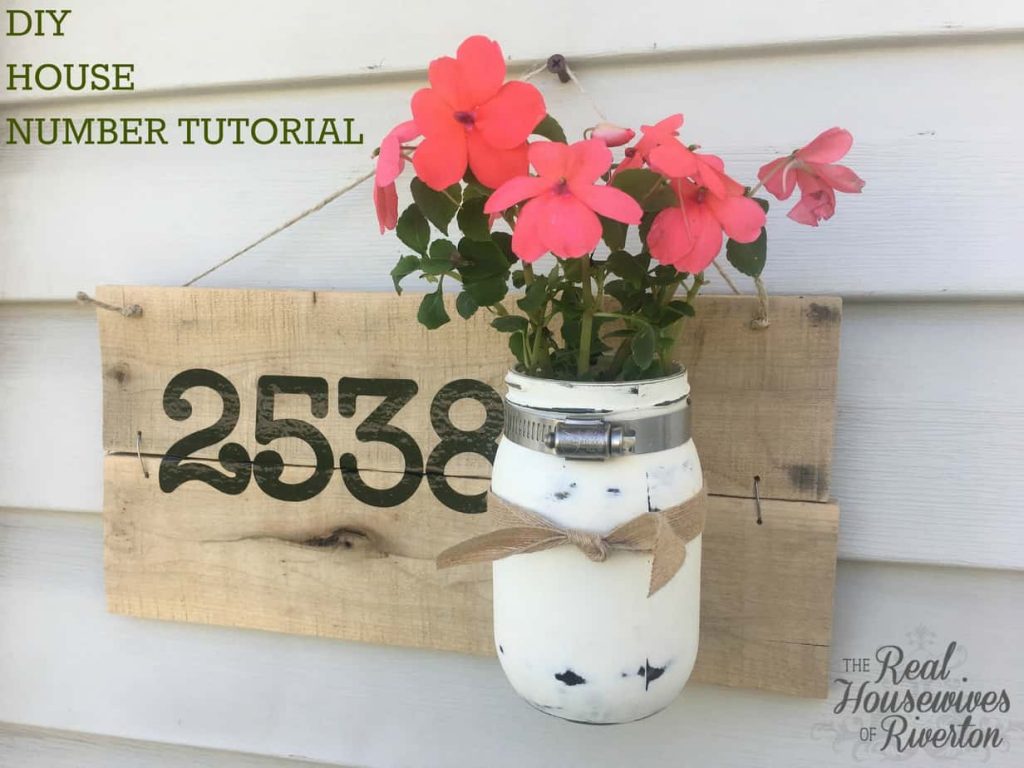
Add this House Number Planter to your front porch for a pretty welcome to your visitors!
 This post may contain affiliate links.
DIY House Number Planter
I have been wanting to dress up the front of my house for a while now and I’m so excited with how my DIY House Number Planter turned out. I’ve always wished I had a big front porch I could decorate. But sadly I don’t. Sometimes, I feel it can be a little tricky to decorate the front of my house. This planter turned out so cute and it gives the front of my house that little bit of charm I was looking for.
Mason jars are everywhere right now and seem to be the thing to decorate with. They can be painted in so many fun colors and have the added bonus of being really inexpensive. If you don’t have any jars around your house you can usually find them at yard sales or thrift stores for like a quarter. Or you can buy them new for usually a dollar or less per jar. I know it’s last minute but this could be a darling Mother’s Day gift if you, like so many, still don’t have a gift for your mom.
Supplies Needed:
Mason jar
Piece of wood
Paint (I used chalk paint)
Hose clamp
Drill or screwdriver and a screw
Vinyl (because my House Number Planter is outside I chose outdoor vinyl and recommend that)
and cutting machine (I used my Cricut Explore) or you can stencil your numbers onto your wood
Ribbon or twine
Sand paper
Small rocks
Potting soil
Scissors
Flowers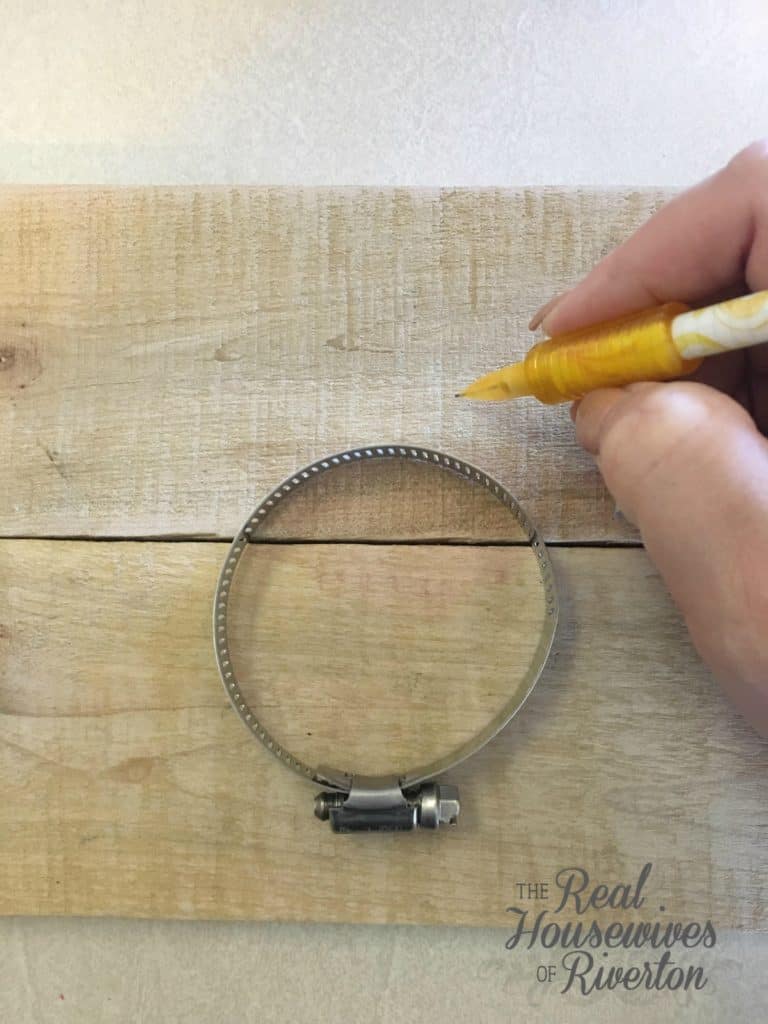
How to make your DIY House Number Planter
Before you start your project you will need to purchase a hose clamp. You can usually find these at any home improvement store in the plumbing department. You will want the medium size one.
For this project I used 2 pieces of pallet wood wired together. It measures appoximately 13 inches long and 7 inches tall. I took a pencil and marked where I wanted the clamp to be, making sure I had enough room for my house numbers on the piece of wood.
And yes, if it looks like there is a faint red stain on my wood there is, my kids apparently spilled their drink on the wood and never bothered to tell me. Luckily my mason jar covers up the red stain. Should something like this happens to you and it isn’t in a place easily covered up sanding over it lightly should get rid of the stain.
Step by step pictures
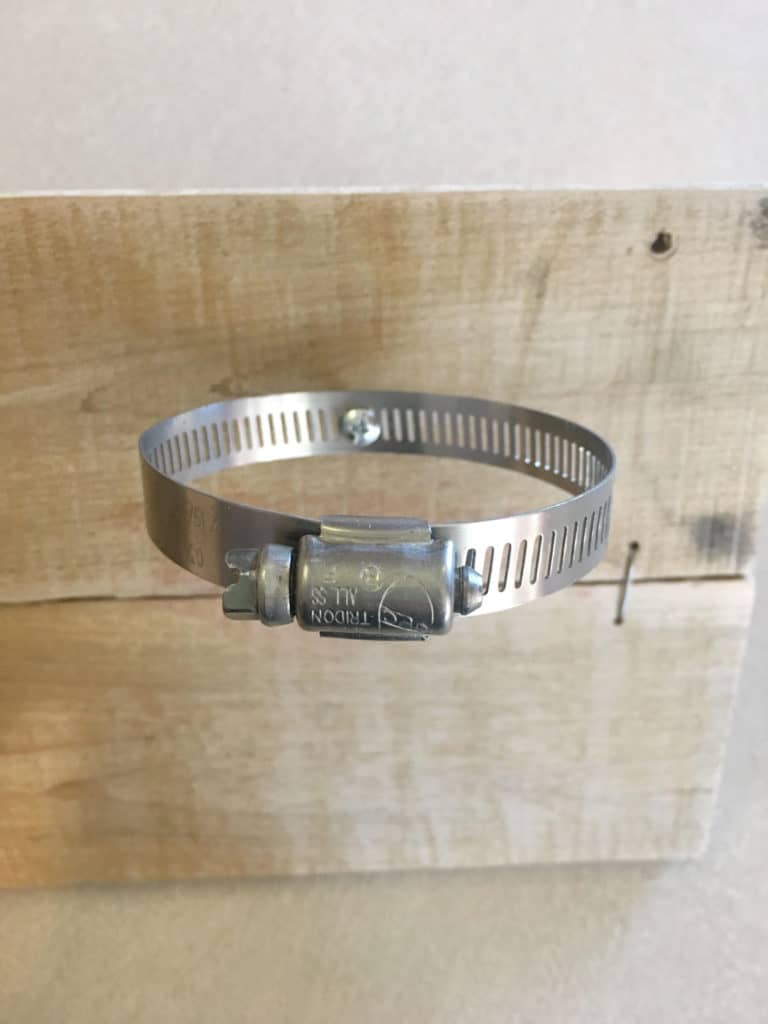
I used a drill to screw my clamp into the wood. If you don’t have a drill you can use a screwdriver and a little bit of muscle strength. It will probably be a little harder with a screwdriver. You may want to make a little hole into your wood first to make it easier.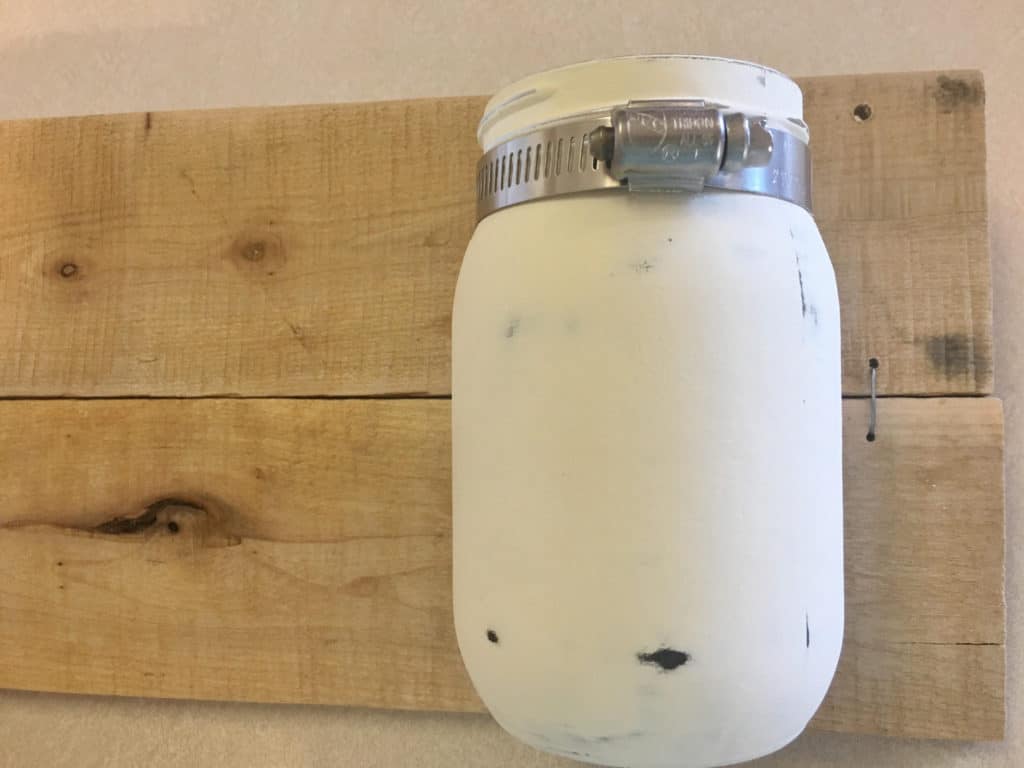
After I painted the jar (using chalk paint on the outside of the jar) I attached the jar to the clamp. On the right side of the clamp there is a screw that loosens and tightens the clamp. After the mason jar is in the clamp you will tighten the clamp with a screwdriver as tight as it will go, making sure the mason jar fits snug and tight. I sanded my jar with a sanding block to make it look chippy and old.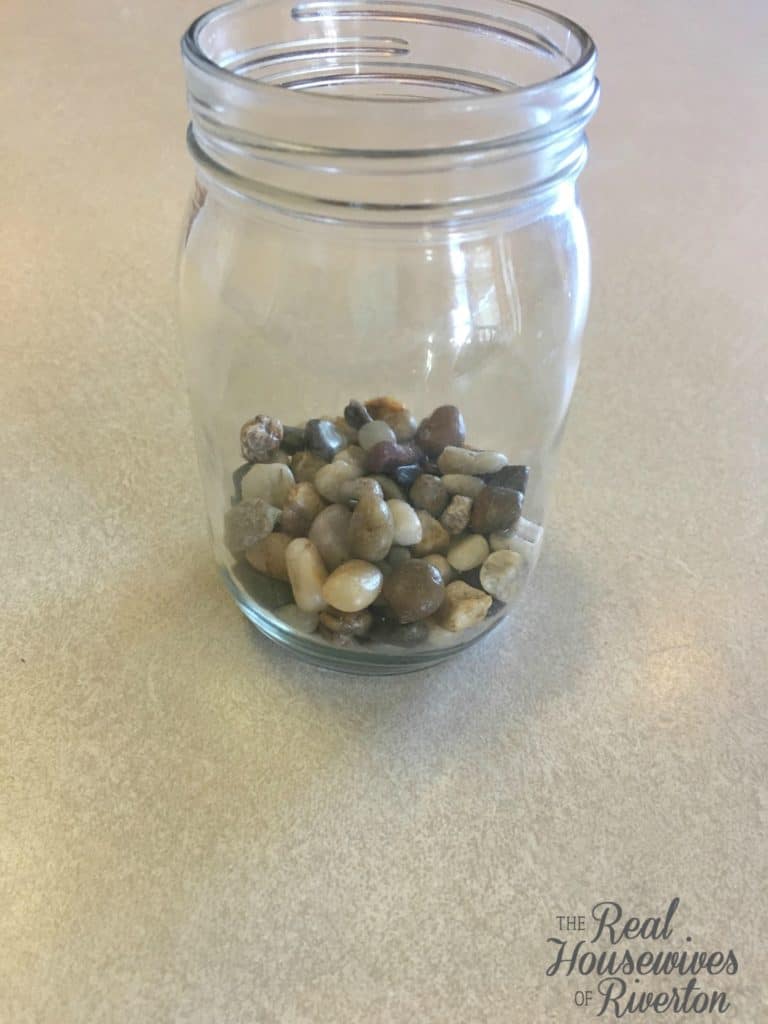 After I attached the mason jar I took some small rocks and placed them into the bottom of the mason jar so the water would have somewhere to distribute. Then I placed a little potting soil on top of the rocks with a little water and then planted my flower.
 My front yard doesn’t get a lot of sun so I planted Impatiens because I know they do well in my yard. Make sure you pick a flower that will grow well in your yard. Remember to watch your porch for a day and see how much sun it gets. If it’s in the shade all day make sure you pick a flower that will do well in the shade.
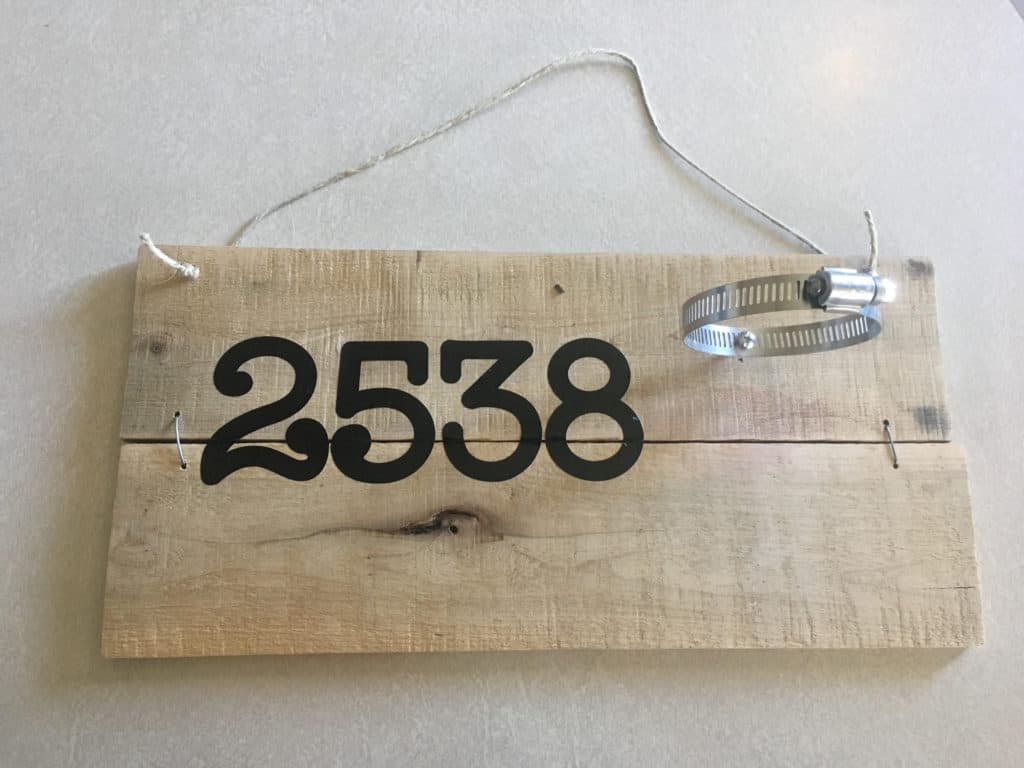 I drilled a hole in each corner and used twine to hang my sign. You could also use a sawtooth hanger on the back if you don’t want to drill holes.
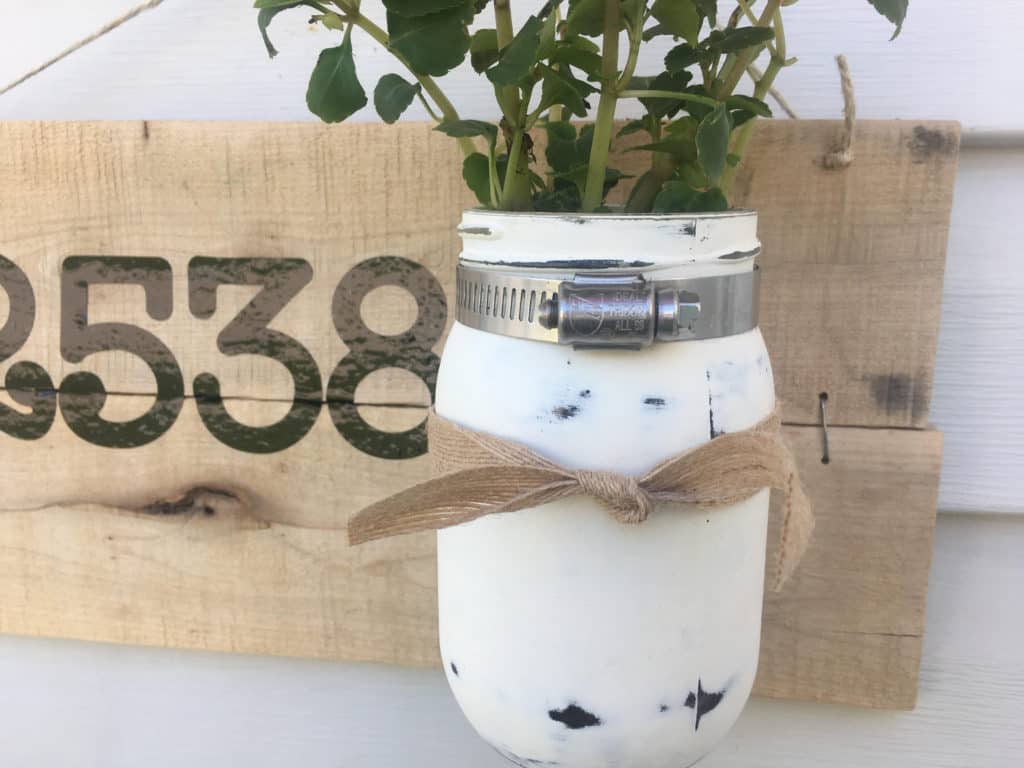
Using my Cricut Machine
To make this I used my Cricut Explore machine to cut my house numbers out. I used the outdoor vinyl since my sign would be hanging outside. If you don’t have a cutting machine you can stencil your numbers on with paint or use a paint marker.
You don’t have to put your house numbers on it. Maybe you already have them displayed on your house, you could also put welcome, hello, or keep your wood a little smaller and just leave it blank. If you want to add more color you can paint your wood a fun bright color. My siding on my house is already a sage/greenish color so I went pretty neutral with the colors. But feel free to make it as bright and colorful as you want!
I really do love this how this turned out and I think it’s such a fun way to display your house numbers.
Happy Crafting!

- The Best Vinegar Paint Brush Cleaner Method - May 6, 2023
- 10 Fun and Easy St. Patrick’s Day Games - March 1, 2023
- Valentine’s Day Felt Wreath DIY - January 20, 2023



I love the addition of the mason jar to the address sign!
Thank you so much!
[…] If you are looking for some more great DIY projects, check these out! Coat Closet Makeover House Number Planter […]