This post may contain affiliate links. If you purchase something through any link, we may receive a small commission at no extra charge to you. Supplies used may be given to us free of charge, all projects and opinions are my own.
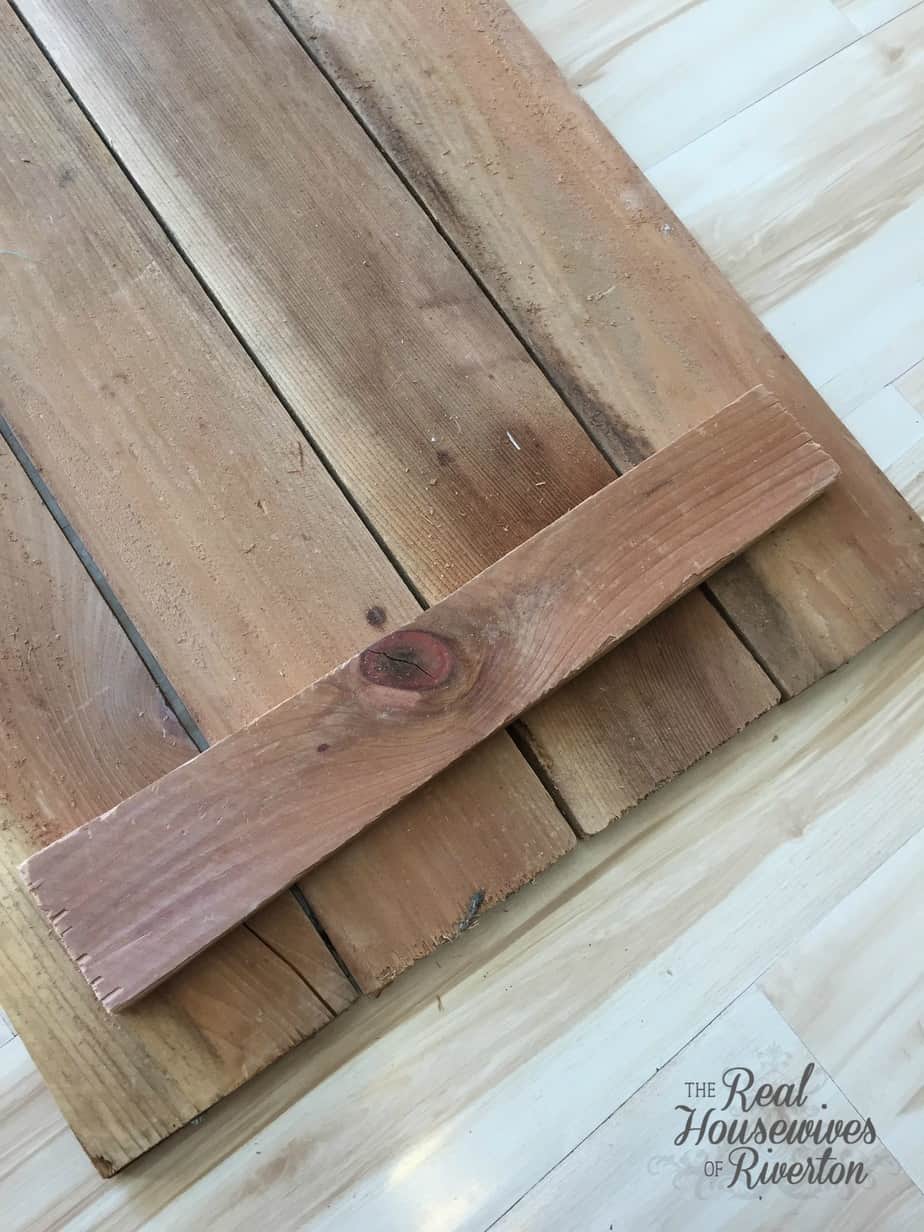
 Last month at our Crafting with Elton John Weekend we knocked out quite a few projects. We each came up with a project and brought the supplies for everyone to complete the project, then when we were done we each had 4 projects completed. I have long been a sucker for pallet signs and knew right away that was what I wanted to do for my project. I chose to do a Grateful Thankful Blessed Pallet Sign knowing that it would be perfect for this fall/Thanksgiving season. Instead of dismantling old pallets (which I've done plenty of times) I created my pallet signs using fencing boards. Using a saw I cut off the dog eared end and then cut my pieces 23.75″. With a slight gap between each board my finished sign is 23.75″x 14″.
 I knew I wanted all edges/sides of my Grateful Thankful Blessed Pallet Sign painted so before I assembled my sign I painted all the sides of my boards (after giving them a good sanding). Once they were painted and dried I hit them with a sander on the edges to give it a distressed look. After dusting it all off I used a bit of stain to all the sanded edges.
 To attach the wood pieces to each other you'll need two pieces of scrap wood about 13″ long and 1.5-2″ wide. You'll screw this to each board on the back side, I used a 1″ screw and drill. I had to make sure to go nice and slow to avoid cracking the wood and to make sure you doesn't go through the front of your board, at 1″ I didn't have to worry about it but it would depend on your wood thickness so just be careful.
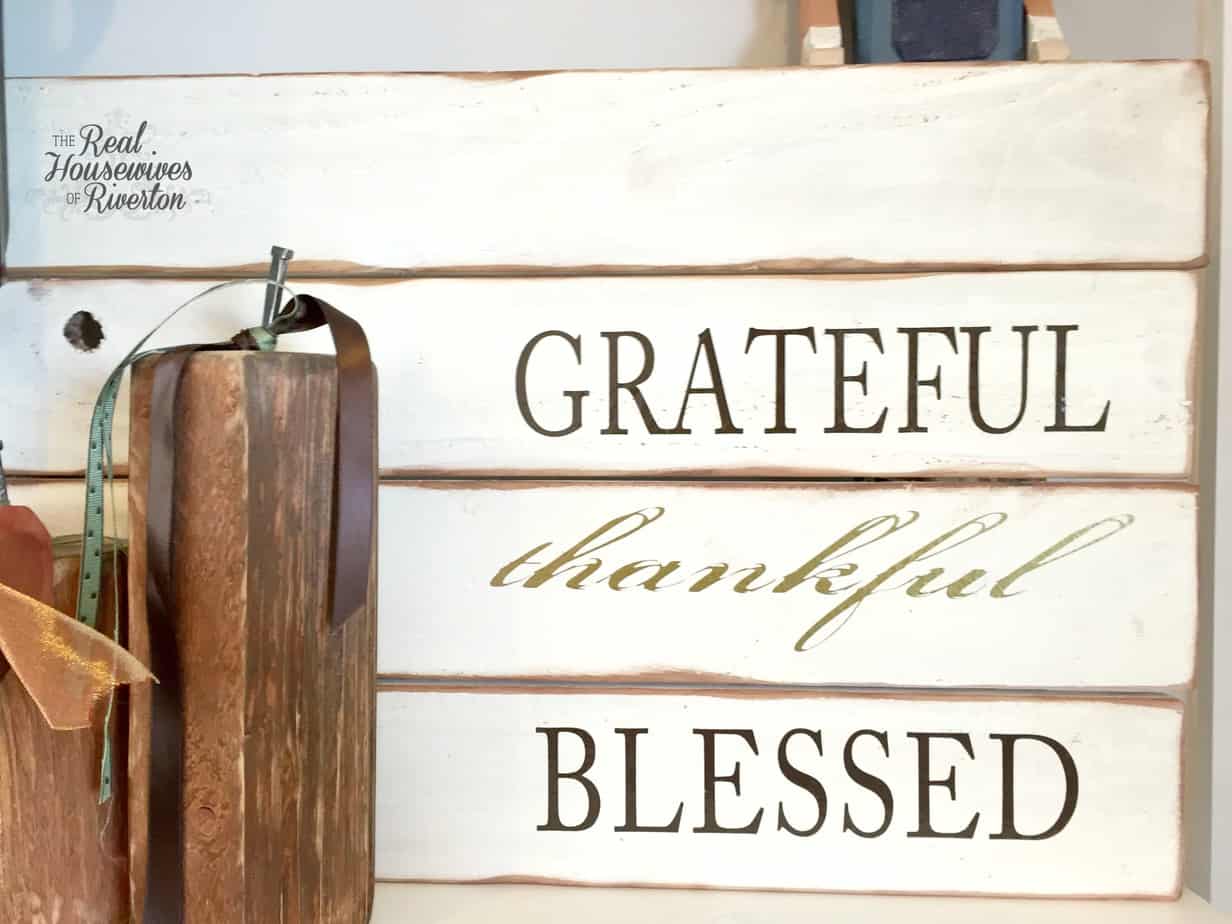
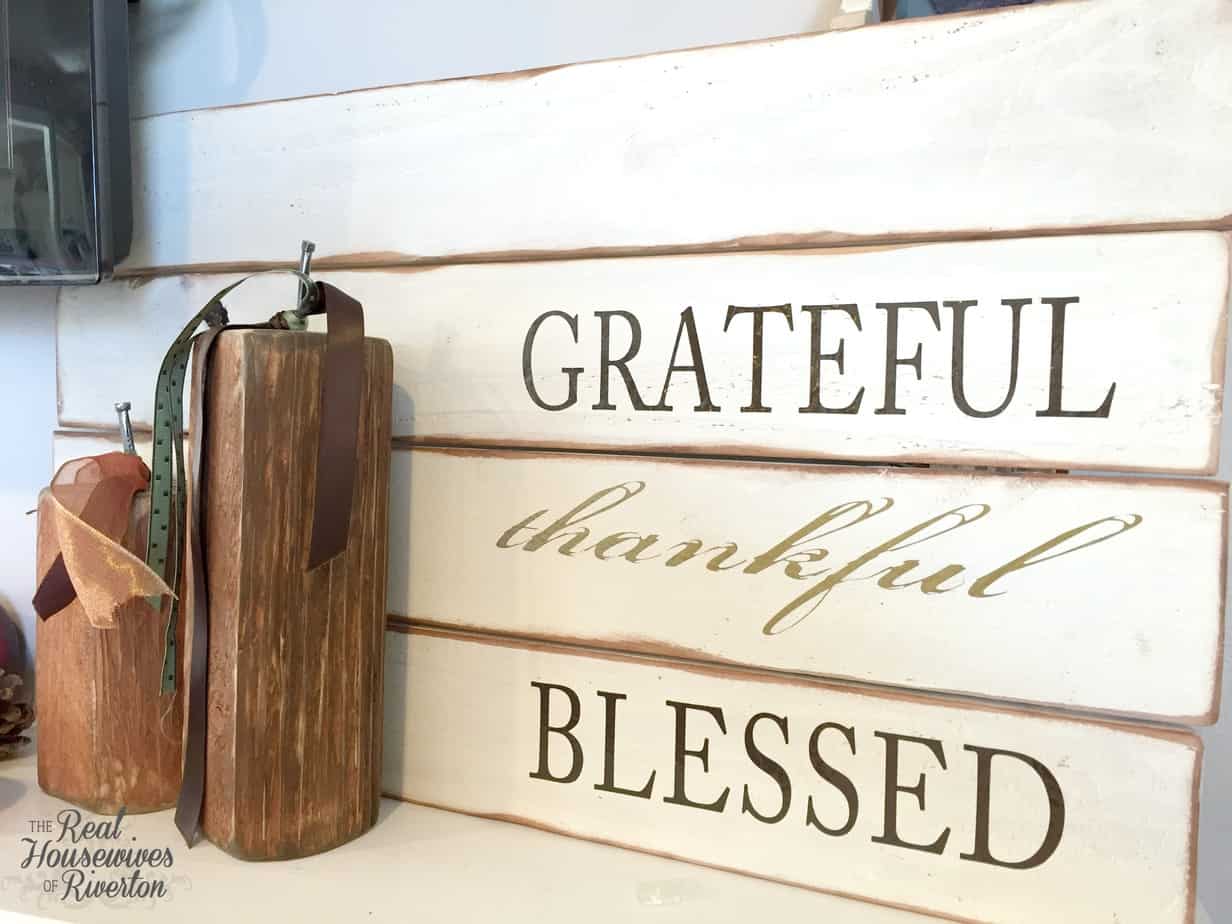
 The last step for me was applying the vinyl. My sweet friend Camille cut it out for me. We used dark brown vinyl for Grateful and Blessed in a big all caps font. We used a gold vinyl and a script font for the Thankful. I feel like the Grateful and Blessed went on like a dream, the Thankful font was HARD to get not slanted and obviously I didn't succeed but I'm OK with it for now, I may eventually decide I need to take that one off and cut a new one but for now I'm leaving it be.
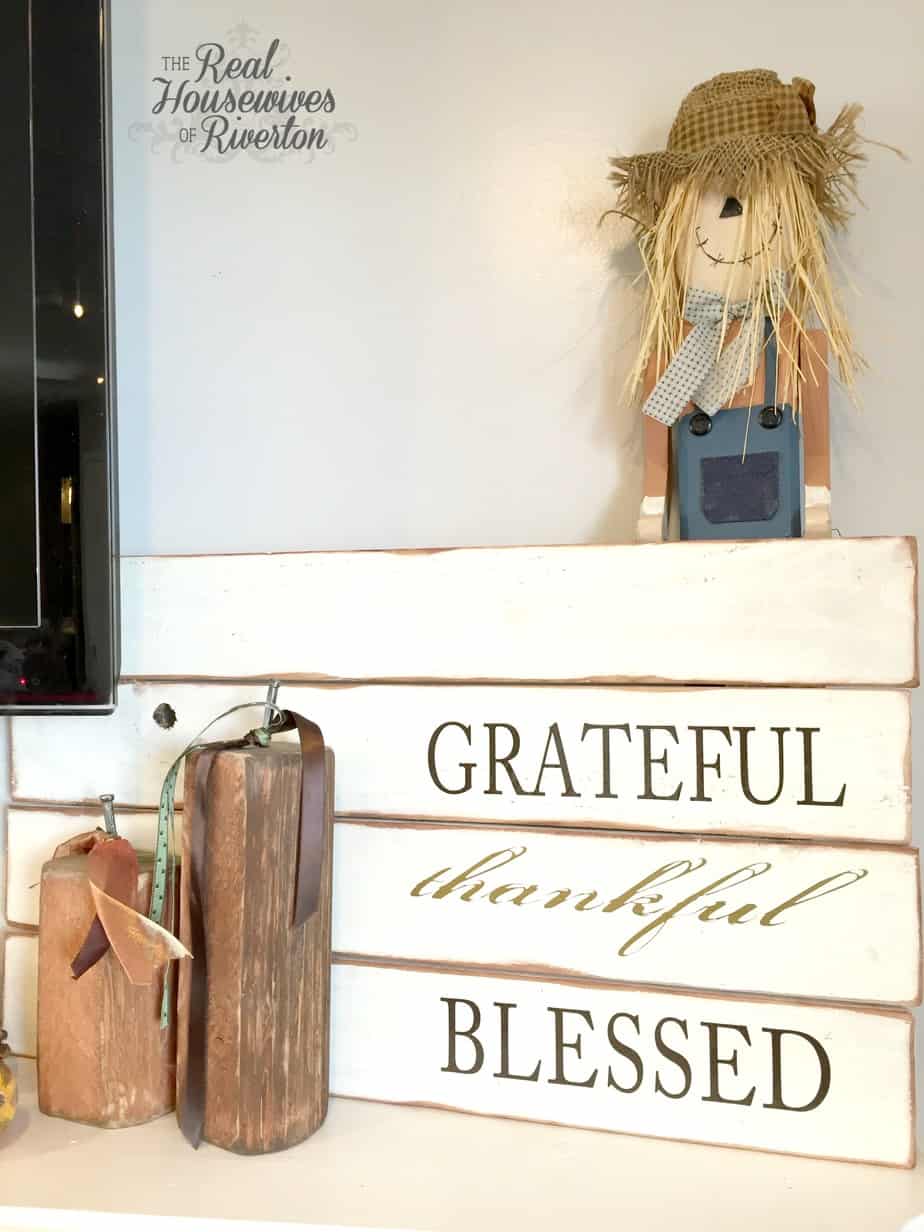
 I absolutely love how it looks on my mantle with my other fall/Thanksgiving decor and as I look at it throughout the day it helps me remember to be grateful and thankful because I am truly very blessed.
If you'd like to make your own Grateful Thankful Blessed Pallet Sign here is a quick recap of the steps:
1. purchase wood, paint, screws, stain, vinyl if needed (I used fencing for my wood)
2. decide your overall desired size (mine is 23.75″x 14″)
3. sand, sand, sand until nice and smooth
4. paint, let dry
5. distress if desired
6. stain if desired
7. assemble
8. apply vinyl
9. put up and enjoy!
I think this would be a great hostess gift on a slightly smaller scale if you're attending Thanksgiving at someone else's home.
As always don't ever hesitate to ask if you have any questions.

- Bringing Home Baby Chicks - March 11, 2025
- Is RootsTech for Moms? - February 23, 2024
- How to Get Oil Stains Out of Clothes - May 5, 2023

[…] Grateful Thankful Blessed sign is a wonderful addition to your Thanksgiving decor and will help everyone remember the true meaning […]
How Grateful Thankful I Am
[…] n Services LLC Associates Program, an affiliate advertising program designed to […]
How Grateful Thankful I Am
[…] means for sites to earn advertising fees by advertising and linking to Amazon.co […]