This post may contain affiliate links. If you purchase something through any link, we may receive a small commission at no extra charge to you. Supplies used may be given to us free of charge, all projects and opinions are my own.
August is almost over and it’s not too early to start thinking about Halloween decorations!! I absolutely love decorating for Halloween. I’ve heard a lot of people say they are sad that summer is coming to an end. I will admit I’m always a little weepy this time of year when my kids start a new school year because that means they are getting older and that always makes me sad, but I’m also really excited of what is around the corner. I love fall and everything that goes along with it!
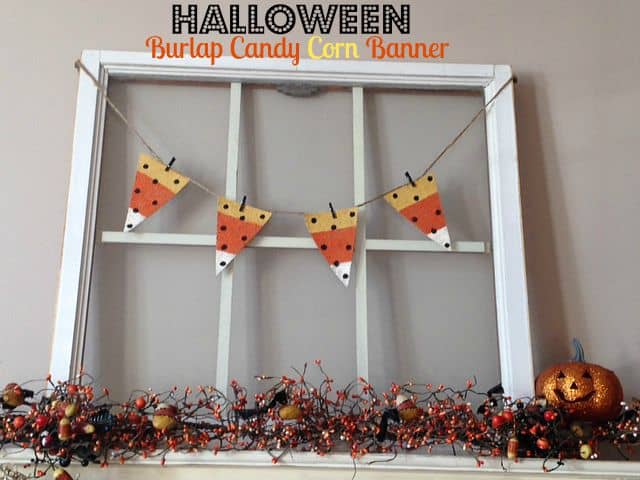
I have a window the sits on my shelf and I’ve wanted to string little banners across it for the different holidays and well I’ll just be honest life gets busy and that just didn’t make it to the top of my to do list. I decided this year
I was going to sit down and just do it so I decided to start with a fun Halloween one!
Supply List
Black permanent marker
Orange,cream (or white) and black Acrylic Paint
Paint brush
Twine
Scissors
Small black clothespins
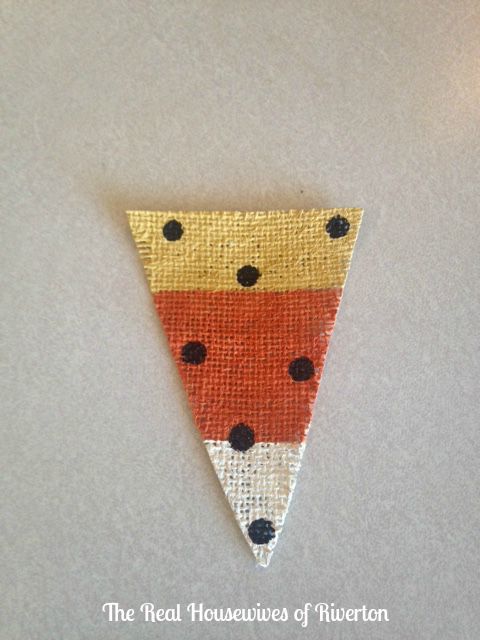
I started by drawing a candy corn on a piece of paper and then cutting it out. This will be your pattern to make your candy corns. If you don’t want to draw it you can always find one online and print it out. Next you will take your pattern and place it on the burlap and cut around it. I used straight pins to keep the pattern in place. After you have cut out your candy corns out of the burlap you will brush a thin coat of Mod Podge onto the burlap. This will make it stiff and not flimsy. You can see the difference in the picture the one on the left has the Mod Podge. Let the Mod Podge dry for about 20-30 minutes.
After the Mod Podge has dried it’s time to start painting! I started with the cream at the bottom and used a stiff brush so I had clean lines. You could also draw lines on the burlap with a pencil if that’s easier for you. After the paint has dried you will take a black permanent marker and draw polka dots onto the candy corn.
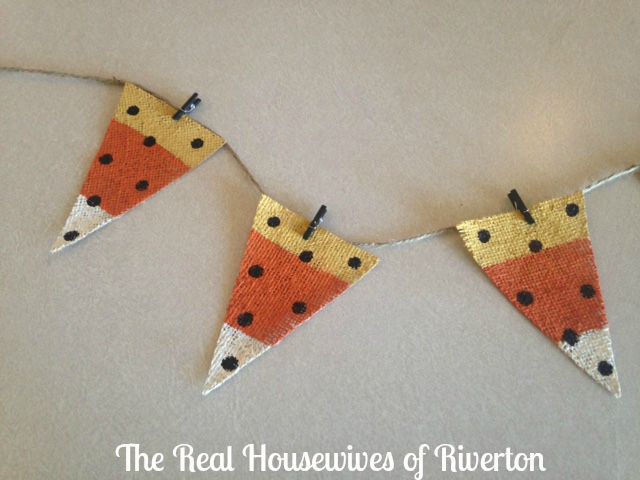
I found thee cute little Halloween clothes pins at Joanne’s and I just cut some twine and clipped the candy corns onto the twine. It really didn’t take a lot of time to make this garland. The hardest part is just waiting for the Mod Podge and paint to dry!
The thing that is fun about this banner is you can change it up by adding more candy corns to
make it longer or add ribbon and material to make it your own style! I’m already thinking a cute pom pom garland strung just above it would be fun!!
Happy Crafting!
- The Best Vinegar Paintbrush Cleaner Method - May 6, 2023
- 10 Fun and Easy St. Patrick’s Day Games - March 1, 2023
- Valentine’s Day Felt Wreath DIY - January 20, 2023


Candy Corn Custom Banner 48 X134 Outdoor
[…] gram, an affiliate advertising program designed to provide a means for sites to […]
[…] If you enjoyed our Halloween String Art tutorial make sure you check out these other tutorials: Burlap Candy Corn Banner […]