This post may contain affiliate links. If you purchase something through any link, we may receive a small commission at no extra charge to you. Supplies used may be given to us free of charge, all projects and opinions are my own.
Mister B had a birthday at the end of last month and thanks to other people's ideas we were able to give him THE COOLEST birthday present that was perfect for him. My sister in law made a lego table for my nephew who is the same age as Mister B. It turned out cute so I knew I was going to have to do something like it. I started looking around and I came across something that I thought would be perfect for our boys and their current rapidly growing lego collection.


Lisa from Over the Big Moon turned her son's train table into a lego table and I thought *Brilliant!!! A play place and it has drawers for storage right with it!!!* We don't have a train table so I hit up KSL (our local version of craigslist) and I think I got pretty lucky with my $10 find! It wasn't exactly like the one Lisa made over but the price was right and it was very local so picking it up was easy.

Once we got it home I went through and tightened up all the screws and then had Nate get me a piece of particleboard to fit as the new table top. I figured we'd keep the 3 pieces that were the train table top in case we needed them down the road as an actual train table top.
I did some searching for the lego building plates and I am so happy I did some searching because Amazon had them but they were over $7.00 each. I found them on lego.com for 4.99 which was a much better price but they couldn't do express shipping because they were having a site issue so I kept looking and imagine my surprise that I found them on Barnes & Noble's site. They were only $4.95 AND if I signed up for the free 2 month membership I got the express shipping for free which saved me over $15.00.
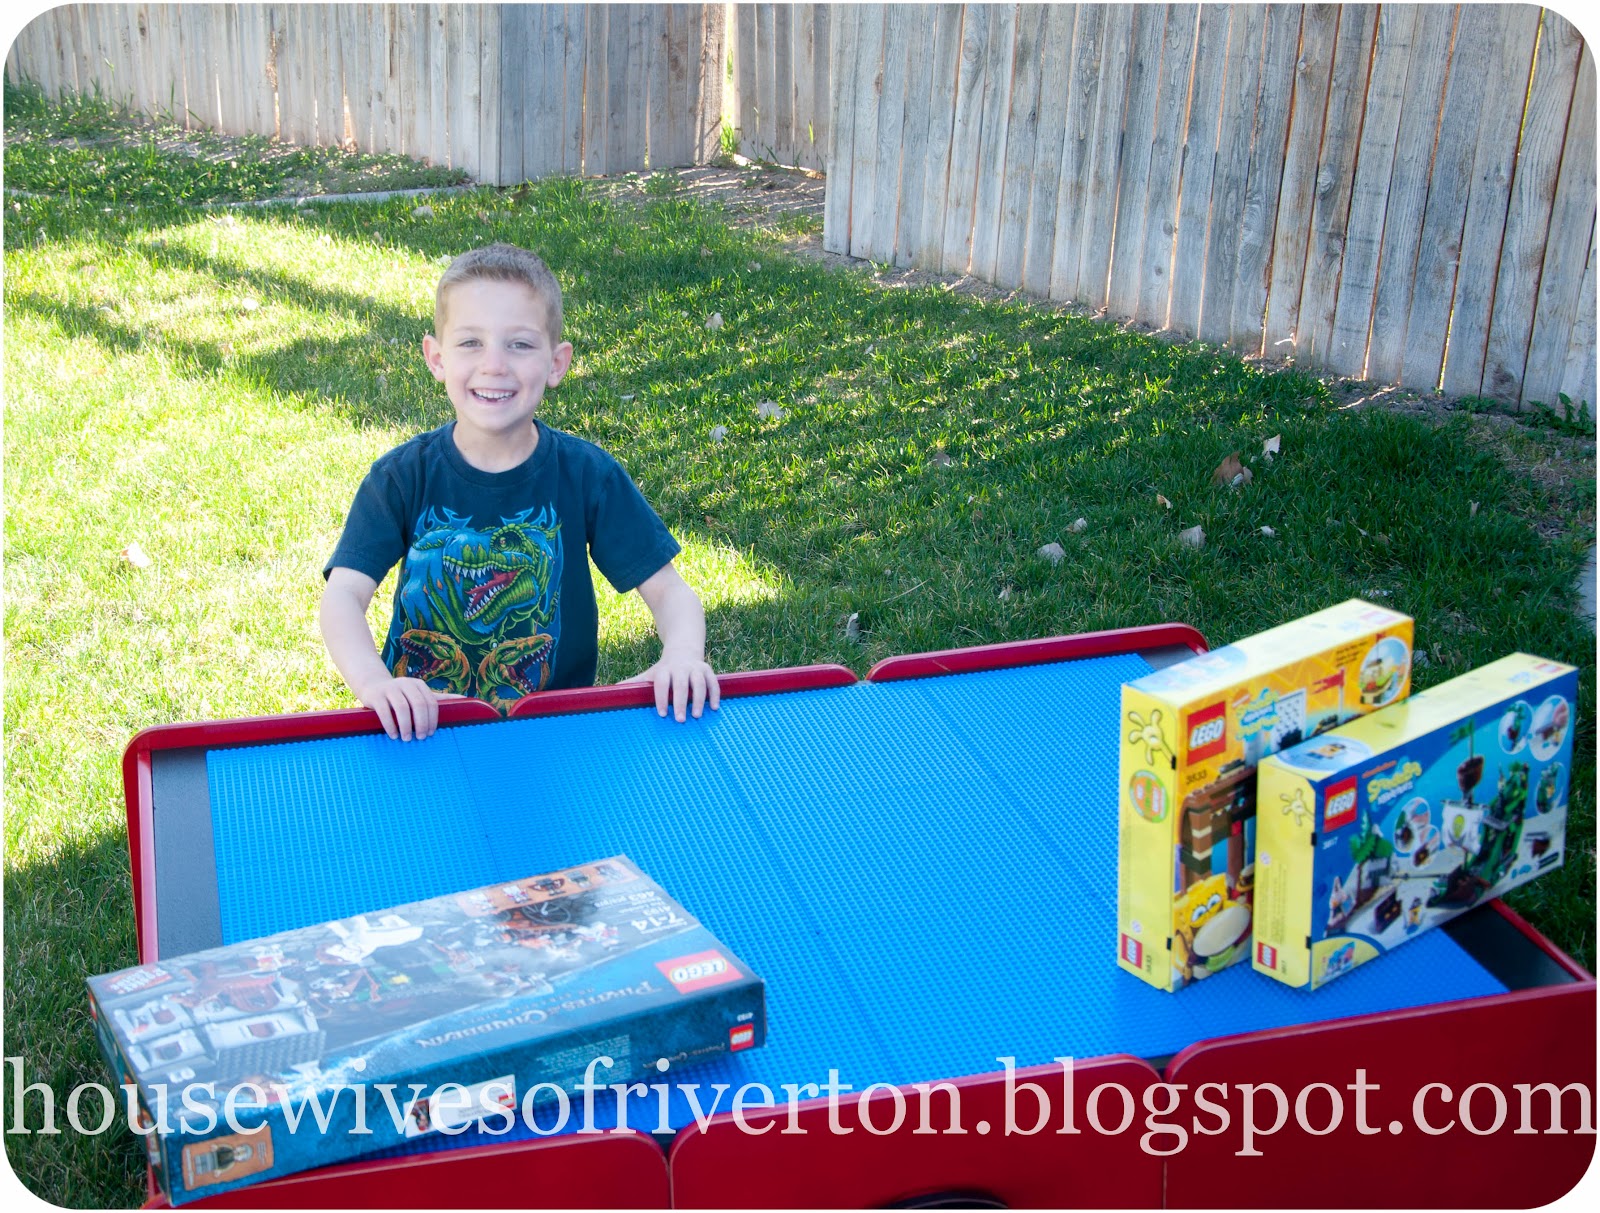
I ordered 12 of the building plates so the boys would have a big building area. Each plate is 10″x10″ so they have a building surface of 30″x40″.
To get everything ready I picked out my paint colors and got everything painted. Thanks to Lisa's advice that the plates won't actually sit right next to each other I made sure and got a good coat of paint on top of the table. The paint color matches the magnet board I made for their room and coordinates well with the other colors in there (I promise we're finally getting close to their room being done so hopefully I'll have a full reveal SOON!).

(after the 1st couple coats)

(done with the painting)


See the difference in the red with the stain on it?
Because I am AWFUL at measuring and everything like that I put Nate in charge of making sure the plates were nice and centered on the table top and again we used Lisa's advice and used legos to make sure the spacing was right. Nate went ahead and used liquid nails to glue the building plates down to the table top.

This is where I tell you if you do this to check the corners of your building plates. There was nothing bad enough I was willing to take the time to send them back and wait for new ones but there were a couple of the corners that were a little smooshed. I just made sure they were on the outer corners so that it wouldn't affect the building in the middle of the table.

See, using the legos helped make sure they can build across the whole table top and not have to worry about the pieces not fitting right! I am thankful for people smarter than me who think of things I probably wouldn't have.

This picture is just so you can get an idea of how much liquid nails we used on each building plate.

This train table has 2 drawers so there is plenty of storage for what they have now and we can easily make a sliding drawer to go under the table if the collection gets large enough for it to be necessary down the road.

Isn't this awesome?

When I told Nate about the idea and showed him Lisa's post he thought it was a good idea but kind of silly. He said we should just get him more legos because he never had a table to build on and still had fun with them. I was persistant though and helped him understand that having somewhere to keep everything together would be awesome and I am so glad that I did!
The final breakdown on price:
Train Table – $10
Lego Building Plates (x12) – $63.47
Paint – I already had on hand from the earlier project (but it took about 1 can of krylon dual paint/primer in Cherry Red and they are like $4.97 a can – the black paint was actually rolled on, not sprayed and it took very little)
Stain – I always have on hand
Particleboard – $10 (and we didn't use the whole sheet)
So, out of pocket for us was $83.47. There are ways you could cut back on the cost of course, if you have a train table already or if you have the lego building plates already those would eliminate those costs and you could also choose to do your table top smaller which would also help cut back on the cost, it could also cost you a little more if you had to buy the paint/stain/etc… but it should be easy to accomplish for under $100.
Obviously this wasn't a free project but I think it is so worth the cost! He got so many new legos for his birthday from everyone else that I think he definitely is glad we made him a table to make all those new legos even more fun!
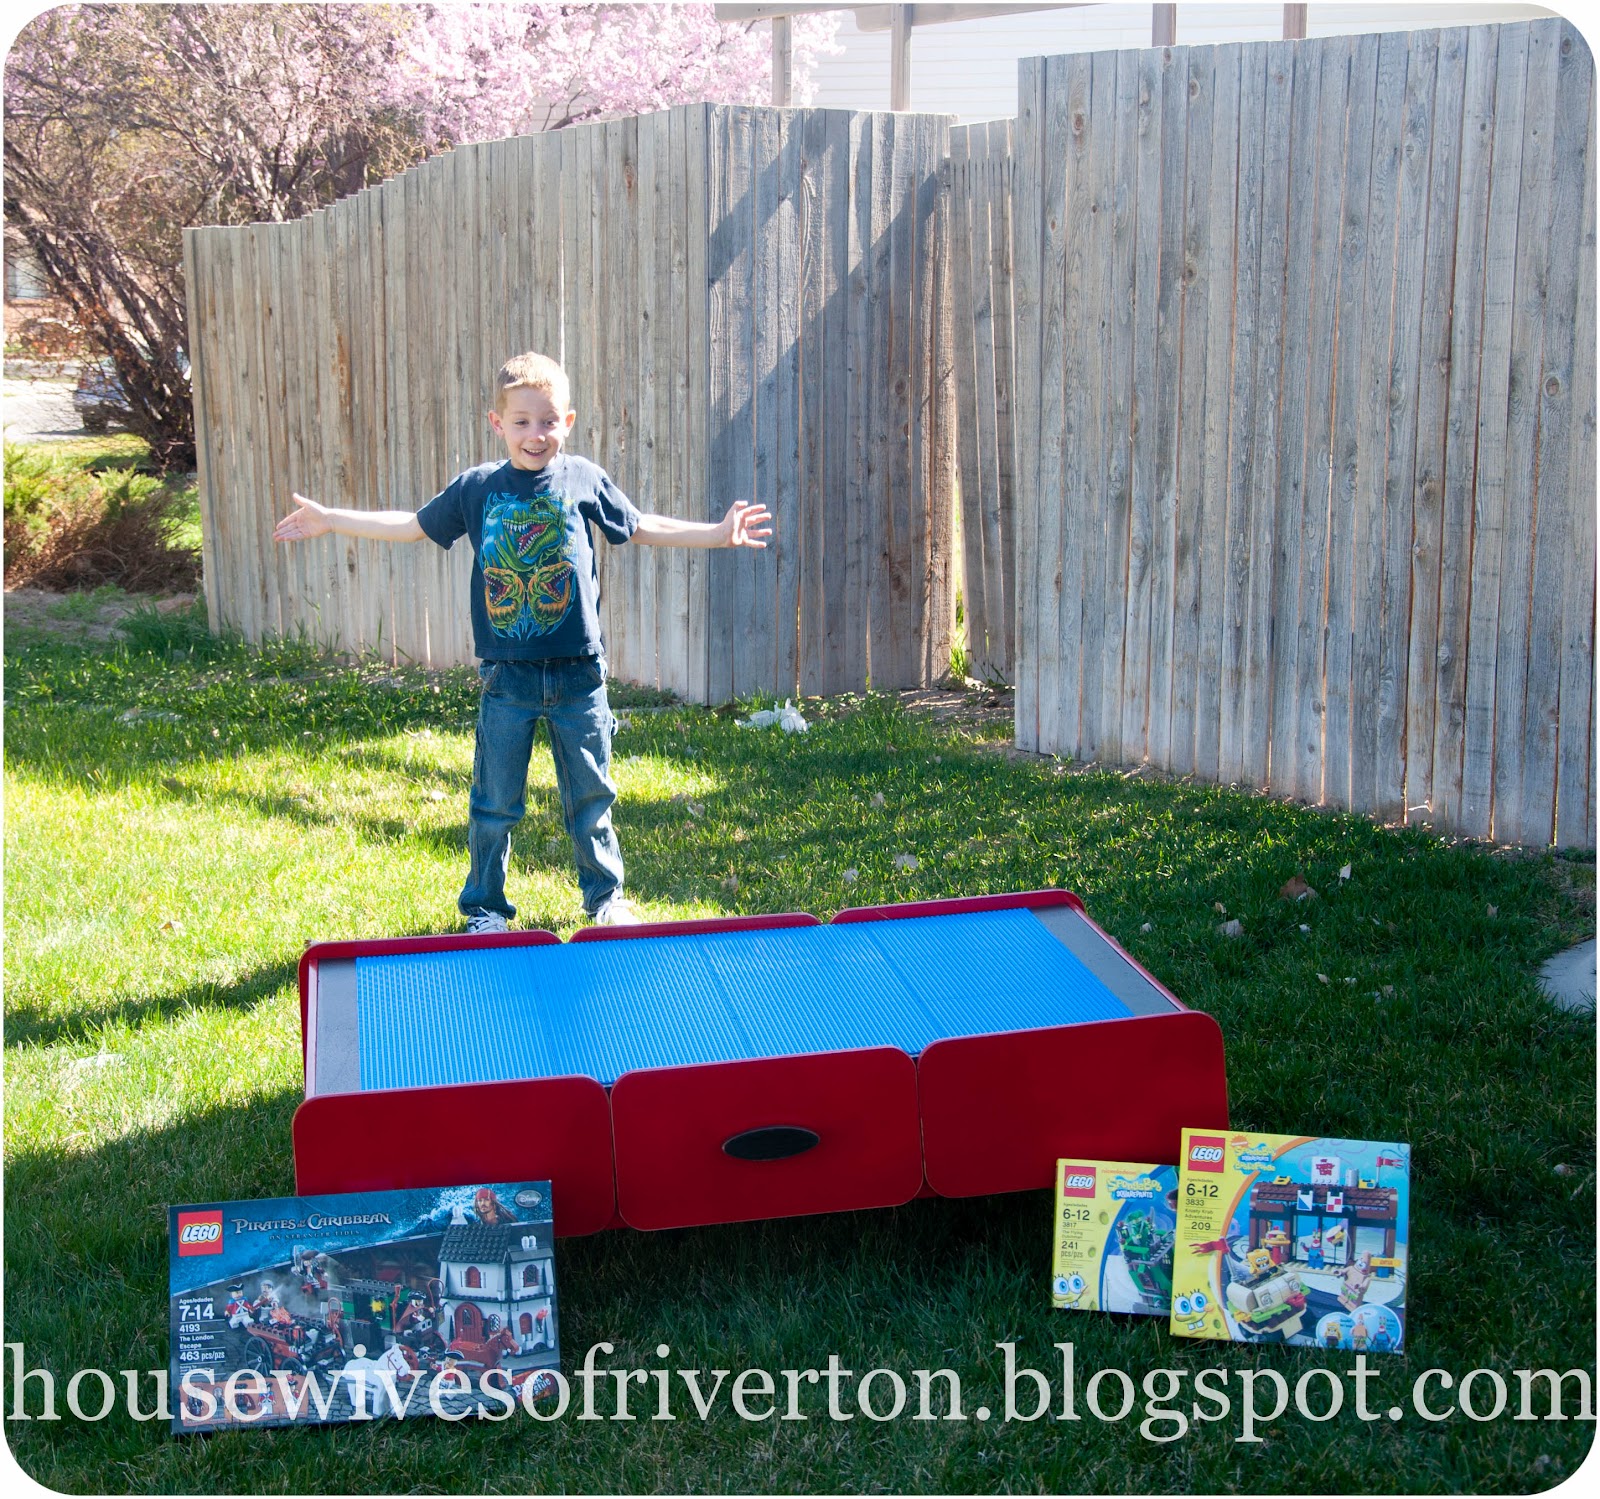

He was SO SO SO excited for his new present there is no doubt it was worth every single penny. As I am typing this up 6 kids are sitting around the table putting together legos and playing so nicely together. It's pretty awesome. Even Nate just came out and asked “have they been doing this all day?” The answer is yes! Sometimes I know my children really well 🙂
- The Best Vinegar Paint Brush Cleaner Method - May 6, 2023
- 10 Fun and Easy St. Patrick's Day Games - March 1, 2023
- Valentine's Day Felt Wreath DIY - January 20, 2023

My son would die for this table. Right now my kitchen table is where he builds everything. We’re almost finished with our basement, maybe that will be our next project. I’d love for you to share this at my link party {It runs Tues-Sat}
http://adventuresofadiymom.blogspot.com/2012/04/terrific-tuesdays-9.html
Rachel
Super cute! Thank you for linking these up to Fantabulous Friday @ Little Becky Homecky!!
What a fun gift. The look on your little boy’s face says it all. Thank you for sharing on Fabulous Friday. BTW, I have a great giveaway going on – please feel free to stop by & enter: http://michellelunt.blogspot.com/2012/04/fun-giveaway-and-thank-you-to-my.html
Warmly, Michelle