This post may contain affiliate links. If you purchase something through any link, we may receive a small commission at no extra charge to you. Supplies used may be given to us free of charge, all projects and opinions are my own.
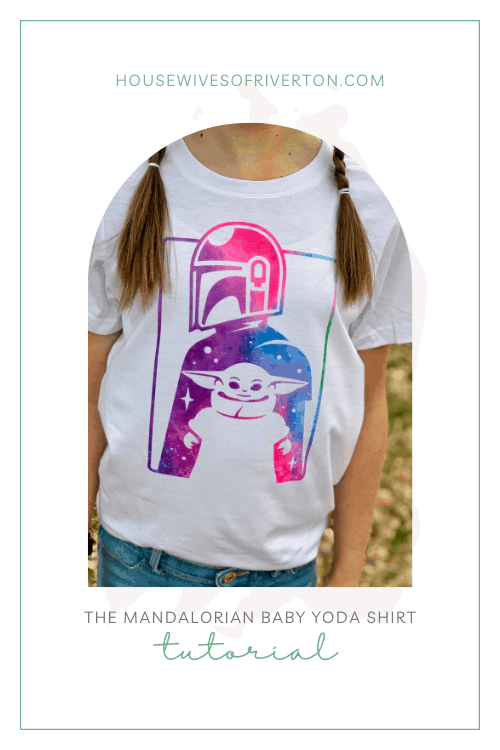
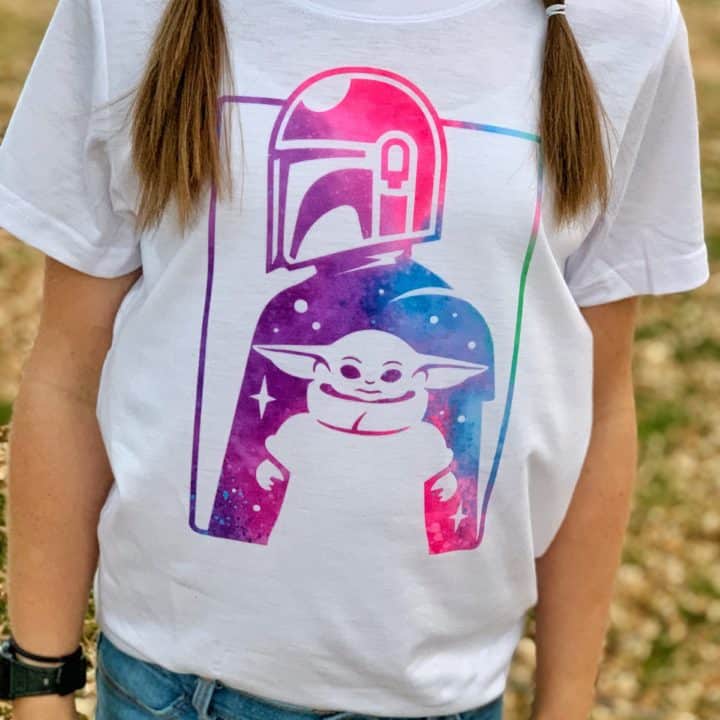
We love Baby Yoda! We made our own Mandalorian Baby Yoda shirt to show how much we love the little guy. Make your own with our tutorial!
Who's a fan of The Mandalorian?
Are you ready for Season 2? We have been counting down the days and it's finally almost time.
Recently Cricut added The Mandalorian and Baby Yoda (The Child…does anyone actually refer to the little one as “The Child?” images to Design Space. As soon as I saw them I knew needed to use them.
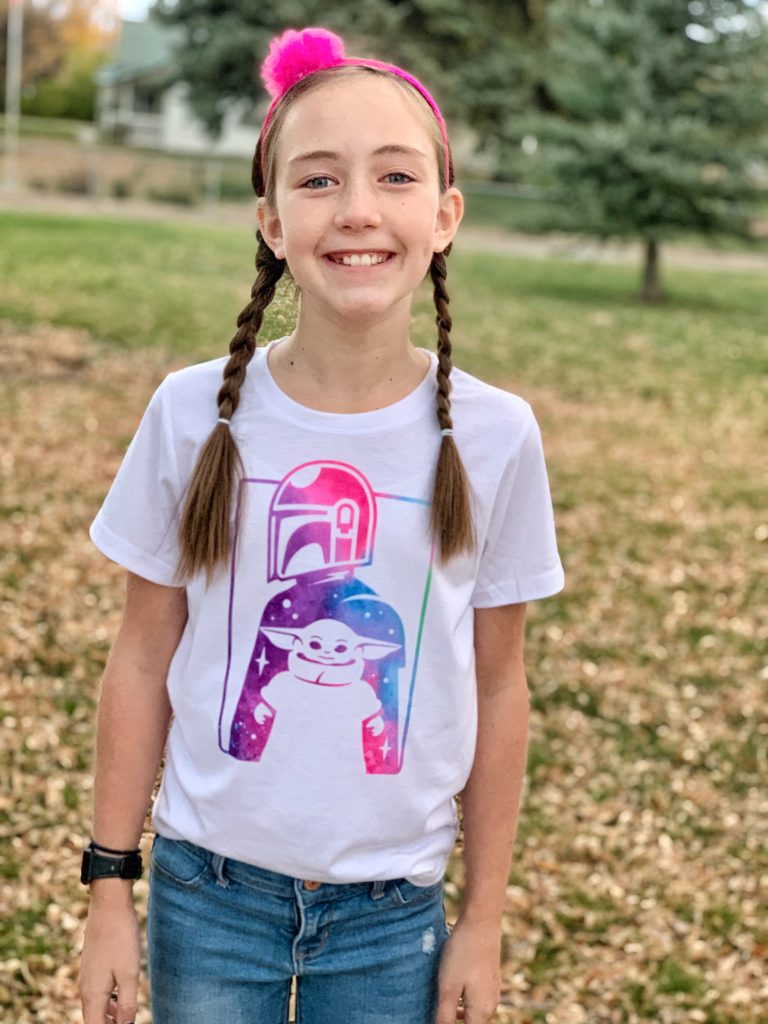
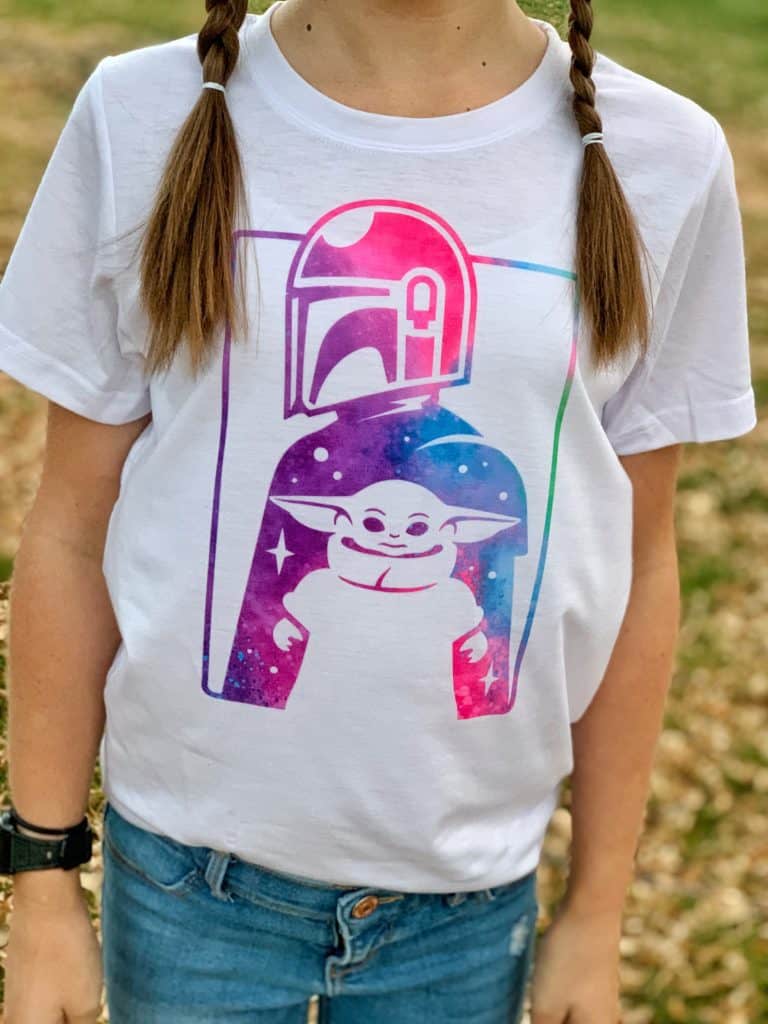
I love how it turned out. The combination of the image and pattern came together perfectly.
What do I need to make a Mandalorian Baby Yoda Shirt?
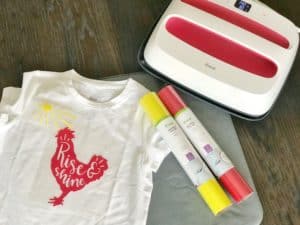
Are you ready to make your Mandalorian Baby Yoda shirt? Grab your supplies and let's get started.
Cricut Machine (Explore machine or Maker)
LightGrip Cutting Mat
Fine Point Blade
Watercolor Splash Infusible Ink Transfer Sheet
High Polyester Shirt
Lint Roller
White Cardstock
Butcher Paper
EasyPress
EasyPress Mat
This Image in Design Space
As you can see we used Infusible Ink for our shirt. You can also use Iron-on if you'd rather and the steps will be slightly different. These instructions are for Infusible Ink.
Tips for working with Infusible Ink.
There are very specific steps for using Infusible Ink. Because of the steps you may be nervous about trying Infusible Ink. Don't be, follow the steps and your project will turn out wonderfully.
Here are some tips to help your next Infusible Ink project turn out great.
Tip 1 – Make sure when taking Infusible Ink sheets out of packaging make sure your hands are very dry. Handle from the edges as much as possible.
Tip 2 – Unlike Vinyl and Iron-on materials you don't use a weeding tool. Infusible Ink sheets are more like paper and it works best to use fingers to remove excess.
Tip 3 – Lint is an enemy of Infusible Ink. Because of the high temps used for applying Infusible Ink if there are lint spots they can turn blue. If you end up with lint spots they won't wash out, they're stuck there.
Tip 4 – This isn't a tip as much as it is a requirement. Polyester. You need a base with a high polyester count. Cricut sells Infusible Ink blanks that are a perfect companion to Infusible Ink.
Let's make a Mandalorian Baby Yoda Shirt!
Are you ready to get making?
Open Image in Design Space.
Size to the correct size for your shirt. Mine is sized for a child's size 8/10 shirt.
Place Infusible Ink sheet on mat pattern side up.
Cut out project, make sure to mirror your image!
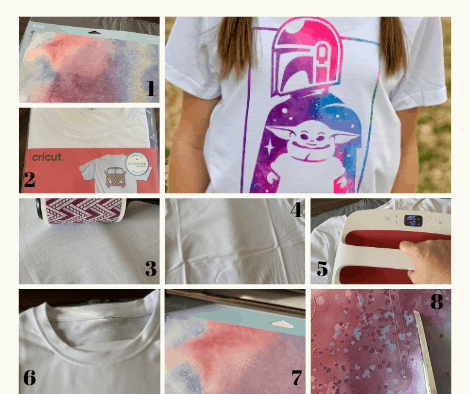
While image is cutting lint roll your shirt. Go over it a few times with a clean lint roller sheet.
Preheat your shirt for 5-10 seconds.
Pay attention to the layering process for applying Infusible Ink. You can find temps and specific layering for each different base at cricut.com/heatguide.
Unload mat and remove Infusible Ink Transfer Sheet from mat.
Use scissors and trim excess Infusible Ink to save for later.
Using fingers (not weeding tools) remove excess Infusible Ink. Try to avoid touching the ink on the sheet as much as possible.
Layering process for making this shirt:
Now that we have all the above done we're ready to press the Infusible Ink into our Mandalorian Baby Yoda shirt.
You're going to love how the ink infuses INTO the fabric. You don't have to worry about fading or peeling.
To press the Infusible Ink into the fabric you need to layer everything properly. This is the correct layering process:
EasyPress Mat
Shirt
White Cardstock placed between layers of shirt.
Infusible Ink pattern side down placed on shirt (try to adjust placement before laying onto fabric, especially if it's still warm from preheating).
Make sure the Infusible Ink has cardstock under the entire image (between layers of the shirt).
Cover Infusible Ink with butcher paper (butcher paper comes with every Infusible Ink Sheets).
Set temperature and timer on EasyPress.
Place EasyPress on butcher paper making sure it doesn't move.
When time is up lift EasyPress straight up to avoid any ghosting.
Allow to cool to touch.
Peel back butcher paper.
Peel back Infusible Ink sheet.
Celebrate your new amazing shirt.
That's it. Once you've made one Infusible Ink project you're going to want to make 100. The steps can feel daunting until you've done it once. I can't wait to hear how much you love making Infusible Ink projects.
The Mandalorian Baby Yoda Shirt Tutorial
If you love The Mandalorian you're going to love this Mandalorian Baby Yoda shirt that you can make yourself!
Materials
- Infusible Ink Blank Shirt
- Watercolor Splash Infusible Ink Sheet
Tools
- Cricut Machine
- EasyPress
- EasyPress Mat
Instructions
Open Image in Design Space.
My image is sized for a child's size 8/10 shirt.
Place Infusible Ink sheet pattern side up on mat.
Make sure you mirror your image before you cut it out.
Cut image.
Lint roll shirt. Go over it a few times with a clean lint roller sheet.
Preheat your shirt.
Layering process is imporant. Follow each step.
Unload mat from machine and remove Infusible Ink Transfer Sheet.
Trim excess Infusible Ink to save for later.
Using fingers weed excess Infusible Ink. Try to avoid touching the ink as much as possible.
It's important to layer properly. Follow this layering process.
1. EasyPress Mat
2. Shirt
3. White Cardstock placed between layers of shirt.
4. Infusible Ink pattern side down placed on shirt (try to adjust placement before laying onto fabric, especially if it's still warm from preheating).
5. Make sure the Infusible Ink has cardstock under the entire image (between layers of the shirt).
6. Cover Infusible Ink with butcher paper (butcher paper comes with every Infusible Ink Sheets).
7. Set temperature and timer on EasyPress.
8. Place EasyPress on butcher paper making sure it doesn't move.
9. When time is up lift EasyPress straight up to avoid any ghosting.
10. Allow to cool to touch.
11. Peel back butcher paper.
12. Peel back Infusible Ink sheet.
Recommended Products
As an Amazon Associate and member of other affiliate programs, I earn from qualifying purchases.


![Cricut EasyPress Mat, Protective Heat-Resistant Mat for Heat Press Machines and HTV and Iron On Projects, [12" x 12"]](https://m.media-amazon.com/images/I/41FNKJcKcfL._SL500_.jpg)


I hope you love this shirt and are excited to make your own. If you have questions don't hesitate to ask in the comments.
We have a great discount for our crafting friends! Click and use code Housewives for 10% off and free shipping on purchases over $50! *Not valid on machines, Cricut Access memberships, or digital image purchases*

If you enjoyed this project check out these other Cricut projects we've made.

- Bringing Home Baby Chicks - March 11, 2025
- Is RootsTech for Moms? - February 23, 2024
- How to Get Oil Stains Out of Clothes - May 5, 2023

U can’t find this print
Are you located in the US? Because it is a licensed image I believe it is only available in the US. Here is the image number in Design Space #M1396467C