This post may contain affiliate links. If you purchase something through any link, we may receive a small commission at no extra charge to you. Supplies used may be given to us free of charge, all projects and opinions are my own.
If you are wanting to add some cute and easy Patriotic Decor for the summer season, this is a fun project!
Framed Patriotic Decor
I hope you are enjoying your summer so far and you have lots of fun adventures planned. I feel like our summer can officially start in a couple more days for our family. My 3 younger children are still in school. They have year round school so they don’t get a traditional summer break like most kids. They get a three-week break and then start back up with the new school year at the end of July, so we are cramming in as many fun activities and as we can in the next three weeks!
We have a few house projects going on right now, but they may have to be put on hold for a little while longer. I feel like my kids are growing up too quickly and those those projects can wait. While the kids are still in school I’ve been trying to finish up a few 4th of July decorations that I’ve been wanting to make. Last week I made this cute felt wreath. I decided to hang it on a window that sits on a shelf in my front room. I love how the wreath looked on the window, but I feel like it made the shelf look very boring and blah, it definitely needed some color.
I’ve mentioned in posts before my lack of 4th of July decorations so I decided the shelf needed something fun and festive for the upcoming holiday. I came up with this cute Framed Patriotic Decor and I’m so happy with the way it turned out. It gives the shelf the pop of color it needed and it compliments the wreath so well!
Patriotic Decor Supplies:
2 sheets of blue and white striped scrapbook paper (12×12)
3 5 x 7 wood frames
wood letters (chip board letters would work also )
red acrylic paint
cream chalk paint (I used Country Chic Vanilla Frosting)
red fine glitter
hot glue gun
sanding block (sand paper works great also)
scissors
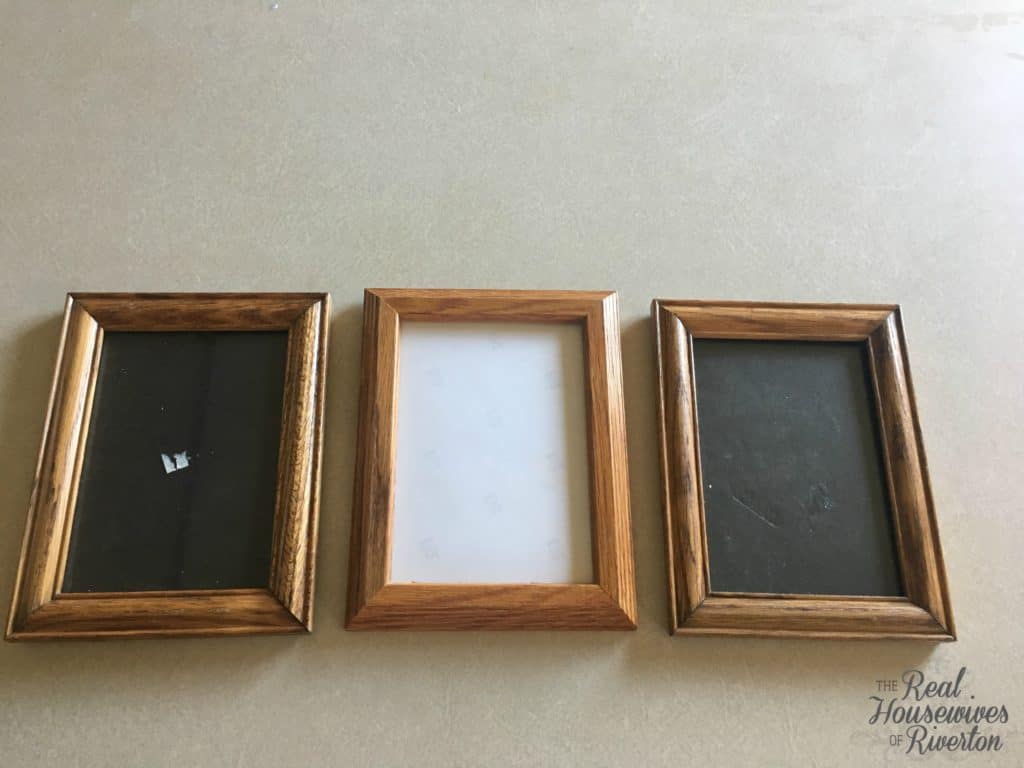
Frames can get really expensive so I decided to hit up our local thrift store and grab some frames there. I found these oak frames for .75 each. I knew with a little bit of paint and sanding these frames would look good as new!


Directions:
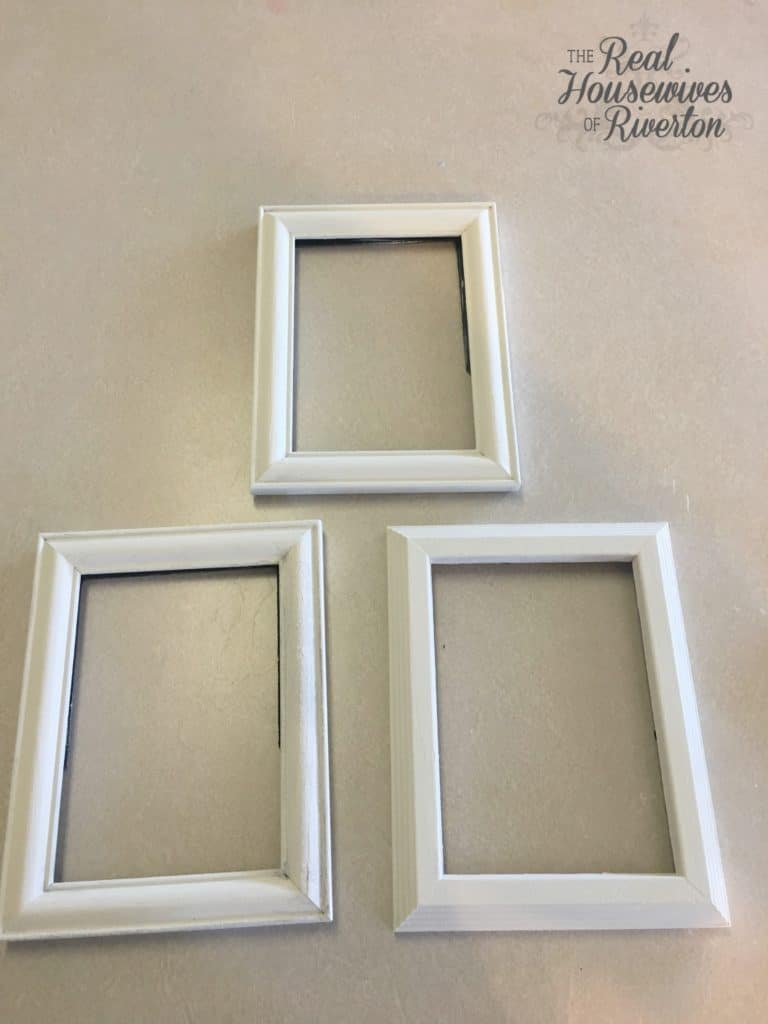
1.Wipe down and sand any imperfections on your wood frames. Paint the frames and let dry. I used chalk paint but any cream acrylic paint will work just fine. After the paint is dry sand around the edges for a more distressed look. This step is optional if you like a cleaner more traditional look.
2. I used scrapbook paper I already had. It is dark blue with faint white lines.frame. I took out the cardboard back of the frame and used that as a guide to measure the scrapbook paper to fit inside the frame. After I placed the paper in the frame I took the piece of glass that was in the frame and put it behind the scrapbook paper to make it more sturdy.
3. I painted my wood letters red with acrylic paint. My husband cut my letters out, but you can purchase wood letters at any local craft store. Other options would be cutting letters out of red vinyl or using chip board letters, these letters can also be purchased at any craft also. When the paint was wet I poured the red glitter over my letter and shook off the extra glitter onto a piece of paper. I sprayed the letter with a spray sealer so the glitter didn’t fall off.
4. Place the letters where you want them on the paper and hot glue them into place. You can add saw tooth hangers on back to hang on your wall or place on a shelf.
In the end this Patriotic Decor project cost me less than five dollars to make. It would cost even less if you already have old picture frames kicking around your house. If you were to purchase something like this at a store or a boutique it would cost around $20-$25 , or maybe even more. It always make me feel good when you can make something on a budget. It would also be fun to switch up the colors of the letters and use different patterns of paper. The possibilities are endless! I’d love to see what you come up with!
Happy Crafting!
- The Best Vinegar Paintbrush Cleaner Method - May 6, 2023
- 10 Fun and Easy St. Patrick’s Day Games - March 1, 2023
- Valentine’s Day Felt Wreath DIY - January 20, 2023


