This post may contain affiliate links. If you purchase something through any link, we may receive a small commission at no extra charge to you. Supplies used may be given to us free of charge, all projects and opinions are my own.
DIY You are Something Magical Sign
This post is sponsored by Cricut, all thoughts, opinions, and photos are my own. This post may contain affiliate links, all this means is if you purchase through the link we may receive a small payment, you will not pay more for your items.
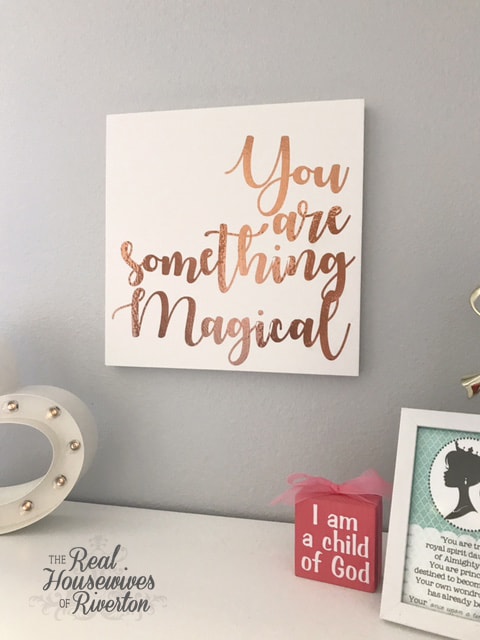 We’re in the process of making over my 12 year old’s bedroom. It’s been such a fun project every step along the way, I cannot wait for the whole room reveal. We’ve got one last project to knock out in her room and then I can show you everything. Until then I’ve got a fun project to share. I made this You are Something Magical sign with my Cricut Explore Air 2 and once again I am patting myself on the back because I love it so much.
With just a few supplies you can make this sign in less than an hour because I am including the free image in this post that I created so the hard work is already done for you.
You are Something Magical Sign Supply List
You are Something Magical Sign free download
Cricut Gold Adhesive Foil
Cricut Transfer Tape
Cutting Machine
(I use and highly recommend the Cricut Explore Air 2)
Strong Grip Cricut Mat
Gesso Board
Optional supplies:
Cricut tool set (makes weeding and transferring so much easier)
Command Velcro Strips (for hanging)
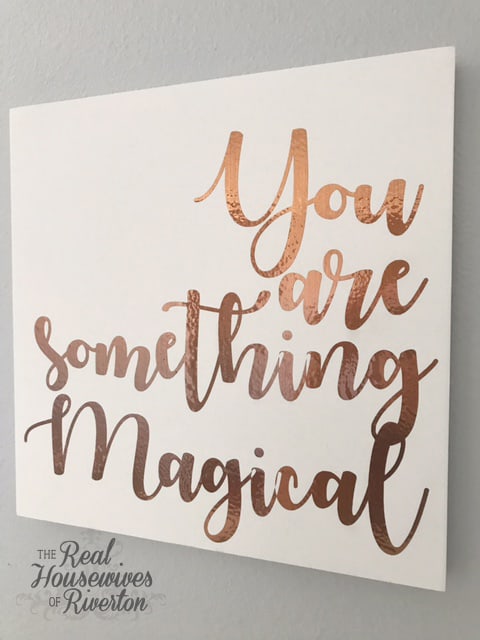 After gathering your supplies the steps are as follows. As I use a Cricut Explore Air 2 and Cricut Design Space these instructions are all how to create this sign using those tools.
1. Upload your free image into Cricut Design Space. Decide what size you want your sign to be (my board is 12″x 12″).
2. Using the strong grip Cricut Mat place your Gold Adhesive Foil on the mat, foil side up, and cut.
(BEFORE CUTTING PLEASE PLEASE PLEASE test something small on the Adhesive Foil. Using the custom setting for “Foil – adhesive backed” my machine did not cut all the way through. I ended up using the iron-on+ setting and it worked like a charm, just take my advice and try something small before you waste a whole 12″x 12″ section of this beautiful gold foil!)
3. Remove from mat, trim (if you didn’t cut your foil off the roll before you put it on the mat, I never do) to just around the words, and weed so just your beautiful words are left on the backing.
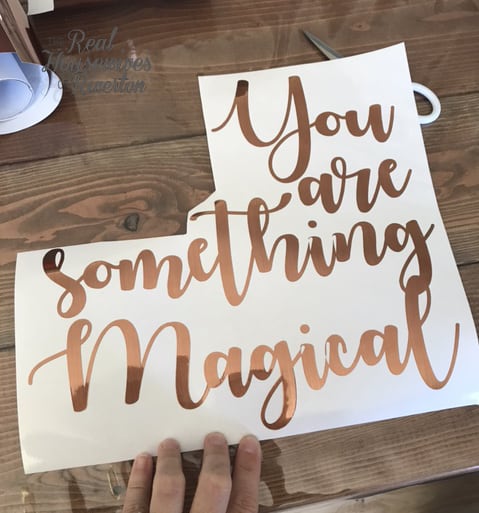 (aren’t they so pretty!)
4. Once you’re done weeding now is the time to break out your board and decide on placement.
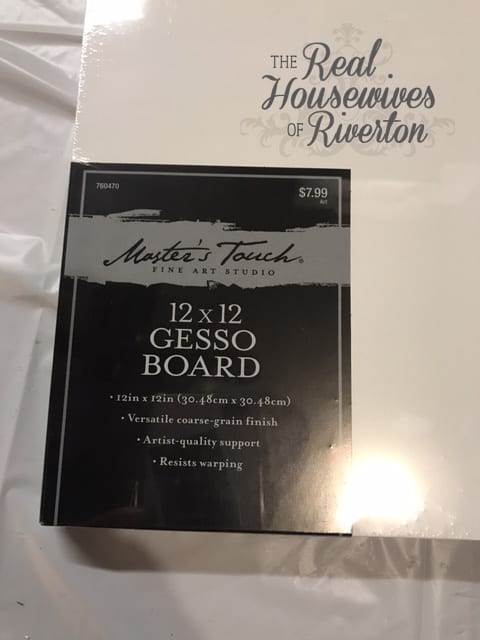 I purchased this board at Hobby Lobby, it looks like a canvas but is a nice hard board. Just like a canvas it comes in a lot of sizes and the prices are quite reasonable. This one is originally 7.99, I purchased mine for 50% off because they were on sale plus if it’s not on sale you can always use a 40% off coupon. I know a canvas would be cheaper so I’ll tell you why I didn’t just go that route. To really get the adhesive foil to adhere to the board you have to use quite a bit of pressure, I think this would stretch the canvas and I’m just not sure you would be able to push hard enough to get it to stick.
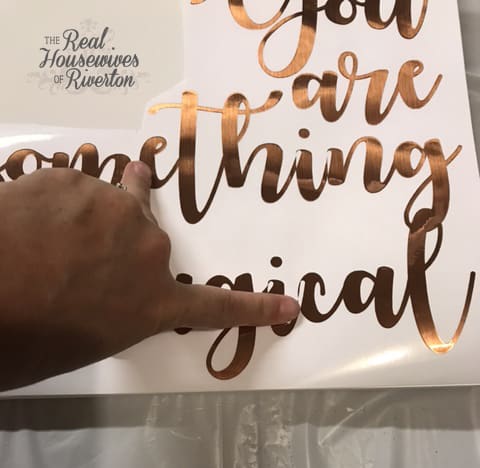 I liked the spacing from the bottom of my backing on my board so I decided to cut my transfer tape the same size as the board (12″x 12″) and line the bottom edge up with the backing of my foil.
 5. Once you have all that decided it’s time to apply the transfer tape. Starting at the bottom I lined my pieces up and slowly rolled it onto the rest of the foil making sure to push out any bubbles.
6. Flip the foil/transfer tape over so the foil backing is up, using the scraper tool go over the foil backing multiple times to push the foil onto the transfer tape. Slowly, starting at the corner, peel the backing off.
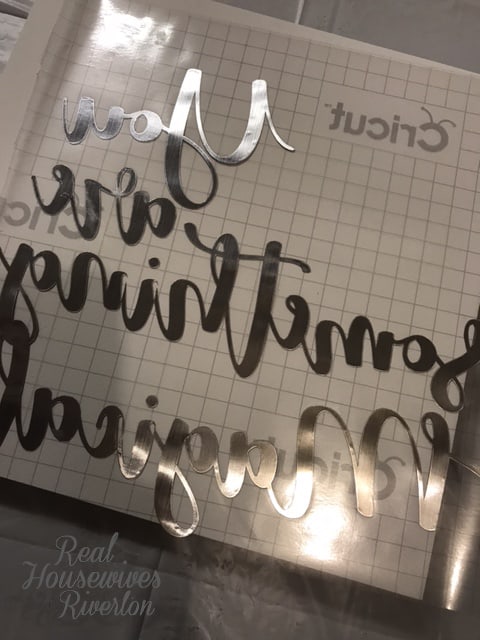 7. Again starting at the bottom (there is something about the straight lines that really helps me) position your transfer tape and foil (I like to stick one corner of the transfer tape down and then move the other corner up/down as needed to help get a nice straight line) over the board and slowly lay it down pressing out any bubbles.
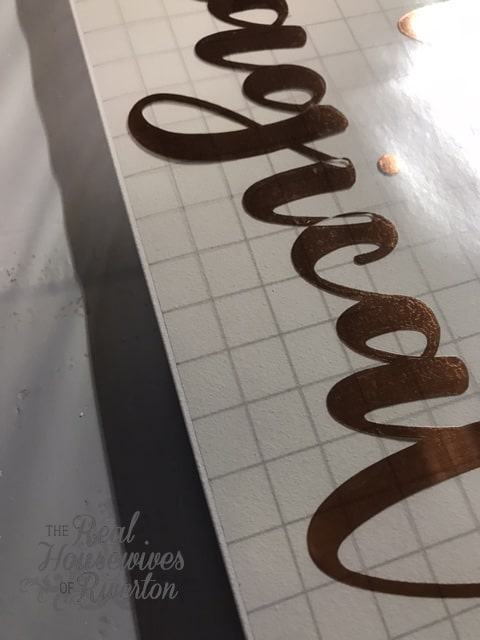 8. As I mentioned before you really need to press on the foil to get it to adhere to the board, it’s just not as sticky as vinyl, using the scraper tool REALLY push the foil onto the board, you should end up with some of the board texture showing in the foil, you want this.
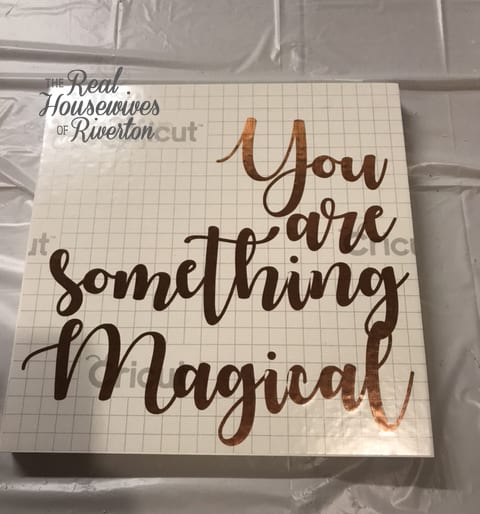 9. I cannot stress enough the need for going SLOWLY while removing the transfer tape when working with foil. The foil can and will tear if you pull too fast and one part sticks and another part doesn’t. Just a little patience and then you’re done. Again starting at the corner slowly start peeling the transfer tape up off the board making sure the foil stays stuck down as you go (be especially careful of the dots on the i’s).
10. Sit back and stare at your sign for a while. I love how reflective the gold adhesive foil is, it is so pretty I find myself walking past the room to get a look at it.
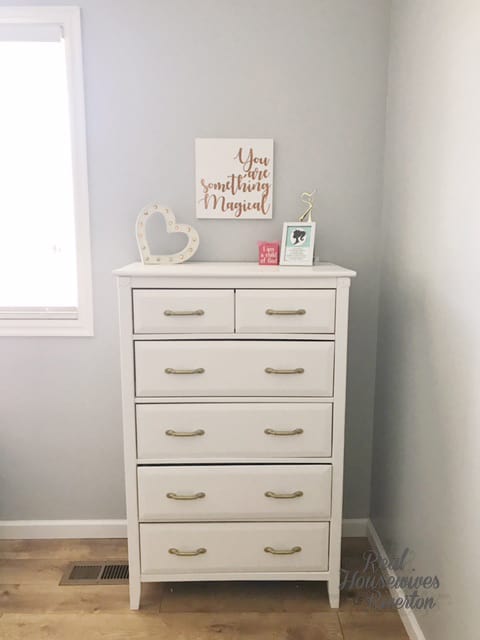 This sign ends up being very light so command velcro strips are a quick and easy way to hang it so it sits almost flush against the wall.
I love it, I am completely smitten with it. And my cute Mia walked in, saw it, read it, and said “does that mean I’m like a unicorn?!!” Seriously happy that she loves it too.
 Because I use my Cricut Explore Air 2 so often I am regularly asked some version of this question “Do you think you use your Cricut enough that it’s worth the price?”
I can easily answer that question without even hesitating, YES! Take this You are Something Magical sign for example, this sign would easily be $20+ if I had purchased it. For that same $20 I could make two of these signs and have enough foil left over to make two more (and that’s paying full price for the foil which is often on sale).
I use my Cricut Explore Air 2 without exaggeration at least once a week, usually 3-4 times per week. It is so user friendly my kids break it out to create their own custom t-shirts regularly. I feel like there isn’t anything I can’t do myself with this machine. I love that I can knock out a project in no time at all so getting it out isn’t a huge hassle (although it does have an almost permanent spot in the main living area because we use it all the time). If you’re on the fence and asking yourself this same question just think for a moment what you might do with it, look around your home, look at your pinterest boards, think about upcoming birthdays/holidays, think about how much easier projects you’ve been wanting to do would be accomplished by having this machine in your corner. I love the machine, I love the company, I love the software, and I love how creative I feel because I know I can use it to help me!
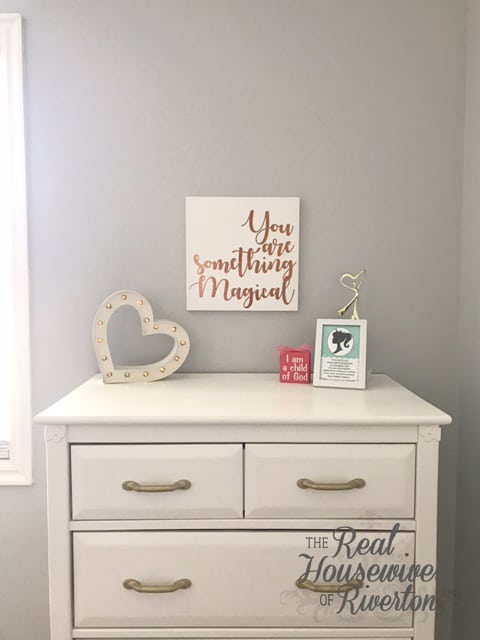
I hope you like my You are Something Magical sign, if you have any questions about the Cricut Explore Air 2 or about how this sign was made or just need a little help getting it done please don’t hesitate to ask in the comments below!
Thanks and have an awesome weekend!

This is a sponsored conversation written by me on behalf of Cricut. The opinions and text are all mine.
- Bringing Home Baby Chicks - March 11, 2025
- Is RootsTech for Moms? - February 23, 2024
- How to Get Oil Stains Out of Clothes - May 5, 2023


I just ordered some of the iron on foil to use for 4th of July shirts. I have some of the foil vinyl. It is so beautiful. I haven’t decided what to do with it.
I LOVE the iron on foil (tip, let it cool completely before removing the plastic!) I’ve used it a lot and it goes on and stays on so well. I’ve got a cute shirt idea for the boys all designed for the 4th. Just need to get it cut and on the shirts. I can’t wait to see what you do. Have you seen the holographic vinyl?? It might just be my favorite!! Thanks for following us!!!
[…] like “What is Cricut Joy” check out these other posts: We the People Farmhouse sign You are something Magical Sign How to create a felt and wood […]