This post may contain affiliate links. If you purchase something through any link, we may receive a small commission at no extra charge to you. Supplies used may be given to us free of charge, all projects and opinions are my own.
**This Premium Iron-On Design post is sponsored by Cricut. All ideas, photos, and opinons are 100% mine. This post may include affiliate links.**
I'm so excited about the new Premium Iron-On Designs from Cricut! If you have wanted to make custom items, but don't have a cutting machine or feel like you don't have the creative juices to pull it off, these are exactly what you need!
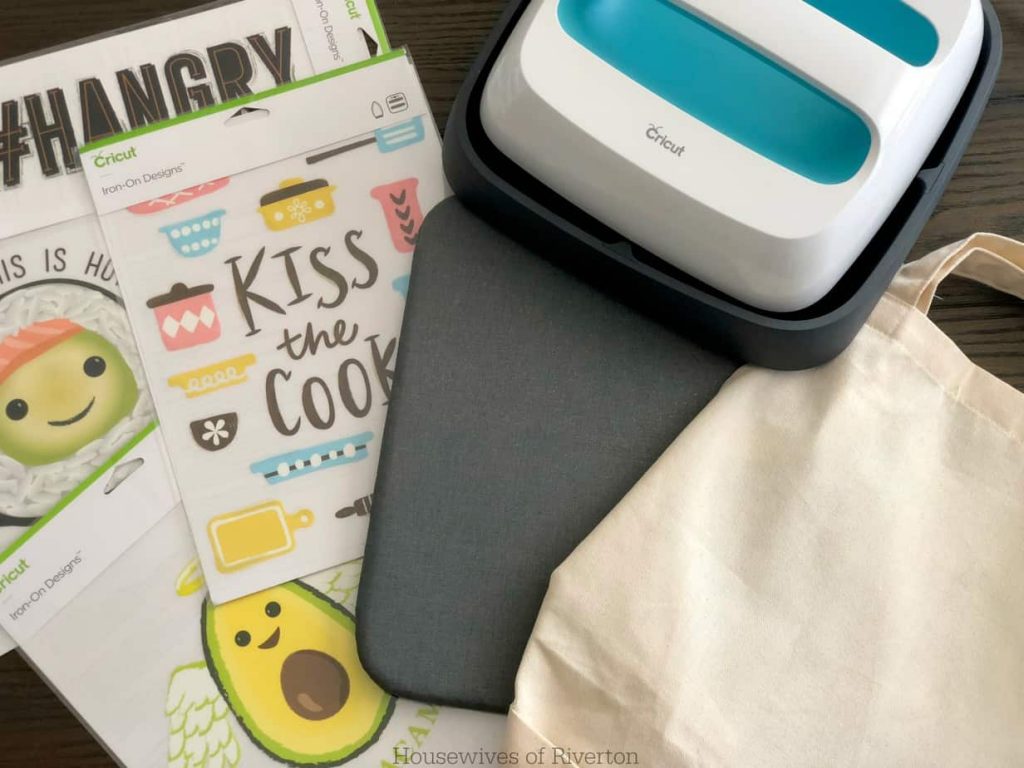 I love creating fun things on my Cricut Maker, but I can get caught up in the process. One of the best things about the Premium Iron-On Designs is that most of the work is done for you. You can pick out a few of your favorite designs and add them to clothing, tote bags, canvases, pillows, towels, etc. The only work you have to do is breaking out your Cricut EasyPress and EasyPress Mat or your household iron. PS…if you don't have an EasyPress and EasyPress Mat, you are missing out! The EasyPress makes working with these premade designs SO much easier because of the even heating surface. The EasyPress Mat not only protects your work surface, but it also helps direct all the heat towards the design to make a nice, smooth transfer.
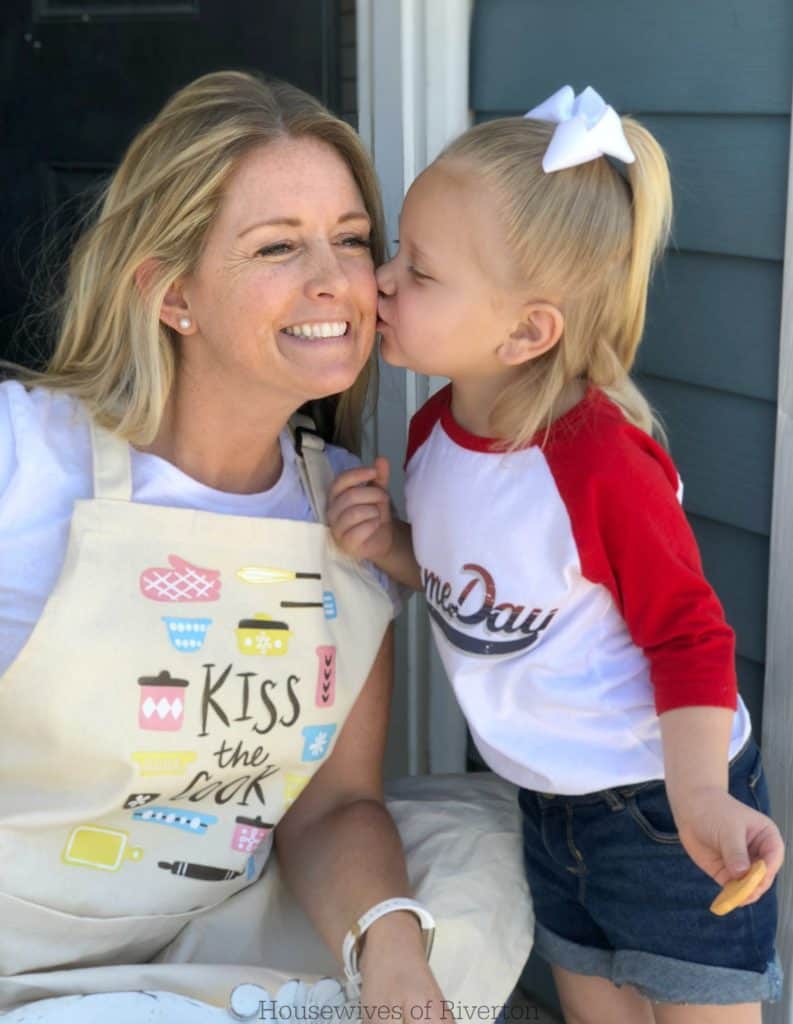
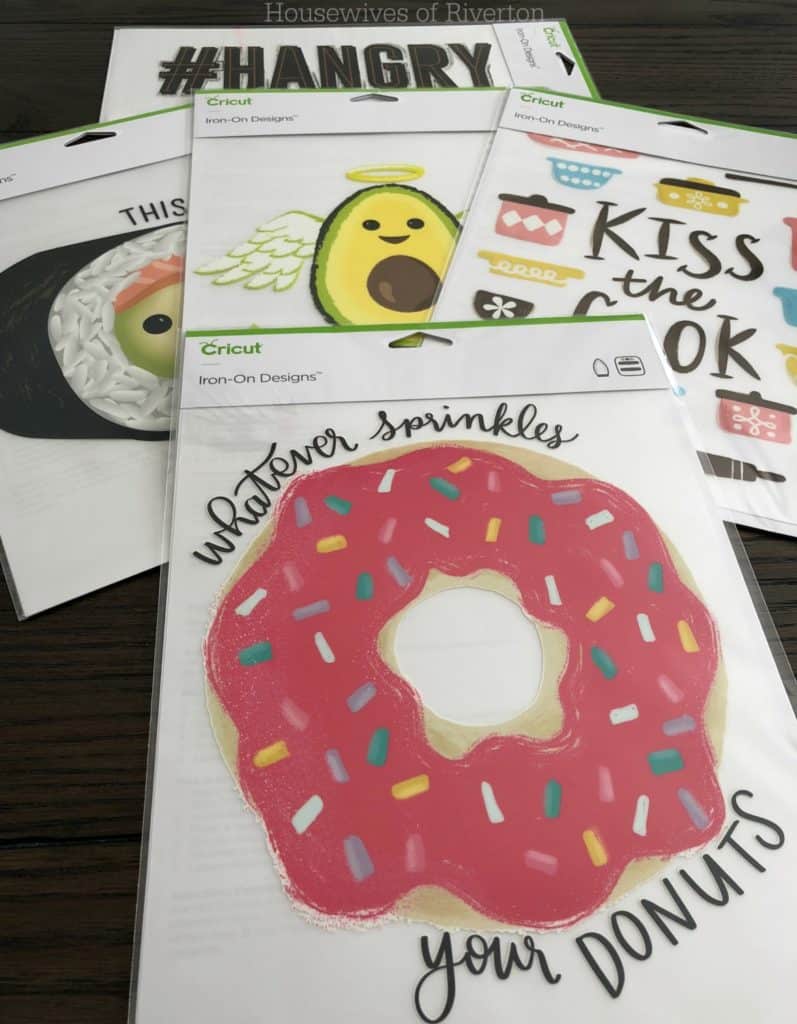 Because I love to cook and bake, I decided to make a fun apron. I took a canvas apron and the iron-on design that I liked best (and trust me, there are so many dang cute ones, it was really hard to choose!) to add to my apron. I thought the Kiss The Cook design would be perfect. I know there are lots of kiss the cook type aprons out there, but I really loved the design of this one and knew it would fit perfectly on my apron.
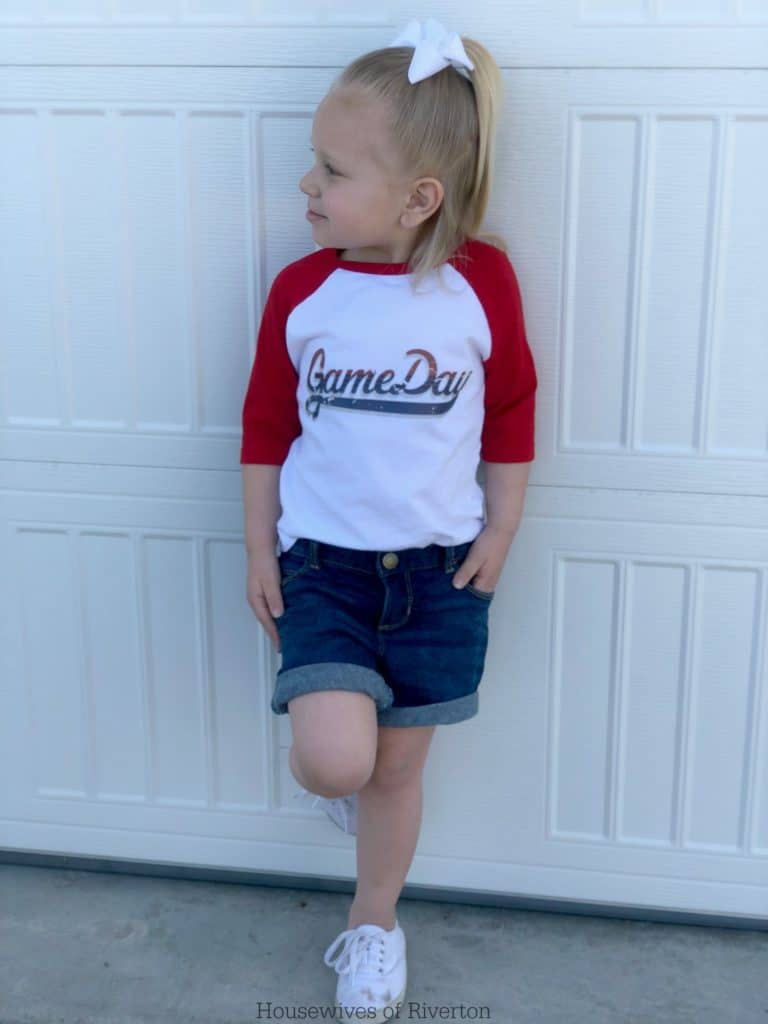
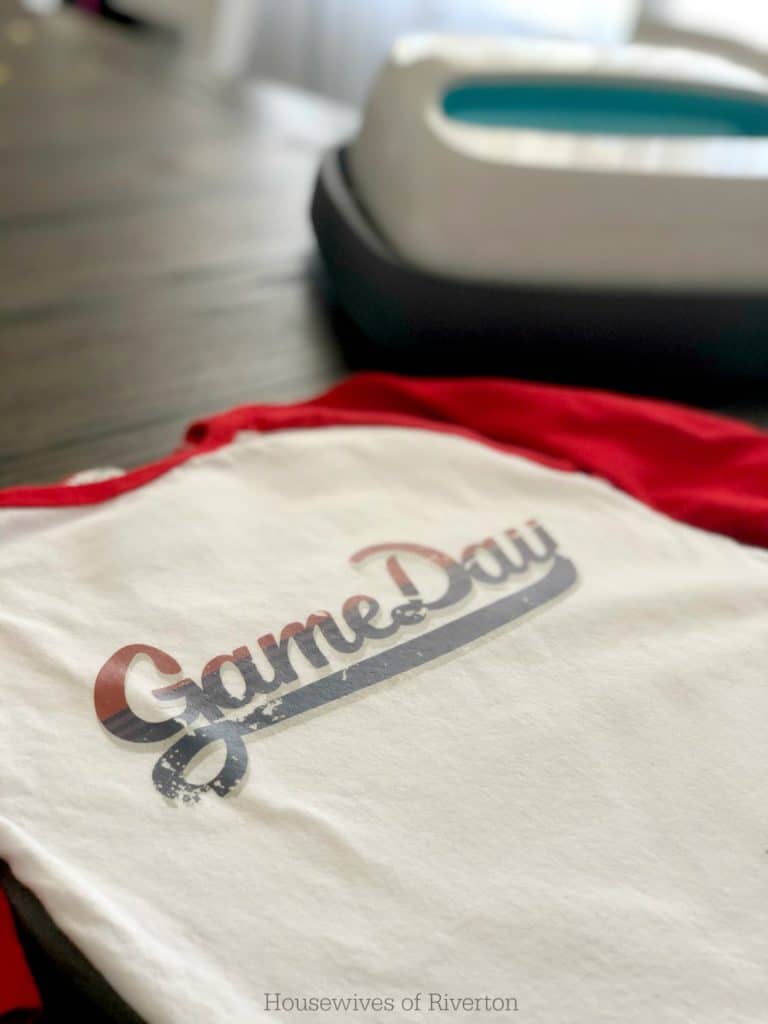
Of course after I made my apron, I had to make my sweet daughter this cute Game Day shirt! We are in baseball season now, so I knew she would love to have a fun shirt to wear to her brother's games. The iron-on designs come in two sizes, large and small. For the apron, I used the large design, and for the shirt I used a small one.
 If you are using the Cricut EasyPress with the EasyPress Mat, you will set your heat to 340°F, heat your item for 15 seconds before laying down your design, then heat your design for 30 seconds. The instructions on the iron-on designs were created before the EasyPress Mat was released, so the written instructions say heat for 50 seconds, that will be too long and can damage your design. Only follow the written instructions if you AREN'T using an EasyPress Mat or if you are using a household iron. Flip your item over and heat for 15 seconds on the back side. Wait 1 to 2 mins and carefully peel the clear film off at a 45° angle.
Make sure you don't wash it for 24 hours, and when you do turn your item inside out if possible, don't use bleach and if you need to iron it, make sure you do it on the back side and not directly on the design.
 I love how clean and smooth these designs go on. They lay perfectly against the fabric and you can't even feel an edge.
 I'm so excited about all the possibilities that there are with these ready to go iron-on designs. They have over 50 designs currently out and they have plans to release more! I'm personally hoping for more sports themed ones!
 What do you think about these fun Iron-On Designs? Hop over to Cricut and tell us which ones you are hoping to try out!

This is a sponsored conversation written by me on behalf of Cricut. The opinions and text are all mine.
- Five Minute Fudge Recipe - October 23, 2025
- Calming Glitter Jar - May 24, 2025
- DIY Drop Down Folding Table for Laundry Room - May 21, 2025
Oh gosh how very cute!!
Thank you! We thought they were super fun…and our models are pretty adorable too! 🙂