This post may contain affiliate links. If you purchase something through any link, we may receive a small commission at no extra charge to you. Supplies used may be given to us free of charge, all projects and opinions are my own.
Last year R really wanted a Sponge Bob Valentine Box to put all his Valentines in at school. It was actually really fun and easy to do! R helped do a lot of it which made it even easier on me. 🙂 All I did was Google a picture of Sponge Bob and just base our design off of that.
You are going to need…
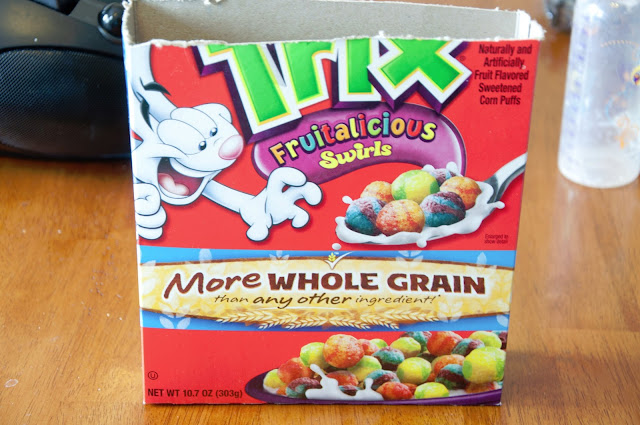
1- regular size cereal box
1- paper towel roll
1- toilet paper roll
3- sheets of yellow construction paper
1- sheet of white paper
1- sheet of brown construction paper
1- sheet of blue construction paper
1- sheet of black construction paper
1- sheet of red construction paper
Glue
Black sharpie
Scissors
Start with your cereal box and cut about 1/4 off the top.
Next cover the top with the yellow paper. You will probably need 2 sheets to go front and back. It won’t have to go all the way to the bottom. Then put a strip of the white paper (for the shirt) about two inches in width around the front and sides. Next use the brown paper (for the pants) to cover the bottom front and back, about 2 1/2 inches in width. We just used glue to keep the paper on, if you want it to lay a bit flatter, use scrapbooking adhesive.
Now you are going to add the face and belt.
For the belt, R just used a black sharpie and made little dashes at the top of the brown paper.
Next he cut out circles in the white and small blue and black circles for the eyes. After gluing those down he added a smile with the black sharpie and then glued down the white squares he cut out for teeth. He also cut out a tie in red and glued that on the shirt.
Next I drew the nose with the black sharpie and he cut OUTSIDE the sharpie line so that the nose would be outlined already. Then with the sharpie he outlined the eyes, made eyelashes and outlined the teeth.
Next we cut a paper towel roll in half to use for the legs. We covered most of the roll in yellow paper.
Next cover about half of the rolls with white paper and cut out strips to put around the top for the sock stripes.
For the shoes we cut a toilet paper roll in half long way and covered in black construction paper. That was difficult. If I had been thinking, I would have just had him paint it black. I also next time would use something square for the shoes. Doing the round was hard to get glued together. You are going to glue the feet onto the legs, let that dry REALLY well and then glue the legs on to the box. We actually turned Sponge Bob upside down so his legs would dry solid onto the box.
While the legs were drying, we cut out long arms in yellow and a red heart for Sponge Bob to hold.
And there is the finished product! I thought it turned out pretty fun and cute!
R was also VERY happy with it!
So there you have it! 🙂
Linked up at…
© The REAL Housewives of Riverton, 2011-2012. Unauthorized use and/or duplication of this material without express and written permission from this blog’s authors and/or owners is strictly prohibited. Excerpts and links may be used, provided that full and clear credit is given to The REAL Housewives of Riverton with appropriate and specific direction to the original content.
Latest posts by Creative Housewives (see all)
- The Best Vinegar Paintbrush Cleaner Method - May 6, 2023
- 10 Fun and Easy St. Patrick’s Day Games - March 1, 2023
- Valentine’s Day Felt Wreath DIY - January 20, 2023


That is soooo cute! We are huge Sponge Bob fans! We’ll definitely have to do this next year!! Love it! -The Six Sisters
Thanks so much! It was lots of fun to do. 🙂 My boys love Sponge Bob too! 🙂