This post may contain affiliate links. If you purchase something through any link, we may receive a small commission at no extra charge to you. Supplies used may be given to us free of charge, all projects and opinions are my own.
I found something to fill in that open space I talked about here
Paula and I ran to The Wood Connection to get our cute SPRING letters for our 1,000,000 Views Giveaway and I looked around to find something fun to fill in the area below my TV. They have SO many cute things but I am working with very limited space, mostly height and a lot of them were too tall for where I wanted to put them. Then literally as we were checking out I found this cute set!
This is one of their Shadow Box sets. Aren’t they adorable?
I bought them naked and was able to paint them how I wanted.
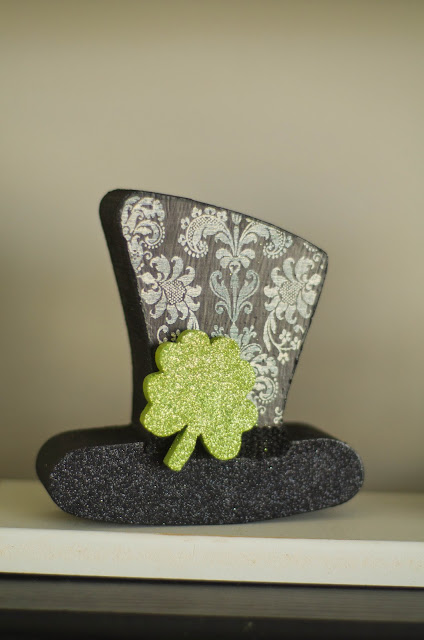
The cute little hat got a green glittered shamrock (included in the set), a damask print top and black glittered brim. I used a piece of black trim to separate the top from the brim.
The Shamrock got a coat of green paint and the front was covered in glitter and then tied with a black ribbon. I used Mod Podge over the top of the paint and then dumped the glitter on top and once it was mostly dry I shook off the excess. I then used a clear spray to seal the glitter.
The Leprechaun shoes make me happy. I painted the sides and back of the socks green and then used rainbow chevron paper for the socks. I used black paint and glitter for the shoes and gold paint and glitter for the buckles. I then tied some ribbon around the tops of the shoes.
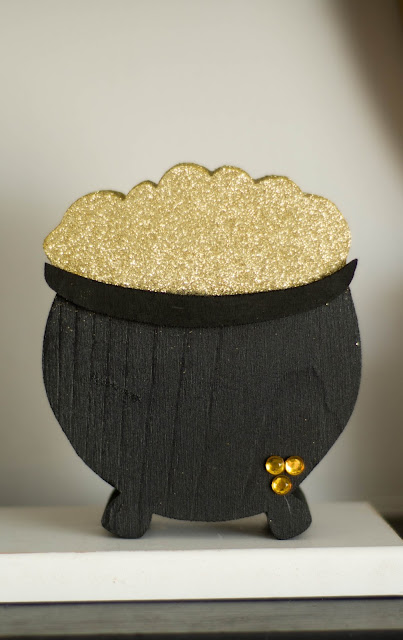
For my pot of gold I painted the whole pot black and the gold, gold. My children insisted that the top and sides also needed glitter so the whole top (except for the back) got a layer of gold glitter. I used 3 gold gems at the bottom of the pot to look like pieces of gold falling.
I put all the pieces on top of a white piece of trim that we had left over from the closet makeover. I didn’t attach them to the piece of trim because I wanted them to be easy to store and because if I ever decide to paint my mantle I won’t need the piece of trim, I was just afraid the black decorations on top of the black mantle would be boring.
I think they turned out adorable and am excited with the finished look of my mantle now.
I hope you like it! Have a great day.
© The REAL Housewives of Riverton, 2011-2012. Unauthorized use and/or duplication of this material without express and written permission from this blog’s authors and/or owners is strictly prohibited. Excerpts and links may be used, provided that full and clear credit is given to The REAL Housewives of Riverton with appropriate and specific direction to the original content.
Latest posts by Creative Housewives (see all)
- The Best Vinegar Paint Brush Cleaner Method - May 6, 2023
- 10 Fun and Easy St. Patrick’s Day Games - March 1, 2023
- Valentine’s Day Felt Wreath DIY - January 20, 2023






So darling! I love it! 🙂
Thank you and thanks for coming by our blog. ~ Jenn
I love wood connection! Look forward to reading your blog!
mommy-on-demand.blogspot.com
Thank you so much and thank you for coming by. ~Jenn