This post may contain affiliate links. If you purchase something through any link, we may receive a small commission at no extra charge to you. Supplies used may be given to us free of charge, all projects and opinions are my own.
 Card club this month was so much fun. I had a hard time deciding on a boy or girl card. With three of the ladies pregnant with girls and tons of pink scrapbook paper on hand I went with a girl card.
Making this card is fairly easy but explaining it is a little more difficult, I hope you can follow my directions. I started this card with cutting card stock for the base of the card 5 1/4″ x 9 1/4″.
I then folded it but not in half, I measured it at 4 1/4″ and then folded it leaving 1″ for the tickled PINK paper. Maybe this picture will help.

I then made the tickled PINK sign starting with cutting the hot pink paper 1 1/4″ x 5 1/4″. I then used a white and yellow paper to printed the word tickled on the computer cut it out 3/4″ x 5 1/4″ and used my alphabet punches to punch out the word PINK. This just gave it dimension and the hot pink color showed thru. You could just print both words if you didn't want to worry about punching it.
I then just glued the tickled pink to the hot pink paper and then attach this to the card. Lining the hot pink paper up with the back of the card. The card now will measure 5 1/4″ x 5 1/4″.
I'm real big on layering so this next step has a few different papers layered together. The first square that is cream colored is 3 1/4″ x 3 1/4″ glued down to the center of the card. The next step I call “old school” I've scrapbooked forever and I remember about 10 years ago when crinkling paper was real big, so I did the green paper this way. Cut it 3×3 and rolled it up in my hand wrinkling it. This just gives it texture. Glue that done to the cream colored square.
Now for the fun part the baby. I cut out the moon by hand (too lazy to get out my cricket) it measures 1 1/4″ x 3″ if I had yellow glitter paper I think the moon would have been cute all glittery but I was determined to just use the supplies I had.
The baby was made with 3 1″ punched circles and 1 1″ heart for the feet. Glue them together using the picture of my card to help you. It was funny because each baby was a little different and really came to life once I drew the face and glue on the bow. I then attached the baby to the moon.
Craft wire cut at 9″ folded and curl the ends is how the moon looks suspended. I attached the moon and wire with glue dots (my favorite scapbook supply) and then decorated with a few star stickers. Oh and I used chalk to give the baby flushed checks.
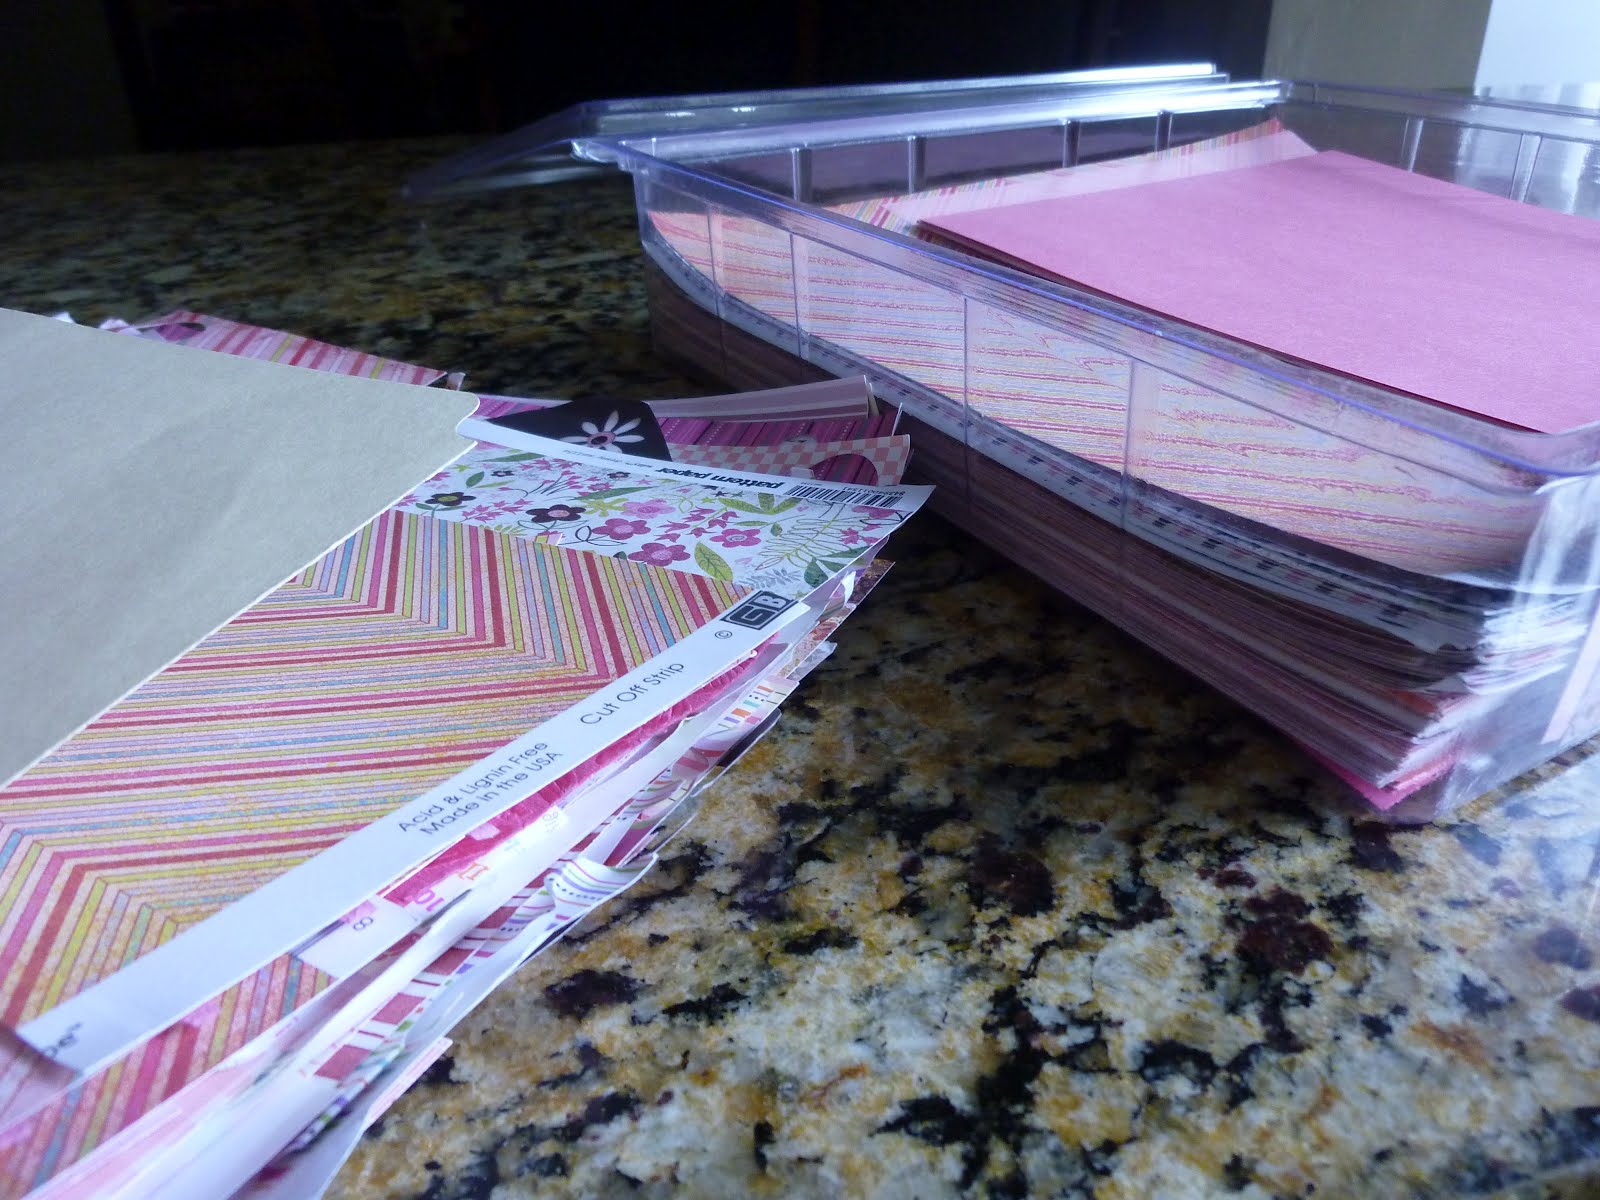
I had been pretty frustrated in the past with making my cards because my scrapbook paper was in two big boxes that everytime I needed a paper I would have to dig for a certain color. Half the time I would just go buy more paper (it was easier). This month was so much nicer. I went and purchased 9 12×12 plastic bins and finally divided all my paper up by color.

I totally couldn't believe how much paper I really had. Making my card this month was so much more enjoyable. I've always gone back and forth how to organize my paper and this really worked for me.

With making cards you can really use the scrapes you have. I keep all the scrapes in a folder and try to check these papers first before cutting into a 12×12 sheet. You would be surprised how often scrapes can be used. I'm trying for the rest of the year to just use the supplies I have and so far it has been great. Kelson asked me after I organized all the rest of my scrapbook stuff when I was going to open my own store, so obviously this goal can be achieved. I just need to resist the urge to buy more for a while. This may take just not going to the scrapbook stores because there are so many cute things.


© The REAL Housewives of Riverton, 2011-2012. Unauthorized use and/or duplication of this material without express and written permission from this blog’s authors and/or owners is strictly prohibited. Excerpts and links may be used, provided that full and clear credit is given to The REAL Housewives of Riverton with appropriate and specific direction to the original content.
Latest posts by Creative Housewives (see all)
- The Best Vinegar Paint Brush Cleaner Method - May 6, 2023
- 10 Fun and Easy St. Patrick's Day Games - March 1, 2023
- Valentine's Day Felt Wreath DIY - January 20, 2023
