This post may contain affiliate links. If you purchase something through any link, we may receive a small commission at no extra charge to you. Supplies used may be given to us free of charge, all projects and opinions are my own.
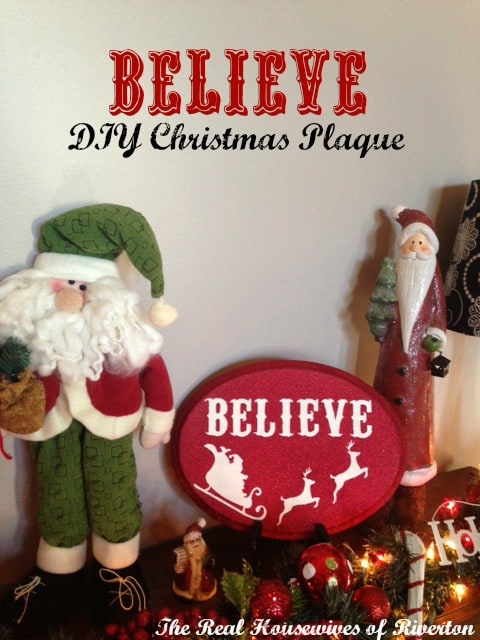
Can you believe that Christmas is next week?? I sat down today and started to panic a little bit thinking of all the things I need to do before next week. I had a lot of different holiday crafts that I wanted to make and of course I haven’t done most of them. After seeing Jenn’s last post about bringing stencil’s back and showing us all her cute signs it made me want to go through all the cute stencils I have from Hazel and Ruby. If you haven’t checked out Hazel and Ruby you need to. They have such fun products and I love how you can re use the stencils over and over again just stick them back on the paper and they are ready to use for your next project! So easy and so fun! I always tell my children if you don’t believe then you won’ t receive and I love to decorate with Santa’s for Christmas so I thought this would be the perfect plaque to put by my Santa’s.
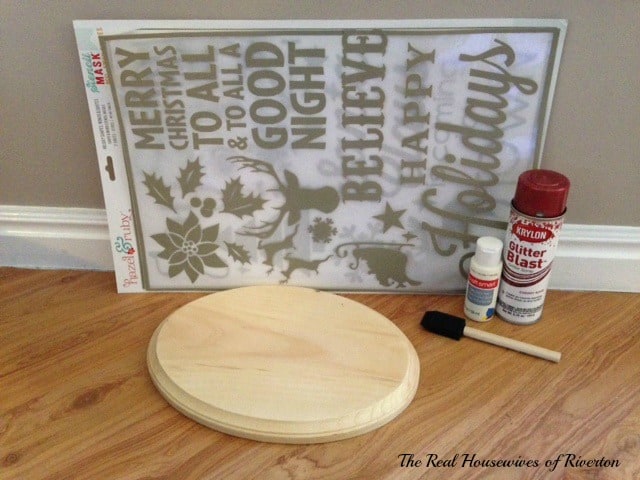
These are the supplies you will need to make this plaque. I used these awesome stencils from Hazel and Ruby. I used the holiday shapes, words and quotes stencil pack. You will also need a wood plaque and cream paint, foam paint brush and a can of the Krylon cherry red glitter blast spray.
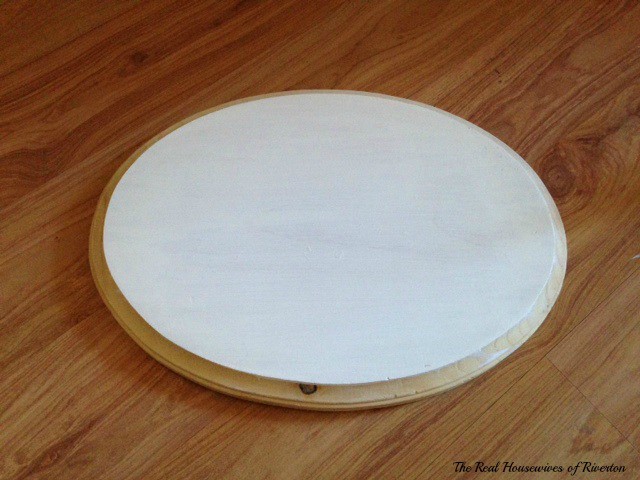 First you will sand down any rough edges of your wood and wipe down . Next you will paint a couple coats of the cream paint onto your wood plaque and let dry until it isn’t sticky to the touch.
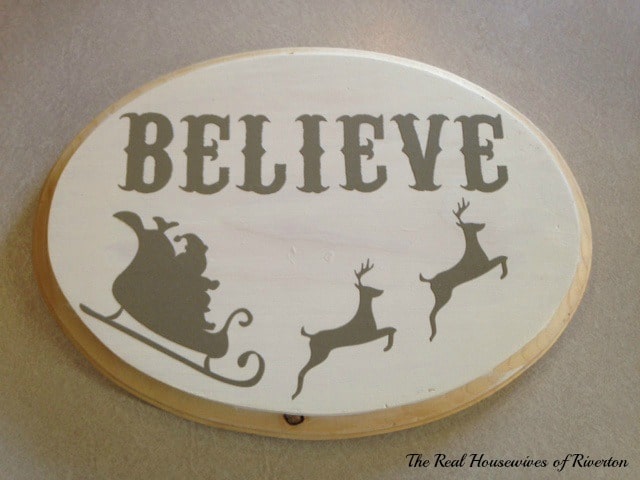 Next you will arrange your stencils onto the wood. This took me awhile to do I had to make sure everything was even. That is what I love about these stencils you can move them around as many times as you want and they still stick so nicely to the wood.
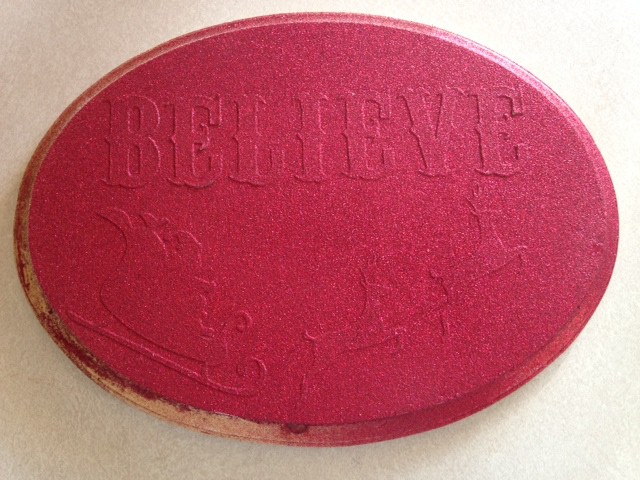 I sprayed the glitter spray over the stencils and let it dry for about half an hour. Can I just tell you how much I loved this glitter spray. This is my first time ever using it and I loved how easy it went on and how fast it dried . It has a hard finish but looks so smooth and sparkly also. I was thinking about painting the outer edge black but I wasn’t sure how it would look against the glitter so I decided to paint the whole thing red.
 After I was done spraying I was glad I did it all red. I loved how the red really made the cream pop out!
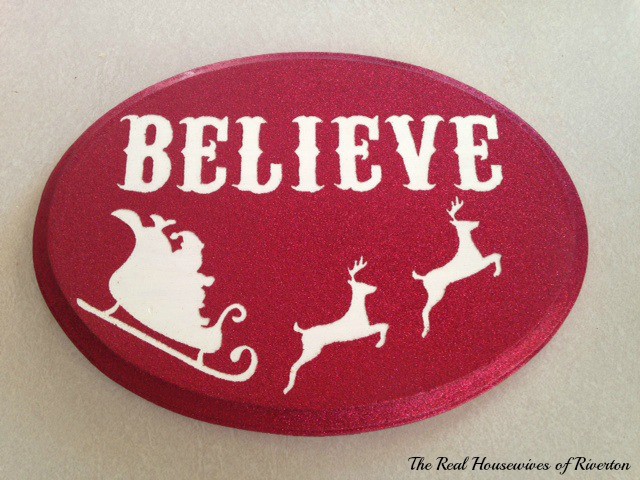 After the glitter spray was dry I removed the stencils with an x-acto knife. I liked how the spray made it look very clean.
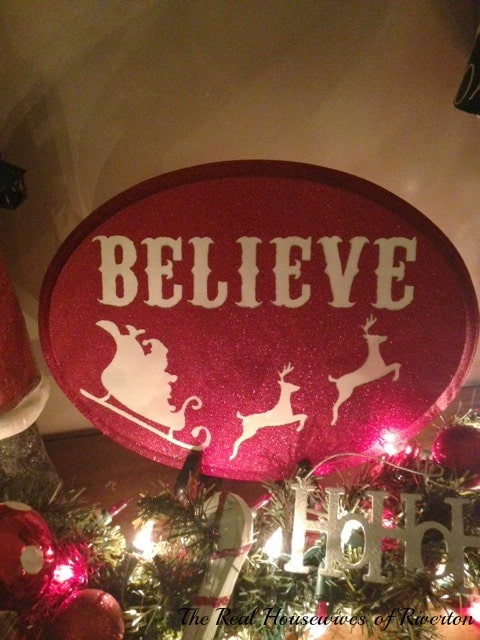 I walked by my piano tonight and I just loved how pretty and sparkly it looked next to my garland. I love how it turned out!
*We were given some products in this post to review. All photos, text, and thoughts are our own*
- The Best Vinegar Paint Brush Cleaner Method - May 6, 2023
- 10 Fun and Easy St. Patrick’s Day Games - March 1, 2023
- Valentine’s Day Felt Wreath DIY - January 20, 2023


[…] adorable Believe sign is so cute and will brighten anyone’s holiday […]