This post may contain affiliate links. If you purchase something through any link, we may receive a small commission at no extra charge to you. Supplies used may be given to us free of charge, all projects and opinions are my own.
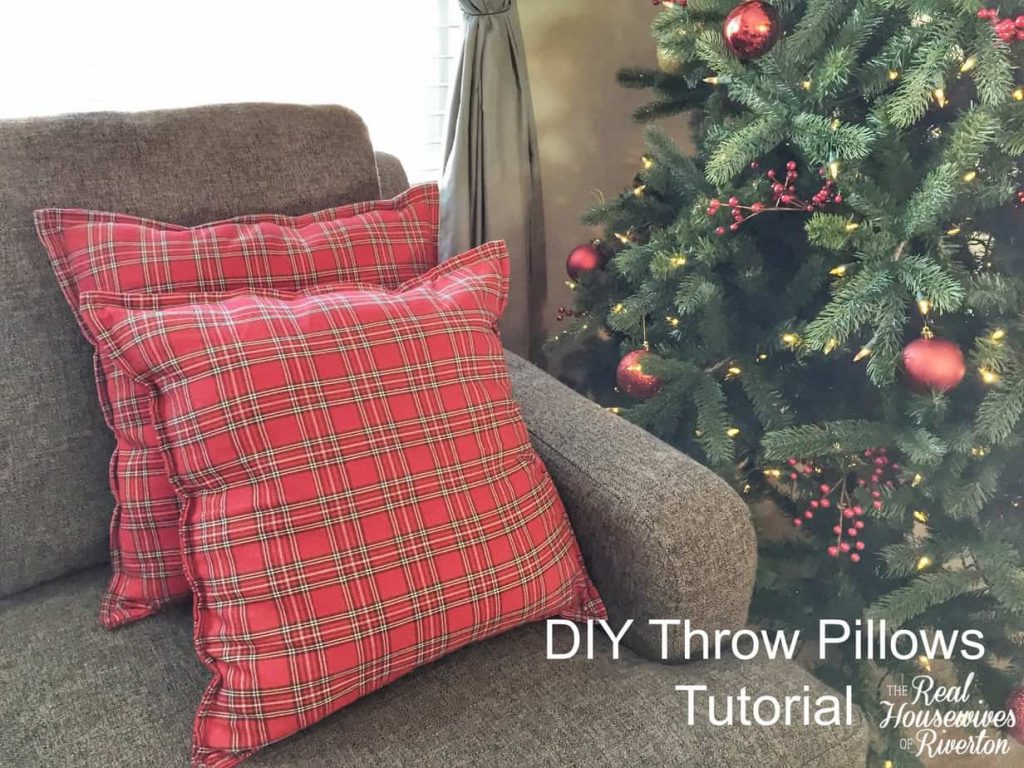 Do you, like me LOVE throw pillows? I would have hundreds of them if I could get away with it. I especially love changing them out for the holidays. Nothing makes me happier than seeing my house decorated for the holidays and that includes throw pillows on the couches, beds, and even some of the chairs just because they’re so cute. If you are like me you’re going to love me for showing you how we did these DIY Throw Pillows and like me you’ll be able to have pillows to your hearts content.
Throw pillows sadly can be ridiculously expensive, am I right? I remember walking into a store and picking up a cute little holiday pillow that was probably about an 8 inch square considering taking it home with me until I flipped it over and saw the price tag of OVER $100. I was blown away (and quickly decided I was in the wrong business), do people really pay over $100 for a tiny little pillow? Well if they do more power to them, that is not in my budget (unless of course I intend to only buy one pillow for the next 3 years).
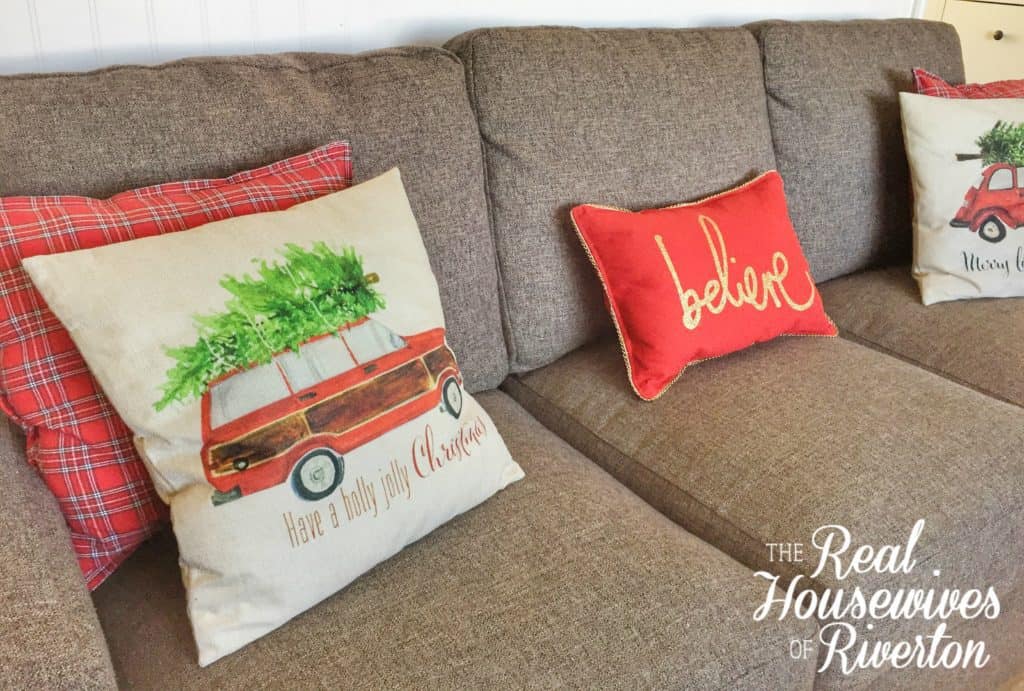
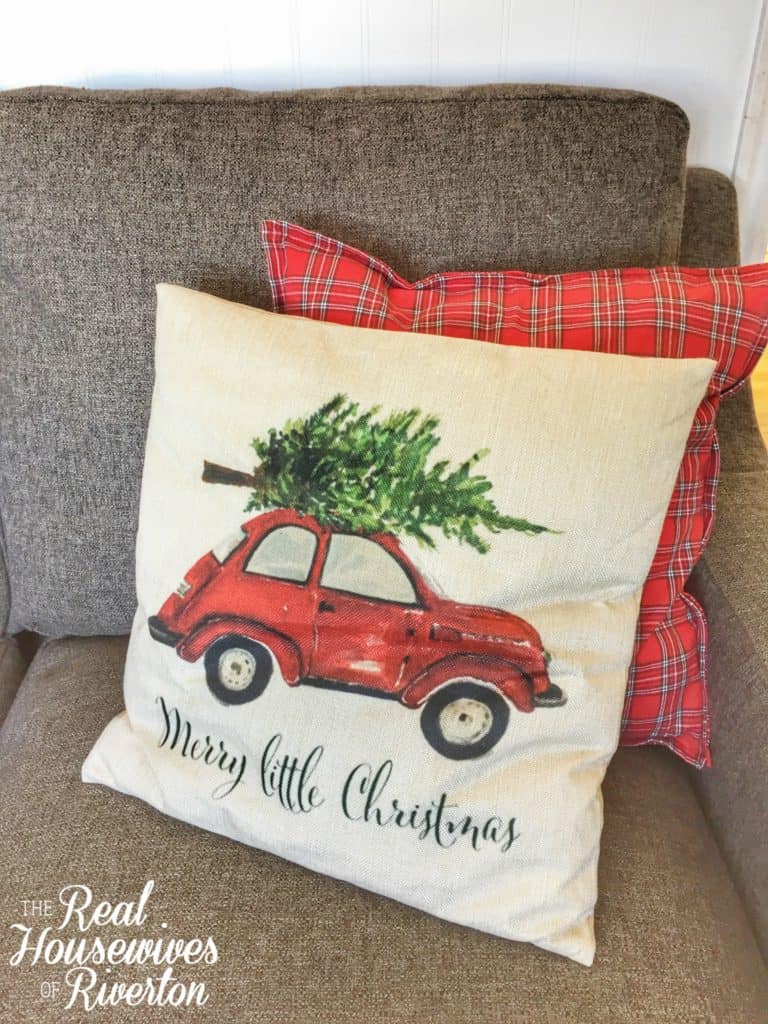 I’m always looking for great deals on decorative throw pillows, I love places like Home Goods, TJ Maxx, Ross, and even Amazon for a great deal on a pillow but it’s not always easy to find more than 1 of the same at some of those places.
For example I have this beautiful gold Merry Christmas pillow that I found at Ross for $9.99 – it was an awesome deal but sadly there was only one. Some pillows I’m happy to have just one of but sometimes I need 2, or 4, or maybe even 8 (4 couches means sometimes I want 8 haha).
 While we were out doing some shopping to prep for Thanksgiving I came across the cutest plaid kitchen accessories at Hobby Lobby. In those accessories were plaid cloth napkins. They were priced at $2.99 but 50% off which meant if my plan came together like I was hoping I could have cute pillows for the bargain cost of $2.99 each.
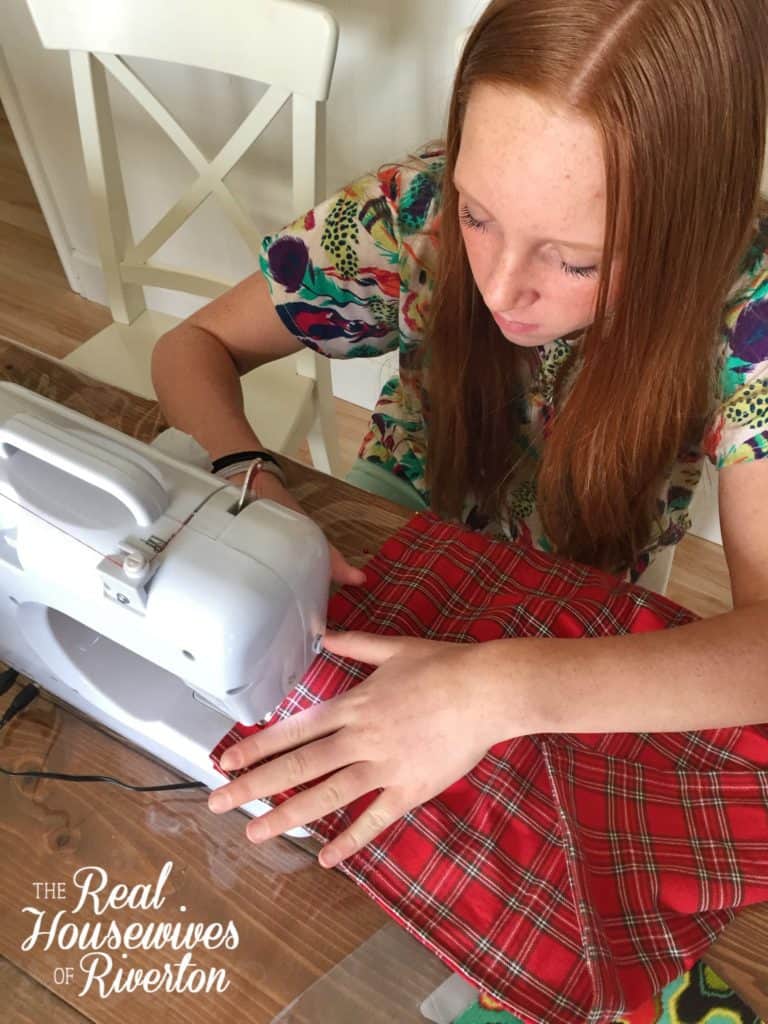
You see Miss Mia has been begging me to teach her how to sew, she knows a few things and got a cute little sewing machine last year for her birthday and has been wanting more opportunities to use it. I bought myself 8 cute plaid cloth napkins with the intention to kill two birds with one stone. Get myself some Christmas throw pillows and get Mia sewing.
 To make these DIY Throw Pillows you’re going to need the following:
2 cloth napkins (per pillow)
stuffing (this I had on hand, you can use a pillow form or just stuffing just make sure if you use a pillow form it is small enough to be sewn around)
straight pins
sewing machine (or a lot of patience for hand sewing)
thread to match your cloth napkins
I am going to give you directions for how we made our DIY Throw Pillows (using stuffing, if you’re using a pillow form your steps will be slightly different).
 Step 1: This is a good step to do at the store if you can. Measure your cloth napkins to each other making sure the sides line up. I ended up with 1 randomly small cloth napkin that resulted in a trip back to the store to exchange.
Step 2: Starting at the 4 corners pin your napkins together, wrong sides together, because the edges are already finished you don’t have to sew inside out and flip back right side out, I love any opportunity to skip a step and this also helped make it the perfect job for an almost 12 year old. While pinning remember on one straight edge you’re going to want an approximately 8″ opening for stuffing your pillow. I preferred to do this in the middle of the straight side so we could make sure the corners got well stuffed.
Step 3: Using your sewing machine on a straight stitch with matching (or at least coordinating) thread sew 3+ sides of your pillow. I started about 2″ from the corner on one side and then worked my way around 3 sides ending 2″ from the corner on the other end on the side I started on. This left me with about 8″ open for stuffing. Don’t forget to backstitch!!!
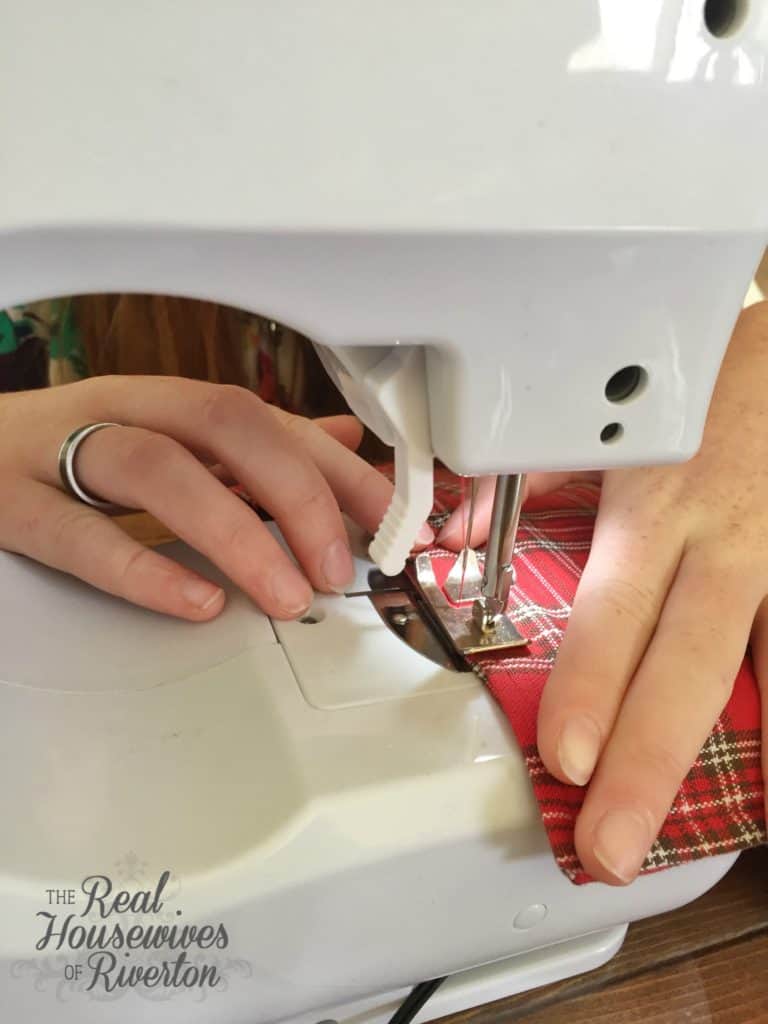 Step 4: Stuff that pillow. How full you want it is totally up to you but make sure you get all the way into the corners as you’re stuffing.
Step 5: Once you’re done stuffing pin those last 8 inches together and sew that baby closed.
Step 6: Look at that beautiful DIY Throw Pillow with all the heart eyes and then do it all again (lather, rinse, repeat as needed).
Full disclosure, Mia made 3 of the 4 pillows. I made the 4th because by the time I went to the store and got the replacement cloth napkin it was bedtime and I really wanted them done so I just did it…I’m still not sure she’s forgiven me.
Didn’t she do an awesome job.
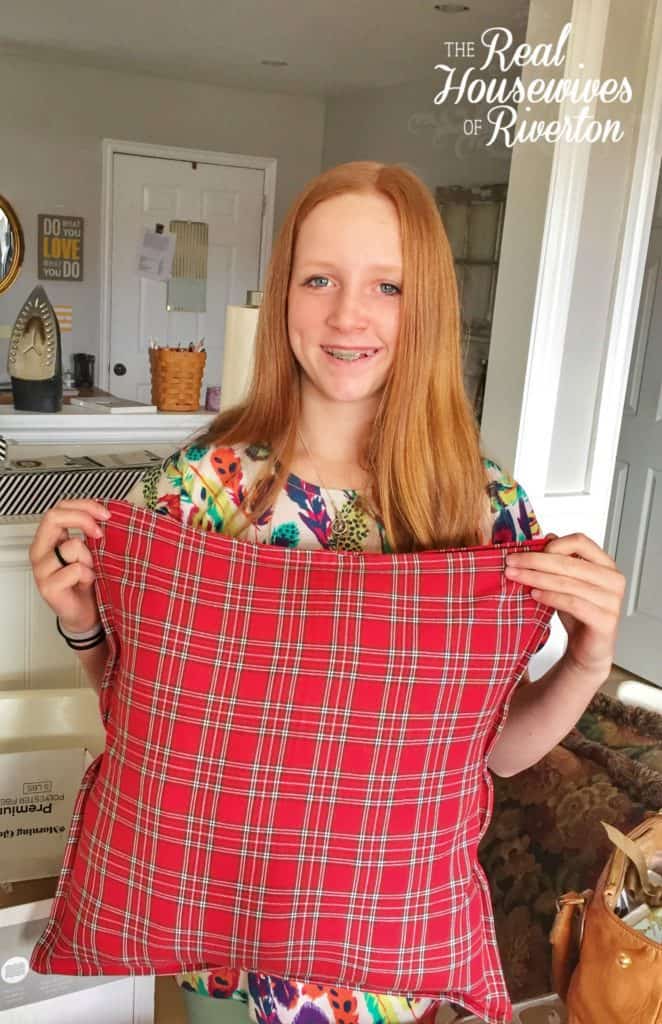 Aren’t they seriously the cutest pillows? I love that they match like everything Christmas I have, they’re literally perfect for my house.
I mentioned that these pillows cost $2.99 per pillow – that was just for the napkins. I had a box of stuffing left over from the tire poof post of 2015 but stuffing isn’t that expensive. I also had red thread on hand so I didn’t have to buy that either. I think you can safely say if you’re making more than 1 the cost of these DIY Throw Pillows definitely ends up in the under $10 category and is possibly in the under $5 category depending on the deal you get on stuffing.
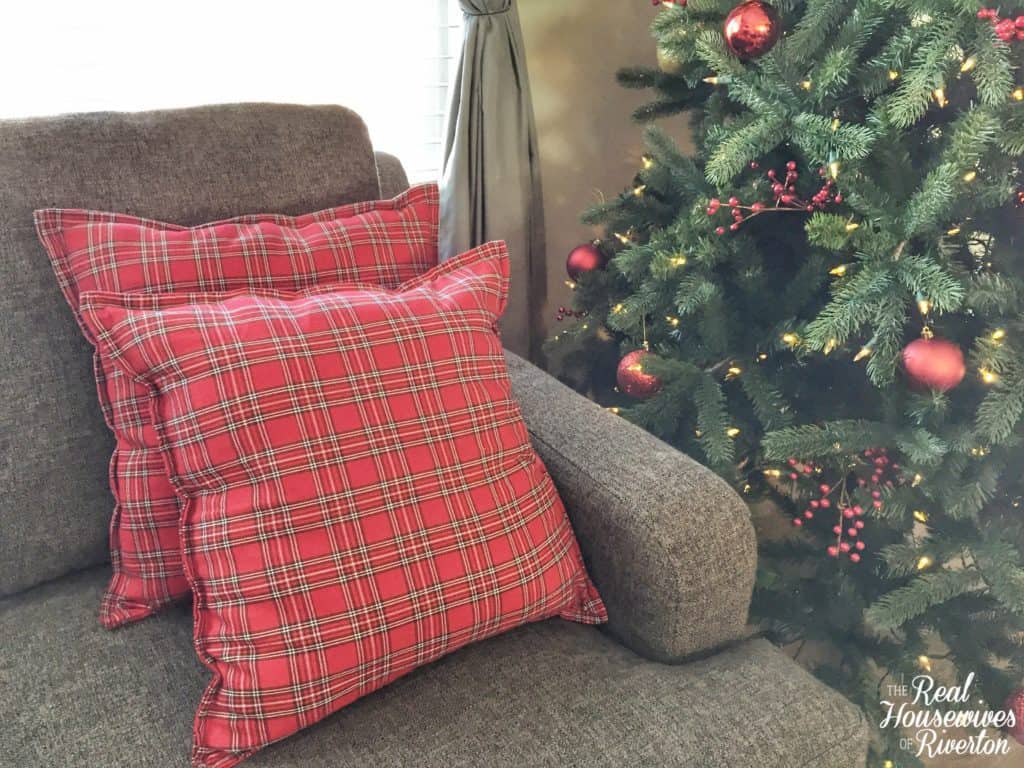 Now go, make all the pretty DIY throw pillows you can dream up and then come show them to me! (or send them to me…I’m cool with that too 🙂

- Bringing Home Baby Chicks - March 11, 2025
- Is RootsTech for Moms? - February 23, 2024
- How to Get Oil Stains Out of Clothes - May 5, 2023



These would be cute sewn with Gold thread or a decortive stitch of Christmas trees or stars. I might do the straight stitch first. Again easy enough for Mia to do.
[…] week I shared the cute plaid pillows my daughter made using my DIY Throw Pillow Tutorial. I love these plaid pillows, they’re so cute! Today I’m sharing this adorable […]
On The Hearts Full Of Love Throw Pillow
[…] of Riverton is a participant in the Amazon Services LLC Associates Program, an a […]