This post may contain affiliate links. If you purchase something through any link, we may receive a small commission at no extra charge to you. Supplies used may be given to us free of charge, all projects and opinions are my own.
Hi. I’m so happy to be over at at The Wood Connection Blog and am excited to share this project with you. I love decorating for the holidays, it seems I have an insane amount of Halloween and Christmas decorations but not many fall/Thanksgiving decorations which is why I was excited to create this Fall Harvest Banner.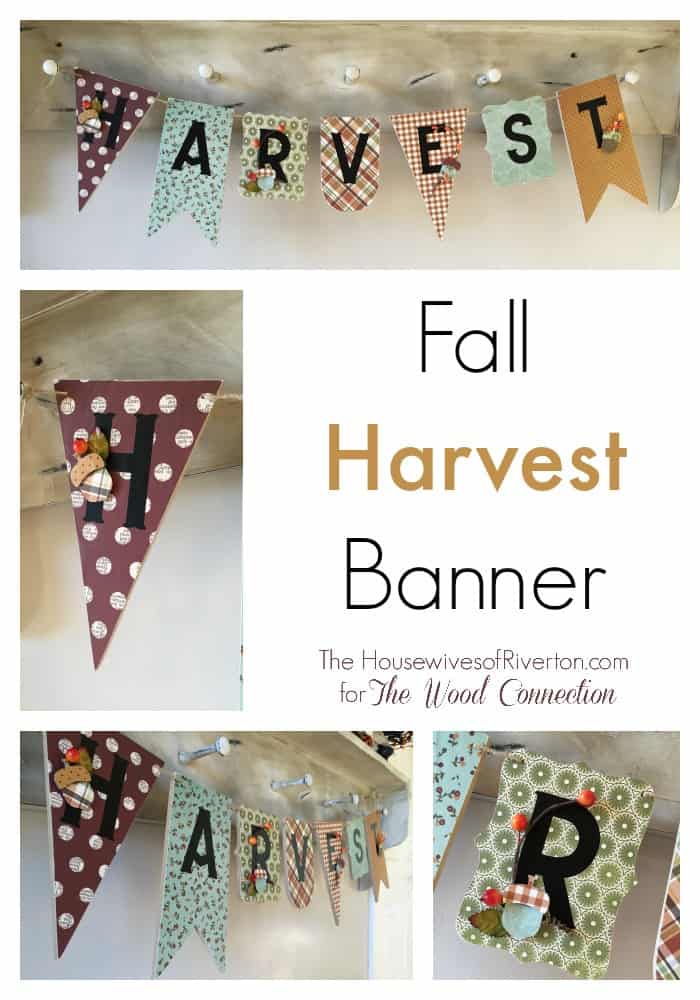 Supplies you’ll need:
2 Banner Shape Fancy
2 Banner Shape Flag
2 Banner Shape Triangle
1 Banner Shape Oval
7 Printed Scrapbook Papers
Sanding Block
Wood Glue
Harvest Letters Vinyl
Embellishments
Paint (optional)
Foam Paintbrush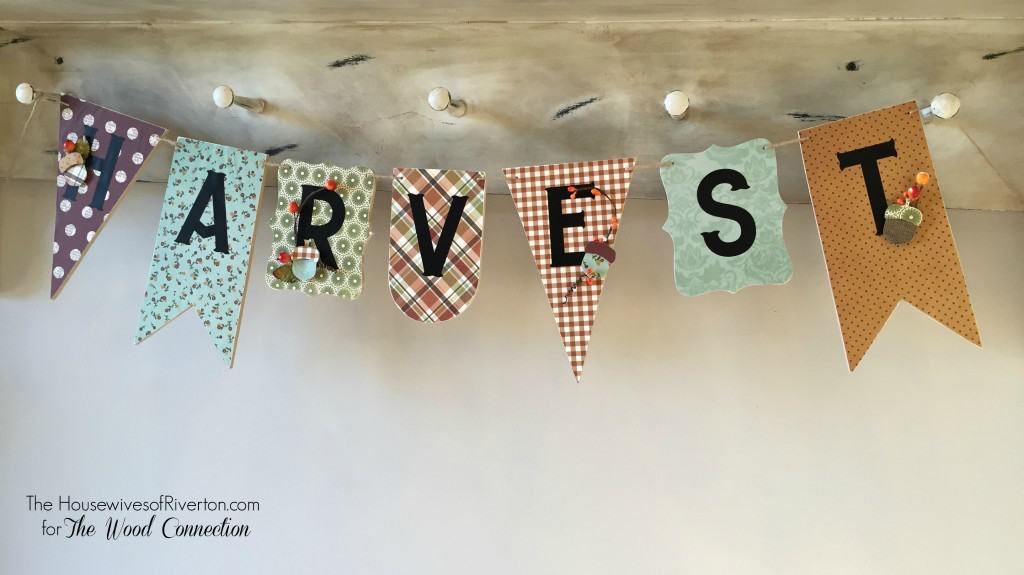 The banner pieces at the Wood Connection make putting this Fall Harvest Banner together quite simple, they had just about everything I used for my banner right there in the store (the punch I used for my acorn pieces is from stampin’ up!).
 To create my banner I started by laying out the pieces to decide how I wanted it to look.
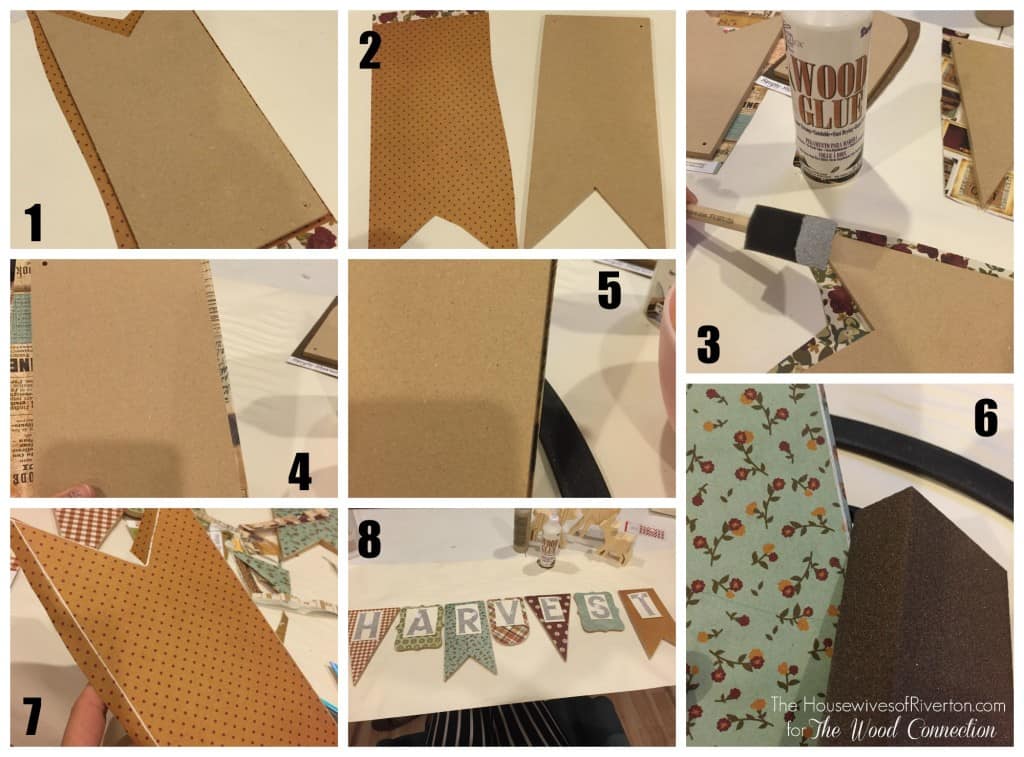
1. Lay your pieces out on the wrong side of the paper and trim slightly larger than banner piece.
2. Lay pieces side by side.
3. Apply a thin layer of wood glue to both the paper and banner piece.
4. Working carefully from side to side stick paper to banner piece smoothing out all wrinkles and bubbles. Let dry.
5. Once dry fold any edges over the sides making the lines as smooth as possible.
6. Using your sanding block sand the paper down and away from the front of the banner piece. Doing this I think creates a nice smooth edge.
7. Here you can see how filing down the sides will get rid of the extra paper and doing it this way eliminates the stress of accidentally cutting your paper piece too small.
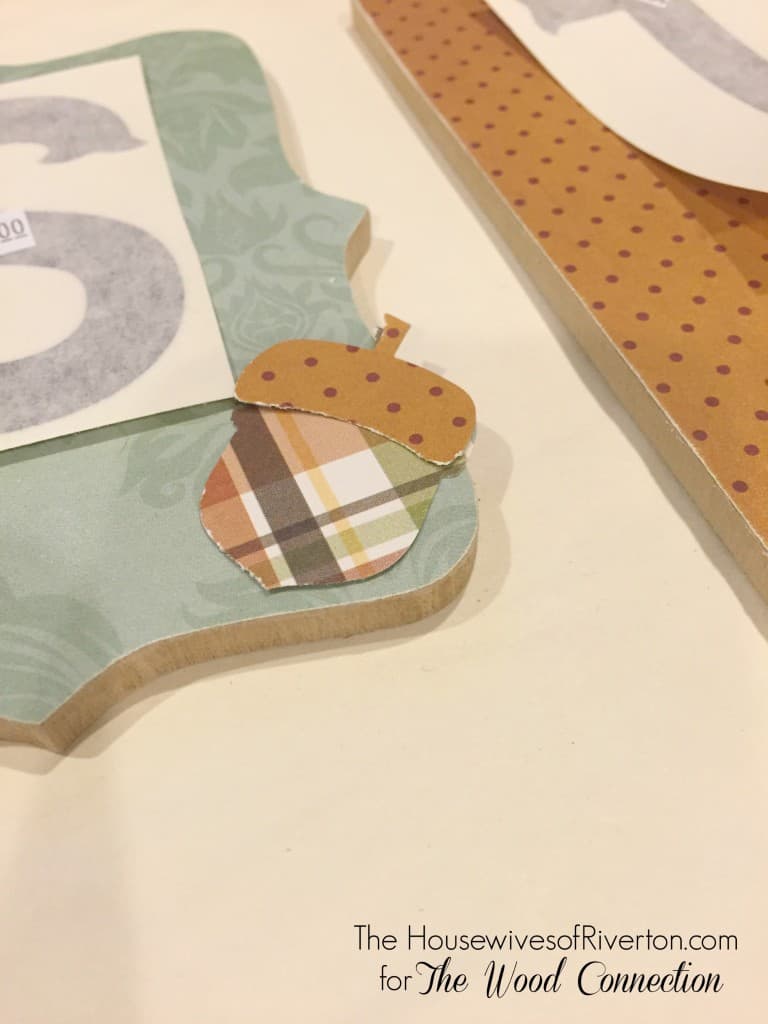 You can see here ^ how nice and clean the edge is from paper to wooden banner piece.
8. Lay out vinyl letters to decide on placement and then apply to banner pieces. (Vinyl letters are available at The Wood Connection Store)
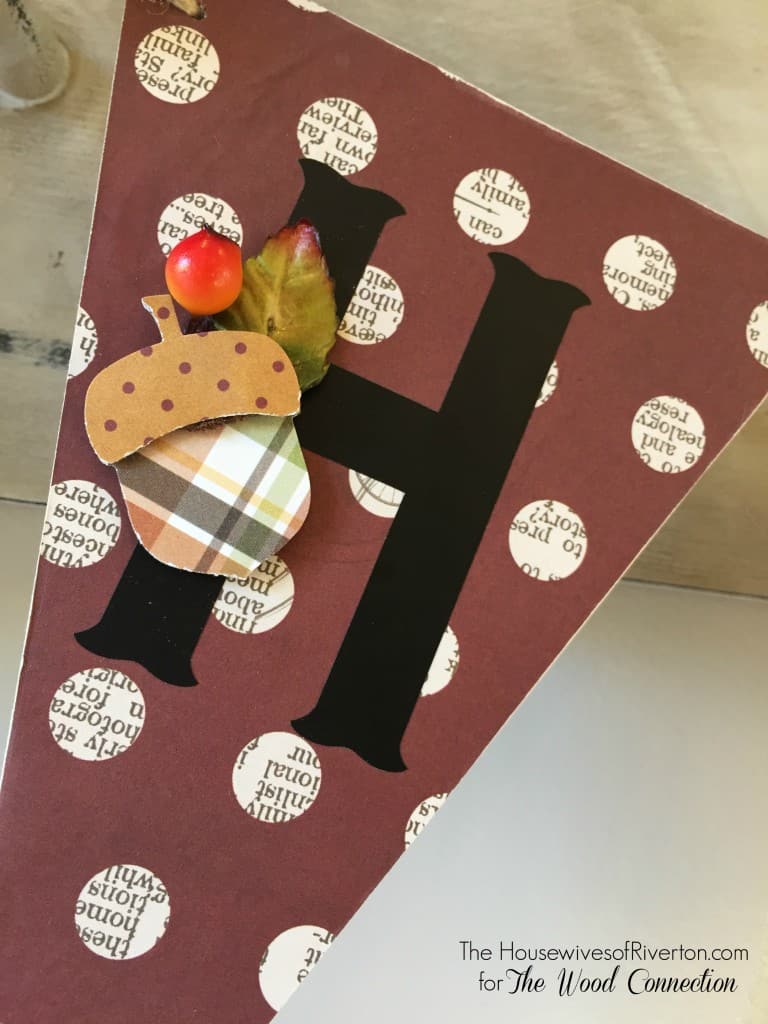 My embellishments are a mixture of paper acorns made out of the same papers I used on the banner pieces and fall berries (that I also picked up in store at The Wood Connection).
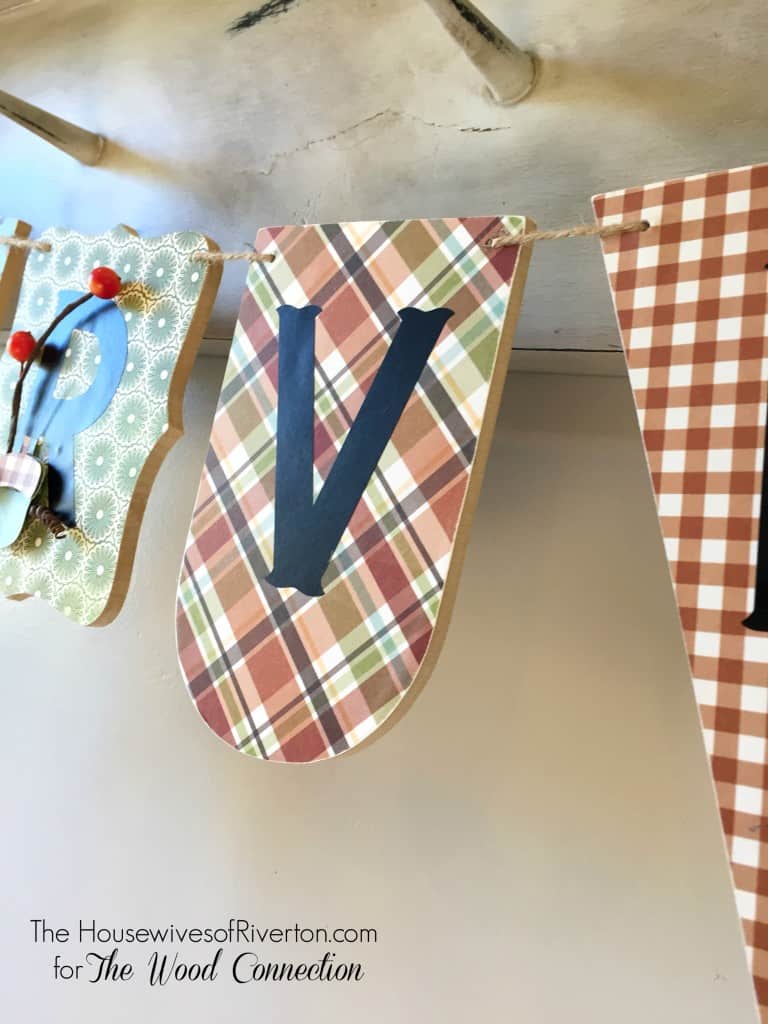 Once I had all my embellishing done I used twine to string my banner together.
I included paint in my supplies list because if I didn’t have plans for making this banner multi seasonal (can’t wait to show you what I do to the back of it to make it Christmas friendly too!) I would have painted the back and sides a color like cream or tan to match my papers. I got all my supplies including the paper, alphabet, banner pieces, and fall berries in store at The Wood Connection.
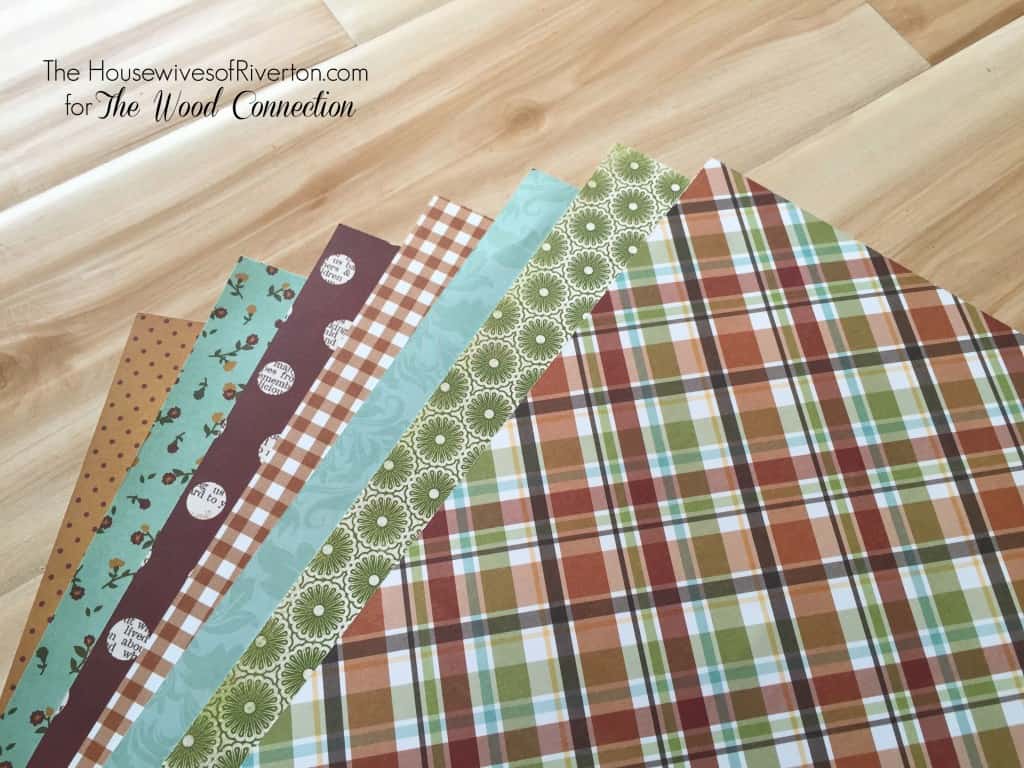
Aren’t these papers beautiful?
 I hope you enjoyed this tutorial today, I loved creating it and think it’s perfect for fall/Thanksgiving. Head over to Housewives of Riverton Instagram (housewives_of_riverton) and enter to win a $25 gift certificate to The Wood Connection so you can pick up the supplies to make your own Fall Harvest Banner (or any other project you may have your heart set on) for yourself!

Linking Up Here:
- Bringing Home Baby Chicks - March 11, 2025
- Is RootsTech for Moms? - February 23, 2024
- How to Get Oil Stains Out of Clothes - May 5, 2023


[…] got a few fun fall/Thanksgiving projects to share and the first one I shared last week. My Harvest banner turned out so cute and one of the things that completed the look of the project was the […]
[…] Fall Harvest Banner is a great way to bring in some beautiful color to your Thanksgiving […]
[…] that seals the paper completely to the wood (you can see a little more what I’m talking about here) When you’ve finished sanding wipe off any dust and then I like to use a thin layer of matte […]