This post may contain affiliate links. If you purchase something through any link, we may receive a small commission at no extra charge to you. Supplies used may be given to us free of charge, all projects and opinions are my own.

This is one of my rare crafty posts, so I hope you enjoy it. Last November I started a new tradition with my blogger friends from MomItForward.com. You know how they have Black Friday and Cyber Monday around Thanksgiving? The perfect antidote to all that shopping is #GivingTuesday. It's an opportunity to get together with friends and family to do something nice for a charity. In our case, we made about 150 of those fleece blankets for a local hospital.
These blankets are awesome, inexpensive, and super easy to make. Even kids can help, once you've done all the cutting for them. Fleece fabric is available at any fabric store in a variety of colors and patterns for a pretty reasonable price. I like to use a bold pattern with a contrasting backing, but you can chose whatever combination you like best.
It comes in a 60 inch width, so to make a square blanket, you need to get about a yard and 2/3rds, although you can make a longer blanket if you prefer. You'll want to get identical amounts of both the pattern and the backing fabric. There are different weights of fleece – thin, medium, and thick. If possible, go for the medium weight – the thick is too felt-like and the thin doesn't make for a nice soft blanket.
Once you have the material, you are ready to start preparing your blanket. Take the two squares of fabric and lay them flat on top of each other like two pieces of paper.
You'll notice that each piece will have two raw edges – called the selvage, where the material was attached to the loom. This will need to be trimmed off. It's easier if you match up the selvage edges on both pieces, so you can trim both layers at once. As you can see, it has a tendency to curl, so you'll want to flatten it as much as you can while you're cutting it.
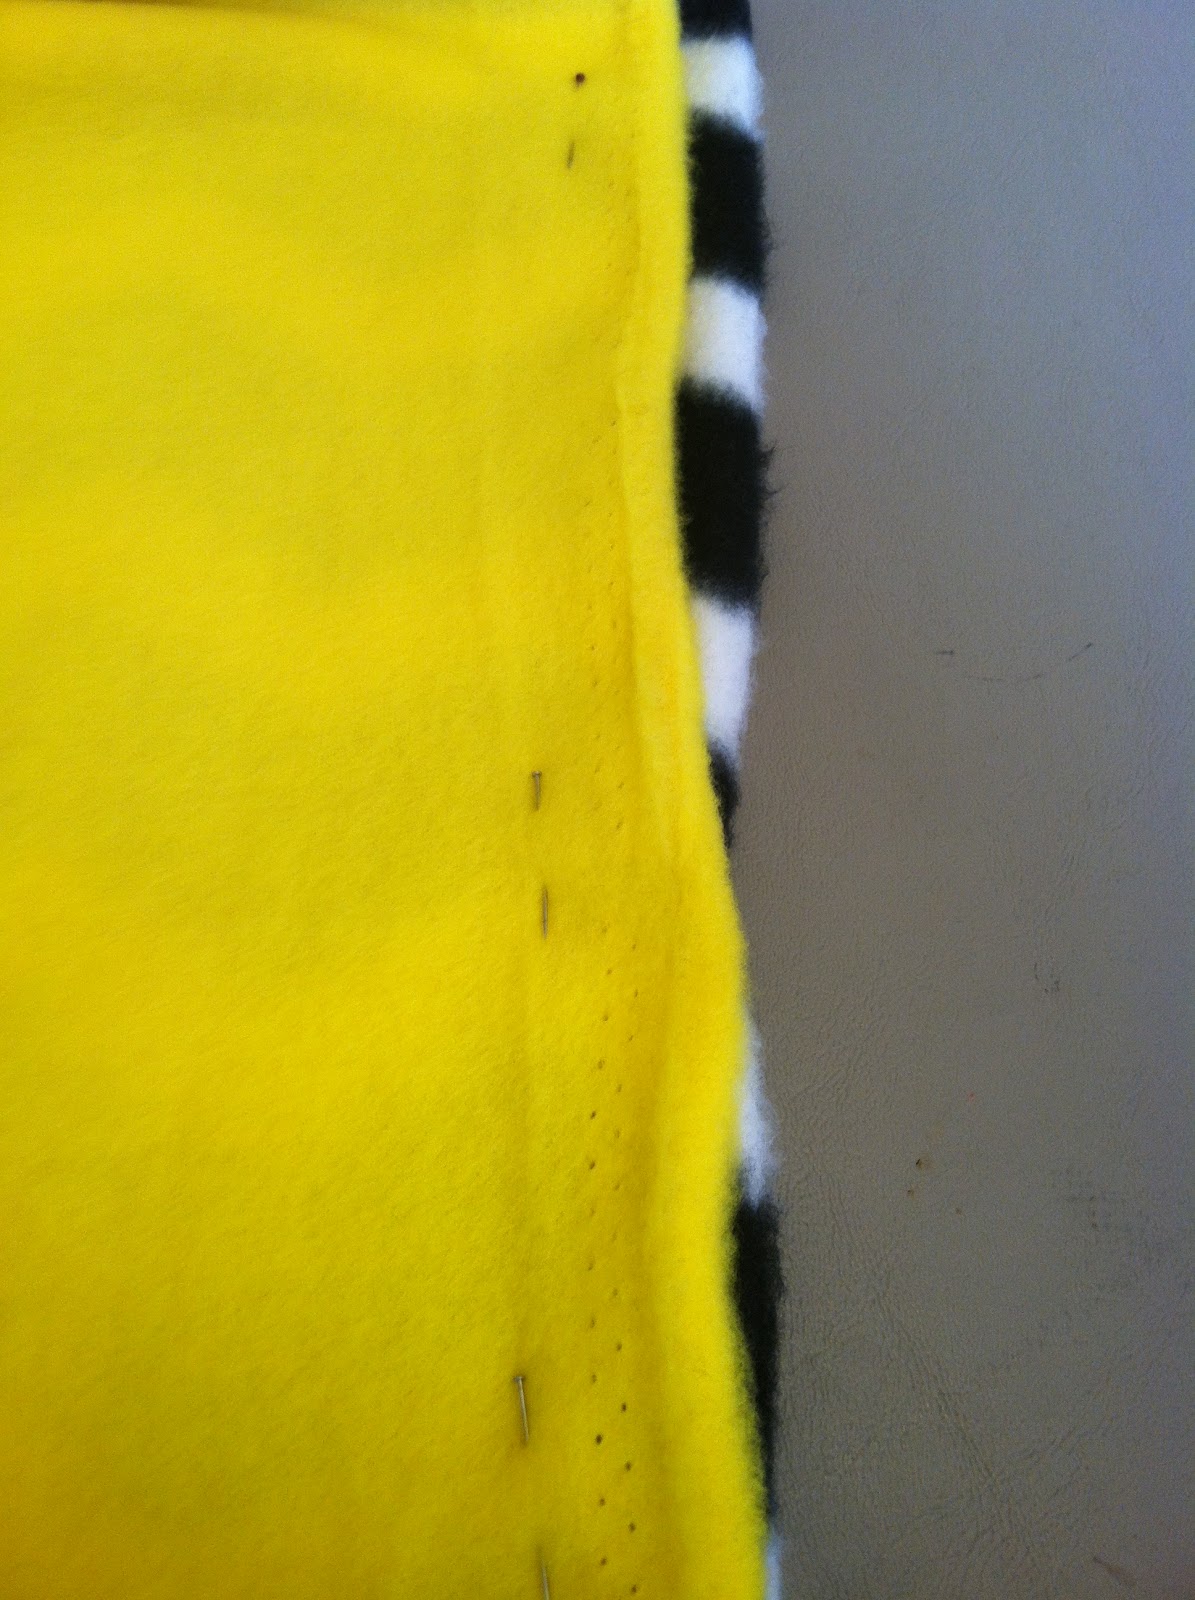
You can tell where to cut because there will be a fine line of tiny holes like a dotted line. Cut just to the inside of the dotted line. The left and right sides of the blanket should match up pretty much exactly, but depending on how precisely they cut the fabric, you may need to trim the top or bottom slightly. I find it easiest to line-up and pin the three sides and then do any needed trimming on the fourth side.
Once you have the selvage cut off and the fabric trimmed to the same size, you are ready to start cutting. You are going to cut about a 6″ square in each corner and then cut 6″ strips through both layers of fabric about every inch and a half to two inches.


Then I just slide my template down the edge and put a pin along the top edge to give myself a guideline for the ends of the strips. Then I just eyeball it and cut the strips every couple of inches to the 6″ pin marks. It's not rocket science, you just cut them reasonably even and somewhat straight.

Because of the way the fabric is made, two edges will be stretchier, so try to be careful not to stretch it out of shape. I prefer to cut and tie at the same time rather than do all the cutting first and then do all the tying, but I guess it's your choice.
I usually cut 10 or 12 strips at a time and then tie them, that way I can adjust if I am cutting them too short or too long. For tying, you have two choices, you can tie them in loops or double knotted. I prefer the 2nd way because it's easier and makes for fluffier knots, but I think the looped knots look really nice with the contrasting fabric, so experiment with which one you prefer.
 |
| Looped method |
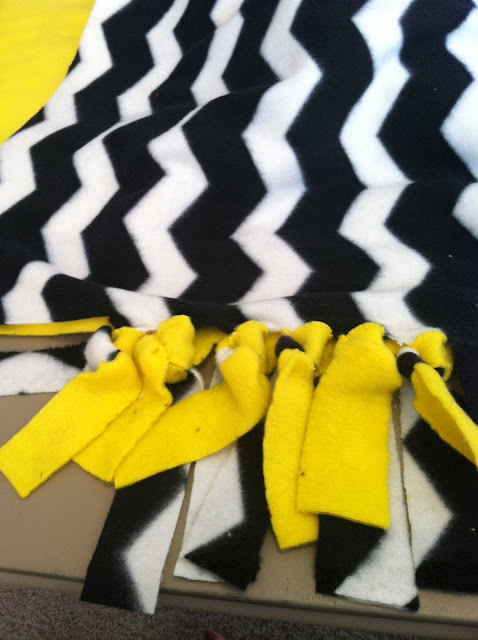 |
| Double Knotted Method |

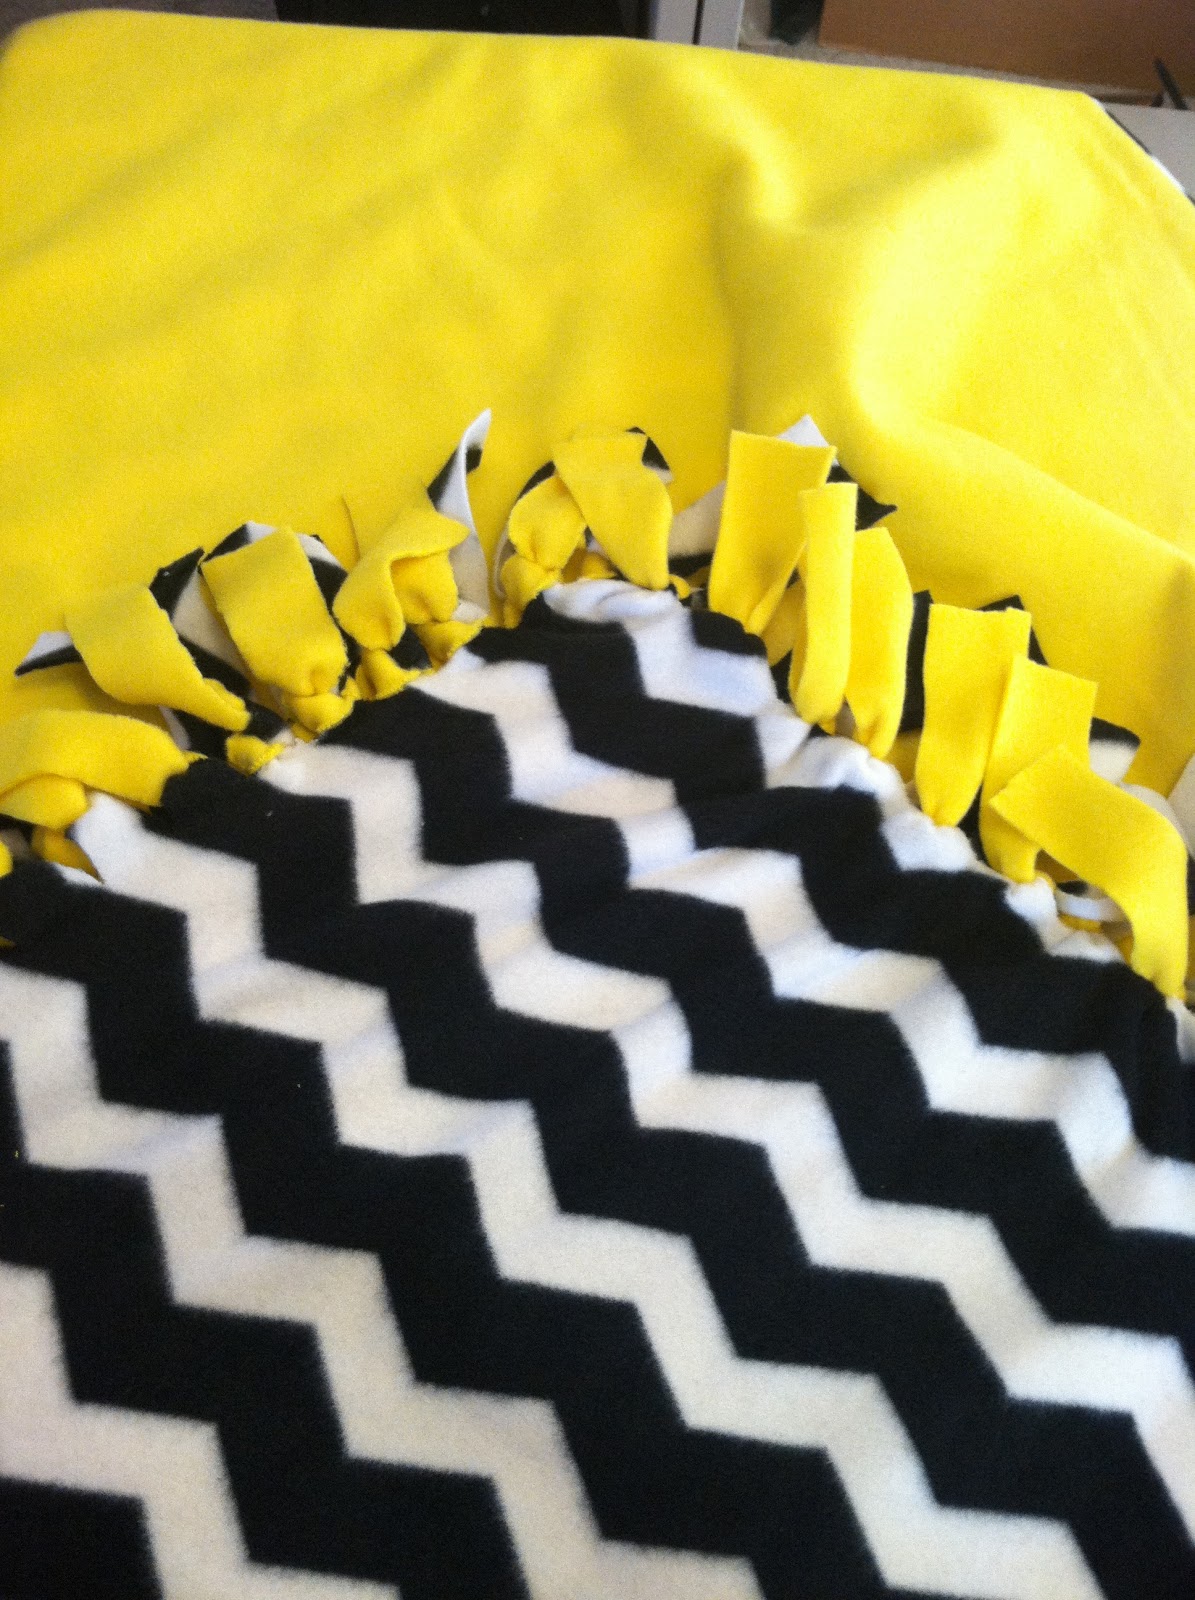
Here is the finished blanket. I've flipped it over so you can see both the chevron and the plain sides. The 6″ squares gives you perfectly mitered corners.
Be sure to save your scraps. The 6″ squares make fabulous little dusting cloths to use around the house. And the strips from the edges are fun for the kids to play with. Mine likes to use them to make matching boondoggle bracelets.


- The Best Vinegar Paint Brush Cleaner Method - May 6, 2023
- 10 Fun and Easy St. Patrick's Day Games - March 1, 2023
- Valentine's Day Felt Wreath DIY - January 20, 2023
