This post may contain affiliate links. If you purchase something through any link, we may receive a small commission at no extra charge to you. Supplies used may be given to us free of charge, all projects and opinions are my own.
I love when I dream up a project and it turns out just how I imagined it. My kids felt Christmas tree is one of those projects. If you're looking for a way to keep your children from messing with your real Christmas tree you need to make one of your own.
Looking for more kid-friendly Christmas activities check out this fun countdown to Christmas.
Kids Felt Christmas Tree
Having little kids can sometimes put a damper on how you can decorate your tree. We try to keep all the special and breakable ornaments up higher, and the “shatterproof” ornaments towards the bottom. And that's totally okay! Every year, I love our Christmas tree because it's filled with adorable things our children have made and special ornaments we have received. We decorate our tree as a family which is a favorite holiday tradition.
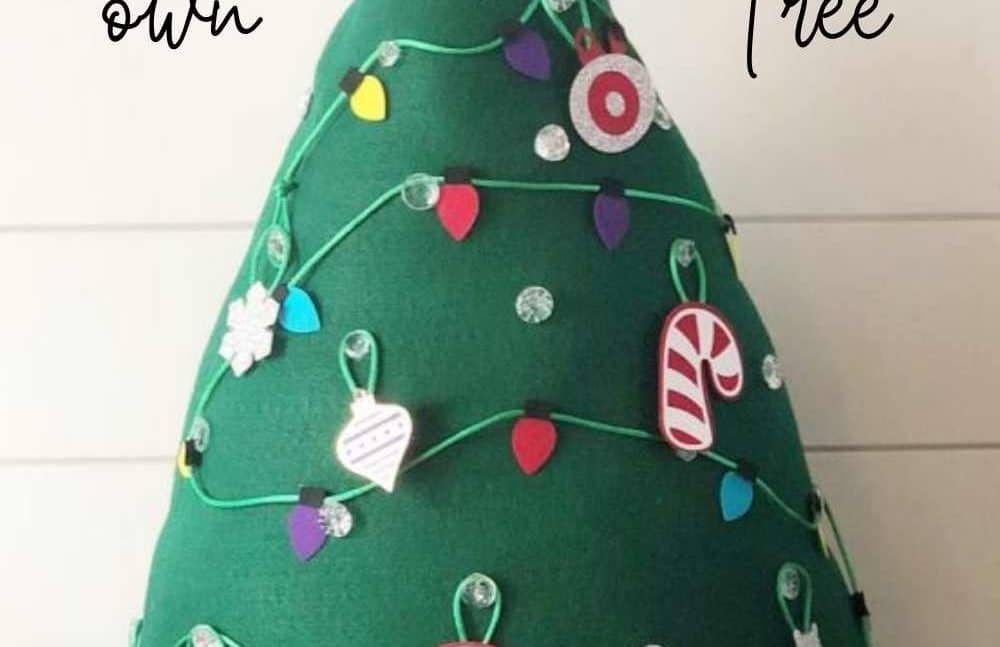
I made this fun felt Christmas tree that they can decorate and undecorate as much as they want. There is nothing breakable, and even if they manage to get a button off, we just use a hot glue gun to put it back on!
Making your own Kids Felt Christmas Tree
Let me tell you off the bat, I am not an amazing crafter or a super seamstress. In fact, if you ask my mom and sister or really any family members, they will confirm that I am a novice at sewing, at best. But I knew I wanted to do this, so I committed and got out all the tools I would need.
The first thing I got out, was my Cricut Maker. It literally does most of the hard work, with me on standby with my trusty glue gun.
The Maker cut out all of my felt pieces for the ornaments, Christmas lights and presents that I made. I used the rotary blade, which rolls over the felt and cuts it out like a dream. However, if you don't have a Cricut machine, I think it would be the best idea to use cookie cutters to trace your felt Christmas tree ornaments out and then cut them with scissors. I would also keep the basic shapes like a candy cane, star, circle and diamond shapes.
While those pieces were cutting out, I got my stuffed tree together. I wish I could give you a pattern for my tree, but I honestly just took about a yard of forest green felt and cut it into four green triangles and a circle. Then I pinned the seams and hand-sewed them together. Yes, you heard me right…hand sewing happened! I couldn't find the pedal to my sewing machine but I did know where a needle and thread were, so I got to work. If you want to go a completely no-sew option, use one of these Christmas tree forms and just glue the felt to it.
Supplies needed:
- Cricut Maker
- 12 x 12 Fabric mat and standard grip mat
- 6 x 7 EasyPress 2
- 8 x 10 EasyPress Mat
- 12 x 12 Felt squares
- Iron-on in your choice of colors
- 1 – 1 1/2 yards Forest green felt
- Scissors, needle, and straight pins (You can also get the Cricut Sewing Kit)
- Green thread
- Sewing machine (if you're talented like that!)
- Fluffy Stuffing
- Buttons
- Glue gun with glue sticks
- Cord or ribbon to hang ornaments and lights
Putting your Felt Christmas Tree Together

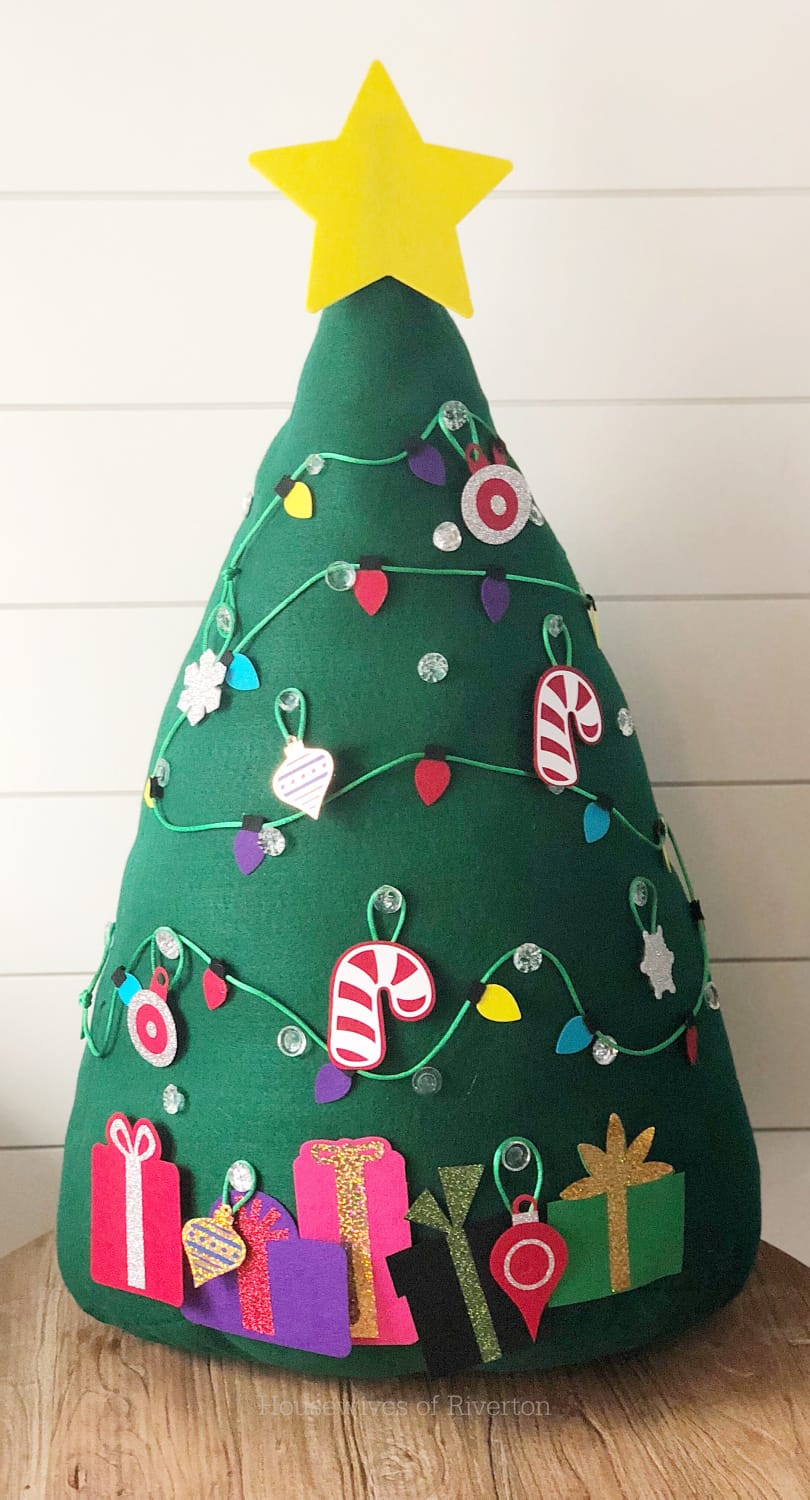
I'm 100% happy with how my little tree turned out. I had to laugh a little when my husband said it looked like a tree from How The Grinch Stole Christmas. I'll take that as it looks whimsical! I took my buttons and glued them randomly on the tree. (If you have very small children playing with the tree, you might want to consider sewing the buttons on. That way they won't come off as easily and create a potential choking hazard. Another great alternative is to get some pieces of velcro from Hobby Lobby or your local craft store so the kids can just velcro their own ornaments to the tree.) But I wanted to make sure there were enough so that the kids could have a lot of spots to hang ornaments and the lights however they wanted. So when I was picking buttons, I looked for buttons that weren't flat. It's easier to hang the ornaments on those.
To finish off my base tree, I used the Maker with the rotary blade to cut out a yellow star for the top. I just used hot glue to stick it to the top. I wanted the star to always be on the tree which worked out exactly how I wanted it.
Making the lights, ornaments, and presents
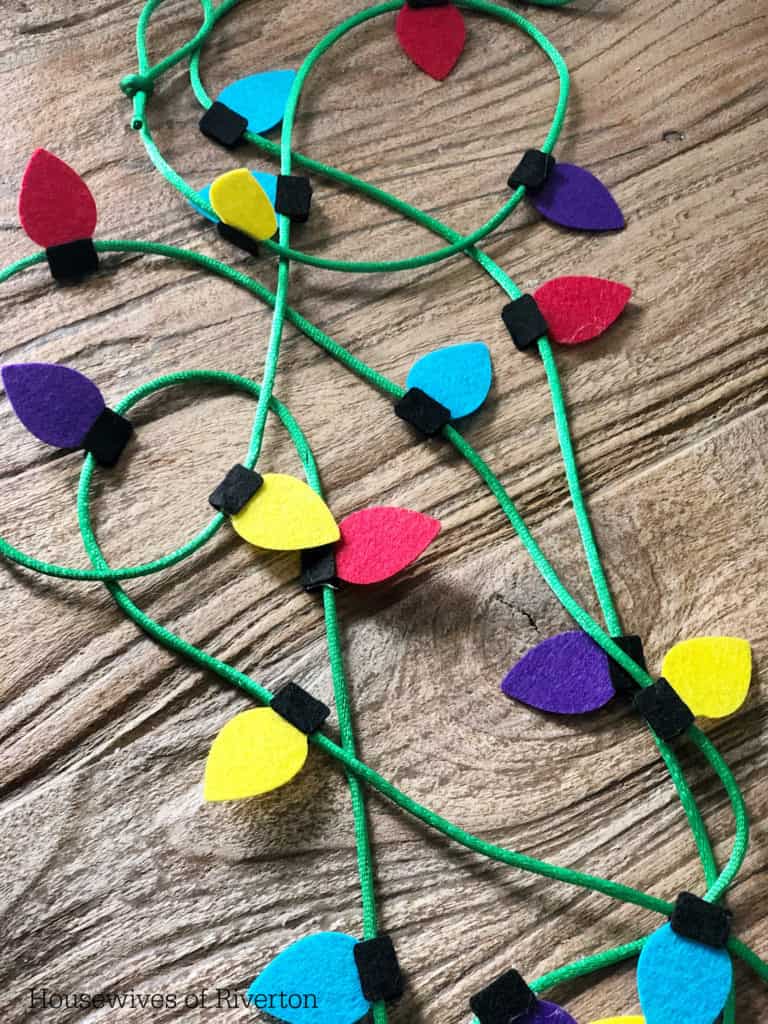
I started with making my string of lights, which might be my favorite thing about the whole tree. Seriously watching my kids trying to untangle them and put them on the tree is just the best thing! I cut out my felt Christmas lights and then used hot glue to attach them to green cording. You can get the cut file here. I tied a loop at each end of the cording so the kids could use that to help hang them. Next, I spaced them about 2.5 to 3 inches apart. I used 5 of each color of felt bulb to create a 3 yard strand. Also, I cut out two of the black bulb tops so that I could put one on the front and one on the back.
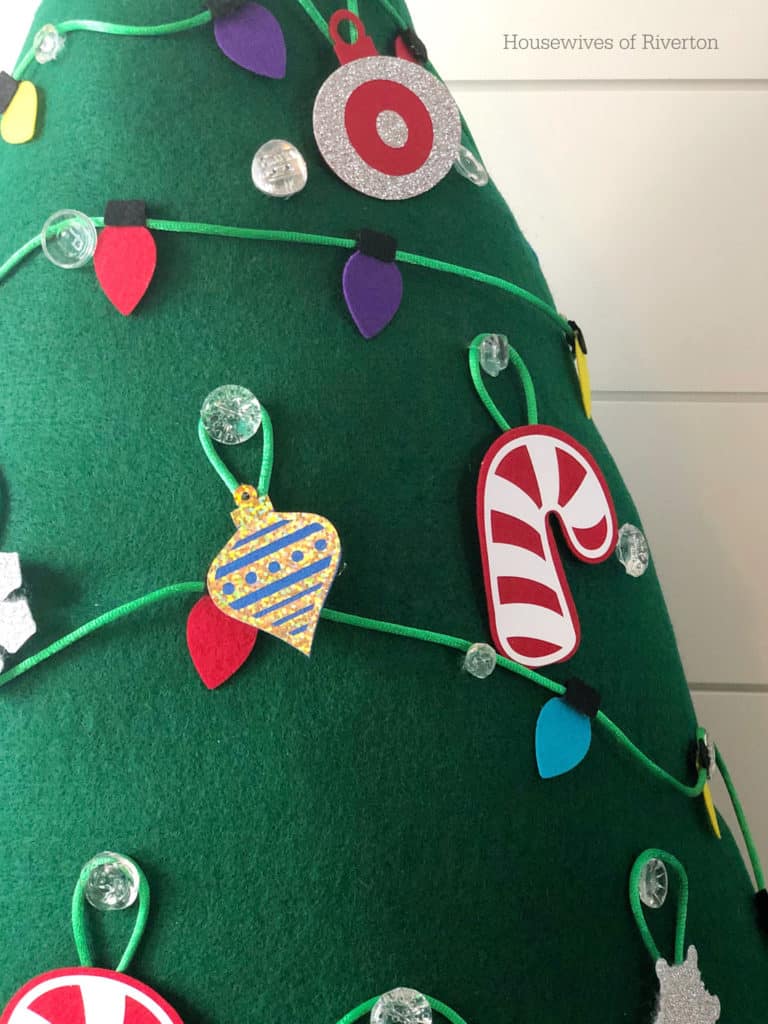
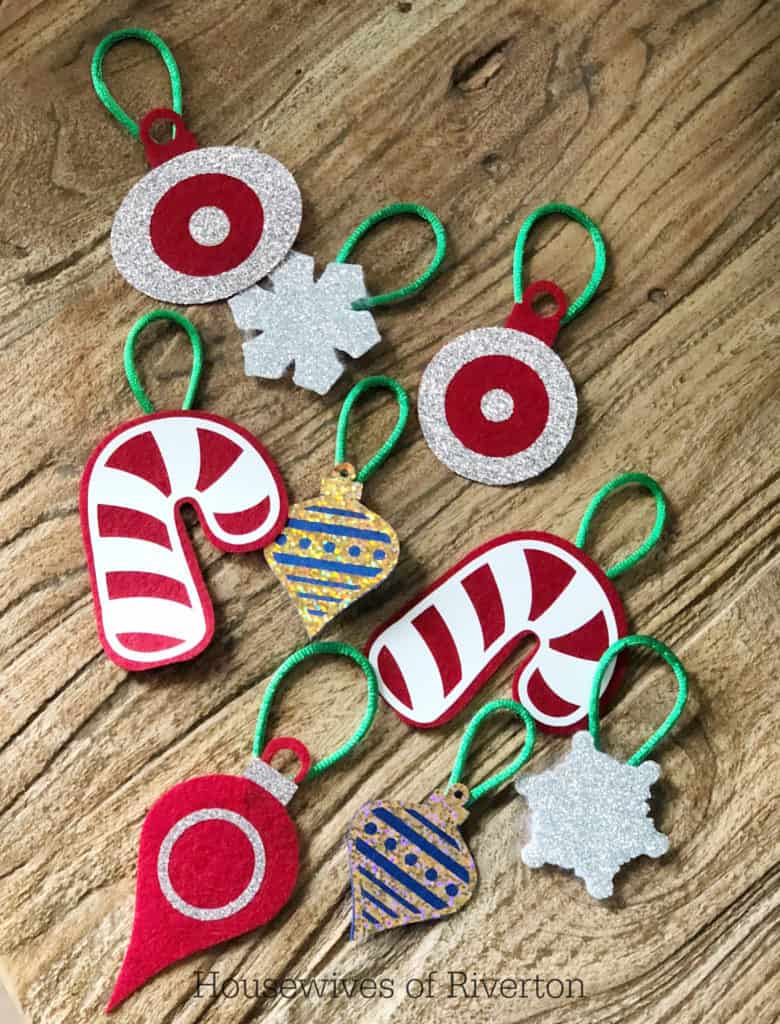
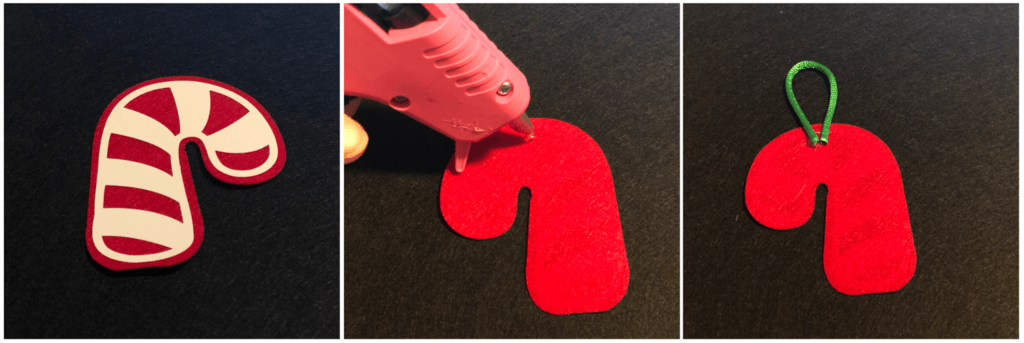
For the ornaments, I used this ornament set, these candy canes, snowflakes and these two ornaments. They are saved to how I sized them for my tree, but you an make them smaller or larger depending on your needs. Once they were cut, I used my EasyPress 2 and EasyPress mat to iron on the glitter and holographic iron on to my felt cuts. Then I used more of my green cording to hot glue loops on to my ornaments so they could be hung on the tree.
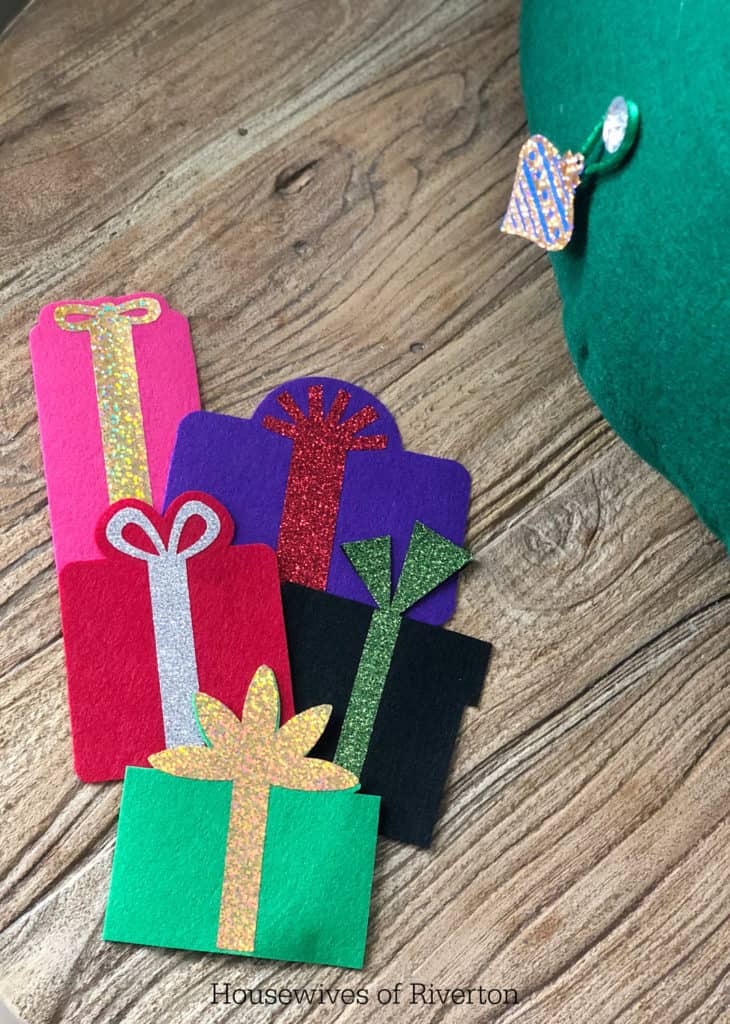
The presents (use this cut file) were by far the easiest thing, which is saying something because this whole project was pretty dang easy! After cutting out the felt with the Maker and rotary blade, I used my EasyPress 2 and mat to iron on the bows. Because felt sticks to felt, the kids can just put the presents at the bottom of the tree and they stick!
Kids Felt Christmas Tree

There you have it! And it was so easy and actually really fun to make. My kids were chomping at the bit to play with it. Our Kids Felt Christmas Tree has been a big hit at our house and is probably the most favorite Christmas decoration. I'm very excited and hopeful that this will keep their little hands busy while building fine motor skills. If we're lucky they won't want to play with the family tree and ornaments.
We have a great discount for our crafting friends! Click and use code CHW10 for 10% off and free shipping on purchases over $50! *Not valid on machines, Cricut Access memberships, or digital image purchases*


Be sure to check out these other fun, kid-friendly Christmas projects!
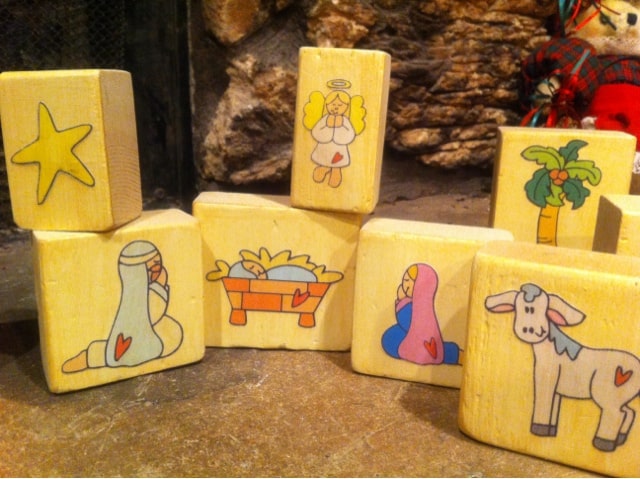
Kids Block Nativity
Santa Beard Advent Calendar
What is your biggest hurdle when it comes to Christmas with small children? Let us know in the comments and let us know how you remedy your struggle!
- Five Minute Fudge Recipe - October 23, 2025
- Calming Glitter Jar - May 24, 2025
- DIY Drop Down Folding Table for Laundry Room - May 21, 2025
[…] How To Make A Felt Christmas Tree […]
[…] Block Nativity Images For more fun kid friendly Christmas projects check out these posts. Kids Felt Christmas Tree Countdown to Christmas with […]
[…] kids year after year (and a great way to keep little hands away from your real Christmas tree!) Get the tutorial here Fresh Baked Gingerbread Served Here Wood Cutting Board Christmas Sign This darling Fresh Baked […]