This post may contain affiliate links. If you purchase something through any link, we may receive a small commission at no extra charge to you. Supplies used may be given to us free of charge, all projects and opinions are my own.
Are you ready to learn how to make vinyl decals with your Cricut Explore Air 2? I’m going to show you how to use a cutting machine to create single-layer and multi-layer vinyl stickers or decals.
Are you new to using Vinyl? Learn all about it here.
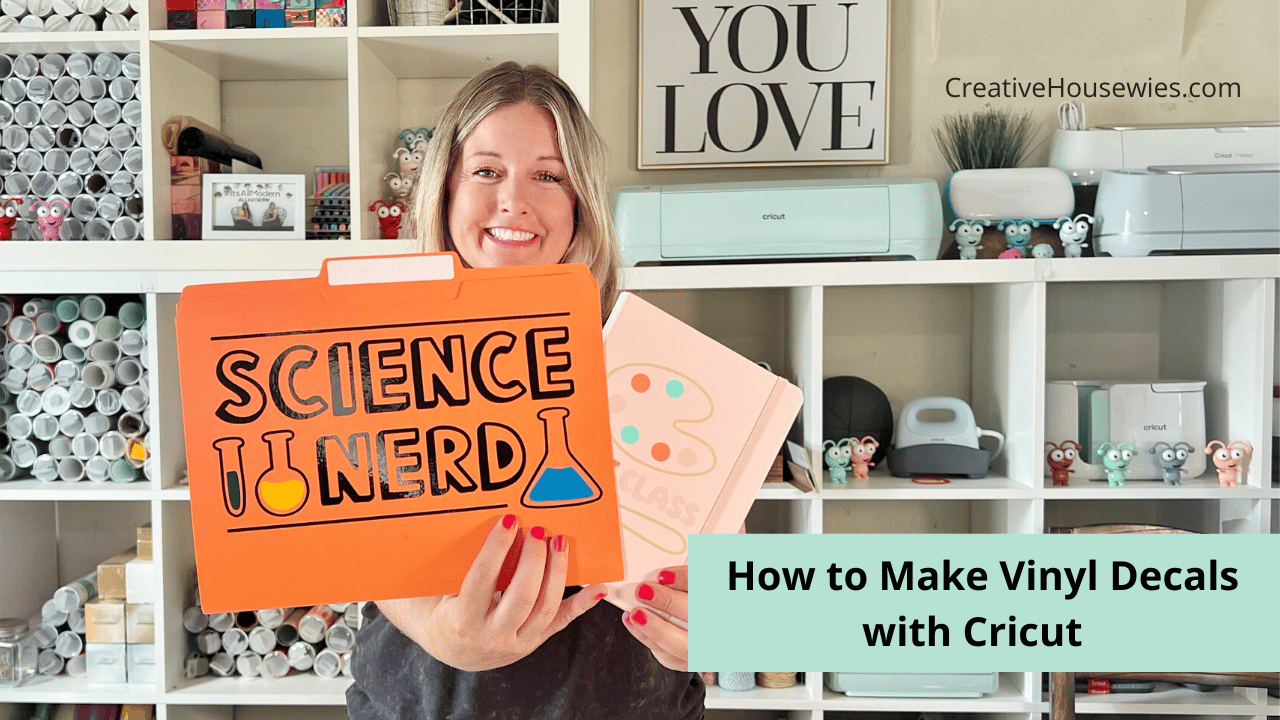
You can actually watch me make these decals with a Cricut. Click play on the video below to watch:
Learn How to Make a Vinyl Decal with Cricut
To make a decal we’ll begin by choosing a decal design. You can find images in Cricut Design Space or upload your own image.
You do need to decide where you’re going to be placing your decal sticker. If you’re looking to make a vinyl car decal you will want to use permanent vinyl. If you’re looking to make stickers with Cricut you can choose removable vinyl or even printable vinyl.
It’s important to make sure you’re using the right kind of vinyl for your surface. Cricut’s Removable Adhesive Vinyl states you can leave it on a surface for up to 2 years and it will leave no residue when it’s removed. Permanent Premium Vinyl will adhere permanently after 24 hours. You definitely want to think twice before putting it on a painted wall as it will likely not remove cleanly.
Now that we have our designs selected we can go over the supplies needed to create a vinyl decal.
Supplies Used to Make Decals with a Cricut
- Cricut Machine
- Vinyl
- Transfer Tape
- Weeding Tool
- Cutting Mat
- Scraper Tool
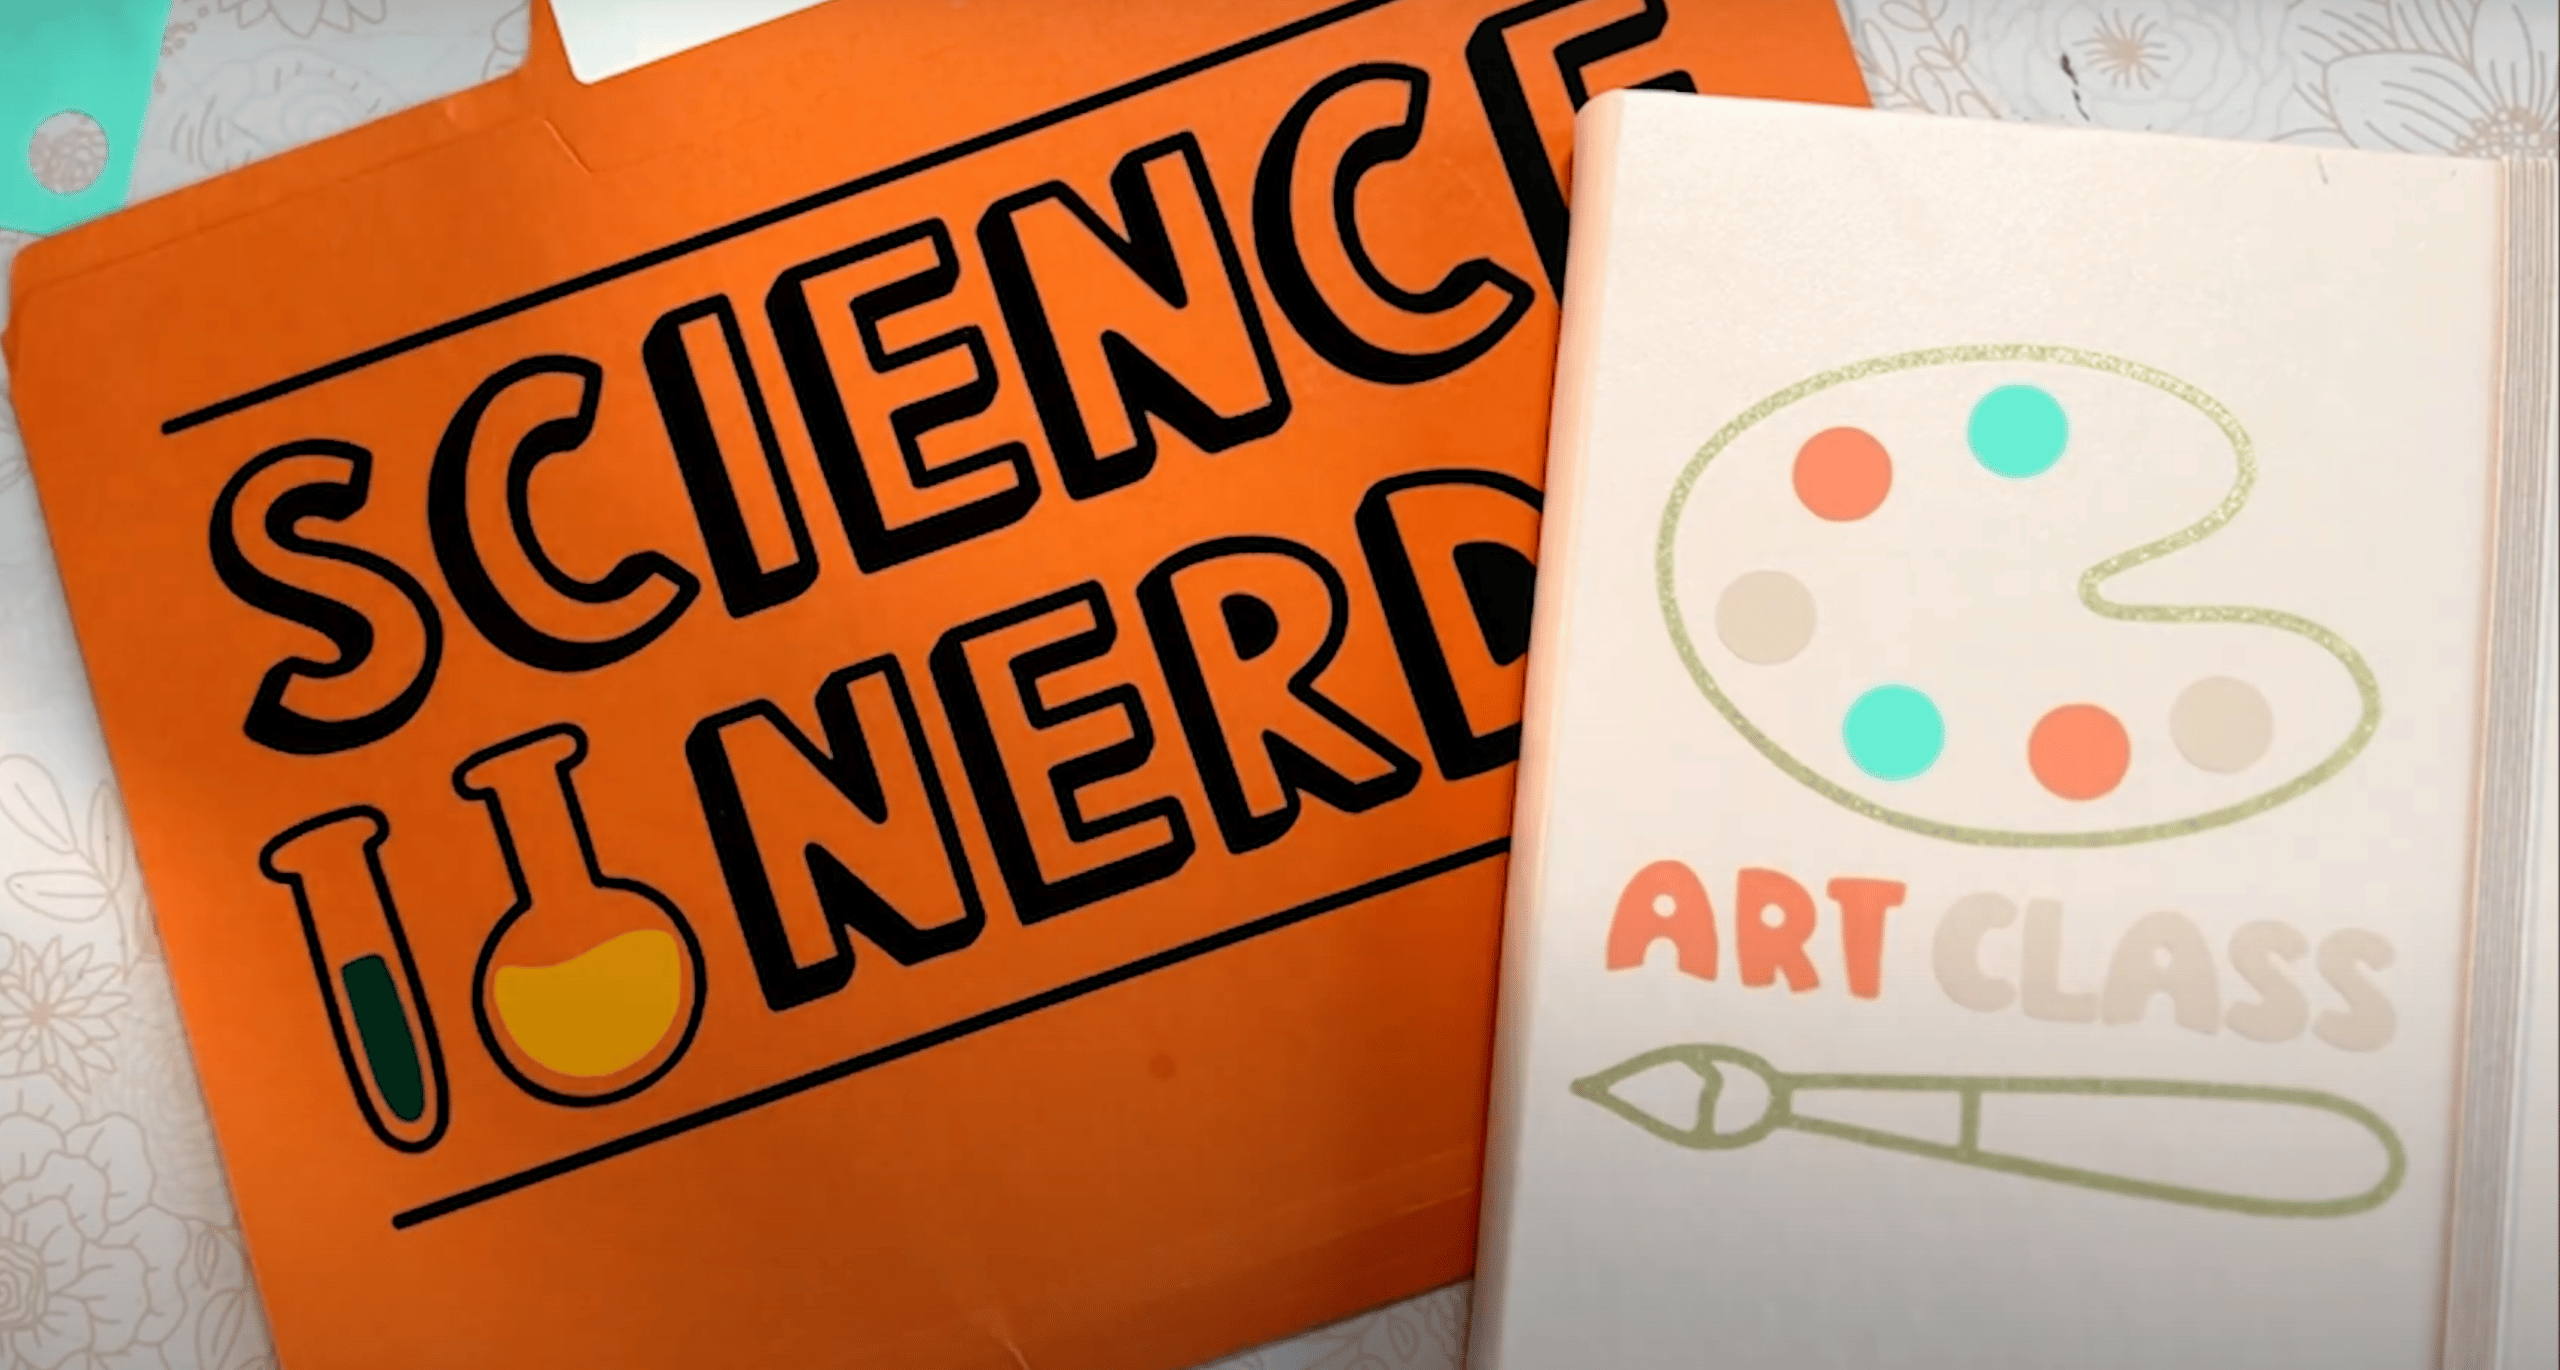
- Blank (I’m using a notebook and file folder)
Using Cricut Explore Air 2 to Make Decals
I am using my Air 2 to make my decals. Because this project uses the fine point blade you can make a decal using any Cricut machine. From the Cricut Maker to the Cricut Joy, every Cricut machine will cut vinyl.
Vinyl Decal Tutorial
- With the design on the canvas in Design Space, we’ll size the image to fit the blank. This is really easy to do with the size tool in the top toolbar.
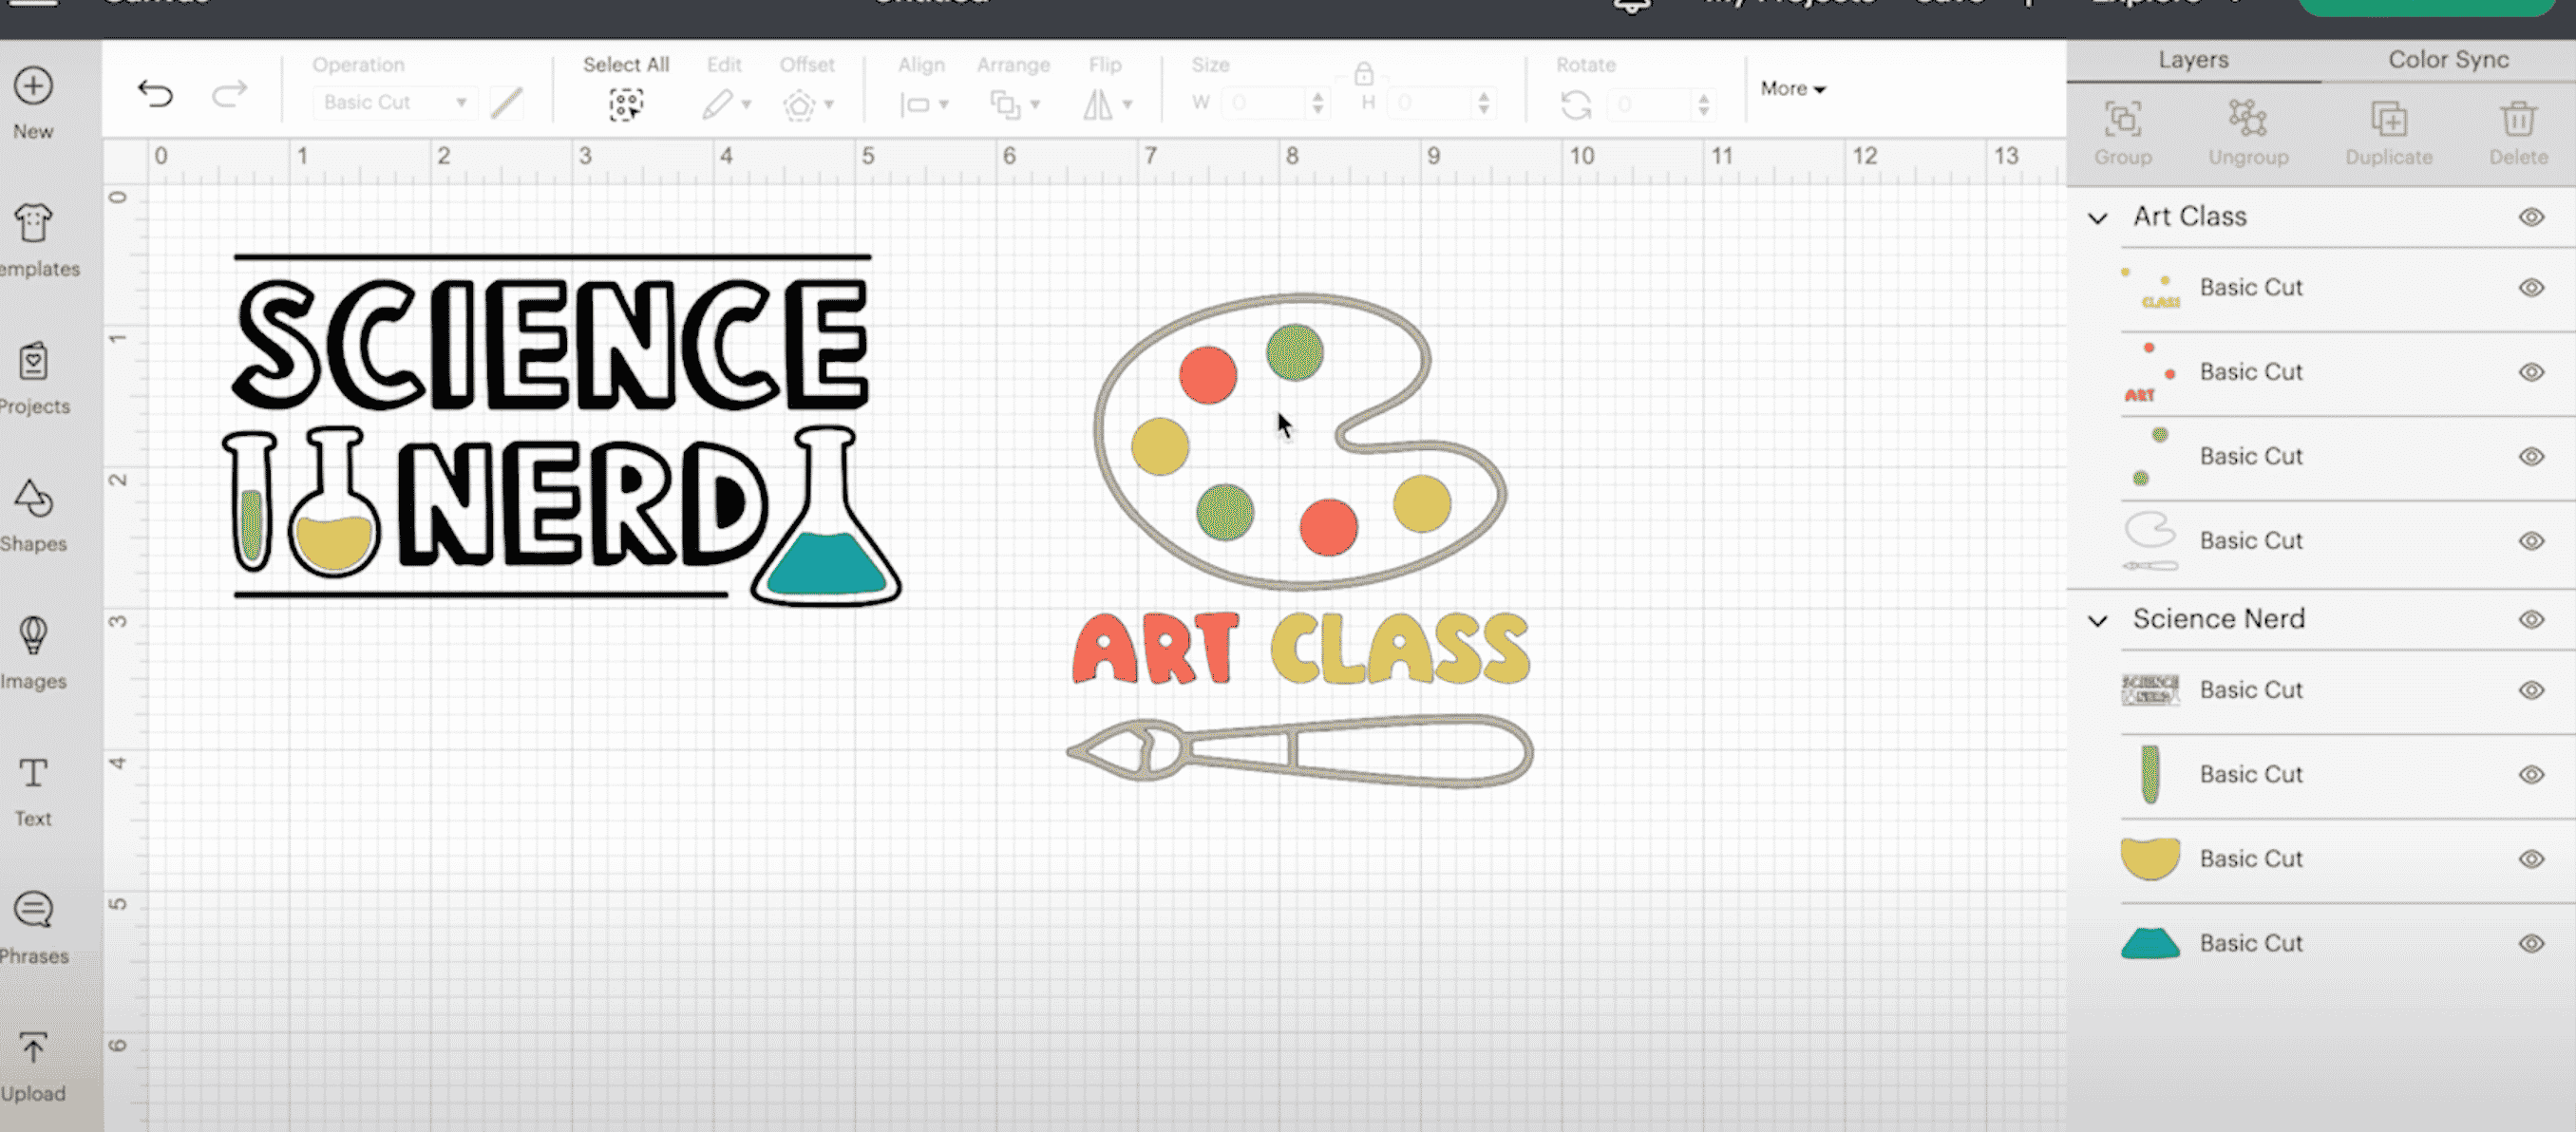
- Next, apply your vinyl directly onto the cutting mat. The vinyl should be back down on the mat with the top of the vinyl facing up.
- You do not need to mirror your image because we’re not using HTV. If you’re planning to place your sticker inside the window of your car then you would need to mirror it if it has any design elements that have a specific orientation.
- Now that the design is ready we can get cutting.
- You’ll load the mat directly into the machine by pressing the load button on the top and we’re ready to cut your vinyl.
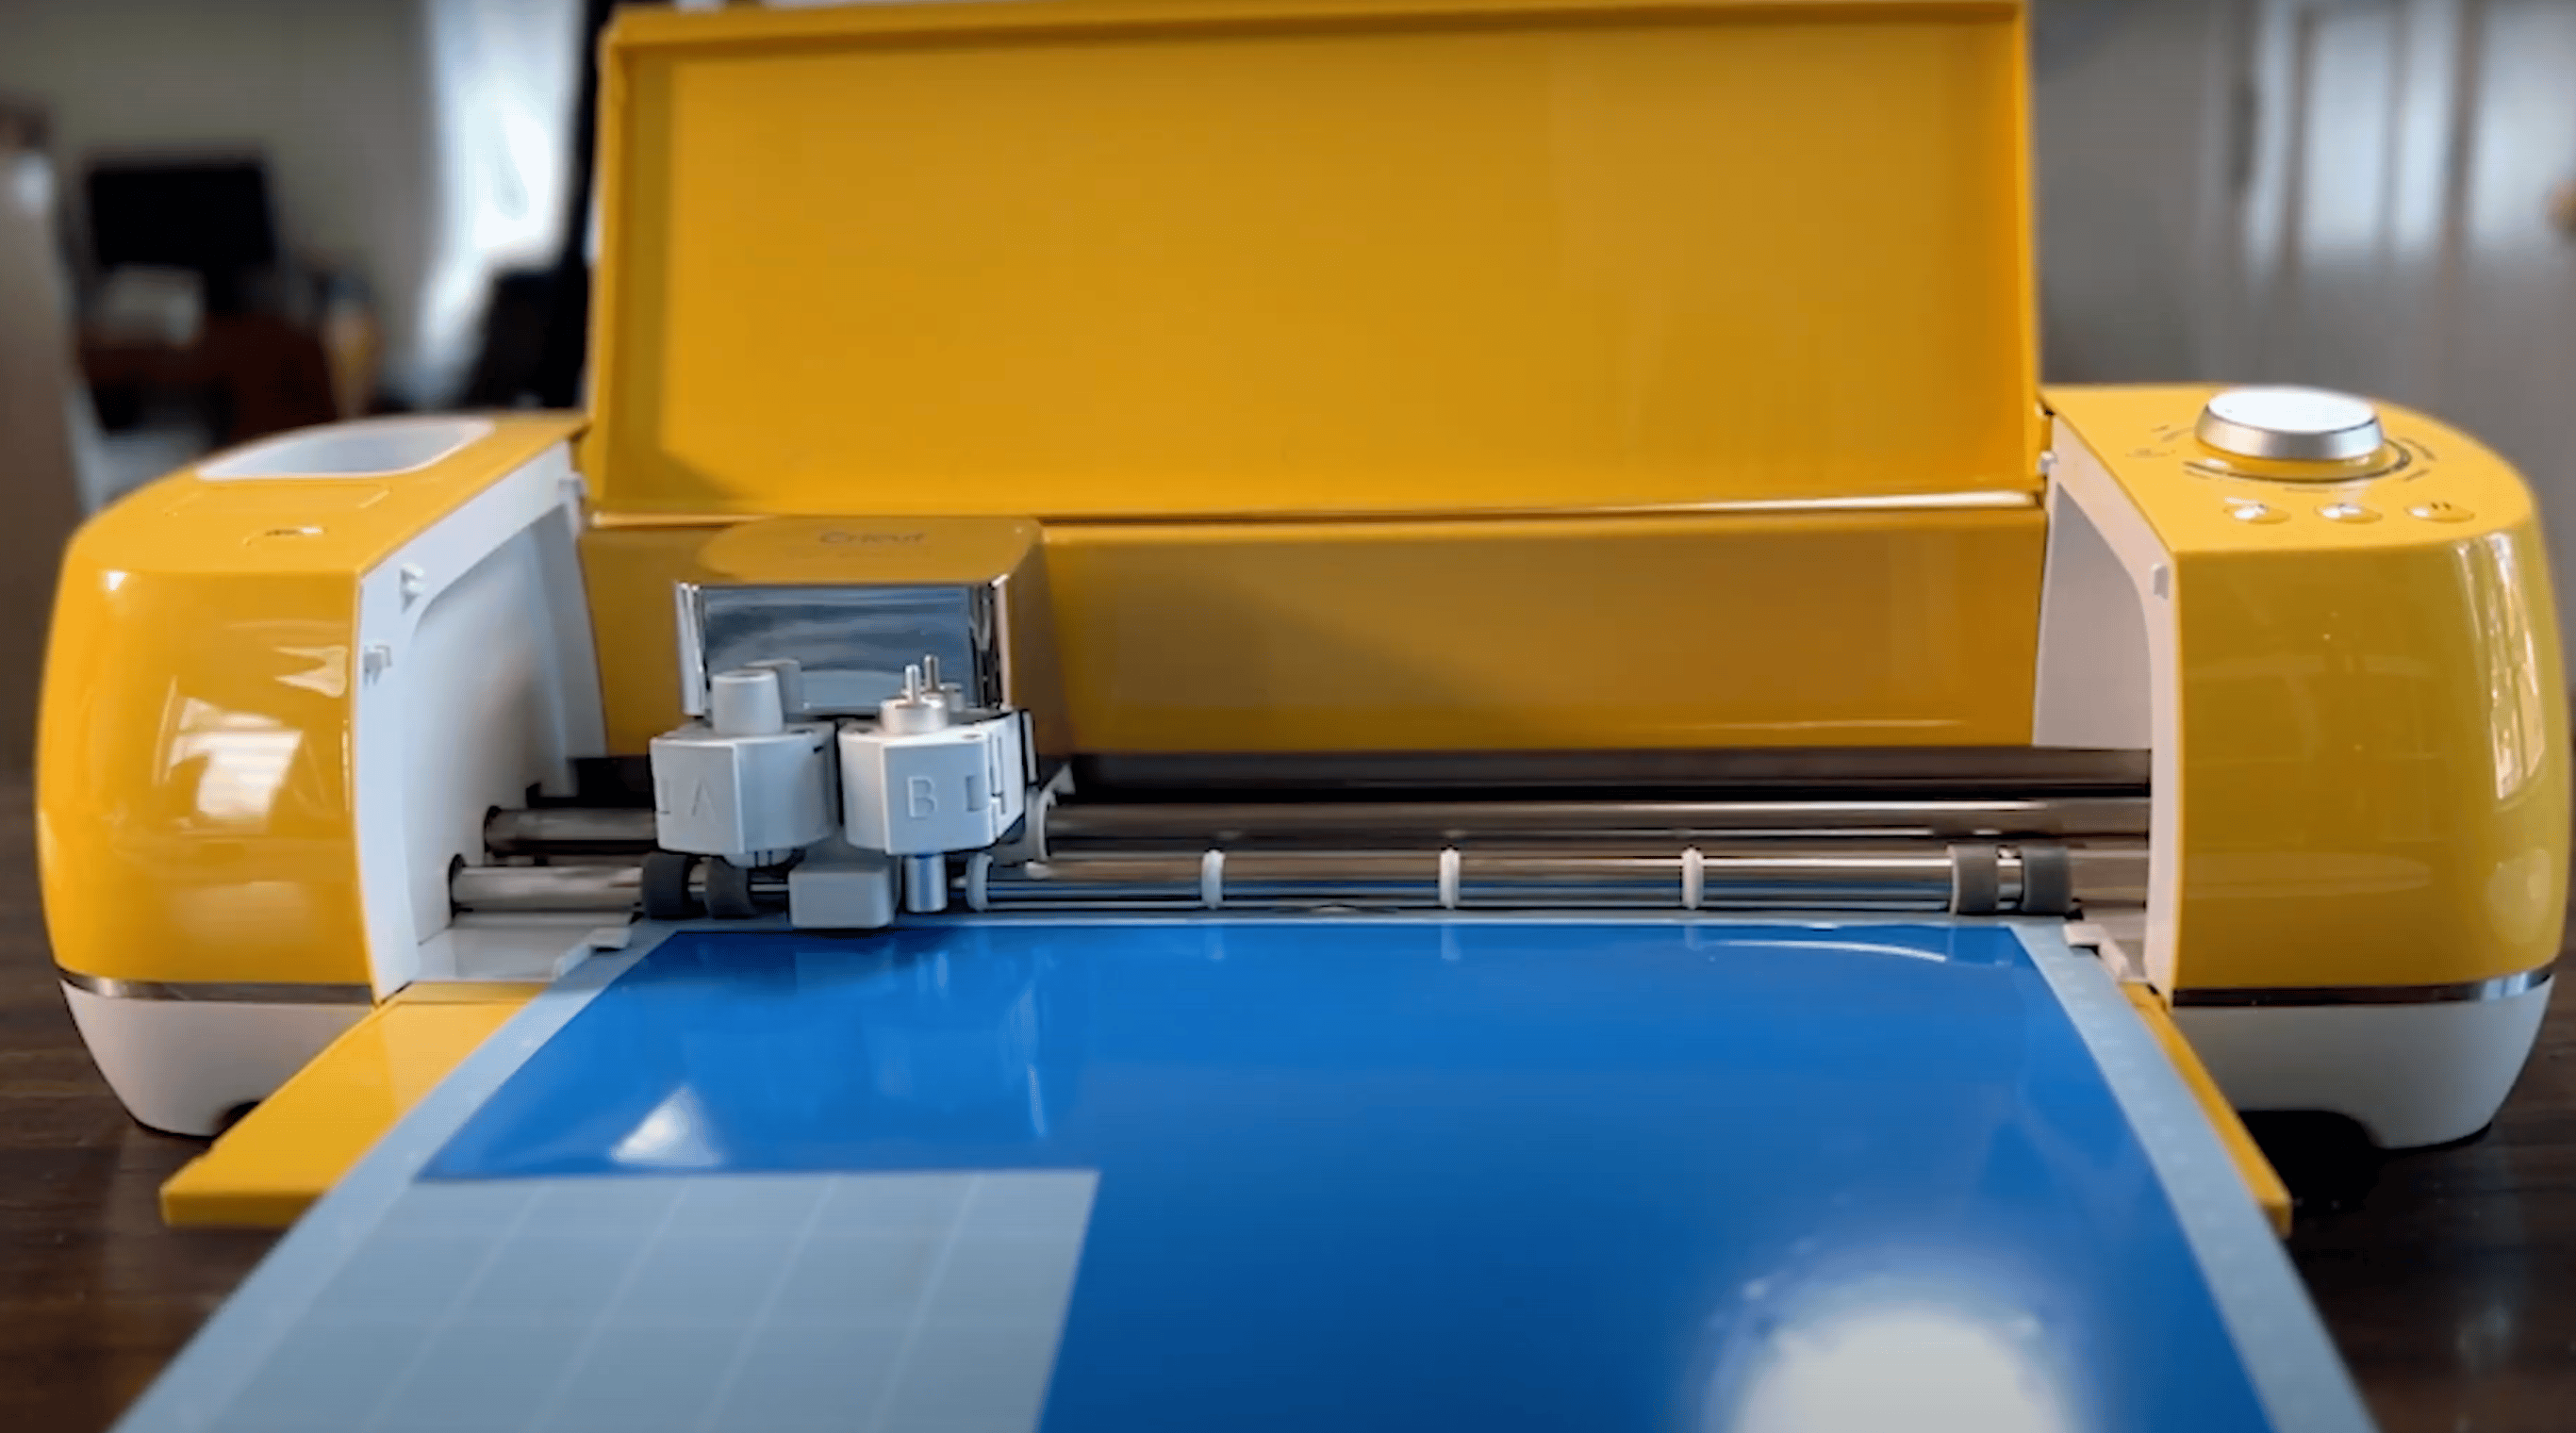
- When your image is done cutting unload the mat then flip the mat over and peel it away from your design.
- Use your weeding tool to remove all the excess vinyl from your image.
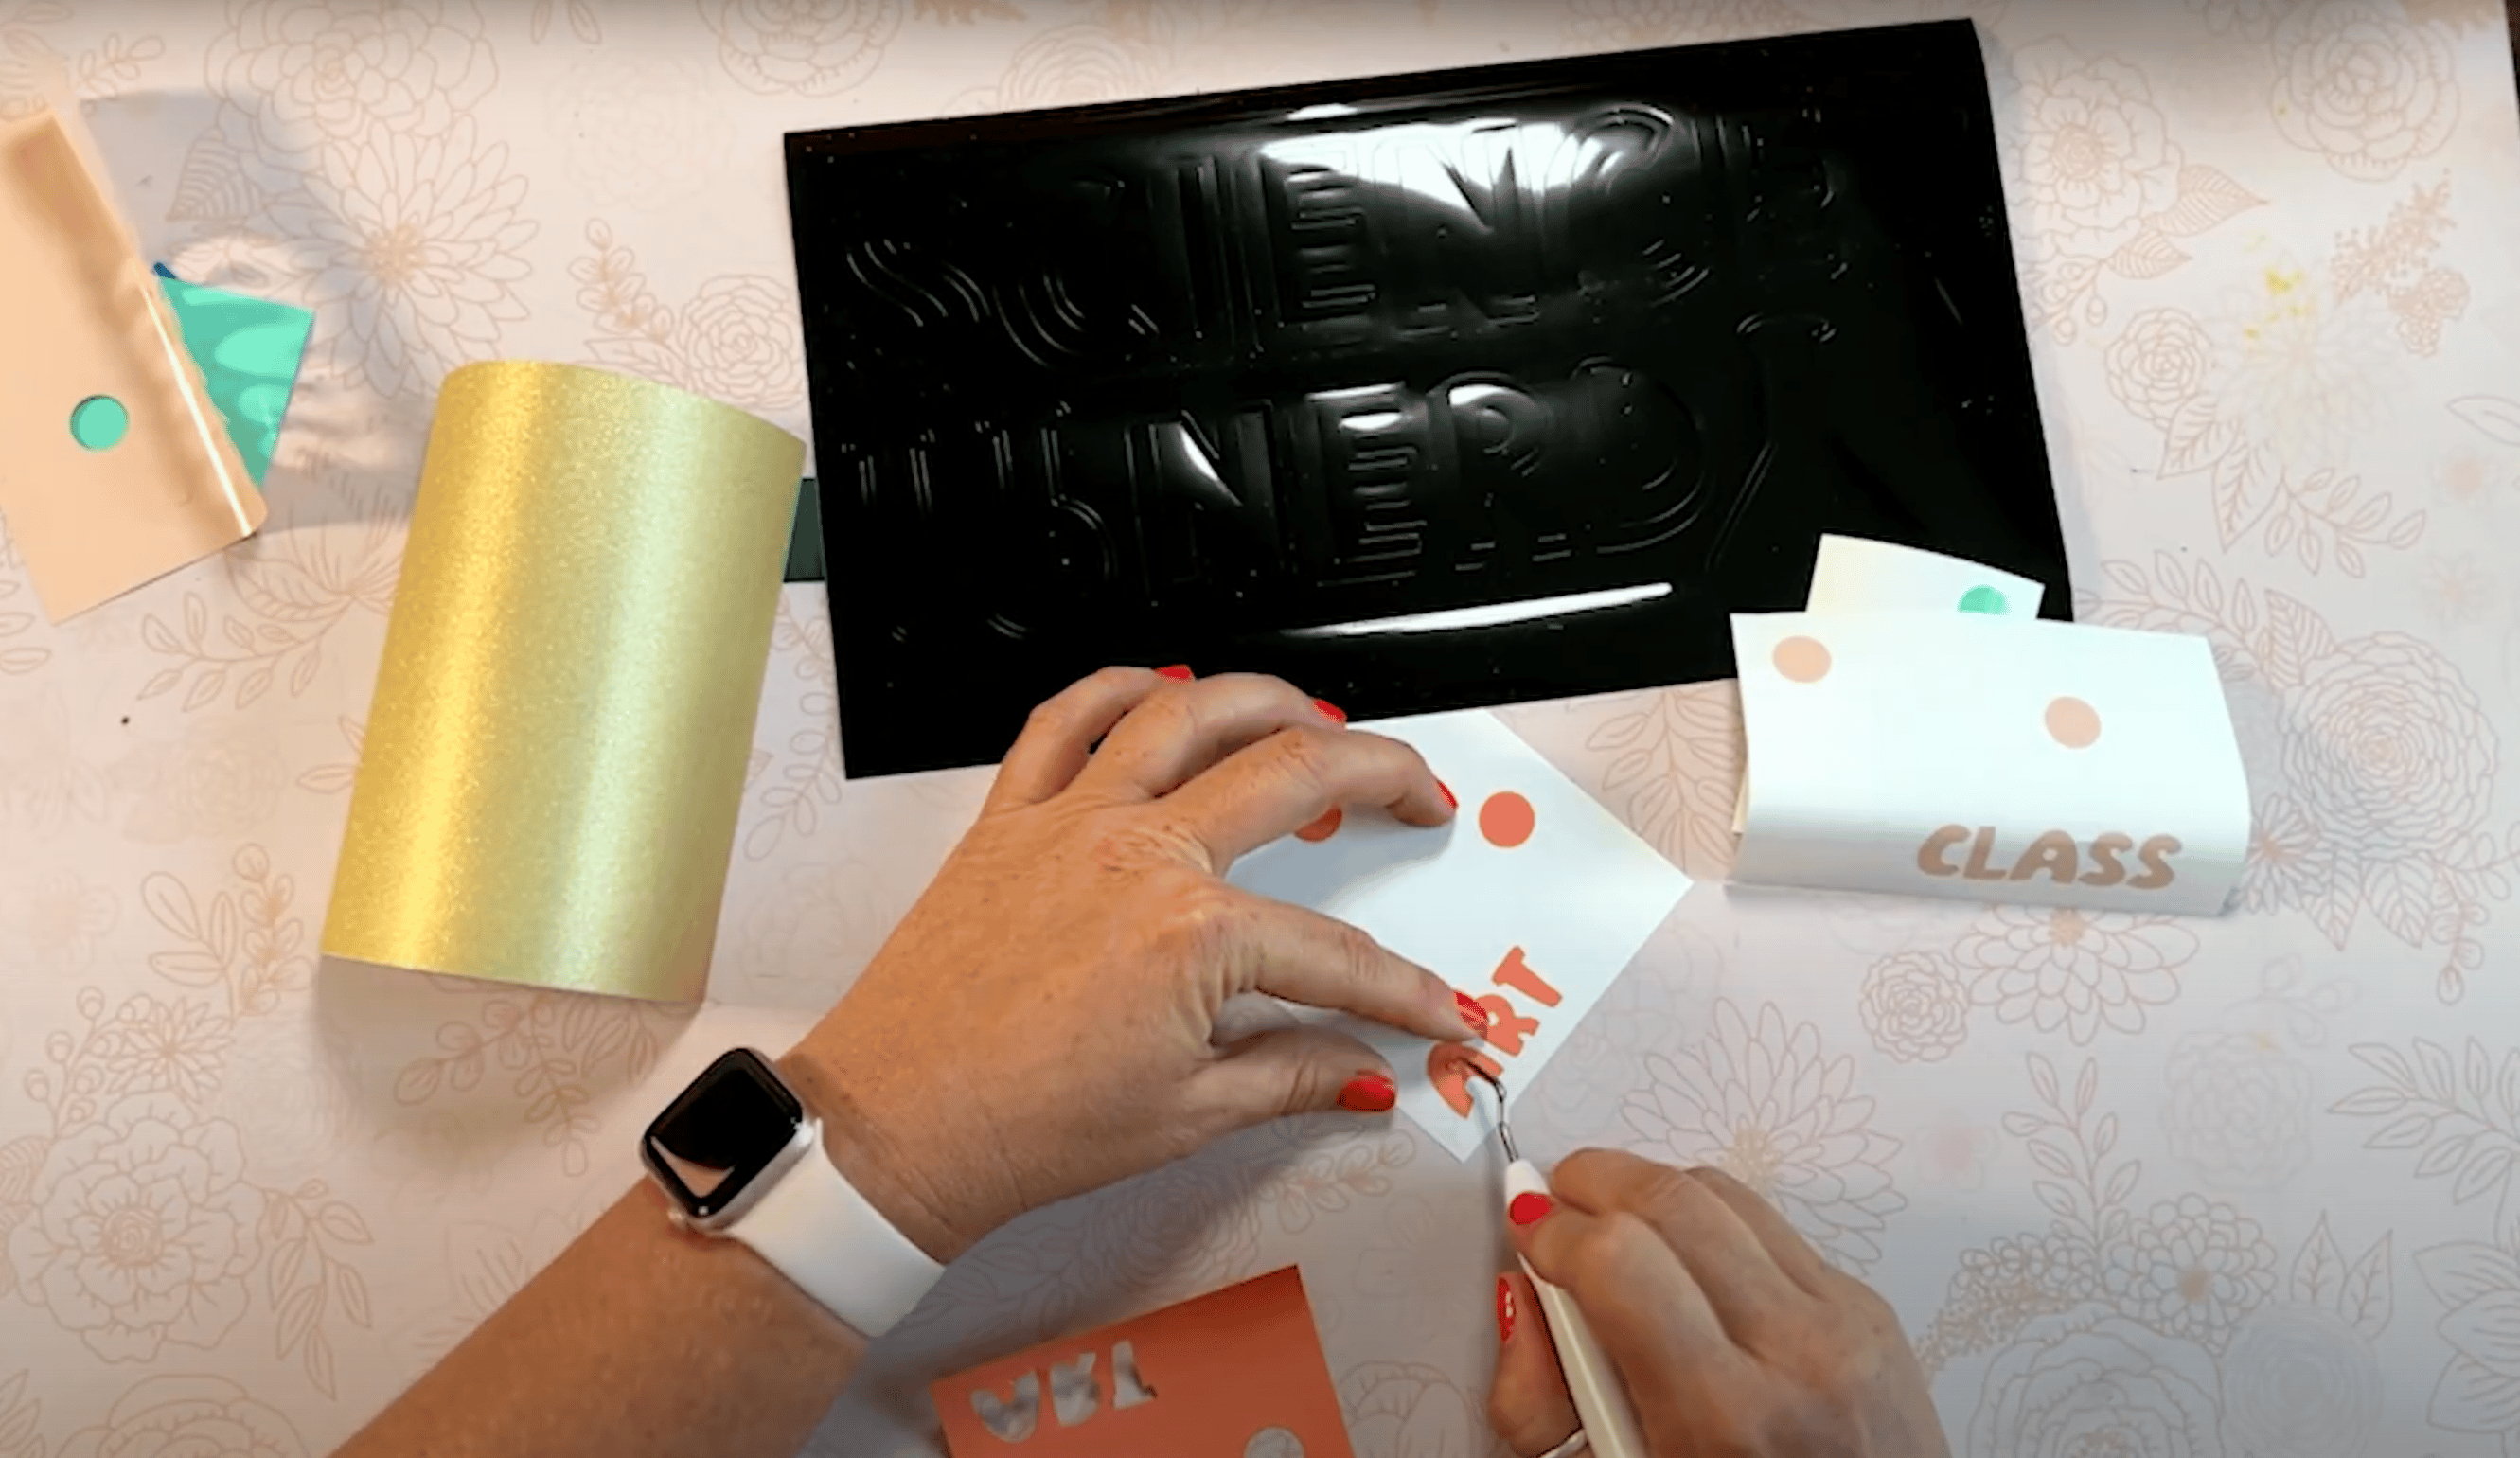
- Now we need to cut a piece of transfer tape large enough to cover the whole image.
- Remove the paper backing from the transfer tape and lay it on top of the design.
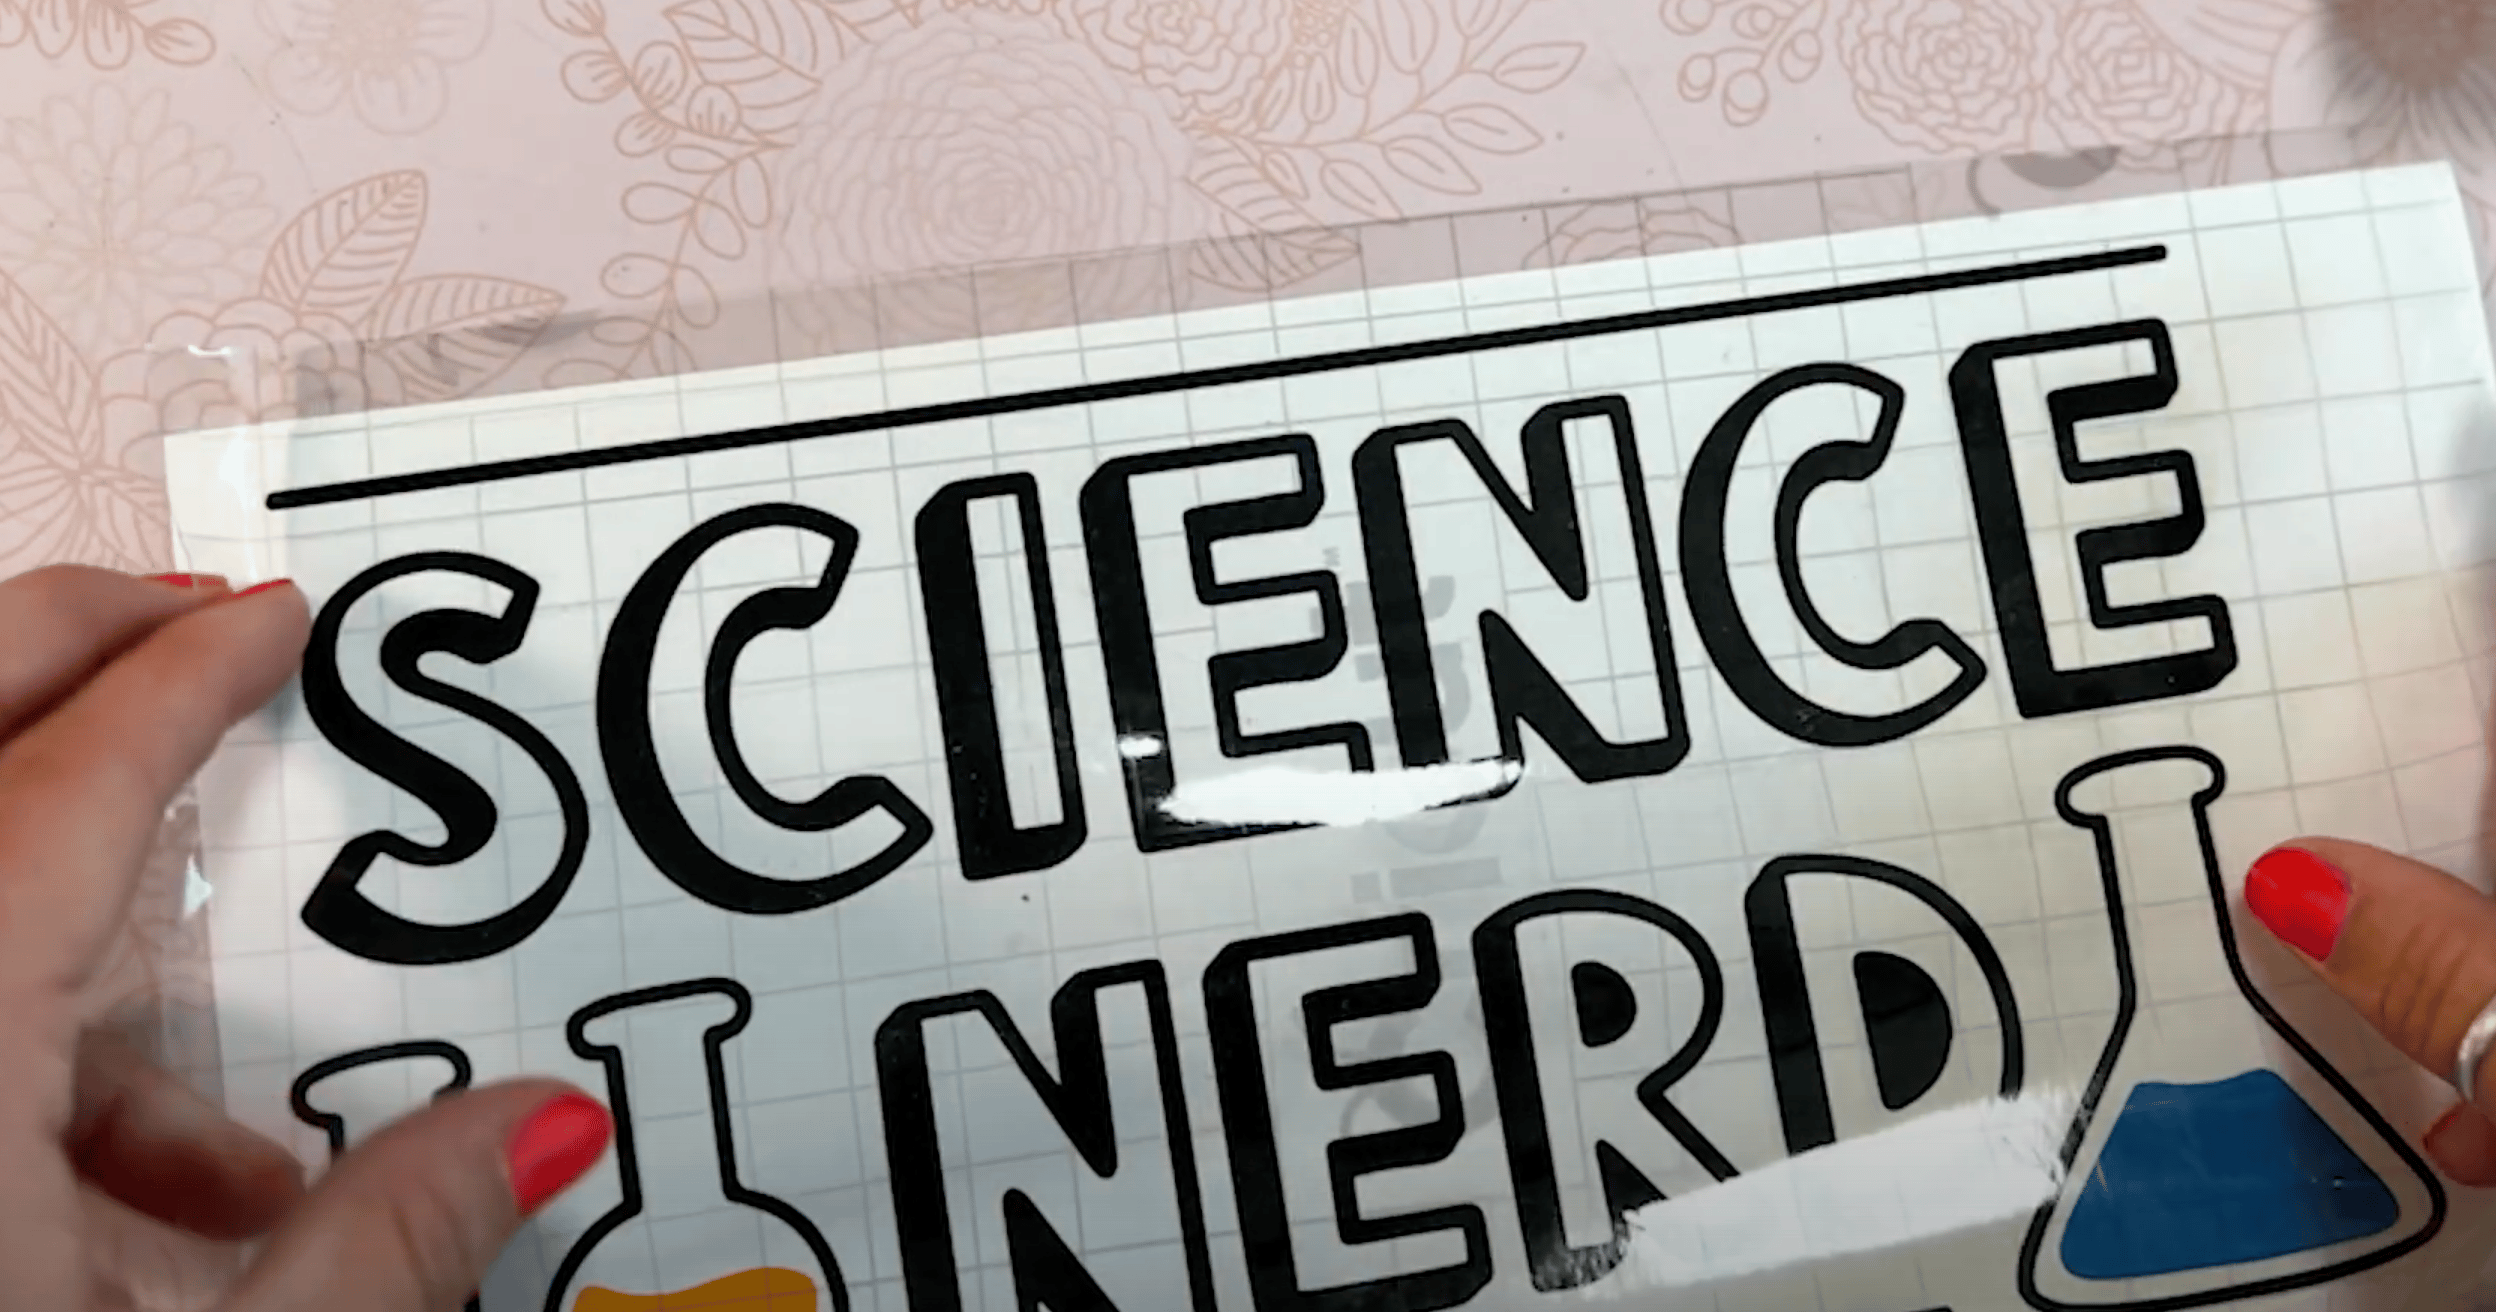
- Use the scraper tool to really burnish both the top of the transfer tape and the backer to help press the image onto the transfer tape.
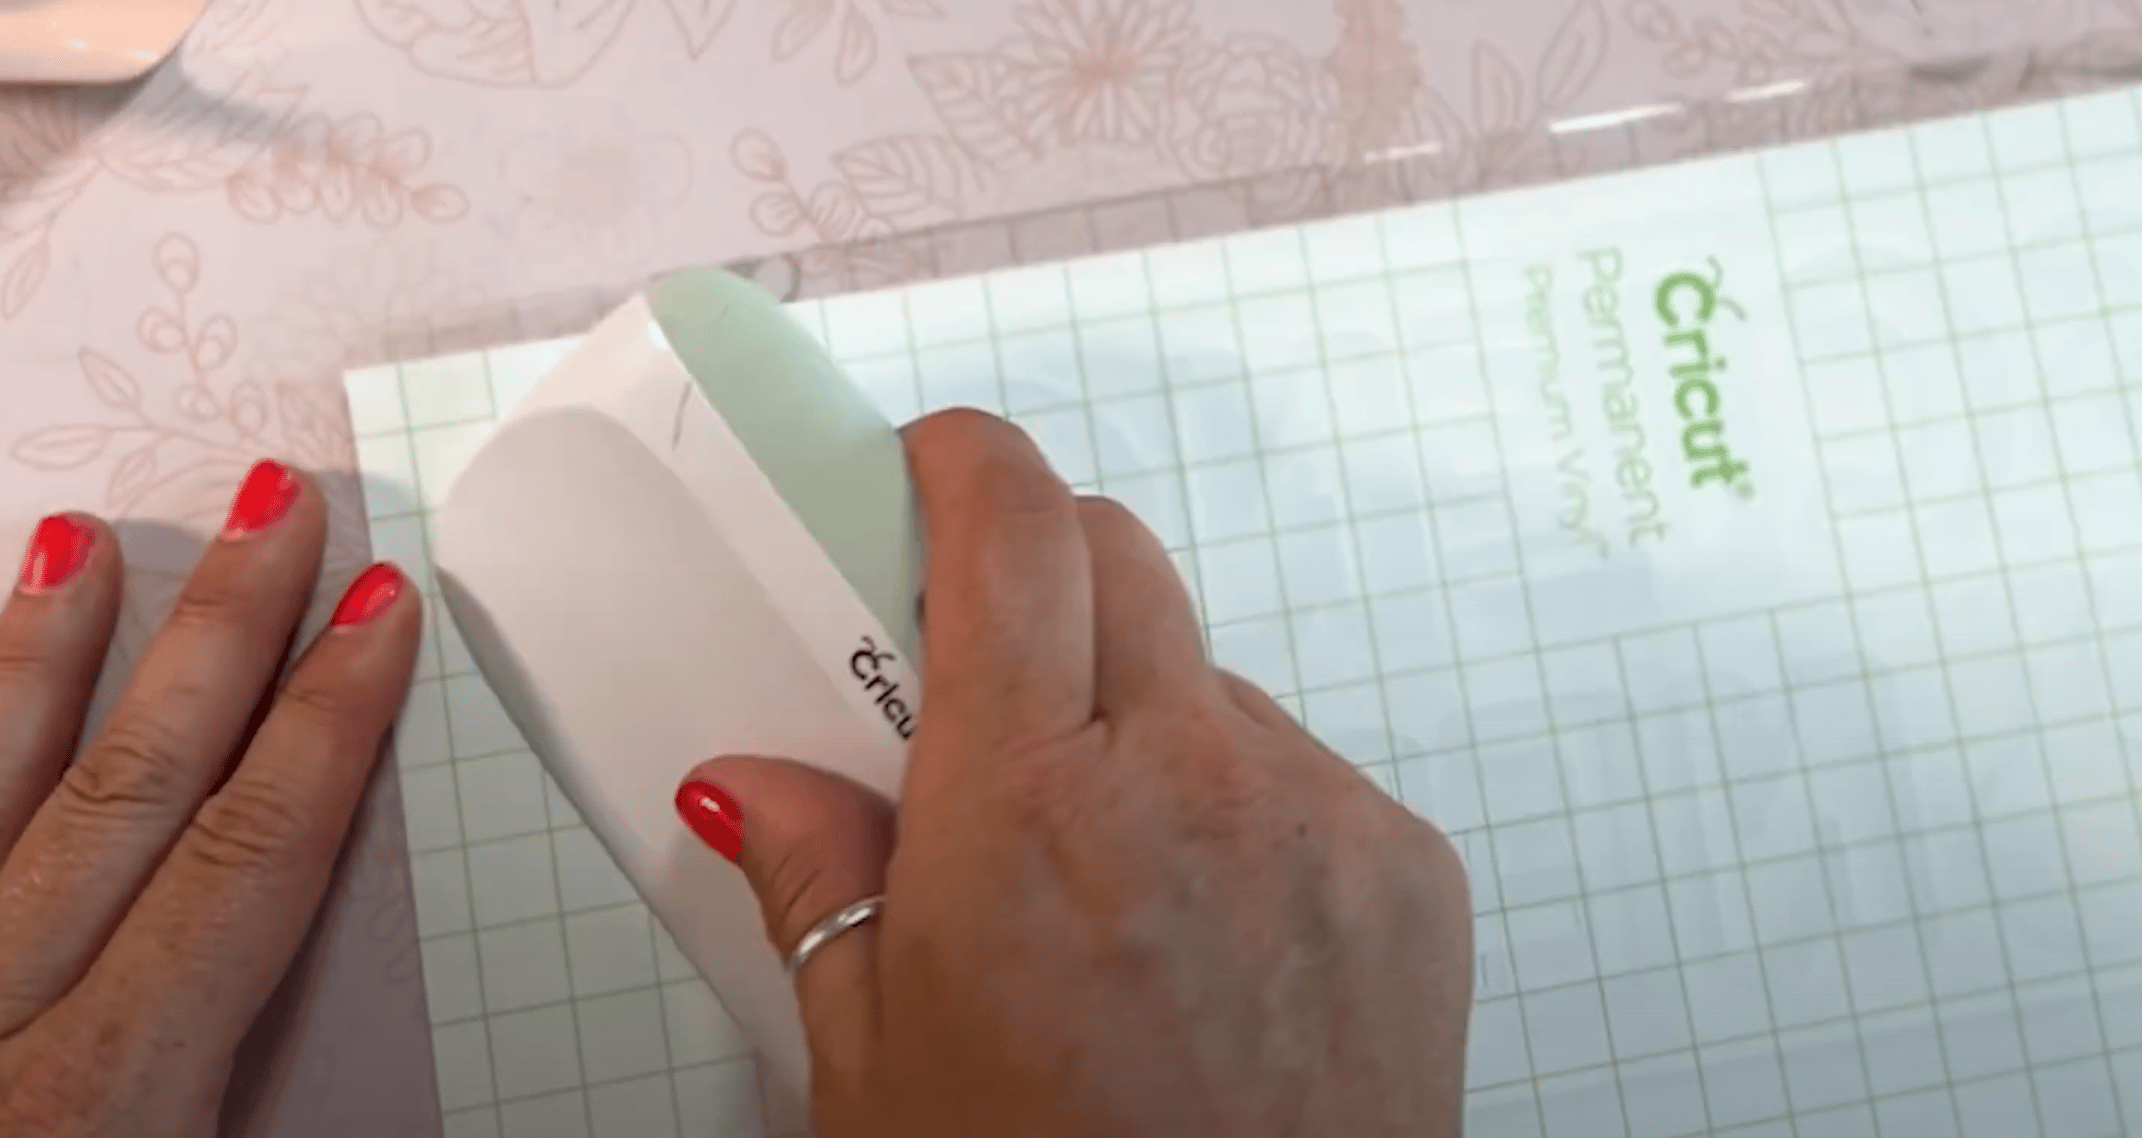
- Flip the whole design over and slowly peel the paper backing off. You should be left with your entire image stuck to the transfer tape.
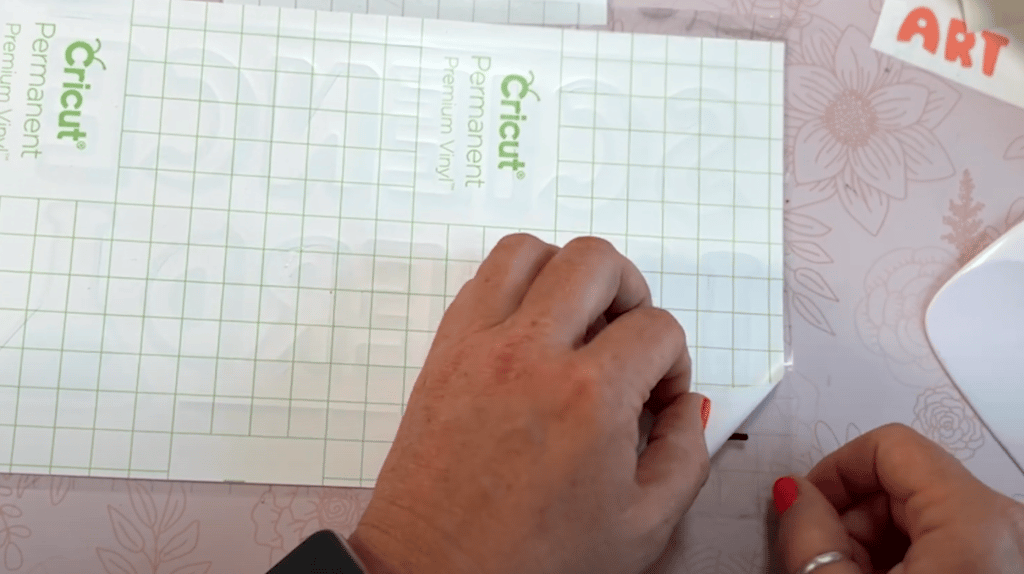
- If your design calls for more than one color you will need to repeat the steps above for each different color.
- Make sure your surface is clean of any dust, lint, or hair. Depending on what your base is you can use a lint roller, a lint-free cloth, or even a rubbing alcohol wipe.
- Carefully locate your design onto your blank. Once you have it right where you want it you can use the scraper to apply vinyl using firm pressure.
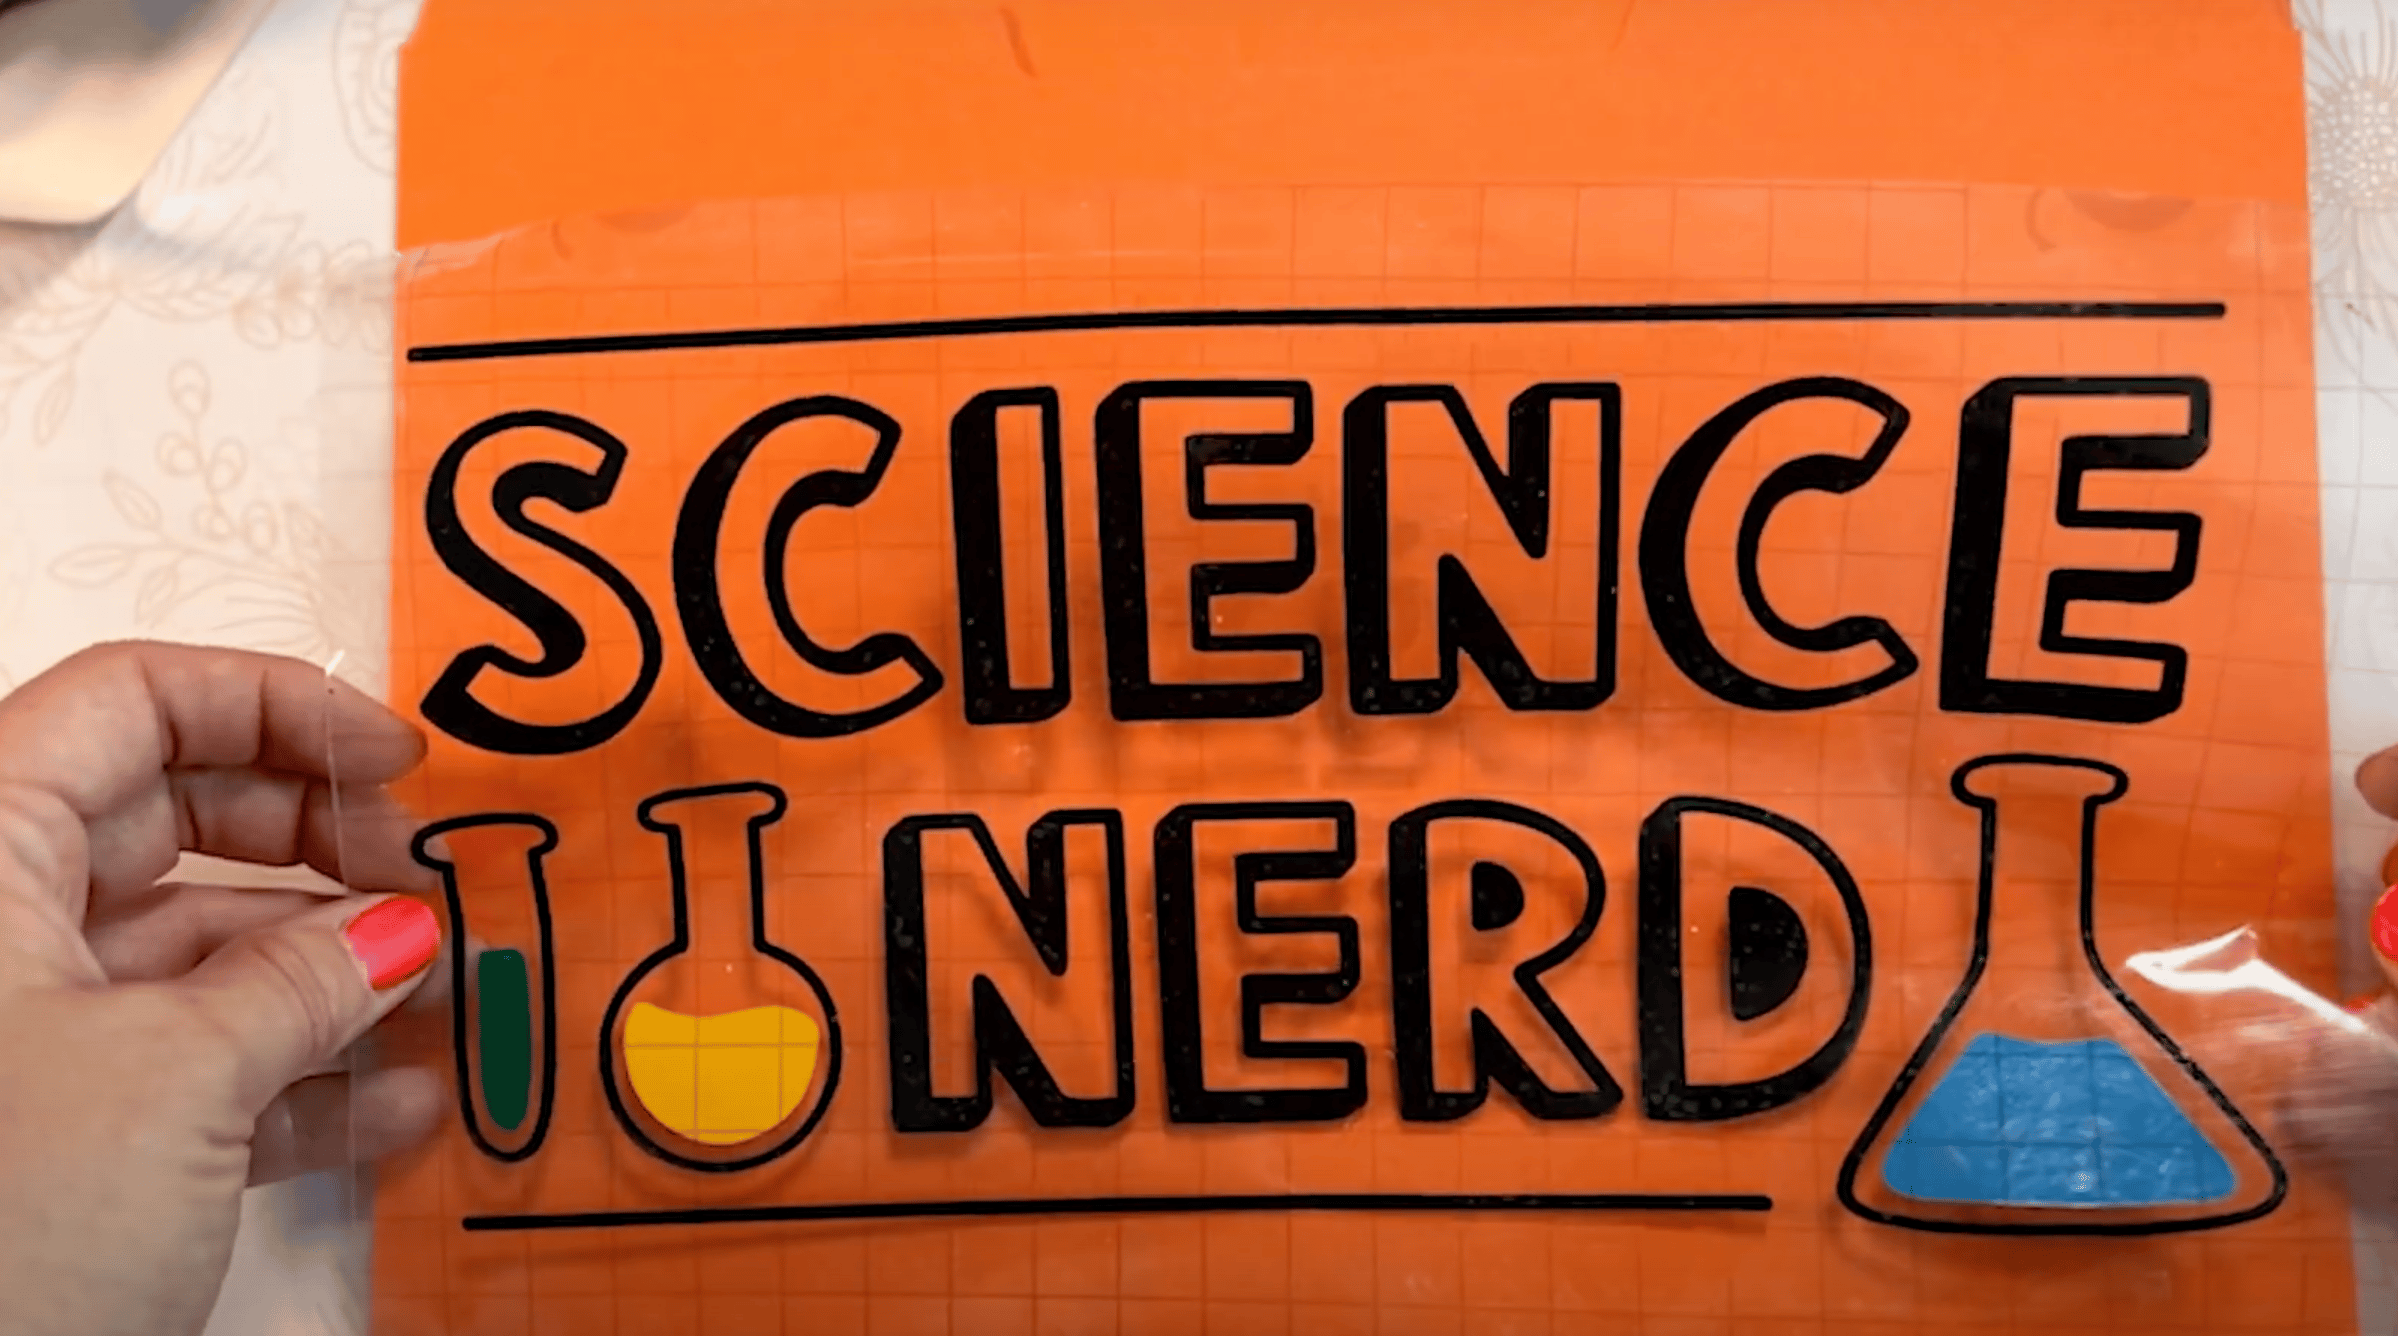
- Burnish the image onto the blank.
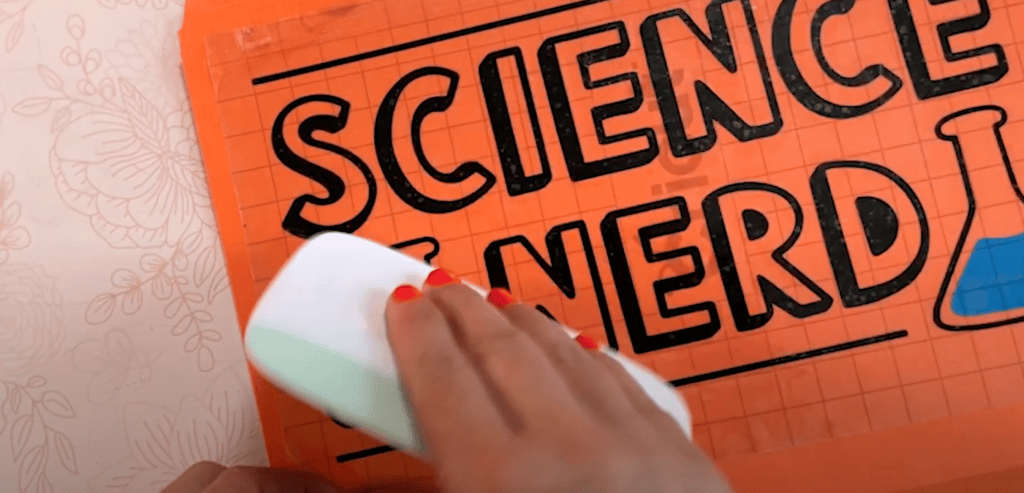
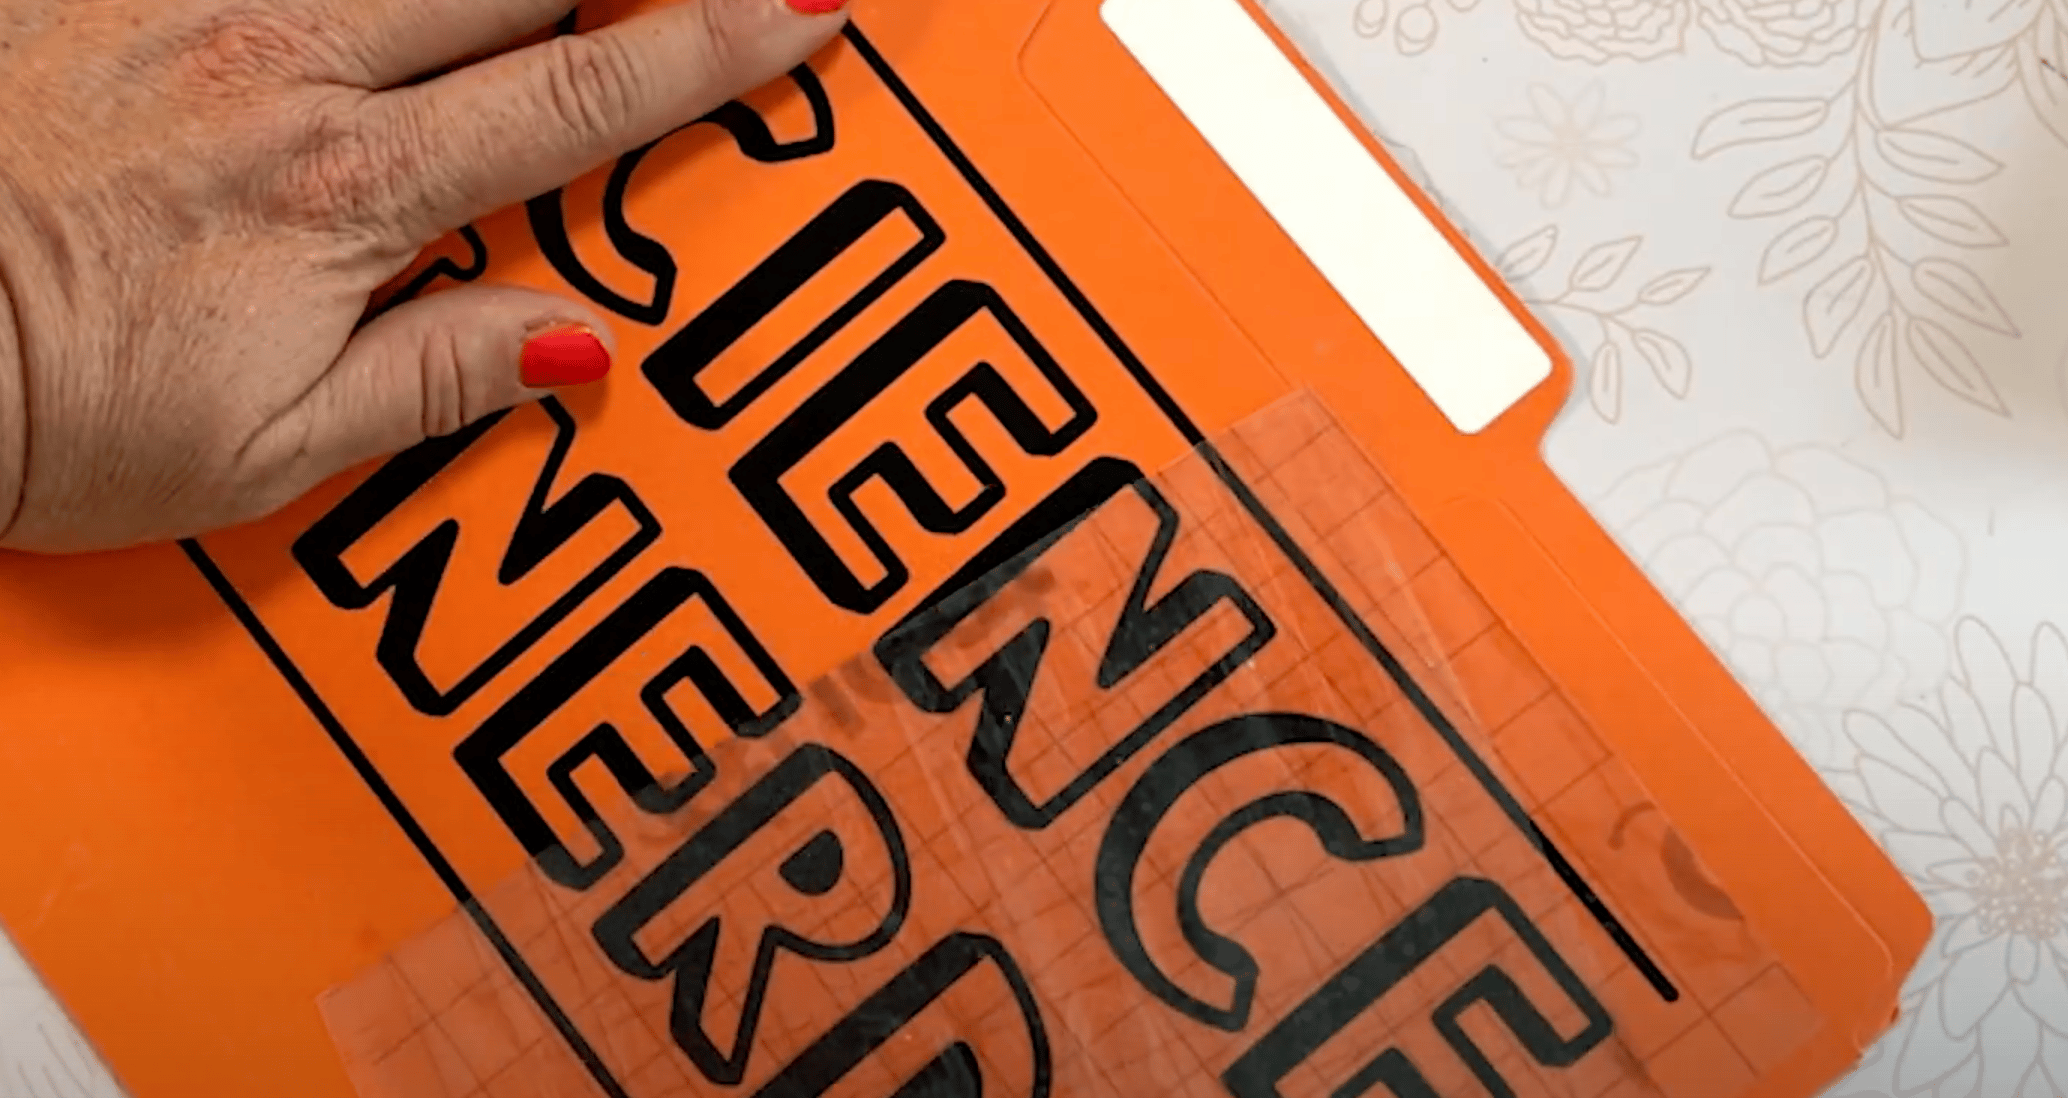
- Peel the transfer tape back slowly to reveal your finished product!
How to Care for Stickers and Decals
Cricut recommends when using permanent vinyl that you allow it to sit for at least 24 hours before handling or using. I recommend waiting 72 hours. This really gives the adhesive time to adhere to the surface ensuring a lasting bond.
If you’re using removable vinyl your project is good to go right away. If you’re using another brand of vinyl I suggest following their recommendations.
Frequently Asked Questions about Vinyl Decals with Cricut Explore Air 2:
Can I Put a Vinyl Sticker on Paper Materials?
Yes, you can. You’ll need a lighter grip transfer material. I used my regular standard grip Cricut transfer tape for my file folder. To prevent the tape from ripping the paper when it was removed from the backer, before applying it I gently laid it on my jeans to help remove some of the stick. This worked great for my project even though it was cardstock material.
Can I Just Use Window Cling to Create Decals with Your Cricut Machine?
Yes and no. If you’re looking for something you can put on the window inside your car then yes, you could. If you’re looking for something that will work on the outside of the car I wouldn’t recommend it. It is definitely a removable material and wouldn’t last long exposed to the elements.
Can I Use the New Cricut Maker 3 or Explore 3 to Cut Cricut Vinyl?
Yes! You can use both new machines to make stickers and decals! With Smart Vinyl you can cut images larger than ever before. They’re perfect for a car window decal, custom car sticker, or any type of design decals.
What is the Best Vinyl?
There are a lot of different options on the market and you’ll get a lot of different answers from different people. From outdoor vinyl to permanent and removable you’ll find people have their favorites. Outdoor and Permanent are similar items and are great for any projects you’ll have outdoor. From porch signs to mailbox numbers these hold up to the elements.
Removable is exactly what its name says. It is great for adding words and designs to walls, mirrors, and anything you want the ability to change over time.
Personally, I’ve had really great luck with all Cricut materials. The only one that gives me trouble is the Joy Smart Vinyl, it’s a beast to remove from the backer which moves it down to the bottom of my list of preferred materials.
Vinyl decals are a great way to customize all the surfaces in your life. They’re fun and only take minutes to create. Using a Cricut to create decals is one of the beginner projects I recommend to people when they’re just getting started with Cricut crafting.
If you have any questions about using vinyl decals with Cricut Explore Air 2 leave them in the comments below and I’ll be happy to answer them for you. Have a great day and happy crafting!

- Bringing Home Baby Chicks - March 11, 2025
- Is RootsTech for Moms? - February 23, 2024
- How to Get Oil Stains Out of Clothes - May 5, 2023

