This post may contain affiliate links. If you purchase something through any link, we may receive a small commission at no extra charge to you. Supplies used may be given to us free of charge, all projects and opinions are my own.
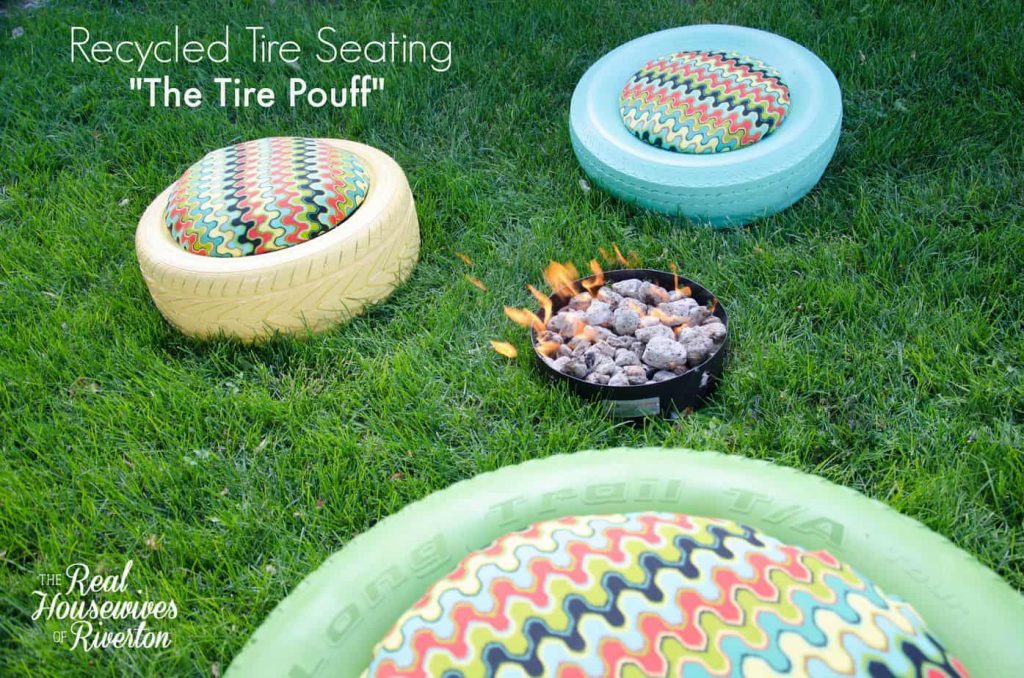
Today I’m on Studio 5 sharing how I made these fun Recycled Tire Seats, or as I will now fondly call them “The Tire Pouff”. Brooke Walker is still enjoying her brand new little princess so I got to visit with Rebecca Cressman for today’s segment.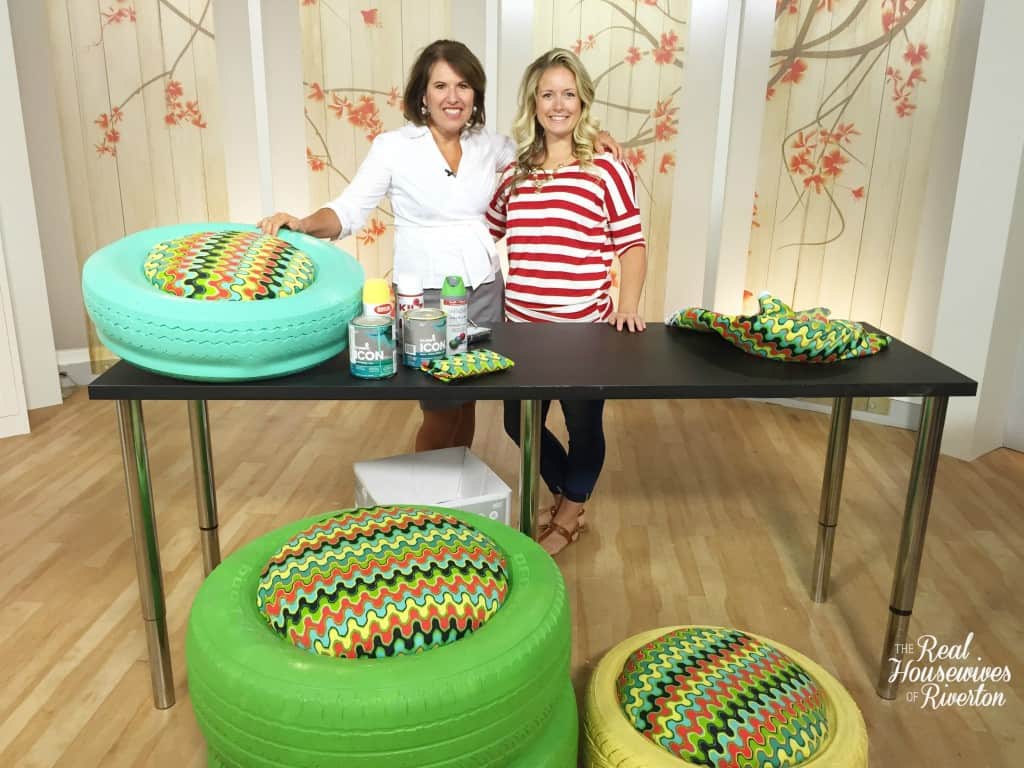
Here are some tips for making these seats yourself
1. Don’t spend money on tires. I called my local tire store and they let me have as many of the old tires as I wanted. A word of caution, don’t take more than you’ll use, most places will charge a disposal fee if you bring the tires back.
2. Don’t do what I did and paint the tires first and then go look for fabric. I got really lucky and was able to find fabric I loved that matched my paint colors perfectly but it would have made a lot more sense to pick the fabric first and then pick paint colors to match the fabric.
Step 1 – gather supplies
Tires, fabric, paint, stuffing, wood.
Step 2 – paint tires.
You’ve got options here and it depends on what look you’re going for. On the green seat I used spray paint, it went on so nicely and the process was very quick however as people have sat on the seat and the tire has flexed the paint is cracking. Since I’m using the seating outside I don’t mind the paint cracking a bit. I did use primer first, it’s possible if you use one of the spray paints for plastic it will adhere without cracking but since the color I chose was light it would have taken a lot of layers of paint. I am going to try this with a darker color and see how well it works. On the yellow and blue seats I used exterior paint. This option worked great and isn’t cracking but the paint took a long time to dry. I really think the best option with using the exterior paint would be to paint a coat, give it like a full day to dry before doing the next coat. It will depend on your paint color how many coats you’ll need.
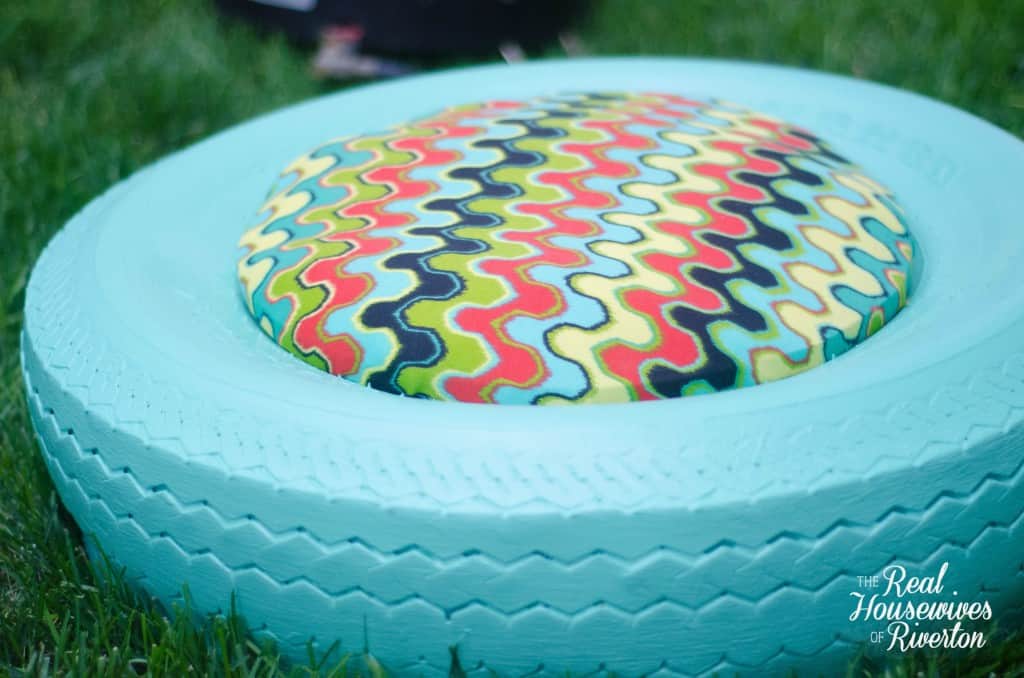 Another note – you’re working with tires, I don’t see any way to get a perfect finish, they look so cute even imperfect that it didn’t matter to me.
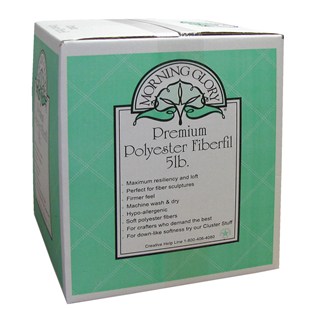
Step 3 – while the paint is drying cut your wood circles that will be the base of your seat. You’ll need to measure the inside opening of the tire – you’ll want to measure so the wooden part sits on the inner lip.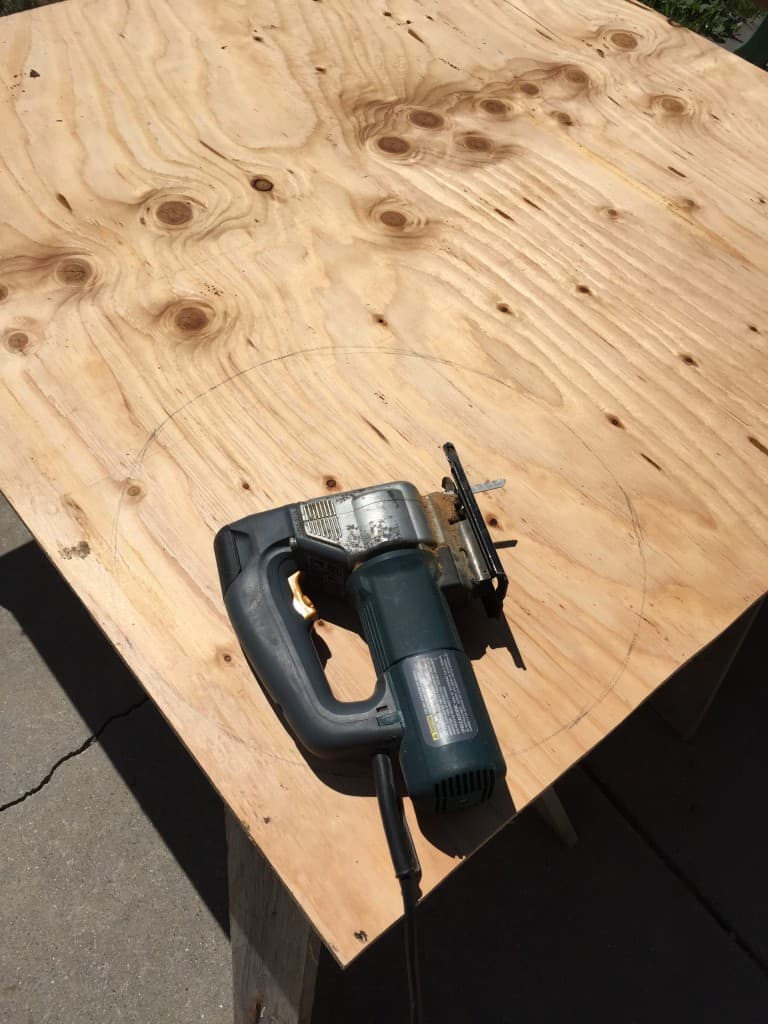 Step 4 – To create the pouff you’ll need stuffing. I found this great box of stuffing (5lbs) at Hobby Lobby, it was $19.99 but I used a 40% off coupon and paid $12. I still have over half the box left after doing 3 pouffs.
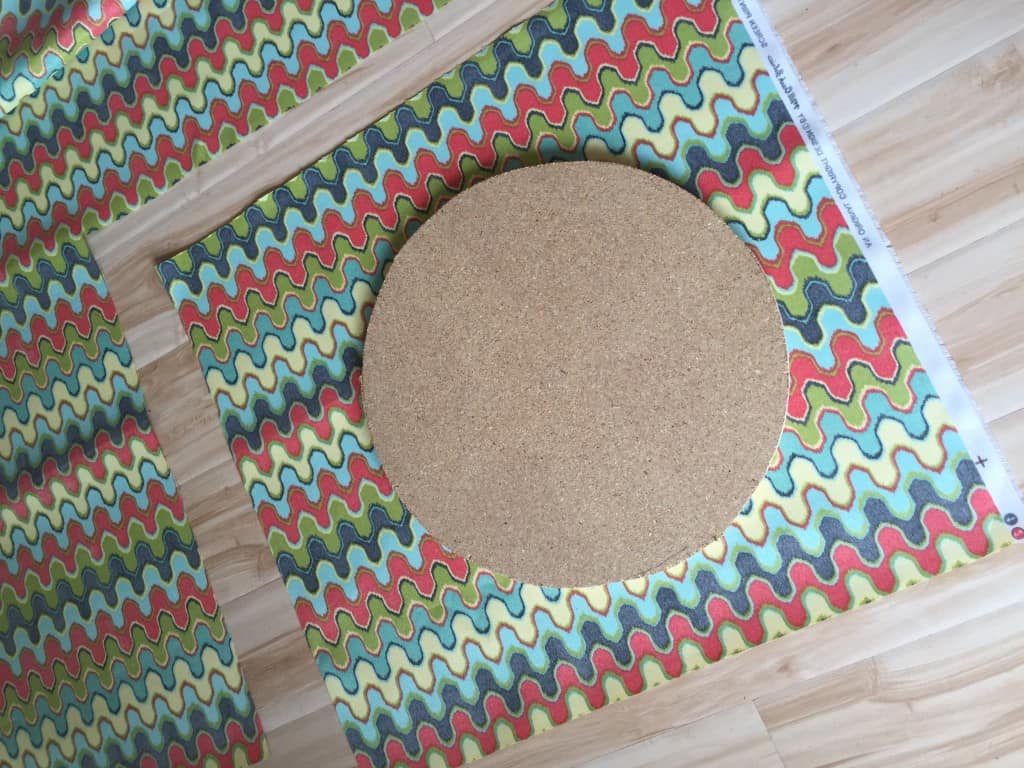
 I laid out my fabric so there was plenty all around the wooden circle and then gathering one area I started stapling the fabric to the wood.
  I went about 1/3 the way around and then started stuffing the pouff. As I stuffed I stapled more of the area until I had the pouff as fluffed and stuffed as I wanted and kept pulling the fabric nice and tight around the edge stapling all the way around.
I decided not to attach the seat to the tire because I wanted to be able to bring the fabric pouff inside if it starts raining or when the sprinklers are scheduled to come on. Paula and I both had the thought to cover the fabric with plastic but since I want these to be able to sit around the fire pit I didn’t think a plastic cover was the best idea.
If you’re keeping them under a covered patio and want the seat attached I would suggest trying liquid nails. I’m not positive it would work but it might.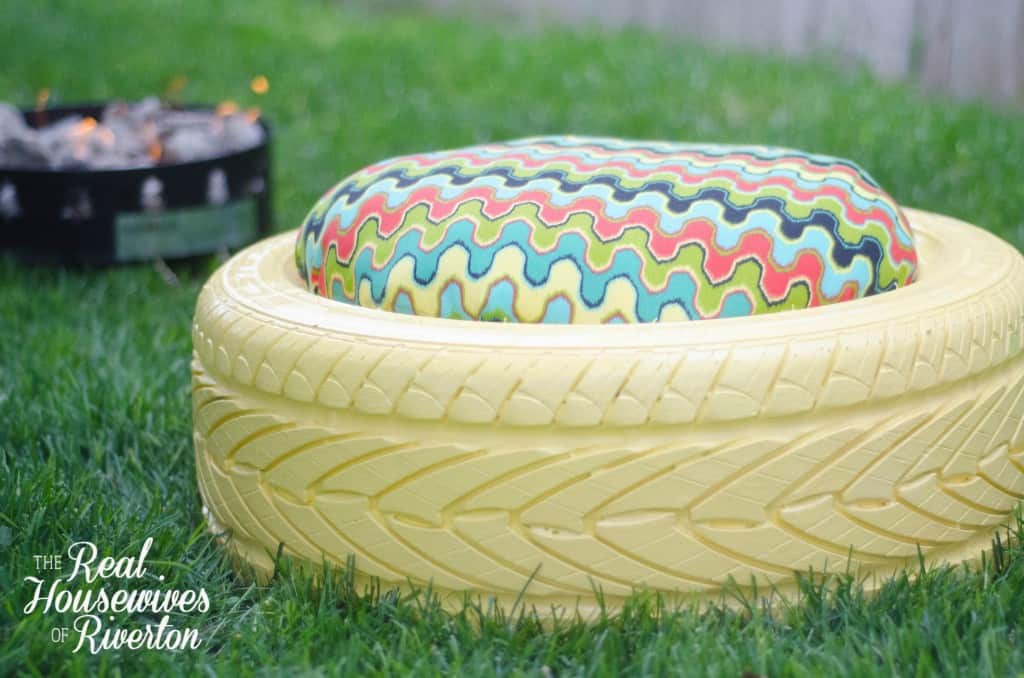 I really love how these turned out, they’re so fun and incredibly simple to make. I bet you’ll find yourself making quite a few of them once you start!
My segment on Studio 5 is up, I’m excited to share it with you!

- Bringing Home Baby Chicks - March 11, 2025
- Is RootsTech for Moms? - February 23, 2024
- How to Get Oil Stains Out of Clothes - May 5, 2023



HOW DO YOU KEEP THE CENTER FROM FALLING IN THE HOLE?
[…] this project, House Wives of Riverton say you’ll need these […]
Did you screw the two tires together?
Yes, I drilled holes in both tires that lined up and then used a really long bolt to attach them. I believe I used a total of 4.
Beautiful! What type of exterior paint did you use? How was it applied?
On one I used a spray paint and while it went on and looked good it started to crack. On the others I used just an off the shelf exterior paint – I believe it was Behr from Home Depot and then just made the color I wanted. I painted then with a paint brush.