This post may contain affiliate links. If you purchase something through any link, we may receive a small commission at no extra charge to you. Supplies used may be given to us free of charge, all projects and opinions are my own.
I have found it very hard to decorate for St. Patrick’s Day and Easter this year because they are so close together, so I have decided that I will have a shelf of St. Patrick’s Day stuff and then I have some spring stuff out also along with a couple of bunnies. This way I can feel like I can enjoy decorating for both holidays and not just have Easter up for just a little more than a week. These Lucky Metal Letters are the perfect addition to my shelf.

I don’t know why but I’ve never gotten overly excited about St. Patrick’s Day decorations and every year I seem to only put a few things out that I have or some years I haven’t even done anything. It seems like just in the past couple of years people are catching on and decorating more for this holiday. I’ve had my eyes on these lucky metal letters at Hobby Lobby and always thought it would be fun to do something with them. They are pretty reasonable at $2.99 each and I’ve also seen them 30% off before. I thought it would be fun to spell out LUCKY but do something else instead of the letter “U”. I thought horseshoes look similar to a “U” and they are used a lot to decorate for St. Patrick’s day. I remembered I have seen cute little wooden horseshoes at the Wood Connection before so I decided that this was what I was going to do!

I purchased a wood block and the horseshoe at the Wood Connection and painted the horseshoe gold and the little block green. You can sand your edges if you like the more distressed look. 
Next you will choose a pattern of scrapbook paper you like and cut it the size of your block and Mod Podge it onto your wood. Then you will glue the horseshoe onto the block making sure it is centered. After the horse shoe is dry it’s time to hammer the nails into the wood. I marked where i wanted them with a pencil and then hammer them in leaving a little sticking out. 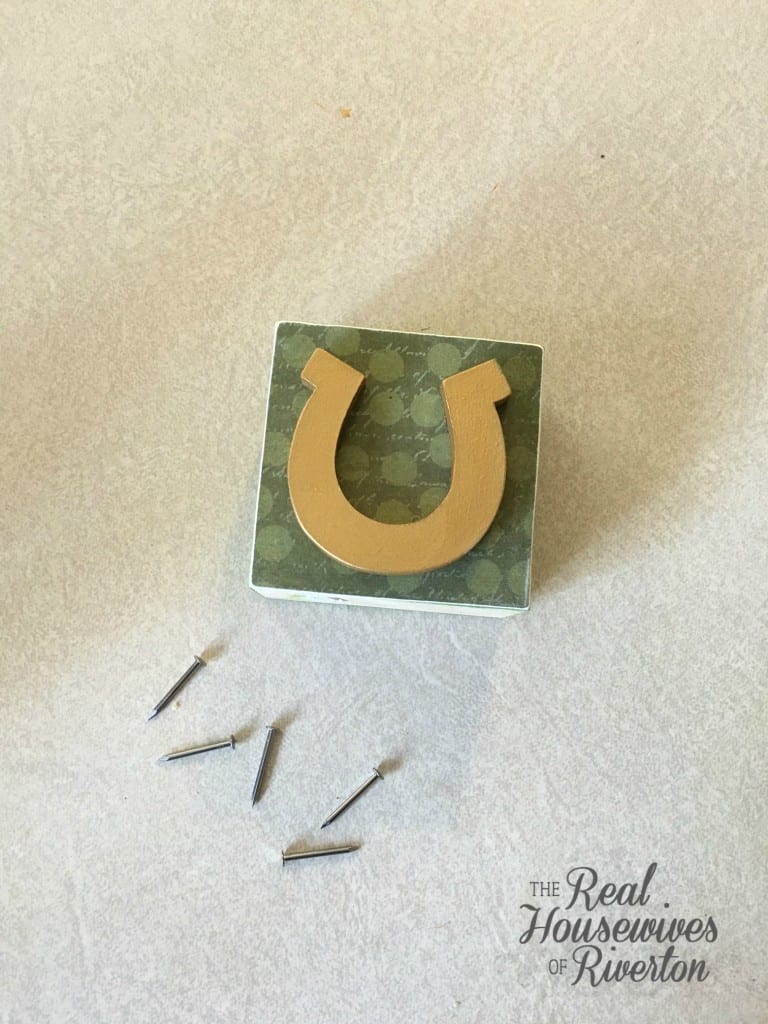
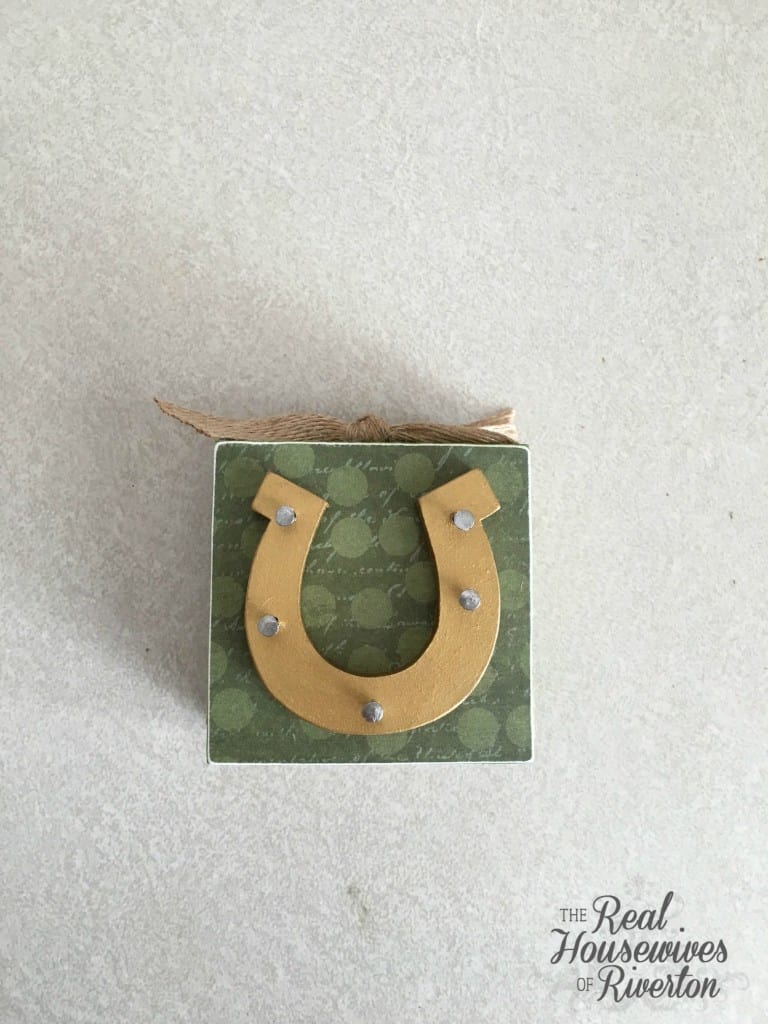
I added some burlap type ribbon around the block and hot glued it at the top to secure the ribbon.

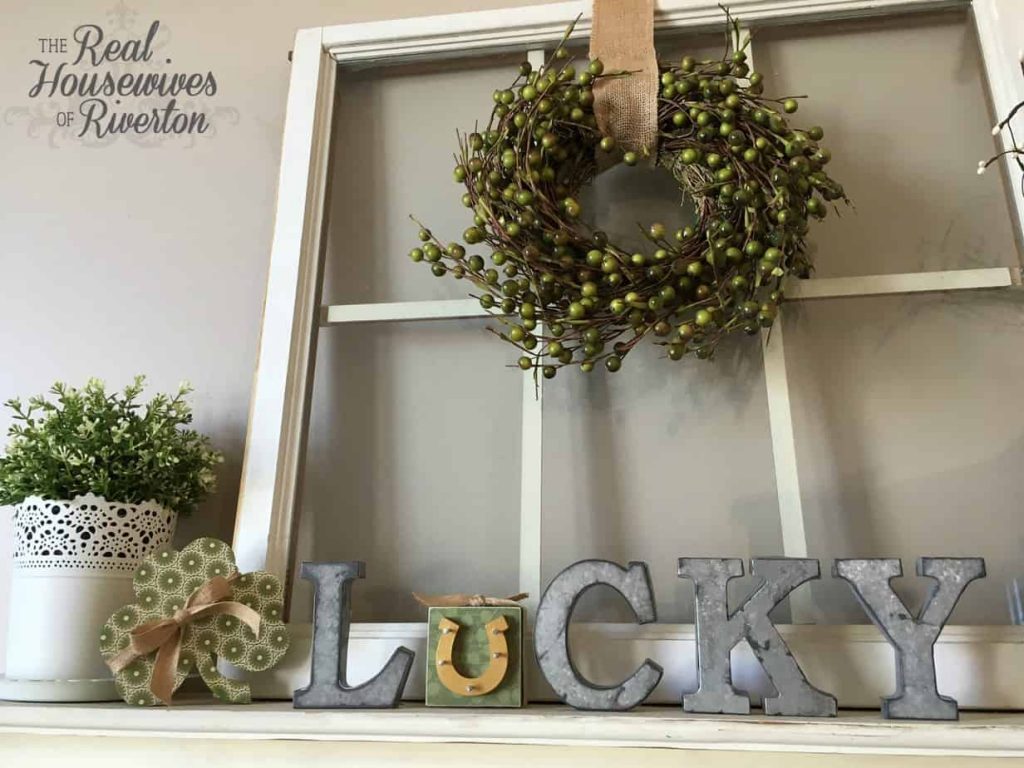
I love how it looks on my shelf with my green wreath and my little clover. It’s simple and not too much and that’s what I love about it. These letters are really fun and you could do a lot of different things with them with all the different holidays!
Happy Crafting!!

- The Best Vinegar Paint Brush Cleaner Method - May 6, 2023
- 10 Fun and Easy St. Patrick’s Day Games - March 1, 2023
- Valentine’s Day Felt Wreath DIY - January 20, 2023


