This post may contain affiliate links. If you purchase something through any link, we may receive a small commission at no extra charge to you. Supplies used may be given to us free of charge, all projects and opinions are my own.
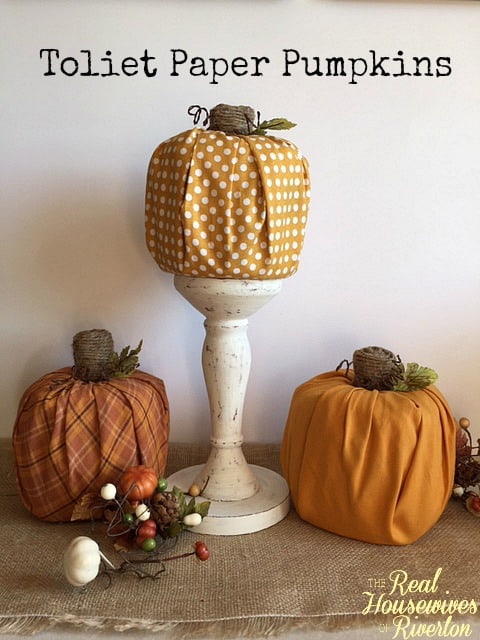
Halloween is almost here and this means my decorations will soon be coming down and I will put my Fall/Thanksgiving decorations out. I've been wanting to make some different fabric pumpkins for a couple of reasons, one being that I don't love the ones I currently own and second I go a little overboard with my Halloween decorations so after I take everything down I feel like I don't have a lot of fall stuff to put up. Most of the fabric pumpkins I've seen require a little bit of sewing and yes even a little bit of sewing stresses me out. I've seen these pumpkins made with a roll of toliet paper which involved no sewing so I thought I would give it a try.
Toilet Paper Pumpkins Supply List
1 roll of toilet paper
fall colored fabric (about 22″ x 18 “) per pumpkin
newspaper
embellishments for pumpkin (wire, leaves, ribbon)
jute
glue gun
scissors
Toilet Paper Pumpkins directions
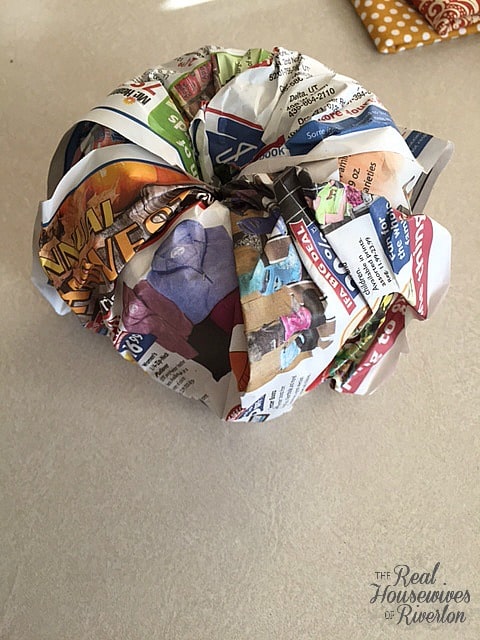
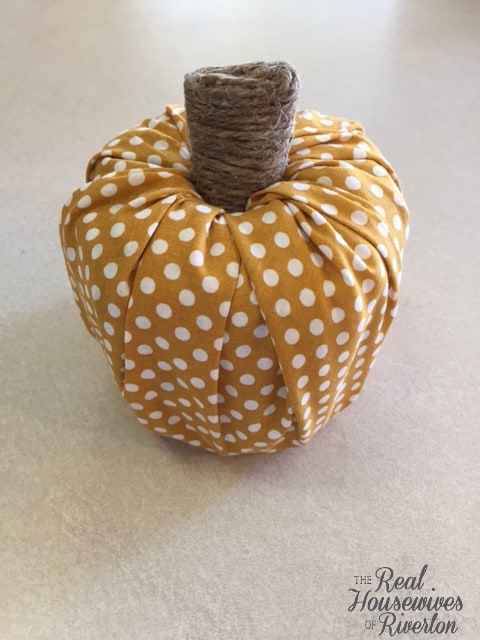
Step 1– First cut your material into a 18″ inch square. You will use the remaining material for a stem for the pumpkin later. Next take a couple of pieces of newspaper and tuck into the center of the toliet paper roll. This will give it more of a pumpkin shape. Then you will place your pumpkin in the middle of the fabric and take each corner and loosely tuck it into the center of the roll until all of the material is nicely snug into the center.
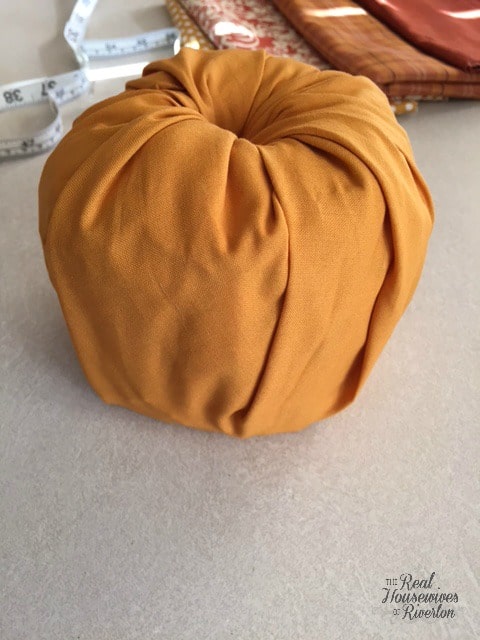
Step 2: See it's starting to look more like a pumpkin! To make the stem I took the remaining material from the first cut for the pumpkin and folded it into a long rectangle piece and then glued jute around the material starting at the top. This is where you need to be really careful not to burn yourself with your glue gun. This seems to be happening to me a lot lately.
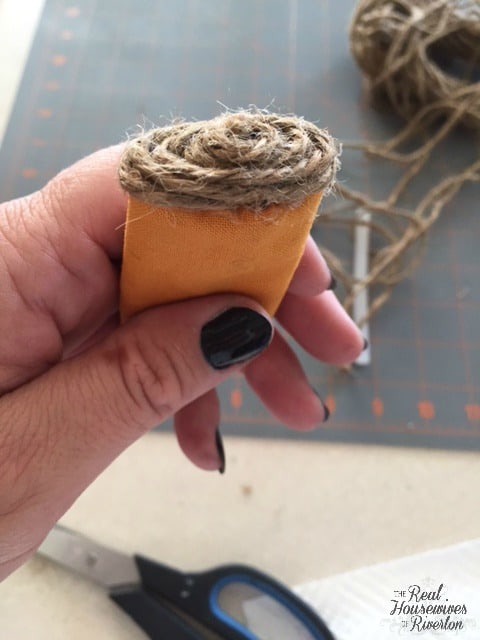
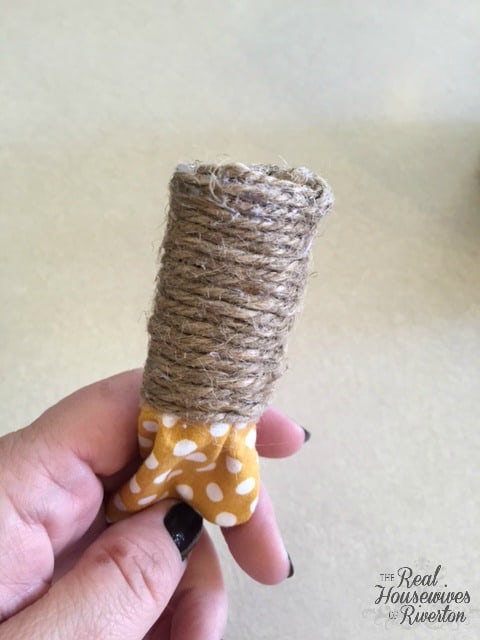
Step 3: You want to leave a little material hanging, this way it can stick into the center of the pumpkin nice and snug without needing any glue.
How easy is that??
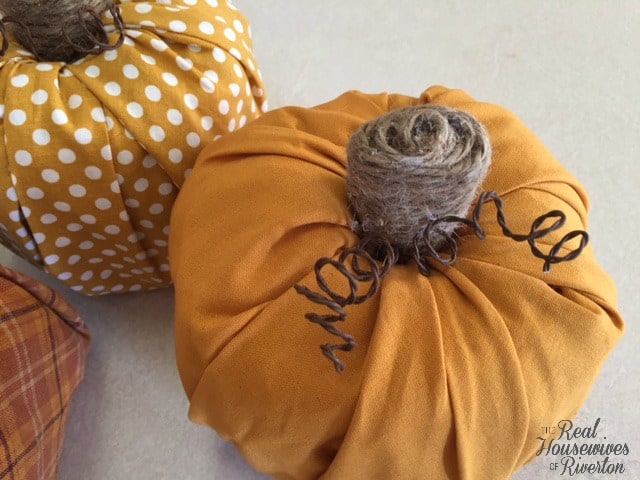
Step 4: Now it's time to get your pumpkin all fancy! I curled some wire around a pencil and stuck it into the top of the pumpkin along with some little leaves I pulled off a garland I had. You could also tie some ribbon or raffia around the stem or I think they are cute just plain.
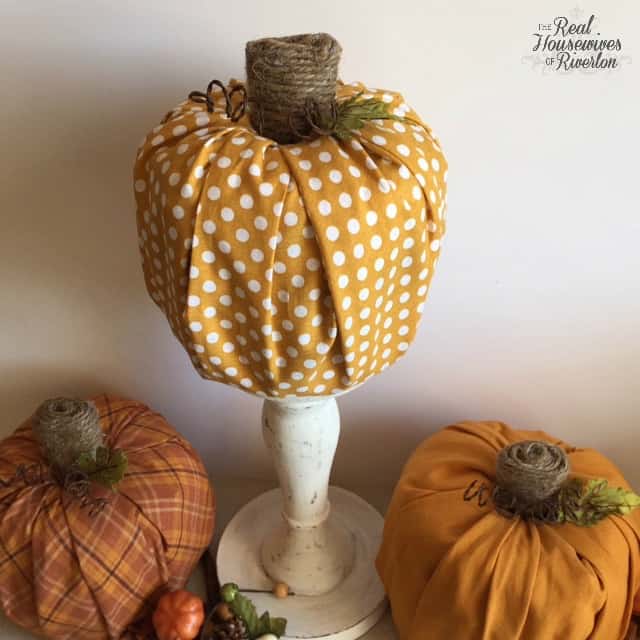
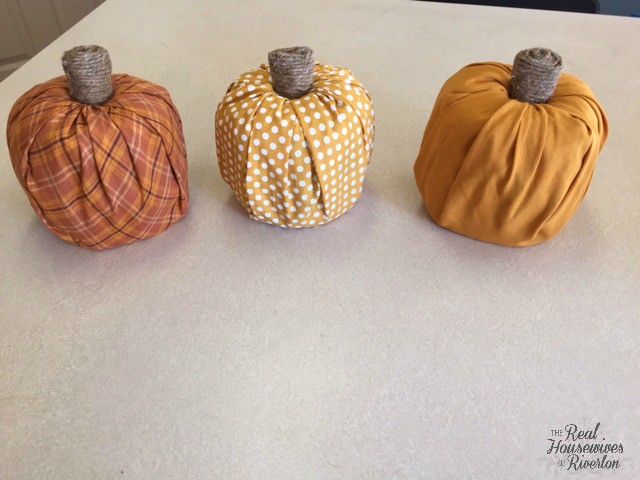
I LOVED how easy these toilet paper pumpkins were to make and you probably already have most of the stuff on hand at home. If you sew a lot I'm guessing you already have piles of cute fall fabric ready to be used and I'm assuming you have toliet paper. Although you should probably make sure you have extra rolls to spare before you start this project . I loved how they turned out and I'm excited to make a few more for my fall decorating!
Happy Crafting!

Linking up here:
- The Best Vinegar Paint Brush Cleaner Method - May 6, 2023
- 10 Fun and Easy St. Patrick's Day Games - March 1, 2023
- Valentine's Day Felt Wreath DIY - January 20, 2023

I love making these. I use jute and hot glue and wind
It around a twig or small limb from one of my trees. I’ve then put artificial leaves, two of them, on the top with hot glue and a bow around the stem and hot glue a small silk flower onto the bow.