This post may contain affiliate links. If you purchase something through any link, we may receive a small commission at no extra charge to you. Supplies used may be given to us free of charge, all projects and opinions are my own.
How to make a Yarn Chandelier!
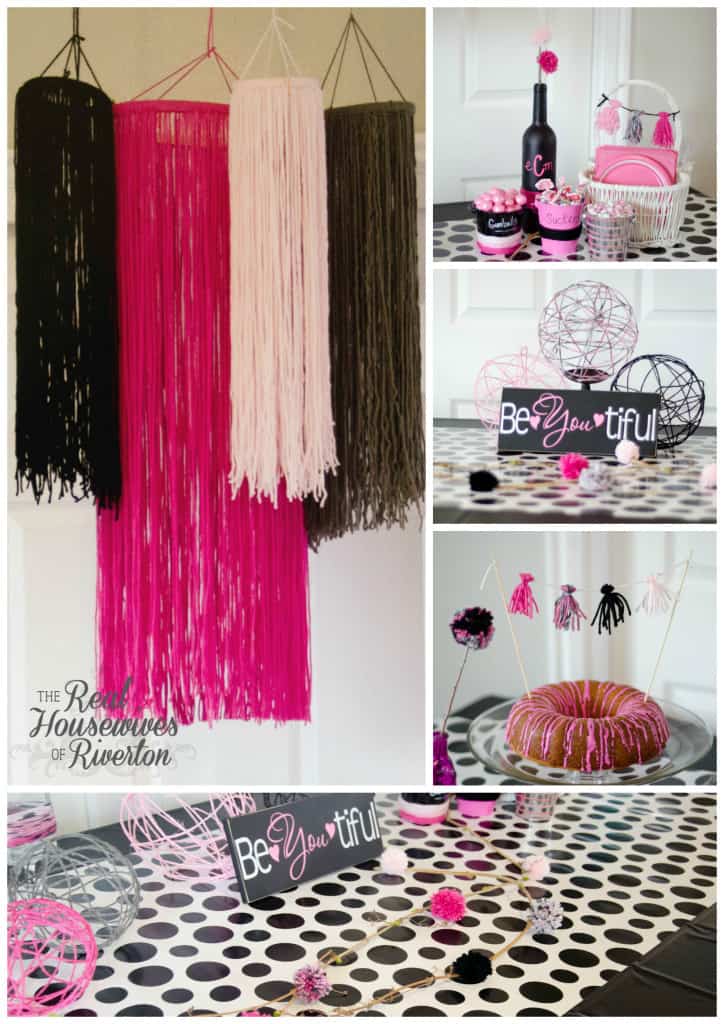
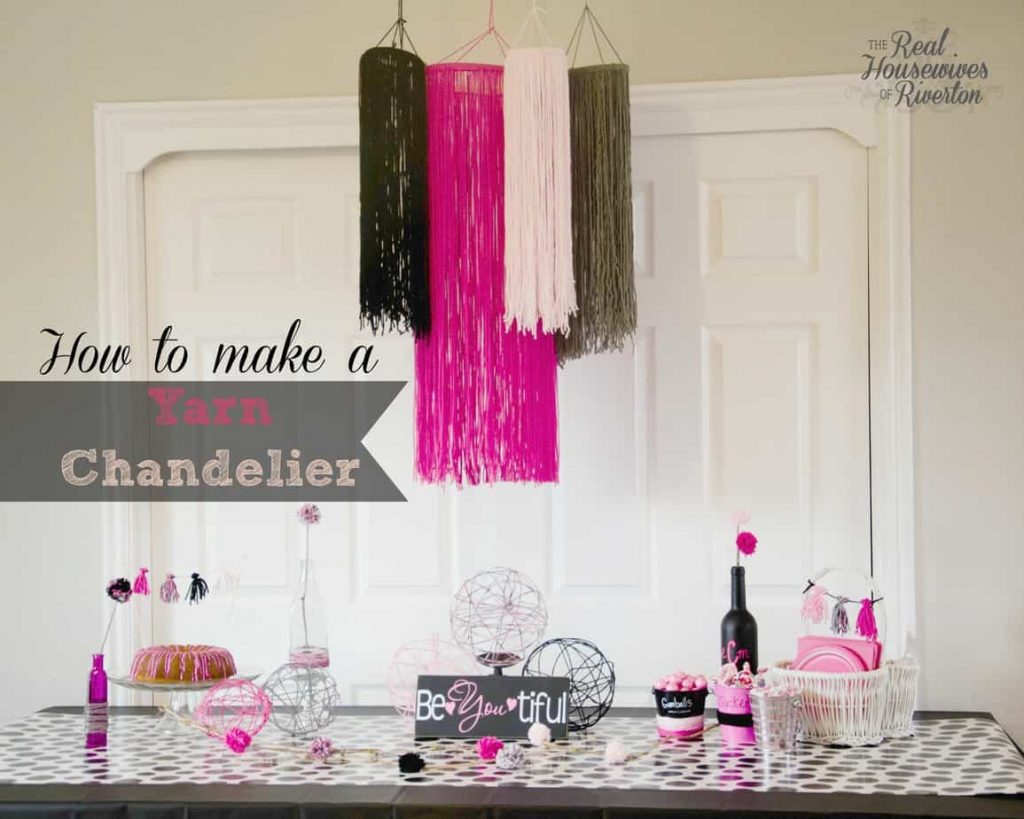
When I created my Party with Yarn my favorite piece, the centerpiece of the party was the Yarn Chandelier. I love how it turned out. It was much simpler than I thought it would be. To make a Yarn Chandelier the size of mine you will need:
4 skeins of yarn
(if you want 4 different colors, aside from the biggest hoop none uses an entire skein)
3 sizes of embroidery hoops (10″, 8″, 4″)
(I used the inside and outside pieces of the 4″ hoop separately)
This project is incredibly simple to create but it is pretty time consuming. I suggest picking out a movie to watch and enjoy it while you’re creating your yarn chandelier.
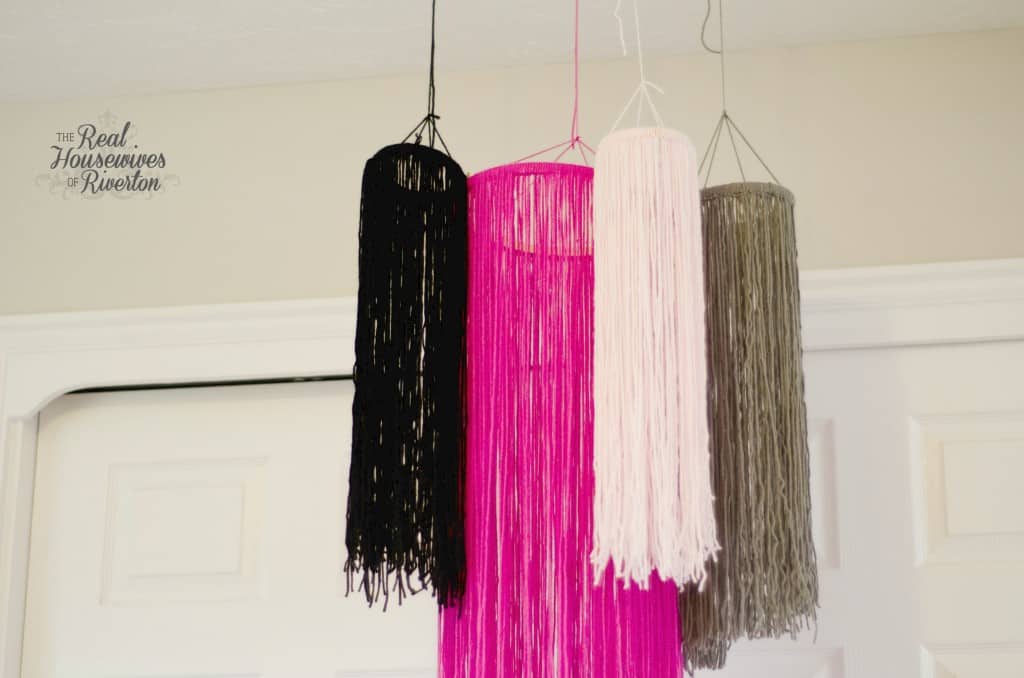
To hang your yarn chandelier you’re going to need to tie two pieces of yarn across the embroidery hoop. You don’t want these pieces tight (you can see in the photo they should be loose so they can hang straight). Then you’ll tie a longer piece of yarn to the two pieces of yarn where they meet in the middle.
Decide on the overall length you want your chandelier pieces to be and double that length as you cut each piece. I did 4 different lengths, as you can see they’re not all perfectly the same length and I was OK with that. If you’re not you’ll want to make sure you’re being exact with your measurements.
Fold your length of yarn in half and around the embroidery hoop loop the two ends through the top and pull tight (this process is shown on the video attached).
I found it easiest and that it looked nicest to hang each section of the yarn chandelier separately. A small tack worked well in the ceiling to hang each part of the chandelier.
I love how the yarn chandelier turned out. It was perfect and inexpensive as a centerpiece for the party and will look great as a decoration in my daughter’s bedroom as well.
To see a quick video instruction you can fast forward to the 2 minute mark.
I’ll be back soon with more tutorials for some of the decorations I came up with for my Yarn Party!
- Bringing Home Baby Chicks - March 11, 2025
- Is RootsTech for Moms? - February 23, 2024
- How to Get Oil Stains Out of Clothes - May 5, 2023



How adorable! I would have never thought to use yarn in this way! So cute!
Thanks so much Summer. It was such a fun/simple project and now I’m all about finding new ways to use yarn!
Jenn I love this!! I especially love how easy they are to make! I think I’ll make some of these for my boys reading/learning nook. P.S. you looked GREAT on Studio 5!!