This post may contain affiliate links. If you purchase something through any link, we may receive a small commission at no extra charge to you. Supplies used may be given to us free of charge, all projects and opinions are my own.
Read on to find out how to create a felt and wood sign using your Cricut maker and don’t forget to check out the end of my post for more amazing projects you can create with a Cricut and some felt!
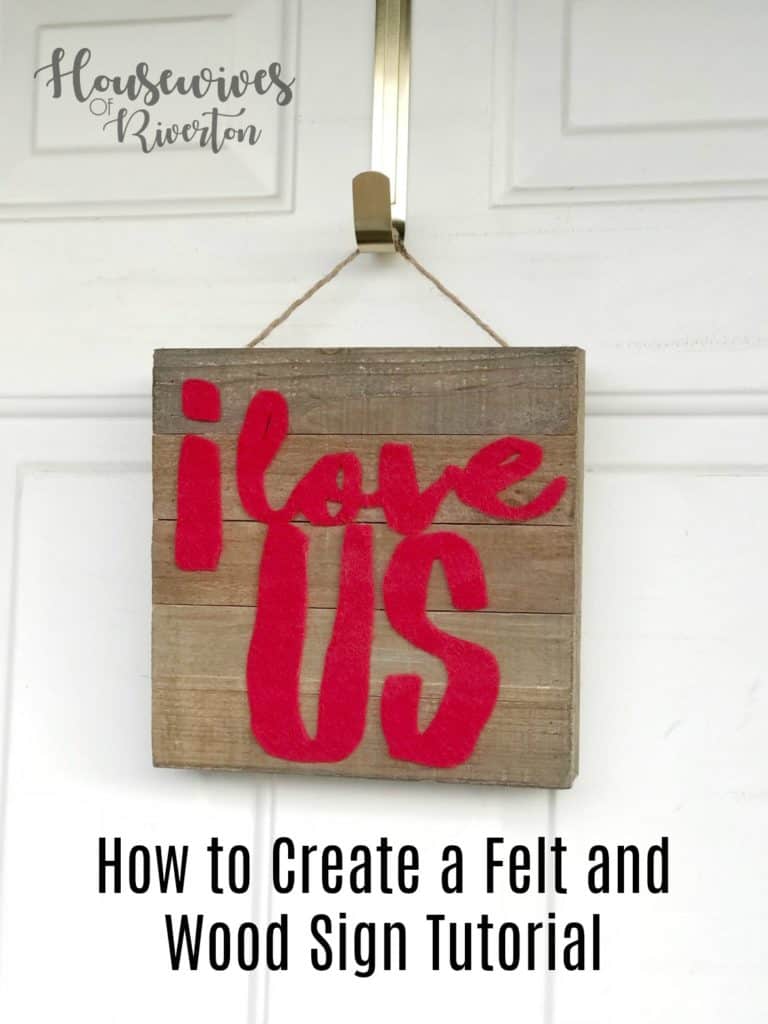
We’re gearing up for Valentine’s Day here at my house and while I’d love to go all out for every holiday Valentine’s Day is one I just don’t have a lot of decor for and one of the harder ones for me to find something I love to mix in with the decor I do have. Does anyone else have that problem? Part of me loves the pinks and cutesy stuff but most of me loves the idea of red and white and black Valentine decor and I just don’t think my children would be very excited about that.
I’m excited to be part of the Create with Cricut Challenge 2018. Each month a group of us crafty bloggers will be given a surprise element to use in a post using our Cricut machine and sharing the projects others created too. This month the surprise *ingredient* (if you will) was felt. I’ve fallen slightly in love with felt over the past 6 months so I was excited to create a project for my home using it.
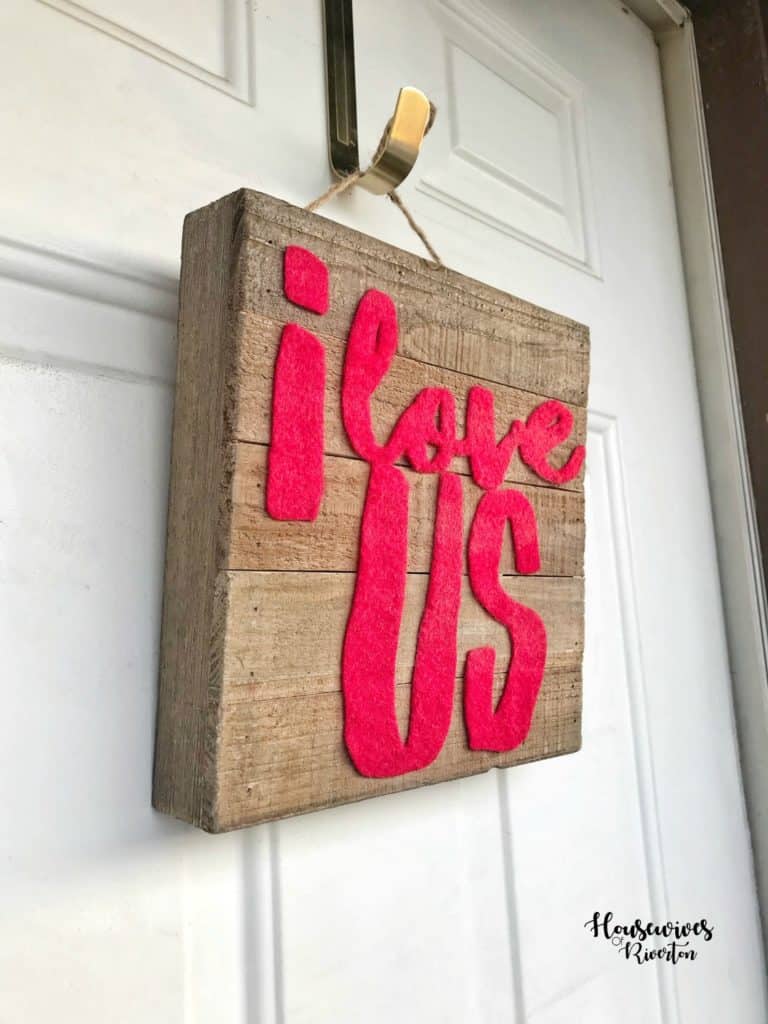
Let’s jump right in so you can make your own shall we?

Step 1. Decide on your image/word/phrase.
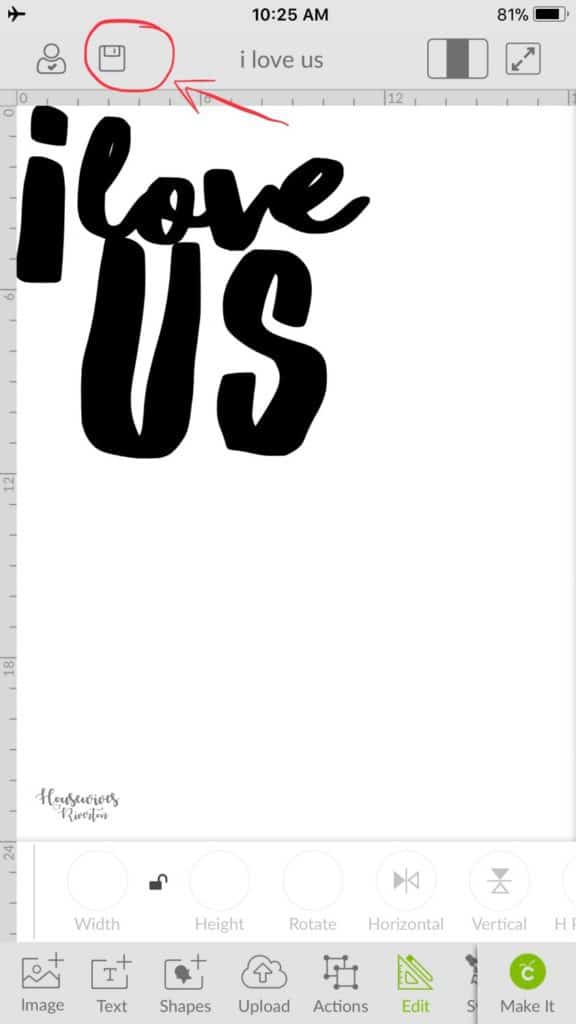
Step 2. Gather your supplies.
To make your project just like mine you’re going to need the following:
Cricut Maker
12×12 Fabric Grip Mat
Weeding Tool
Red Felt
(I used a very soft felt which made the rotary blade of the maker a necessity {remember I was considering using this for a pillow for a minute or two}. If you used a stiffer felt or used a backer with your felt you could use the fine point blade in one of the Explore machines too).
Spray Adhesive
(I used 3M Super 77 Multipurpose Adhesive)
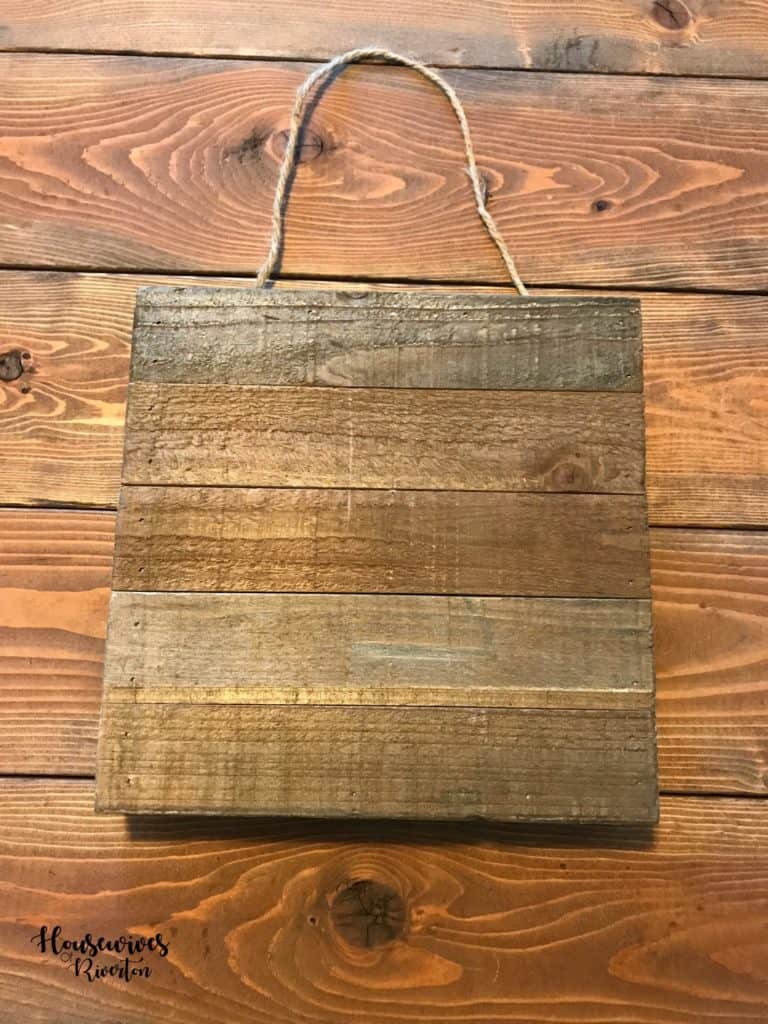
Wood Sign
Mine measures right about 10″x 10″ and is from Joann, regular price is 10.99 it was on sale for about $8.
Something to protect your surface area when using the spray adhesive
(I used a piece of newspaper, just something to block the over spray)
Step 3. Cut out your design.
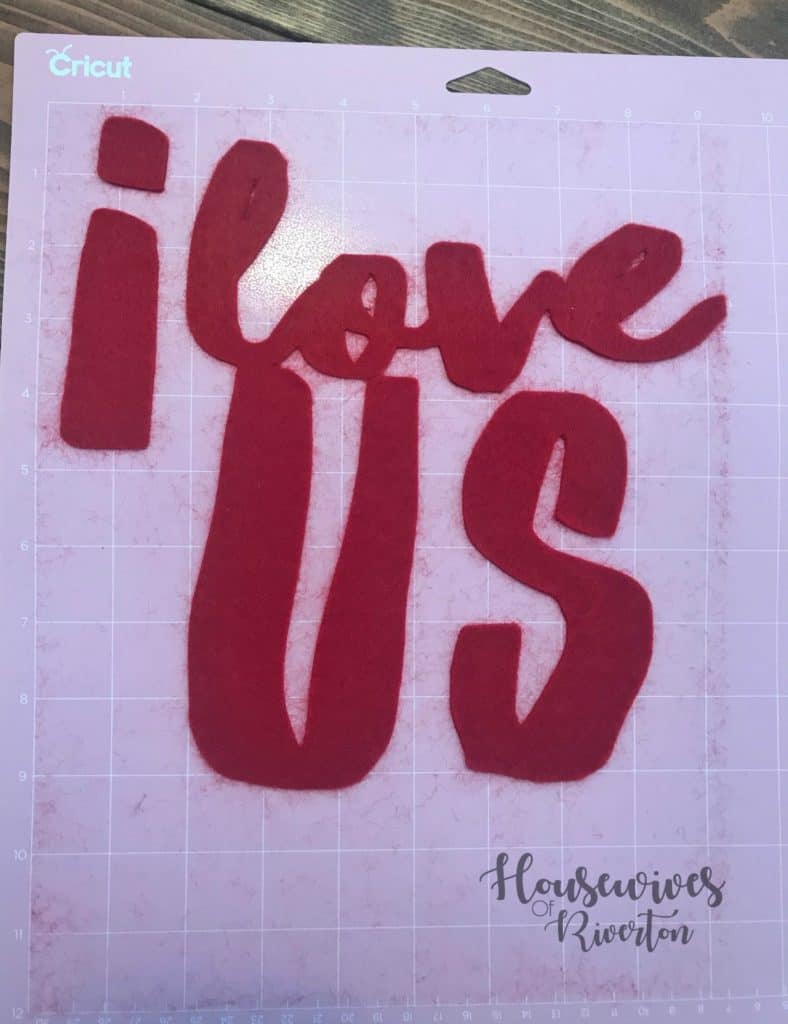
Using the Cricut Maker with the rotary blade made this the easiest part of the project (and it’s an easy project since we’re not making the sign itself). I placed my felt on my 12×12 fabric mat and made sure it was well attached everywhere just by patting it down with my hand. Then I loaded my design onto the canvas in Design Space and sent it to the Maker to cut. There are a few varieties of felt to pick between. Depending on what type of felt you purchased (thick/thin, soft/stiff) you’ll select your material. Because I hadn’t cut felt before I decided to play it safe and added more pressure from the cut screen and it worked because my felt cut like a dream! Is there anything more satisfying than pulling off the excess fabric and seeing a perfectly clean cut? I’m not sure there is in the crafting world!
Step 4. Remove design from mat.
It might seem silly to give this part of the project it’s own step but if you’re (like me) working with a softer felt this is an important step that you should not rush or you will end up with a stretched out blob of something resembling your image. I thought I had a genius idea for keeping the letters exactly how they were on the mat. I knew the transfer tape would be too sticky to the felt and since I needed to spray adhesive to the back of the letters I needed them to not end up more stuck to the transfer tape so I decided to try some painter’s tape. If I had been using a stiffer felt this would have probably been the perfect idea. It was not for this project. I would bet (based on my experience) that the very best way to do this step is to slowly using either a pair of the wide Cricut tweezers or by using one of the Cricut spatulas to slowly lift a little at a time. The U and the S and even the i would have been just fine but I was really worried about the thin lines from the o to the v and even the l to the o getting stretched out and distorted.
Step 5. Attach design to sign.
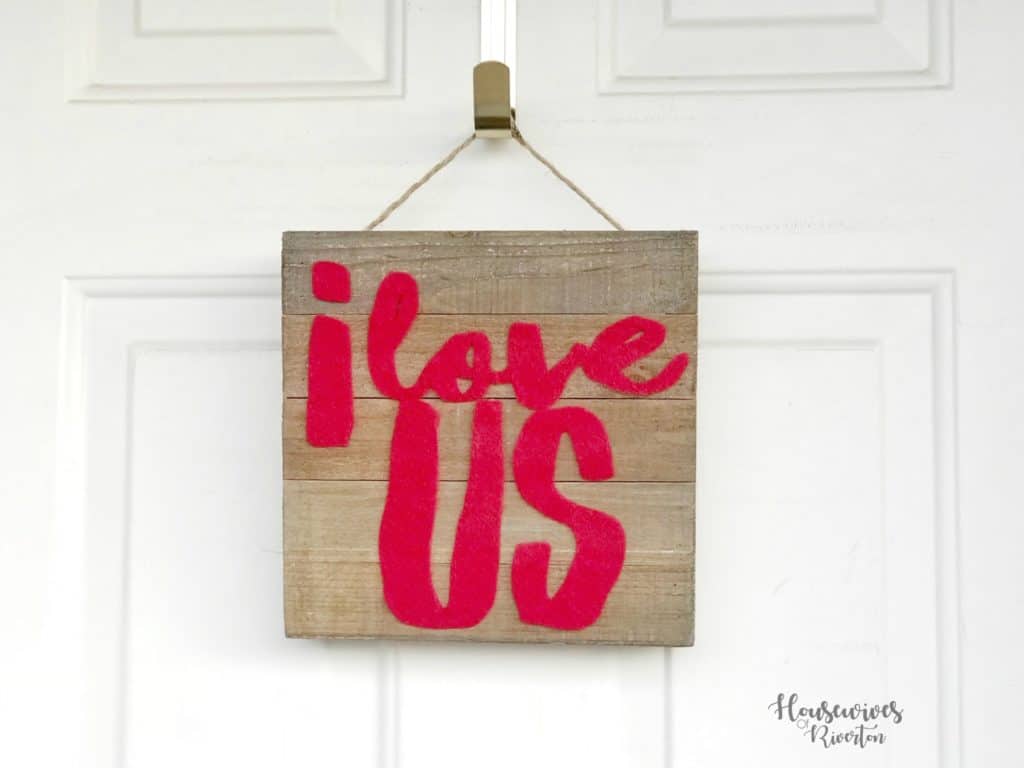
Step 6. Step back and enjoy your project!
Be sure to check out these other amazing felt projects that were all created with a Cricut machine!
[inlinkz_linkup id=760669 mode=1]
Now tell me, if you were to make your own felt and wood sign what would it say? Would it be holiday specific or something you left up year round? Leave a comment below and tell us what yours would say!

- Is RootsTech for Moms? - February 23, 2024
- How to Get Oil Stains Out of Clothes - May 5, 2023
- How to Clean Towels that Smell Like Mildew - January 20, 2023


