This post may contain affiliate links. If you purchase something through any link, we may receive a small commission at no extra charge to you. Supplies used may be given to us free of charge, all projects and opinions are my own.
The Olympics are a big deal in our home. Making a DIY Olympic Winter Games shirt was a no-brainer for us.
As a family full of sports fans, of course, the biggest sporting event in the world is one we are ready to celebrate!
This post was originally posted February 2018 and has been updated January 2022.
Every Olympics, Winter or Summer you'll find us in front of our TVs, alone or in groups cheering on Team USA. We grew up watching as a family and it's a tradition I've loved carrying on with my family.
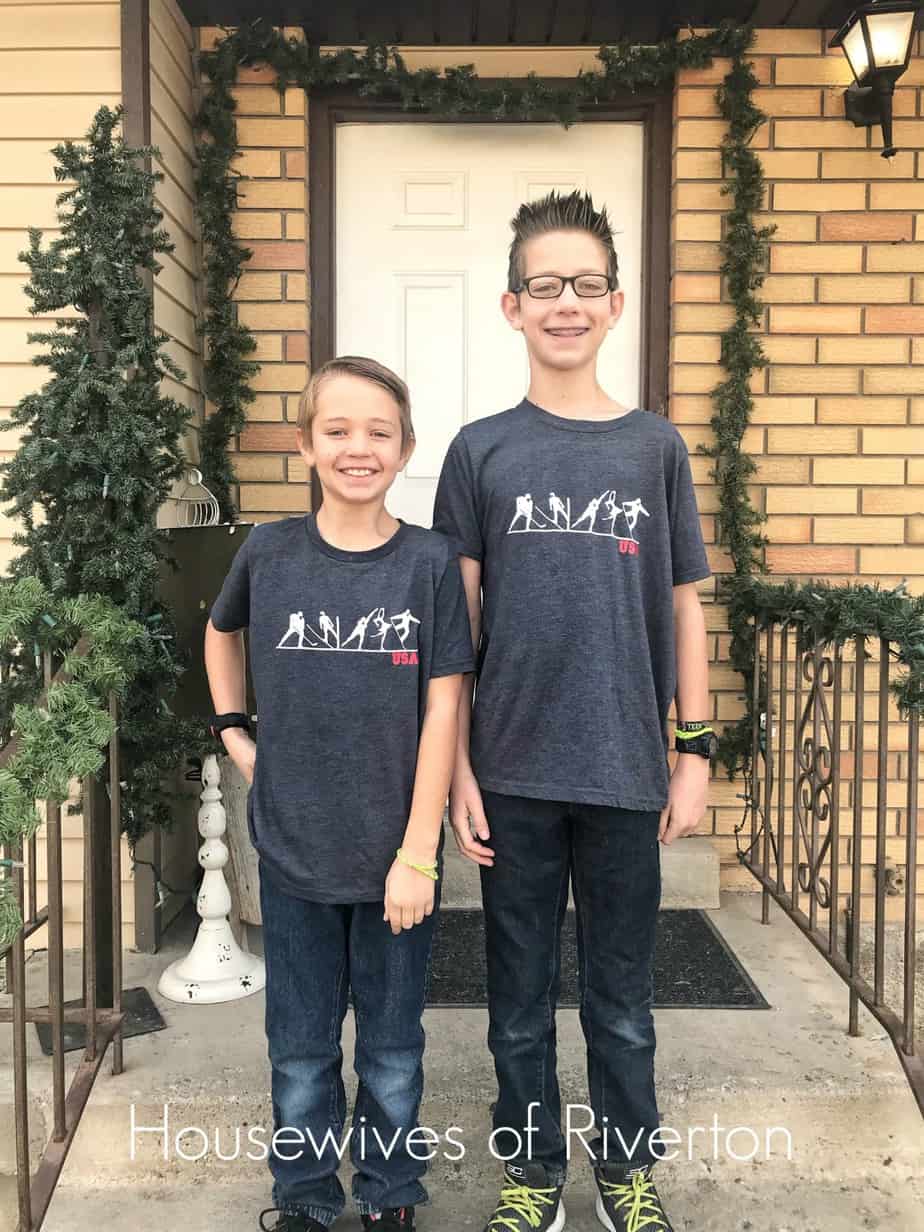
It made me so happy when my kids asked for shirts to wear to school for the Olympics. How can I say no to that request?
How to make a DIY Olympic Winter Games Shirt
If you've ever made a shirt with your Cricut before you probably have a good idea on what you're doing. If you haven't I'll walk you through the steps.
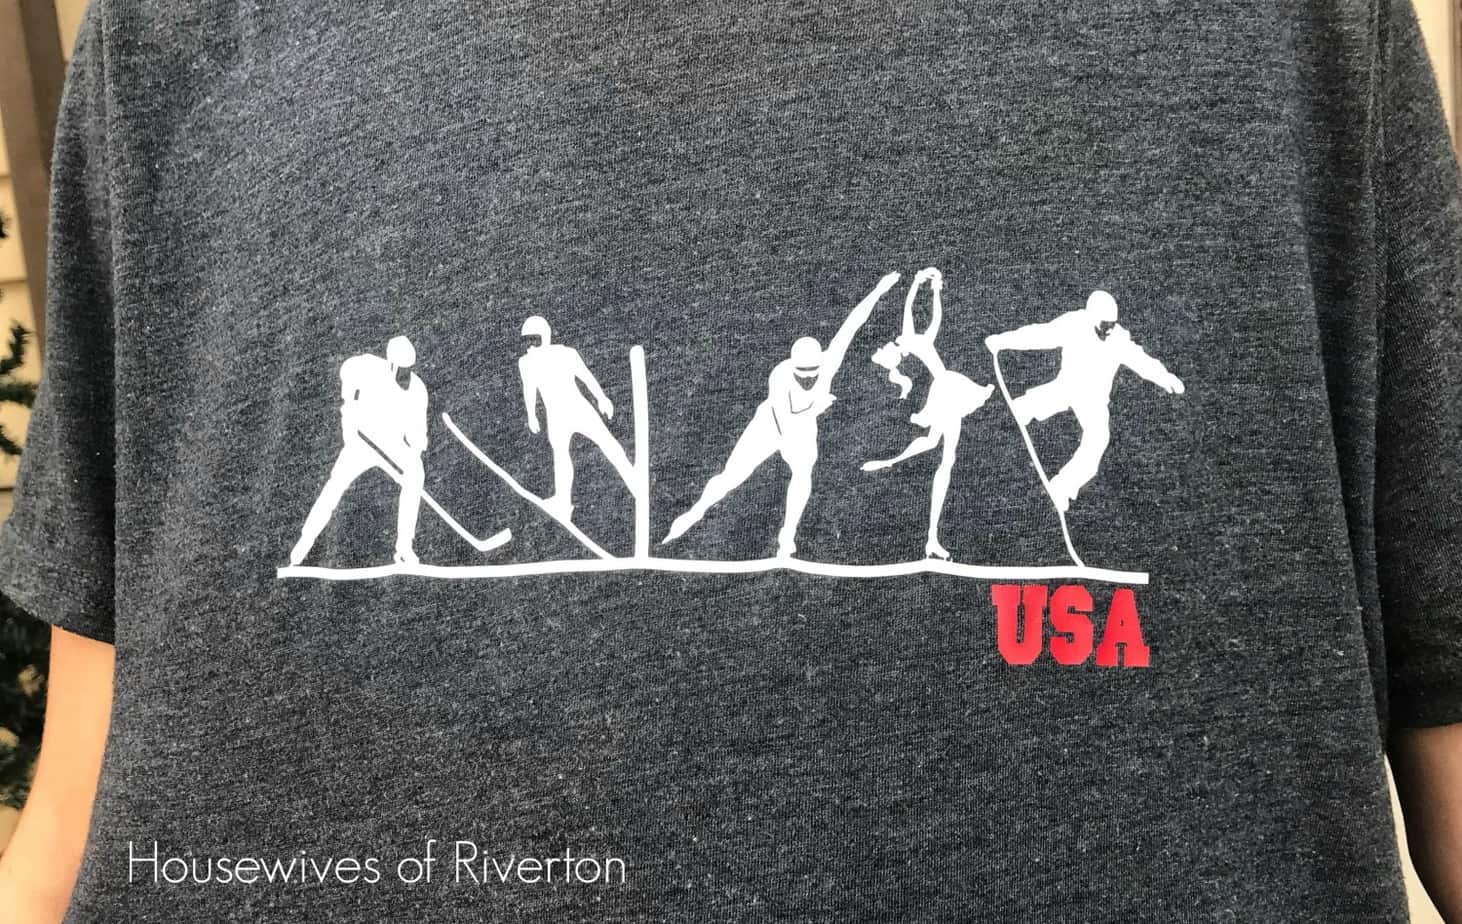
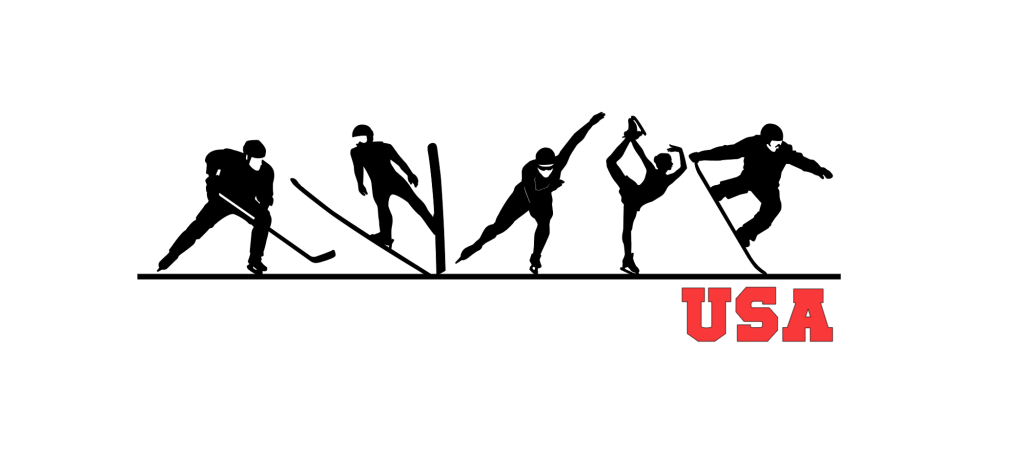
First things first. Come up with your design.
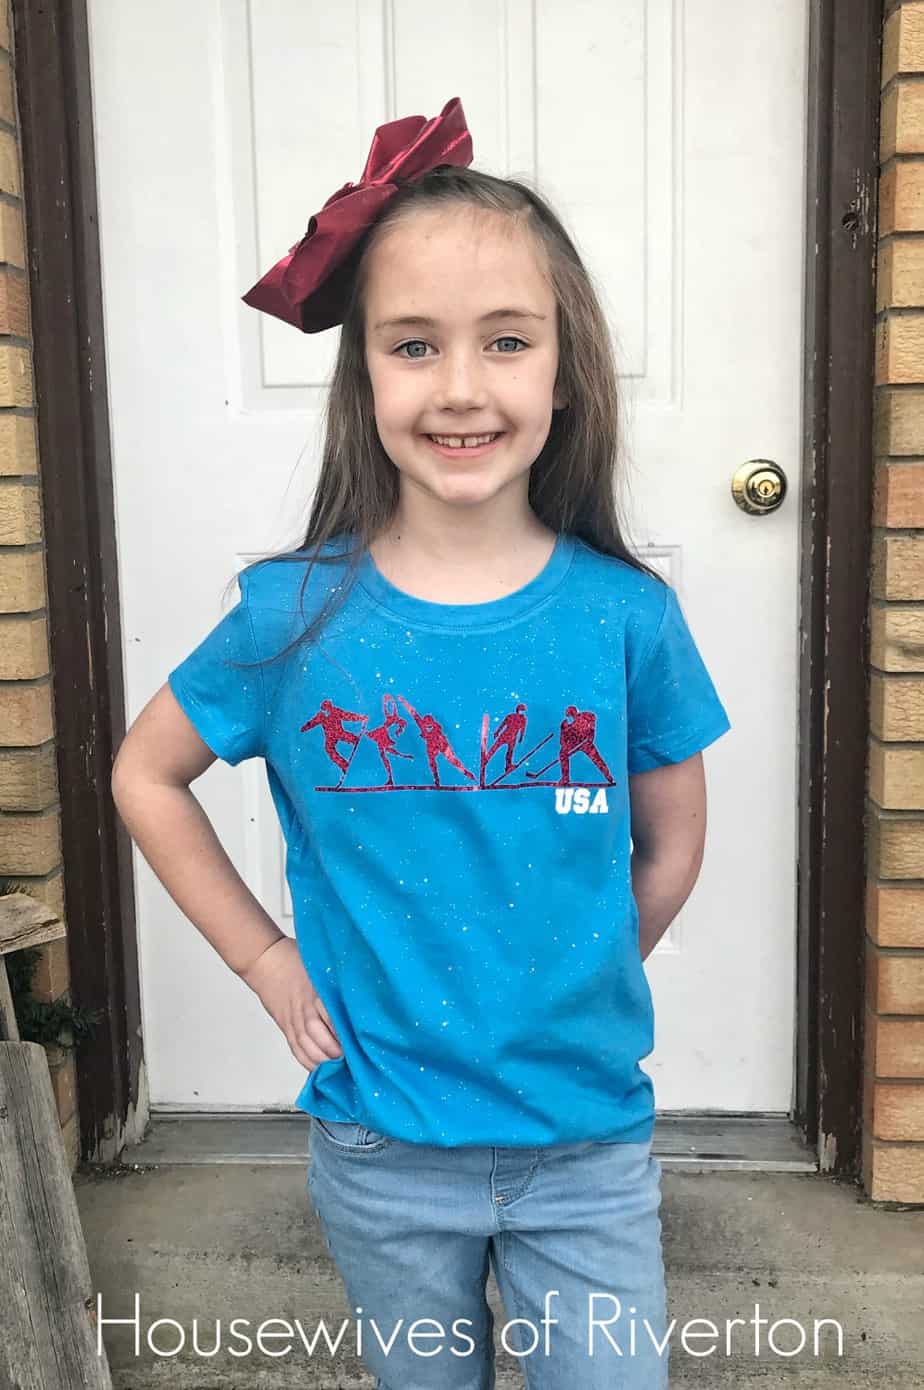
I got my idea from a Cricut Ready to Make project that was already in Design Space. The design is great but as a LOVER of Figure Skating I knew I wanted to add figure skater to the design.
That's the great thing about this project. If you have a favorite Winter Games sport you can customize the project to include it. After I had the shirts finished my cute Brighton said: “ohhhh, it would be so cool to have a bobsled on the shirt!!” Of course, he had to say that after the shirts were finished. He assured me that the shirt was awesome even without a bobsled so I didn't completely fail him.
I'll share my Design Space Canvas link below if you want to use it for your shirt, or you can customize it to your linking.
Once you have your design settled gather your supplies.
DIY Olympic Winter Games Shirt supplies:
Shirt of choice. I am a big fan of Bella + Canvas shirts and Next Level shirts
Cricut Machine; because of the size of this image it's great for ANY Cricut machine that uses Design Space including Cricut Joy
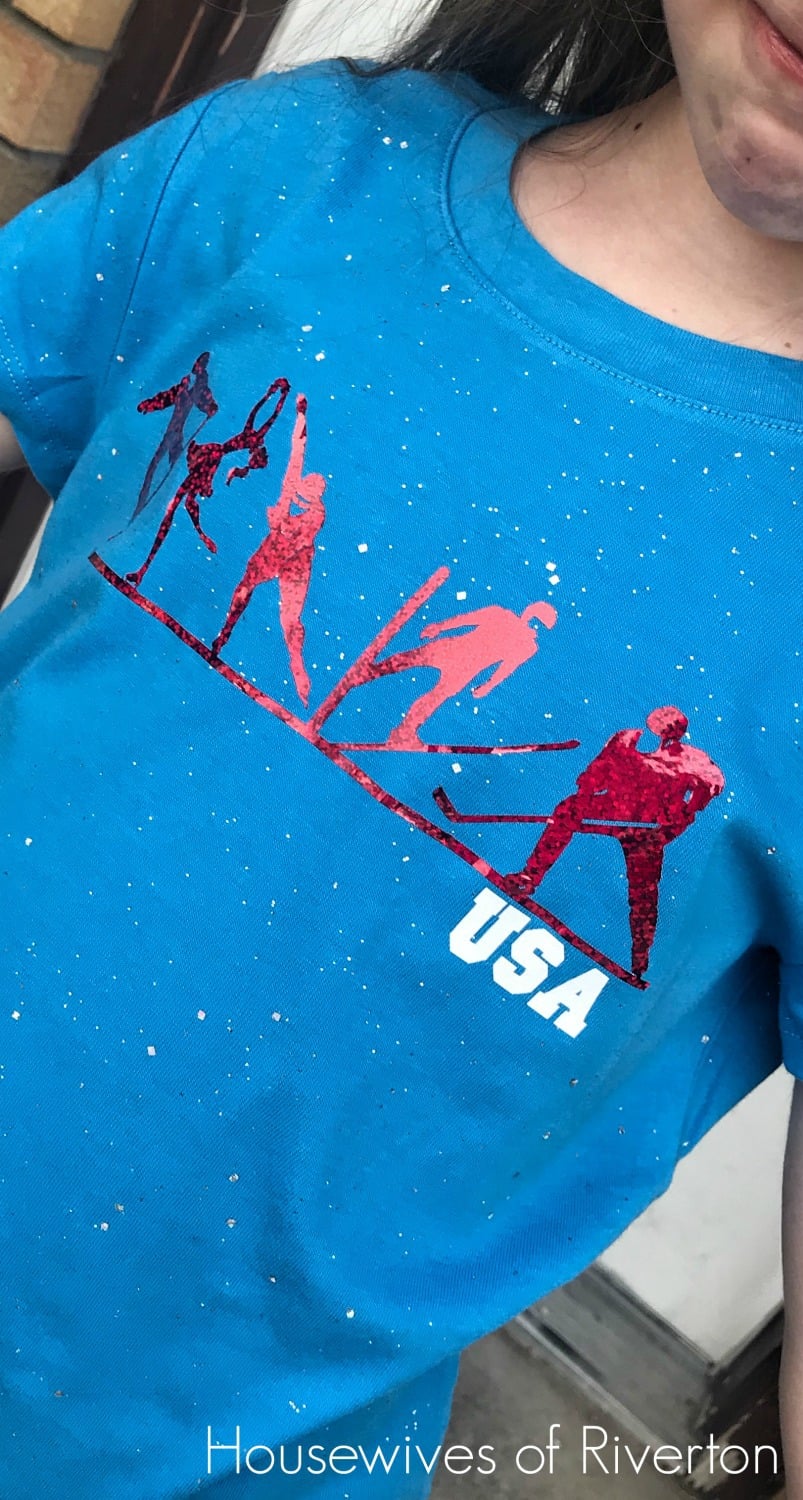
Iron-on (HTV) I used Everyday Iron-on in white and red for the boy's shirts and Holographic Sparkle Iron-on in Red and white Everyday Iron-on for my daughter's shirt.
Weeding Tool
Cricut EasyPress (or you can use a heat press or iron)
EasyPress Mat
Cut File (all images are free with a Cricut Access subscription; note there is a different Figure Skater, the original image was no longer available in Design Space so I recreated it with a new image)
Let's make a shirt!
Open your design in Design Space. I often get questions about sizing. I usually look at the shirt and decide. As an example my sons' shirts are size 10/12 and 12/14 and I cut their images at 10″ across. My daughter's shirt is a size 7/8 and I cut it at 9″ across.
If you want to use my design I did not weld the image. I did this in case you wanted to add a different image (maybe a bobsled) or take one away. Just remember before you cut you will want to weld the athletes AND the line at the bottom. Don't weld the USA unless you want to cut it the same color as the other piece.
Once you're done customizing the design send it to the mat. Make sure you've selected the machine you're using while you're still on the canvas screen. Once you're on the mat screen remember to mirror your image (just to note, I did not mirror my daughter's shirt image (other than the USA) to make it a little bit different than the boys' shirts).
Cutting your image
The great thing about Design Space is that if you follow the prompts on the cut screen it's fool proof. Once you select Iron-on (or HTV) as your material you will be prompted to mirror your image as a reminder in case you forgot.
Apply your Iron-on material shiny side down to your Cricut mat.
Select the proper material and load your mat into your machine.
Once your image is cut, if you've selected a different color material for the USA follow the above steps and cut it out.
After the cutting is complete use your weeding tool to weed out all the excess material. I was once asked why it was called weeding – just think about weeding your garden. When you weed the garden you remove unwanted things, the same is true when weeding vinyl or Iron-on.
Finishing your Olympic Winter Games Shirt
Cricut Iron-on calls for pre-washing and drying without fabric softener before applying Iron-on. This is for the StrongBond Guarantee.
Using the Cricut Heat Guide find the appropriate time and temp for pressing your design with your EasyPress.
Just like the cutting page of Design Space if you follow the instructions on the Cricut Heat Guide you're sure to have success.
Always pre-heat your shirt before applying your design. Once your shirt is pre-heated place your image where you would like it on the shirt. For images like this I like to go right across the chest even with the armpit of the shirt.
Using your EasyPress and the right time/temp from the Heat Guide press the image to the shirt. If your image is larger than your EasyPress press for the full time in one area and then lift the press and press the rest of the area again for the full time.
Once your entire image is pressed flip your shirt over and press again from the back for the recommended time.
Warm Peel or Cold Peel
The Cricut Heat Guide will tell you if your material is a warm peel or cold peel. This is in reference to removing the carrier sheet from the HTV. Regardless of the warm or cold peel make sure to allow your HTV to cool to the touch. You want the adhesive to adhere to your shirt, if it's too hot it will just peel up. If you have problems with your HTV peeling up allow it to cool a little more before removing the carrier sheet.
Make sure to follow the settings in the Heat Guide. If it calls for a cold peel, allow it to cool completely. This can be sped up by moving the shirt to a solid surface like the table without the EasyPress Mat or a towel. Foil or Holographic Sparkle are especially tricky, if you remove the carrier sheet while it's still warm it can wrinkle and won't have the look you want.
Always use a hard surface like a solid table or even the floor when pressing. Do NOT use your ironing board, ironing boards flex away when you add pressure which will result in an unsuccessful application.
And there you have it, a finished shirt! I can't wait to see the one you make.
If you need more help with the process of making your own shirt I have a video in this post walking you through the process.
Now a couple of questions for you:
1. What is your favorite Winter Games event to watch?
2. Have you ever been to an Olympic event?
3. Do you watch and cheer crazy loud at home?


If you're a sports fan check out this Football season tee we made with our Cricut.
If you're ready to try something new – learn how to use Infusible Ink here.
- Bringing Home Baby Chicks - March 11, 2025
- Is RootsTech for Moms? - February 23, 2024
- How to Get Oil Stains Out of Clothes - May 5, 2023
I absolutely love this shirt!! I will give it a try. Thank you for the instructions and tips!!
Thank you. I can’t wait to see your finished project. Please tag us if you share the project 🙂