This post may contain affiliate links. If you purchase something through any link, we may receive a small commission at no extra charge to you. Supplies used may be given to us free of charge, all projects and opinions are my own.
This post is sponsored by Cricut. All opinions are 100% my own. Post may include affiliate links.
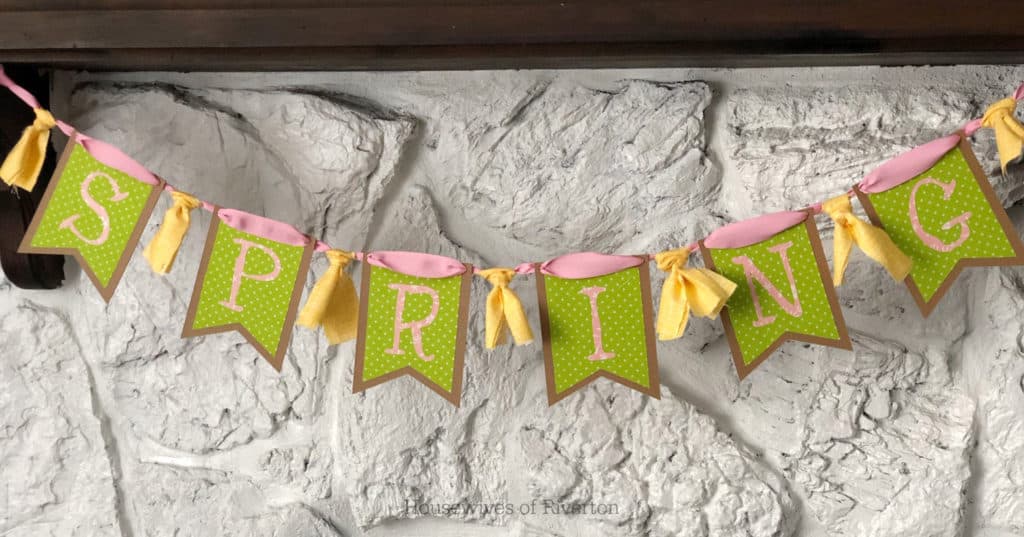
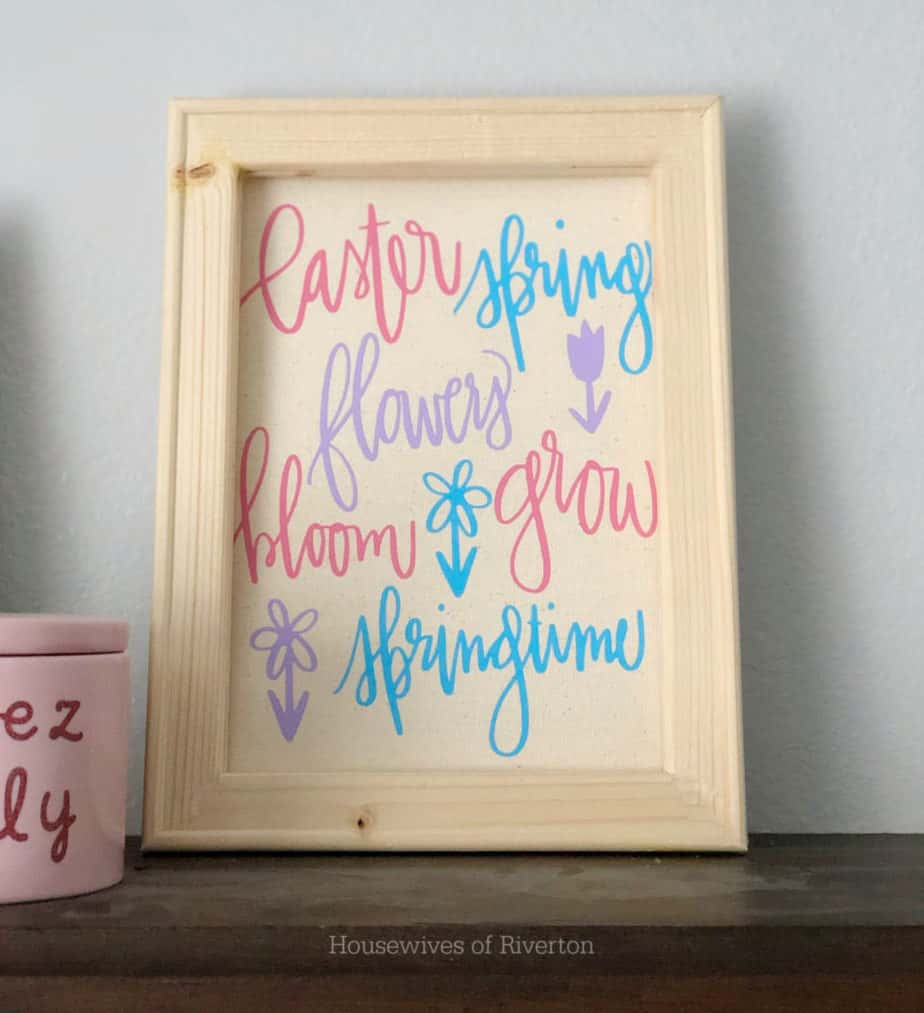
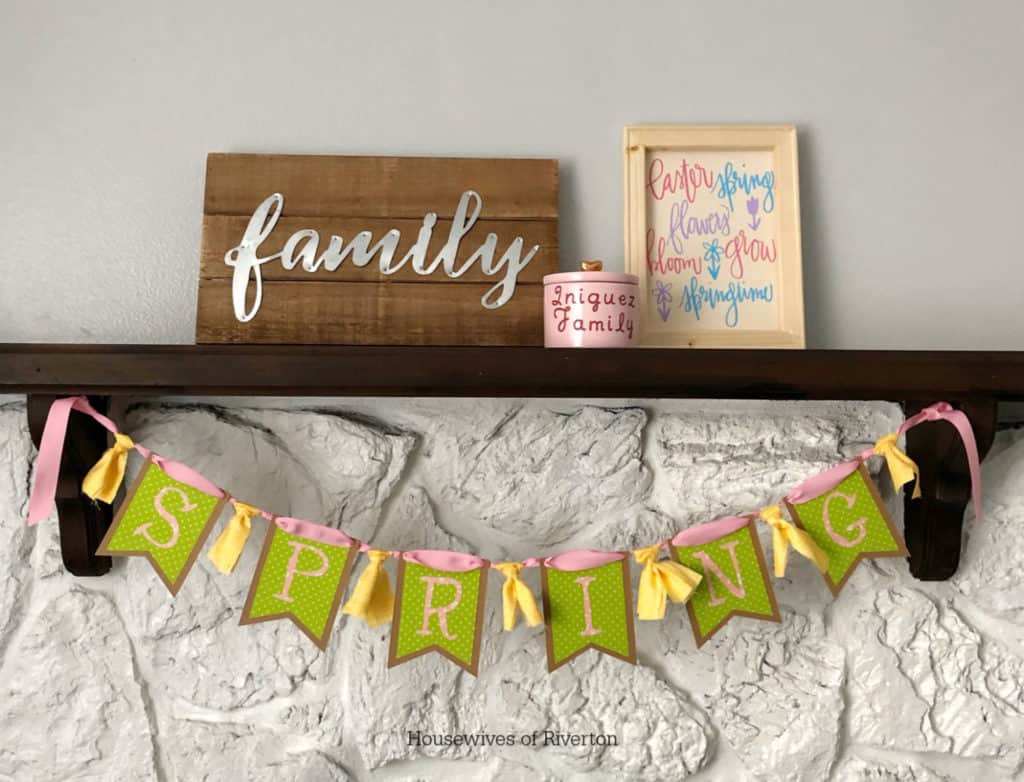
It’s so easy to create new, fun Spring Decor with the Cricut EasyPress 2. Keep reading to see how we made this super cute Spring banner and Spring reverse canvas to brighten up our home decor!
Spring Decor with the Cricut EasyPress 2
We’ve still got snow on the ground here in Utah, but that’s no reason to not start brightening up the house for Spring. I decided to start a couple of little craft projects with the help of my handy dandy Cricut EasyPress 2. I started with my Spring Chipboard banner. It was super easy and I think it turned out adorable! The other project I did was a fun reverse canvas.
Spring Chipboard Banner
To create this banner, you’ll need:
Cricut Maker
Cricut Knife Blade
Strong Grip Mat
Cricut Rotary Blade
Fabric Grip Mat
2MM Chipboard
(Make sure your chipboard has be opened for at least 24 hours)
Fusible Fabric
Patterned Iron-on
Light Grip Mat
8″ fabric strips
Ribbon
Cricut EasyPress 2
Cricut EasyPress Mat or towel
Directions:
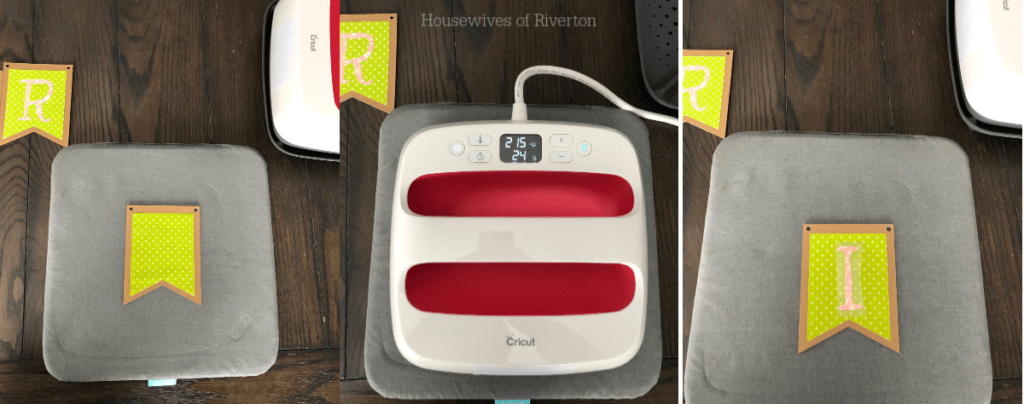
Use this cut file to cut out your chipboard, fusible fabric, and Patterned Iron-on. Now the EasyPress Interactive Guide does not recommend using chipboard with fusible fabric. Because I’m a rebel, I tested it out and found that it worked for me at 215 degrees F for 15 seconds. I did the Patterned Iron-on for the same temp and time. Only let it cool for a couple of seconds and the peel off slowly to make sure your fabric and iron-on stuck. If they didn’t, hit it again for another 5 seconds and you should be good. Using your Rotary Blade, cut your fabric into 1″ x 8″ strips. You’ll need 14. String the banner pieces onto your ribbon leaving enough space between each one to tie on the fabric strips.
Spring Reverse Canvas
What you will need:
Cricut Maker or Air2
Fine Point Blade
Everyday Iron-on in your three desired colors
Canvas Frame
Light Duty staple gun
Cricut EasyPress 2
Cricut EasyPress mat or towel
Directions:
Cut out your design using this cut file. Jenn did a great post that you can find here that shows the step by step for preparing your reverse canvas. Just follow those steps and you will be all set. This is seriously a super easy project that always looks so great!
Cricut EasyPress 2
Have you tried the Cricut EasyPress 2 yet? If you have, what kind of projects have you done? Share with us in comments because we LOVE to see what you all are making!
This is a sponsored conversation written by me on behalf of Cricut. The opinions and text are all mine.
- Carnation Famous Pumpkin Pie Recipe - October 5, 2023
- Scariest Haunted Houses in Utah - October 4, 2023
- When Does Halloween Time End At Disneyland 2023 - October 3, 2023


[…] out these two fun Spring decor ideas from Housewives of […]
[…] Cricut Spring Decor – Housewives of […]
[…] to add some spring decor to your home? This reverse canvas Spring Decor by The Housewives of Riverton is so cheerful and fun! They used an EasyPress 2 with Iron on and I […]
[…] SPRING REVERSE CANVAS from Housewives of Riverton […]