This post may contain affiliate links. If you purchase something through any link, we may receive a small commission at no extra charge to you. Supplies used may be given to us free of charge, all projects and opinions are my own.
Big Top Birthday with Cricut Maker
[We partnered with Cricut for this post. All thoughts, photos, and opinions are our own]
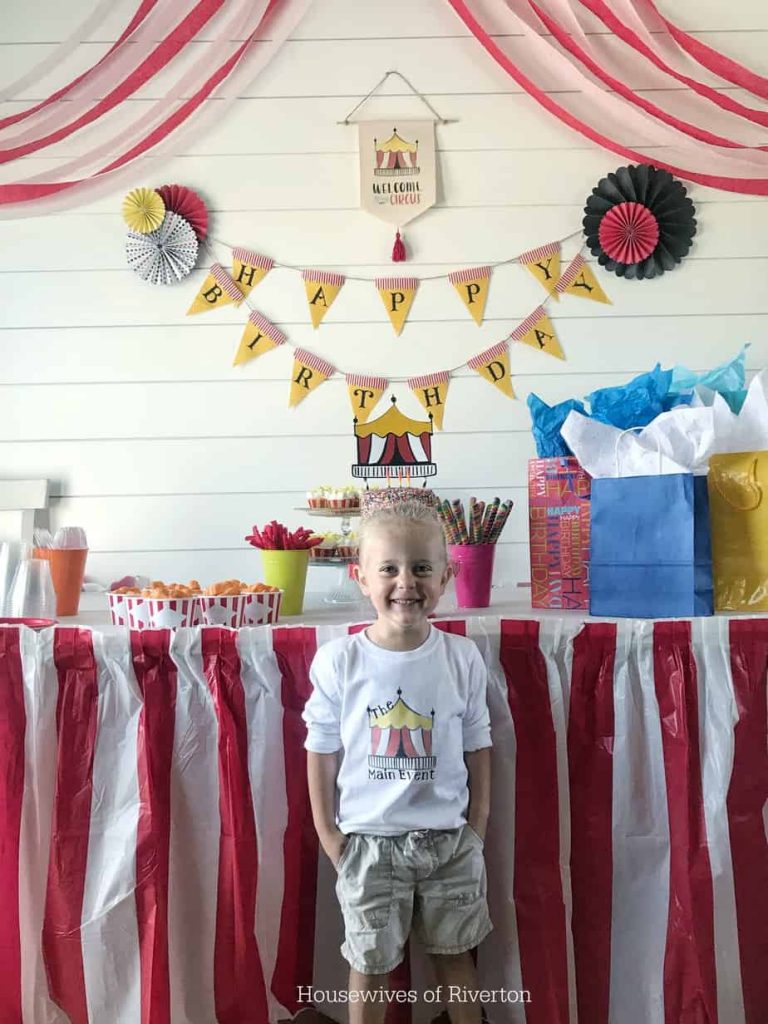
We’re going to show you how to put together the CUTEST circus themed birthday party using your Cricut Maker! Our Big Top Birthday party is the most fun for kids of all ages!
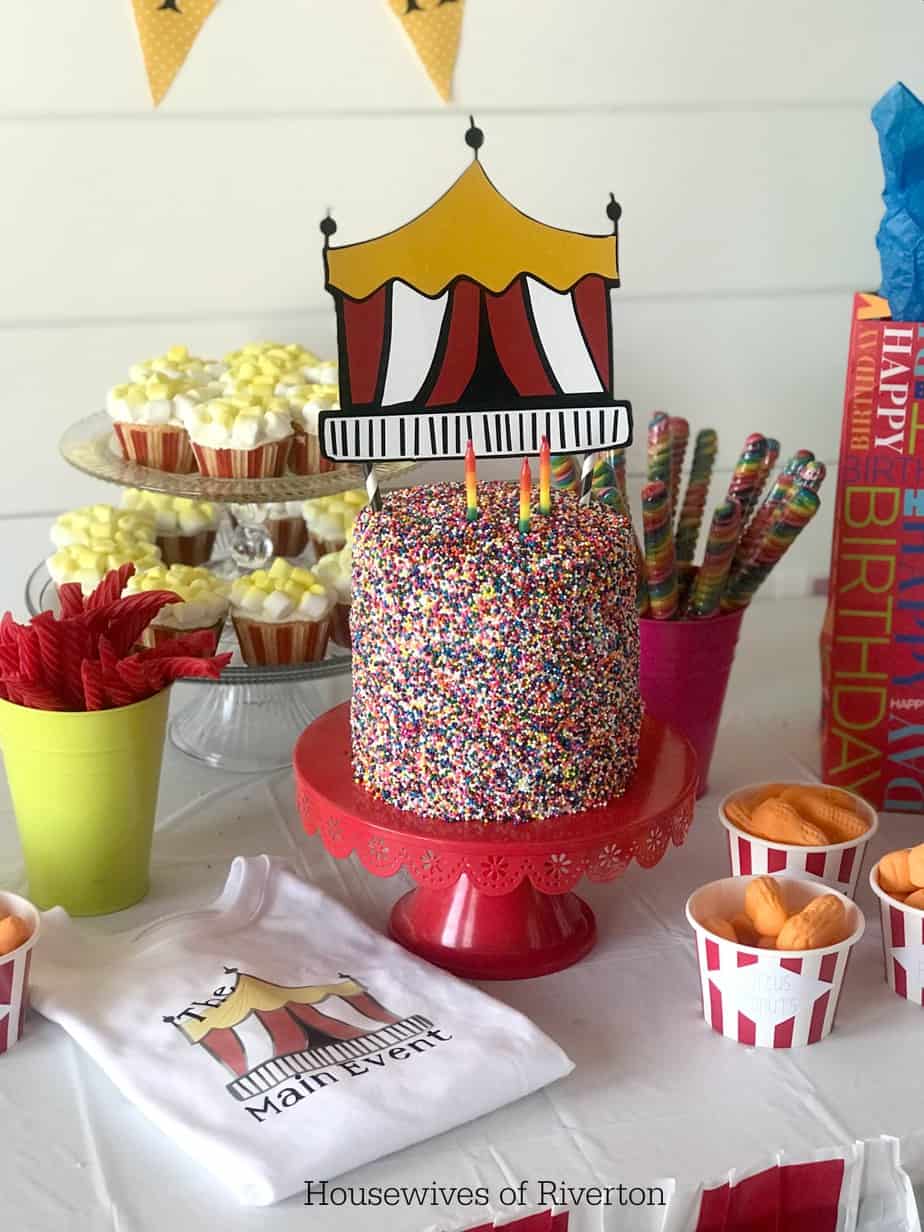
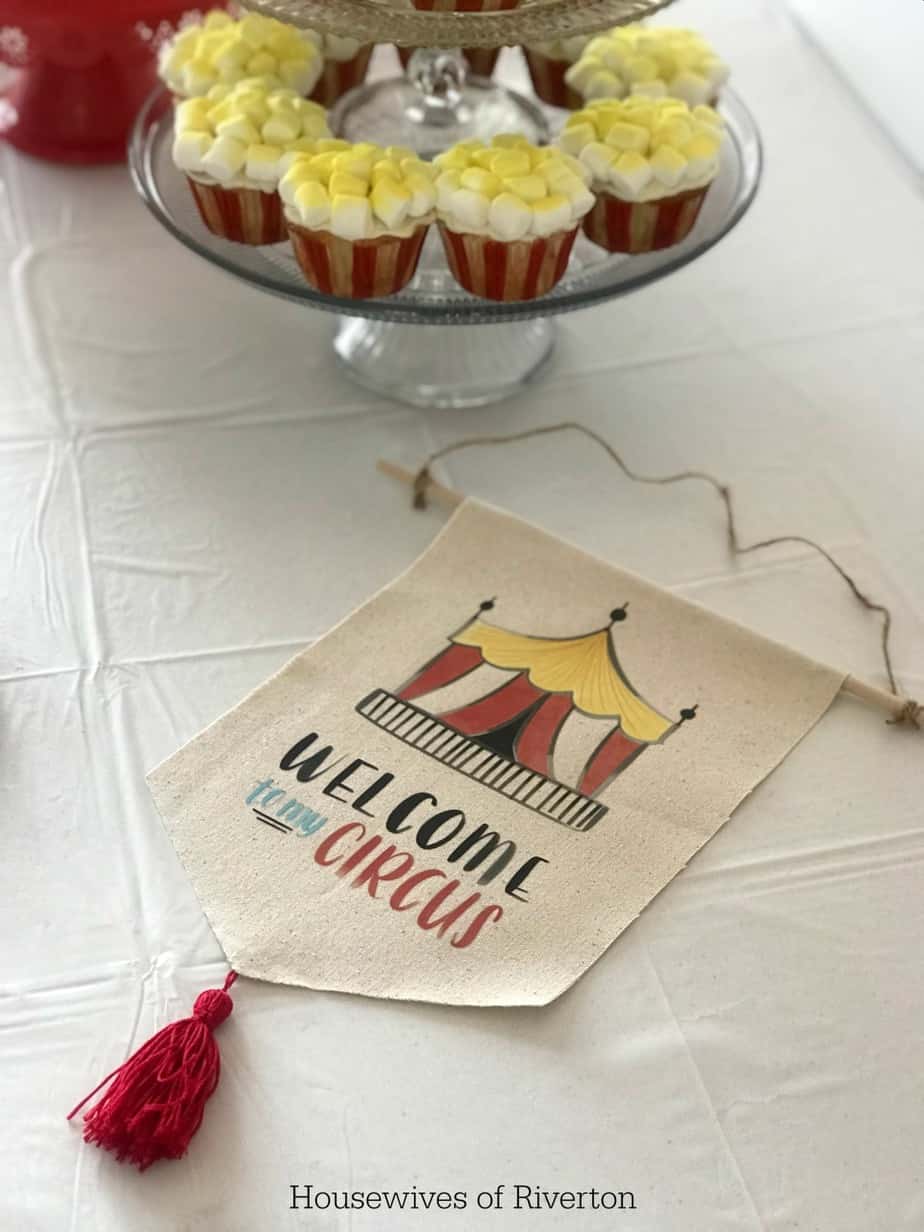
I’m not one of those parents who goes all out for every birthday party. But sometimes you find such a fun idea that you have to make the very most of it. Life with a lot of kids can be crazy, and my newly turned 3 year old is definitely the craziest of them all, so I knew that a circus themed birthday would be perfect for him (not to mention like many of you, The Greatest Showman quickly became a family favorite here, so a circus party had the whole family excited)! This Cricut Iron-on Design was the inspiration for what I wanted to do. I was so happy that this Iron-0n Design also was available as a cut file in Design Space so we could incorporate it as our cake topper also!
In case you haven’t heard of Cricut Iron-on Designs you need to check them out. If you happen to not have a Cricut machine these are perfect for personalizing t-shirts, bags, banners, pretty much anything that won’t melt when you apply heat and Cricut has an awesome variety to choose from (check them out here).
Now let’s get into how this party all came together.
To get started, I wrote down all my Big Top Birthday ideas. After that, I broke down my ideas into the supplies I would need. I wanted to make sure I had everything I needed before getting started because as you know, going to Target is fun, going to Target 20 times because you forgot something…not so fun. Next, I got started in Design Space to create my projects. Some of them I had to create using the images and fonts in Design Space. Others were ready made projects that worked perfectly with my theme! I will link to each Design Space project I used, so no need to have to go searching.
I knew that with my Cricut Maker I would be able to knock out a bunch of these projects in no time to make super cute decorations for his party. With the Knife Blade, the Rotary Blade and the Scoring Wheel, the Maker does pretty much everything I need!
The first thing I got started on was my cake topper. Because we were doing a circus theme, I thought it would be fun to have a circus tent top off the birthday cake. With this cut file in Design Space, a package of Cricut Chipboard, and a couple rolls of Vinyl I had it done in no time. You can size it to your needs, I wouldn’t go much smaller than we did (approximately 7″ wide – the tops of the tent are pretty thin and you don’t want the Knife Blade to cut them off).

2. Using black, white, red, and yellow, cut out your other layers using the new Premium Vinyl Permanent (you can use any colors you would like for your party color scheme). You could also use Premium Vinyl Removable. We found all the colors we wanted to use in Permanent.
3. Weed your cuts and use transfer tape (make sure you’re using regular transfer tape, not strong grip) to place your layers on the chipboard. We applied the red and white tent pieces one at a time so we could make sure we had them placed exactly where we wanted. We recommend that you apply all layers to the black vinyl piece BEFORE applying the black vinyl to the chipboard. This reduces the strain on the chipboard (please note – we did not do this, we wish we had).


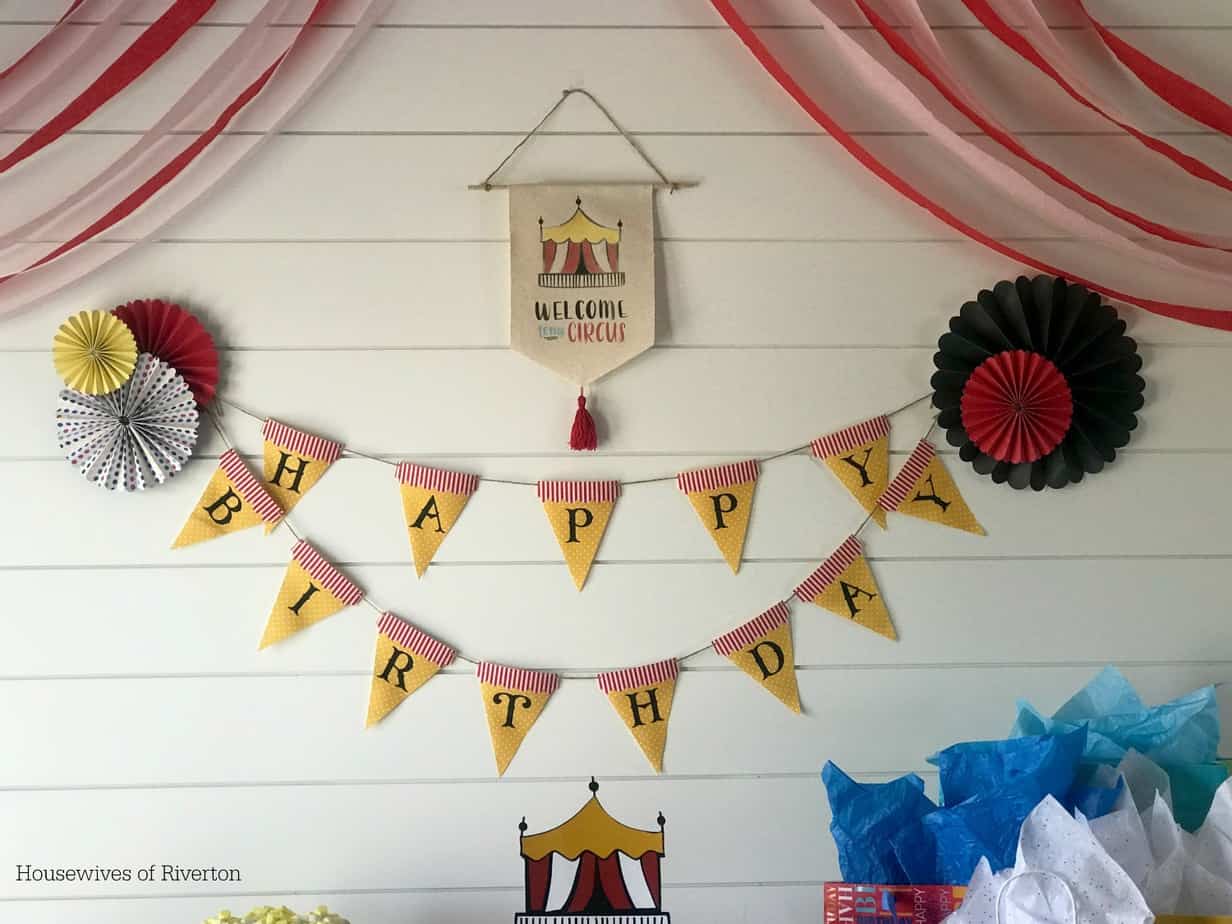
2. Cut your scalloped tops out in the Red Classic Stripes.
3. Cut out your letters in the Black Everyday Iron-On.
4. Using the new 6″ x 7″ EasyPress 2 in Raspberry, we applied the scalloped top to the base pennant, and then added our letters. Depending on your materials, your EasyPress settings will vary. Please click here to see all the recommended settings.
5. Let them cool and then string on your desired material. We used a cute, rustic twine. *NOTE – as you can see in the photos below we used a white paper bag under our Fusible Fabric to protect the EasyPress Mat from the adhesive on the back of the Fusible Fabric. You could also use Parchment Paper.

Tell us in the comments what project in our party is your favorite and if you’ve ever thrown a Circus Themed Party before.

This is a sponsored conversation written by me on behalf of Cricut. The opinions and text are all mine.
- Carnation Famous Pumpkin Pie Recipe - October 5, 2023
- Scariest Haunted Houses in Utah - October 4, 2023
- When Does Halloween Time End At Disneyland 2023 - October 3, 2023


