This post may contain affiliate links. If you purchase something through any link, we may receive a small commission at no extra charge to you. Supplies used may be given to us free of charge, all projects and opinions are my own.
Halloween is one of our most favorite holidays to celebrate. Our easy Halloween Table Decor will help you make the most of your time and this super fun holiday!
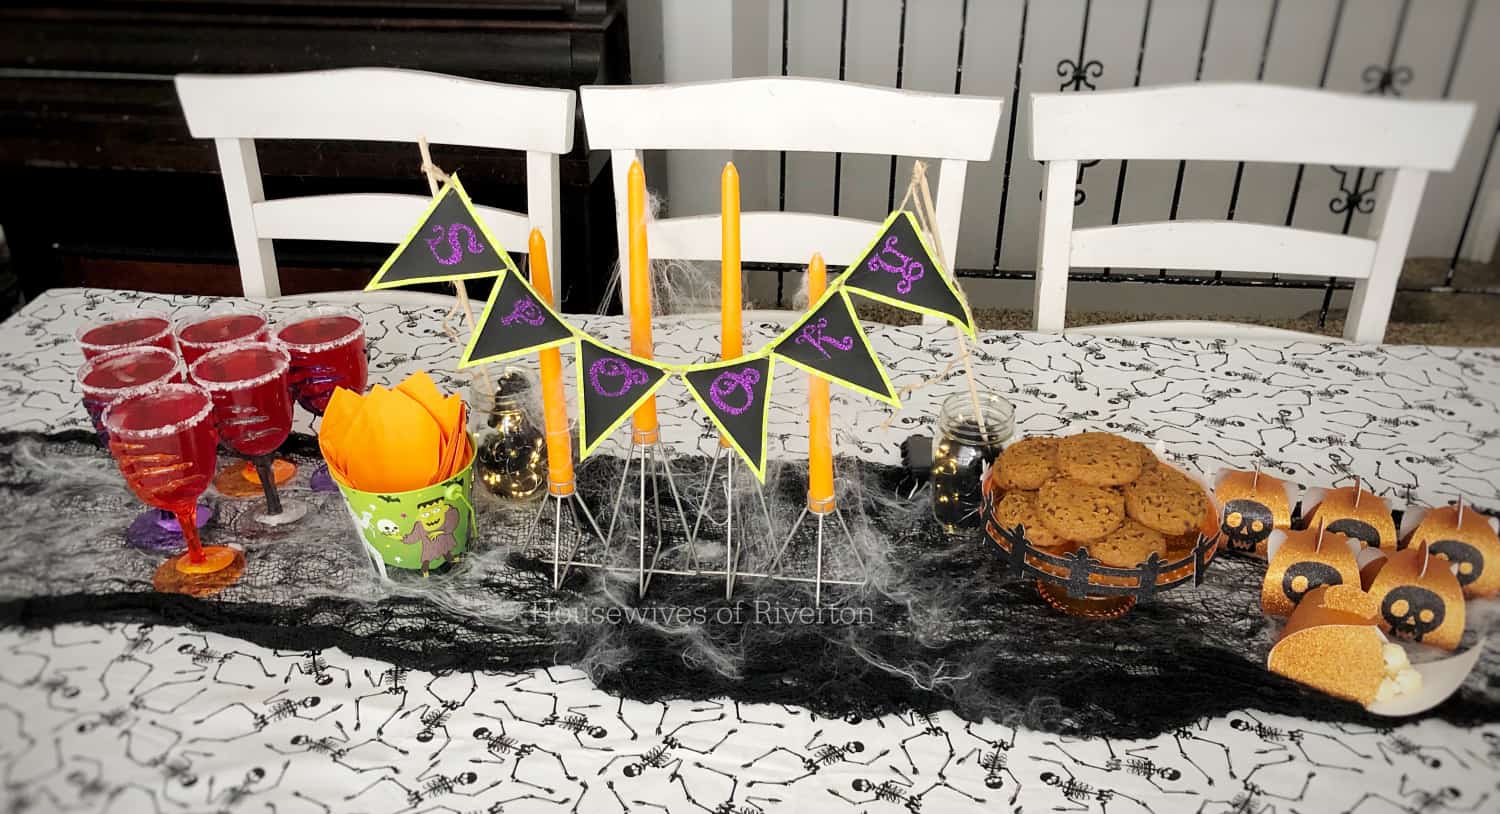
Easy Halloween Table Decor
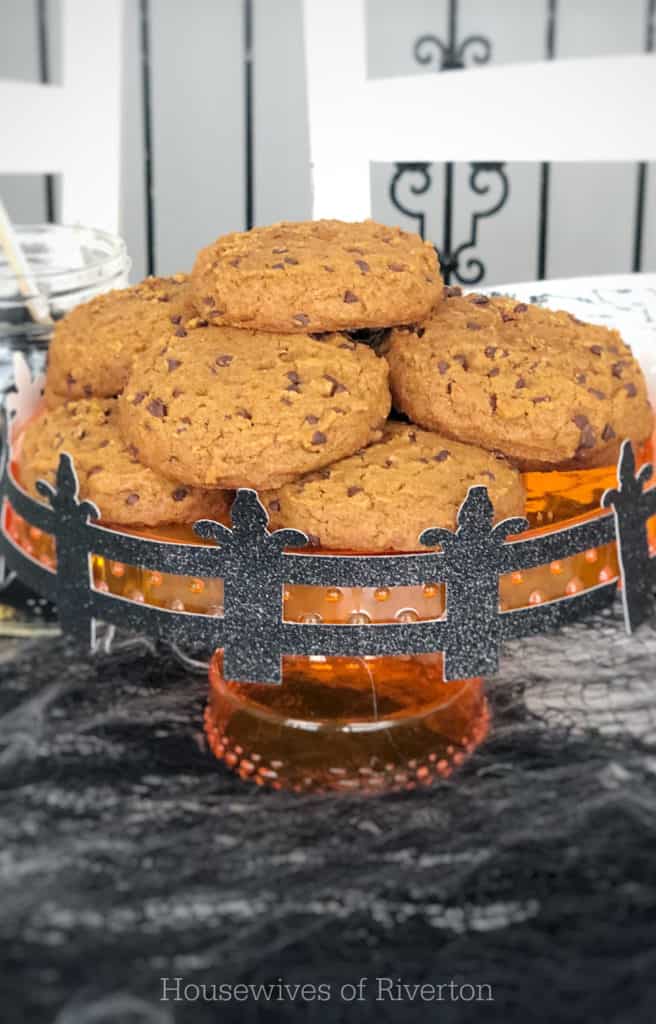
You can create a fun party table with just a few easy projects using your Cricut and Design Space. It was really fun to have this table set up and ready for my kids on October 1st to get ready to welcome Halloween. I created the treat boxes to hold some popcorn for an after school snack. Then I had some Pumpkin Chocolate Chip Cookies, because lets be honest we need some sweet to go with our salty! I dressed up my Target Dollar Spot find with a spooky fence to keep little hands away from our treats until it was time to enjoy them. The last craft I added was a little SPOOKY banner to hang with the candles. Adding these crafts in with what we already had, really amped up our Halloween Table Decor.
Glitter Skull Boxes
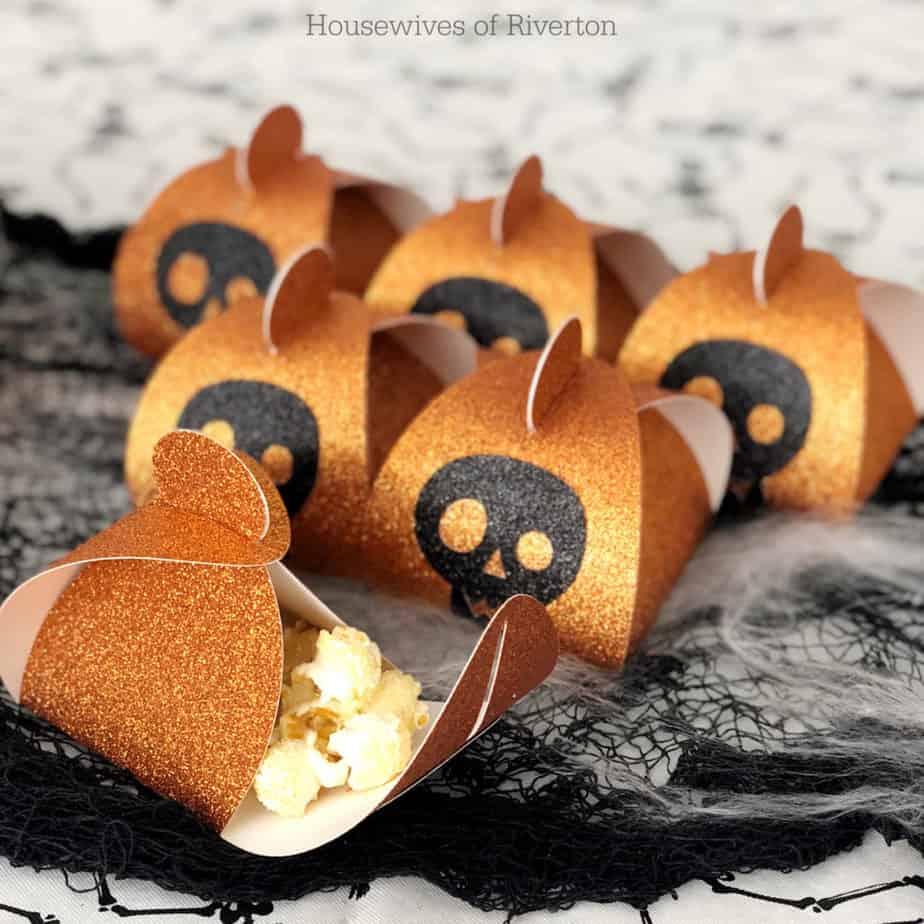
6 sheets of Antique Bronze Glitter Cardstock
1 sheet of Black Glitter Cardstock
Adhesive of your choice
Double Scoring Wheel or Scoring Stylus
Directions
You can find the cut file here for the boxes and skulls. Click on the image and hit duplicate to have the Maker cut out as many boxes as you need. You will need to switch out the fine point blade for the double scoring wheel. If you are using an Explore machine or don’t have the double scoring wheel yet. Just use your scoring stylus to make the score lines. Remove the glitter cardstock from the mat, fold the box on the score lines, and use the adhesive to stick the black glitter skull on the outside of the box. Fill with the treat of your choice.
Spooky Banner
To get the banner cut file, click here. You can adjust the size to be bigger if you would like. I layered fusible fabric, black iron-on and purple glitter iron-on.
Here is what you’ll need:
Green Swiss Dot Fusible Fabric
Black Everyday Iron-on
Black Everyday Iron-on
Rotary Blade
6×7 EasyPress 2 or iron
8×10 EasyPress Mat or towel
Directions
Cut out your banner and letter pieces. Layer your black iron-on on top of your fusible fabric. Use your EasyPress to attach, then do a warm peel. Place your glitter letter where you would like it. Use the carrier sheet or the Iron-on Protective Sheet to place back over the banner piece while your iron on our glitter letter. String your banner pieces on twine, yard, or ribbon and hang where you would like!
Cake Stand Wrap
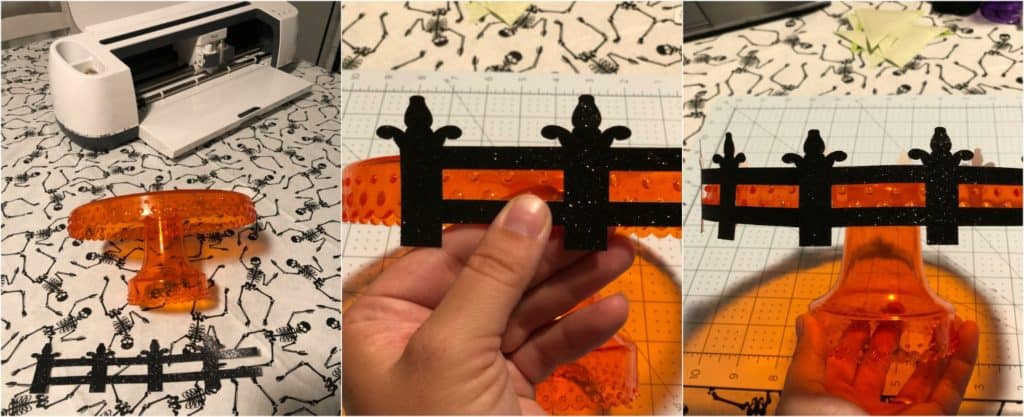
This one was SO easy and I feel made my cake stand look extra cute! I used this cut file to cut out the fence on some black glitter cardstock and then used my adhesive to attach it to the rim of the cake stand. Seriously, that was it!
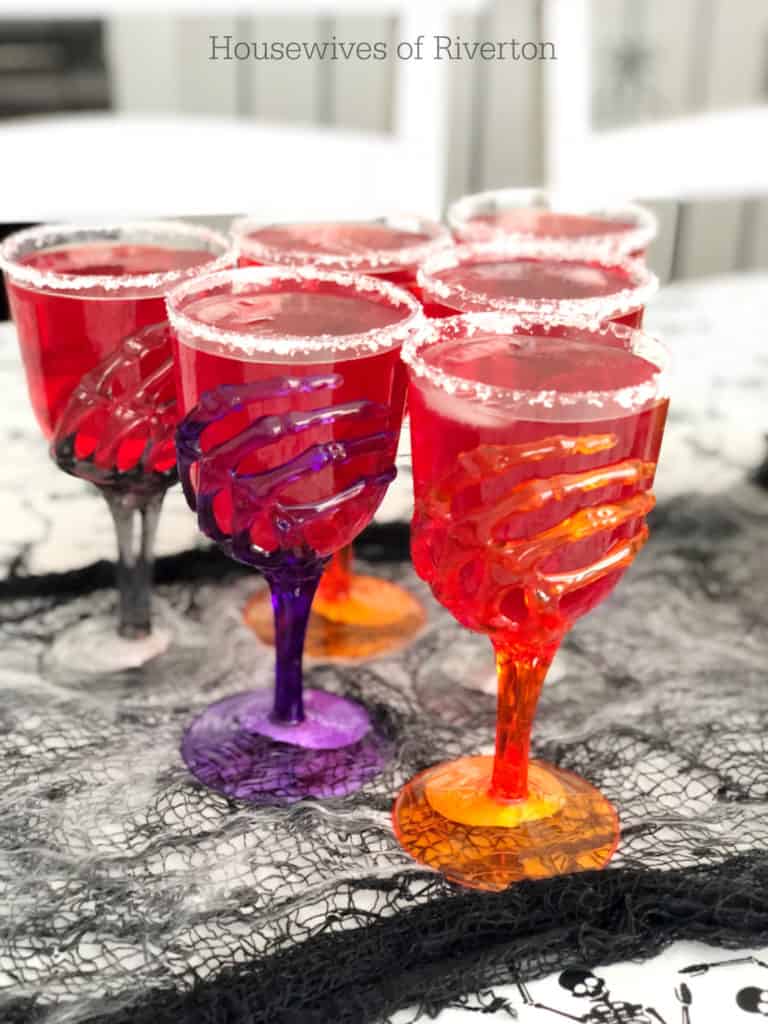
What are your favorite Halloween decorations? Do you decorate for Halloween or just for Fall in general. Let us know in comments and feel free to share pics of your cute Halloween decor!
We have a great discount for our crafting friends! Click and use code Housewives for 10% off and free shipping on purchases over $50! *Not valid on machines, Cricut Access memberships, or digital image purchases*
- Carnation Famous Pumpkin Pie Recipe - October 5, 2023
- Scariest Haunted Houses in Utah - October 4, 2023
- When Does Halloween Time End At Disneyland 2023 - October 3, 2023




[…] Halloween Table Decor – Housewives of Riverton […]